Learn how to grow ranunculus with this easy guide on planting, care, and harvesting for gorgeous spring blooms in your garden.


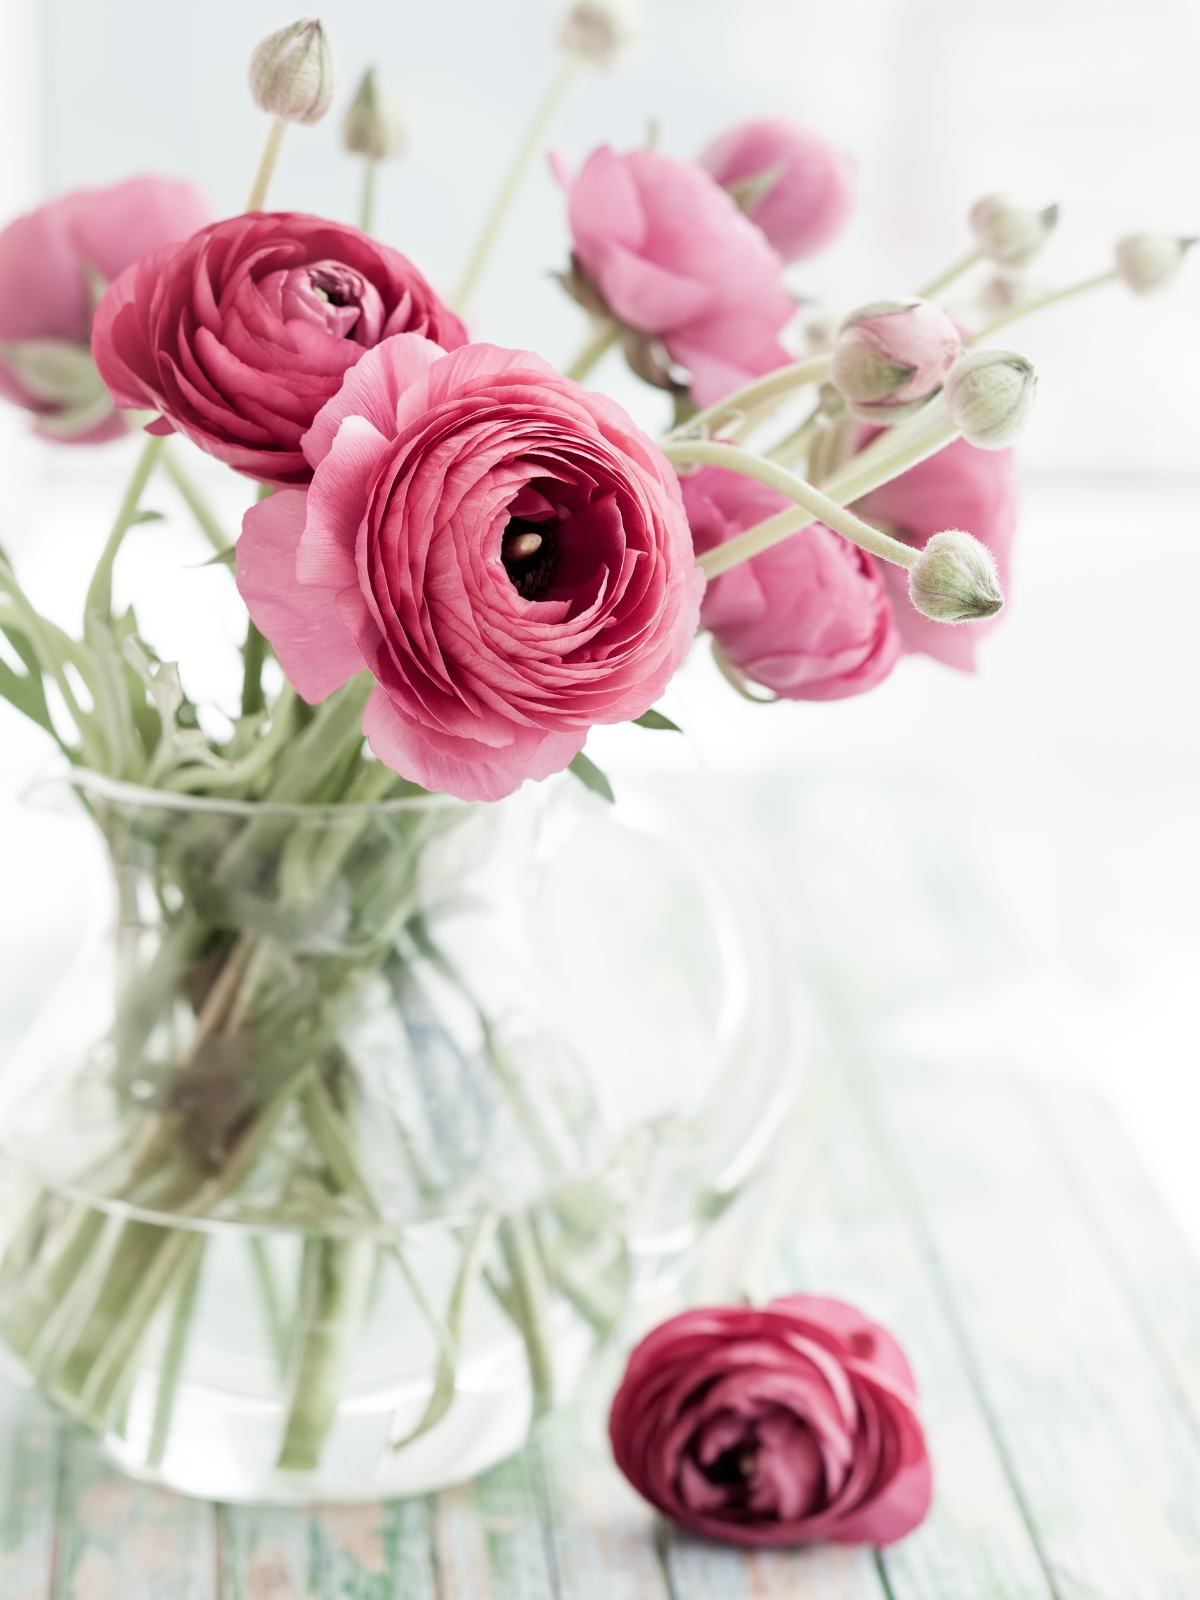
Ranunculus are one of my favorite flowers to grow, with their vibrant colors and delicate, layered petals. They look like little roses and make stunning cut flowers that last for days in a vase!
These cool-weather flowers are surprisingly easy to care for, whether in garden beds or containers. With the right conditions, they'll reward you with an abundance of blooms in spring.
Here's how to grow them!
Presprouting ranunculus corms
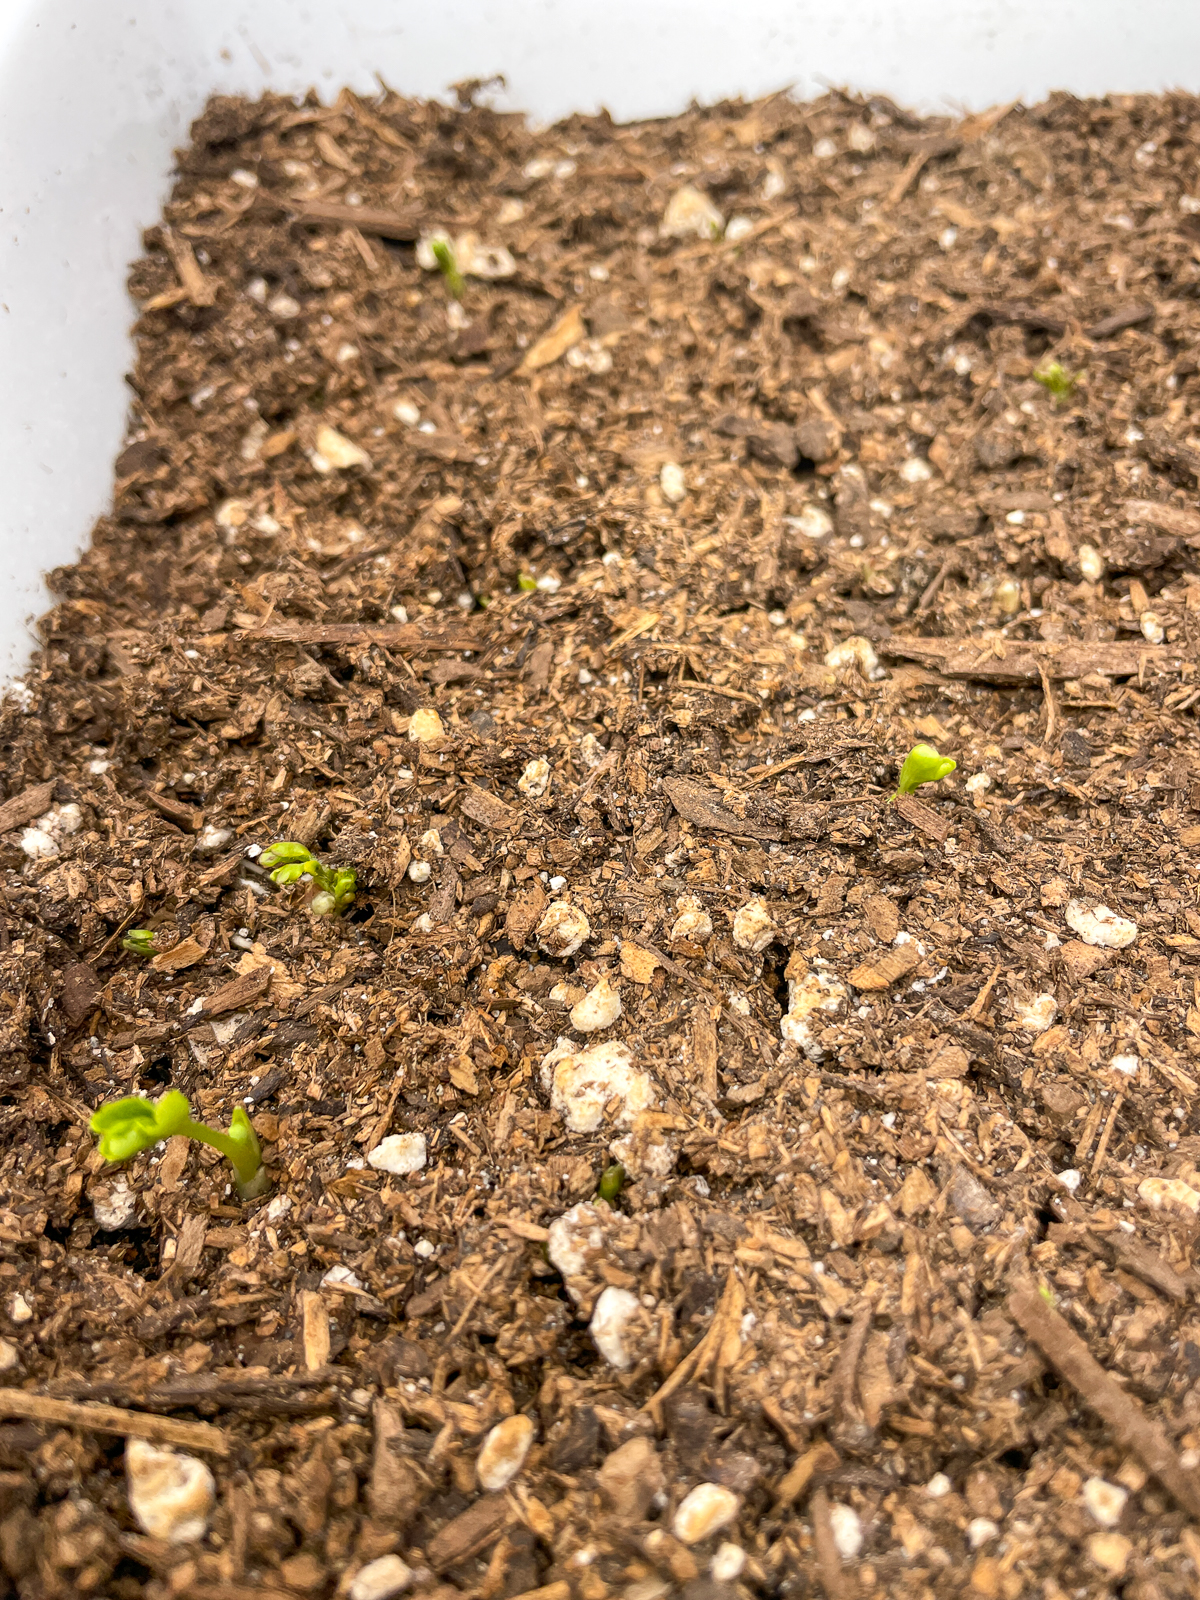
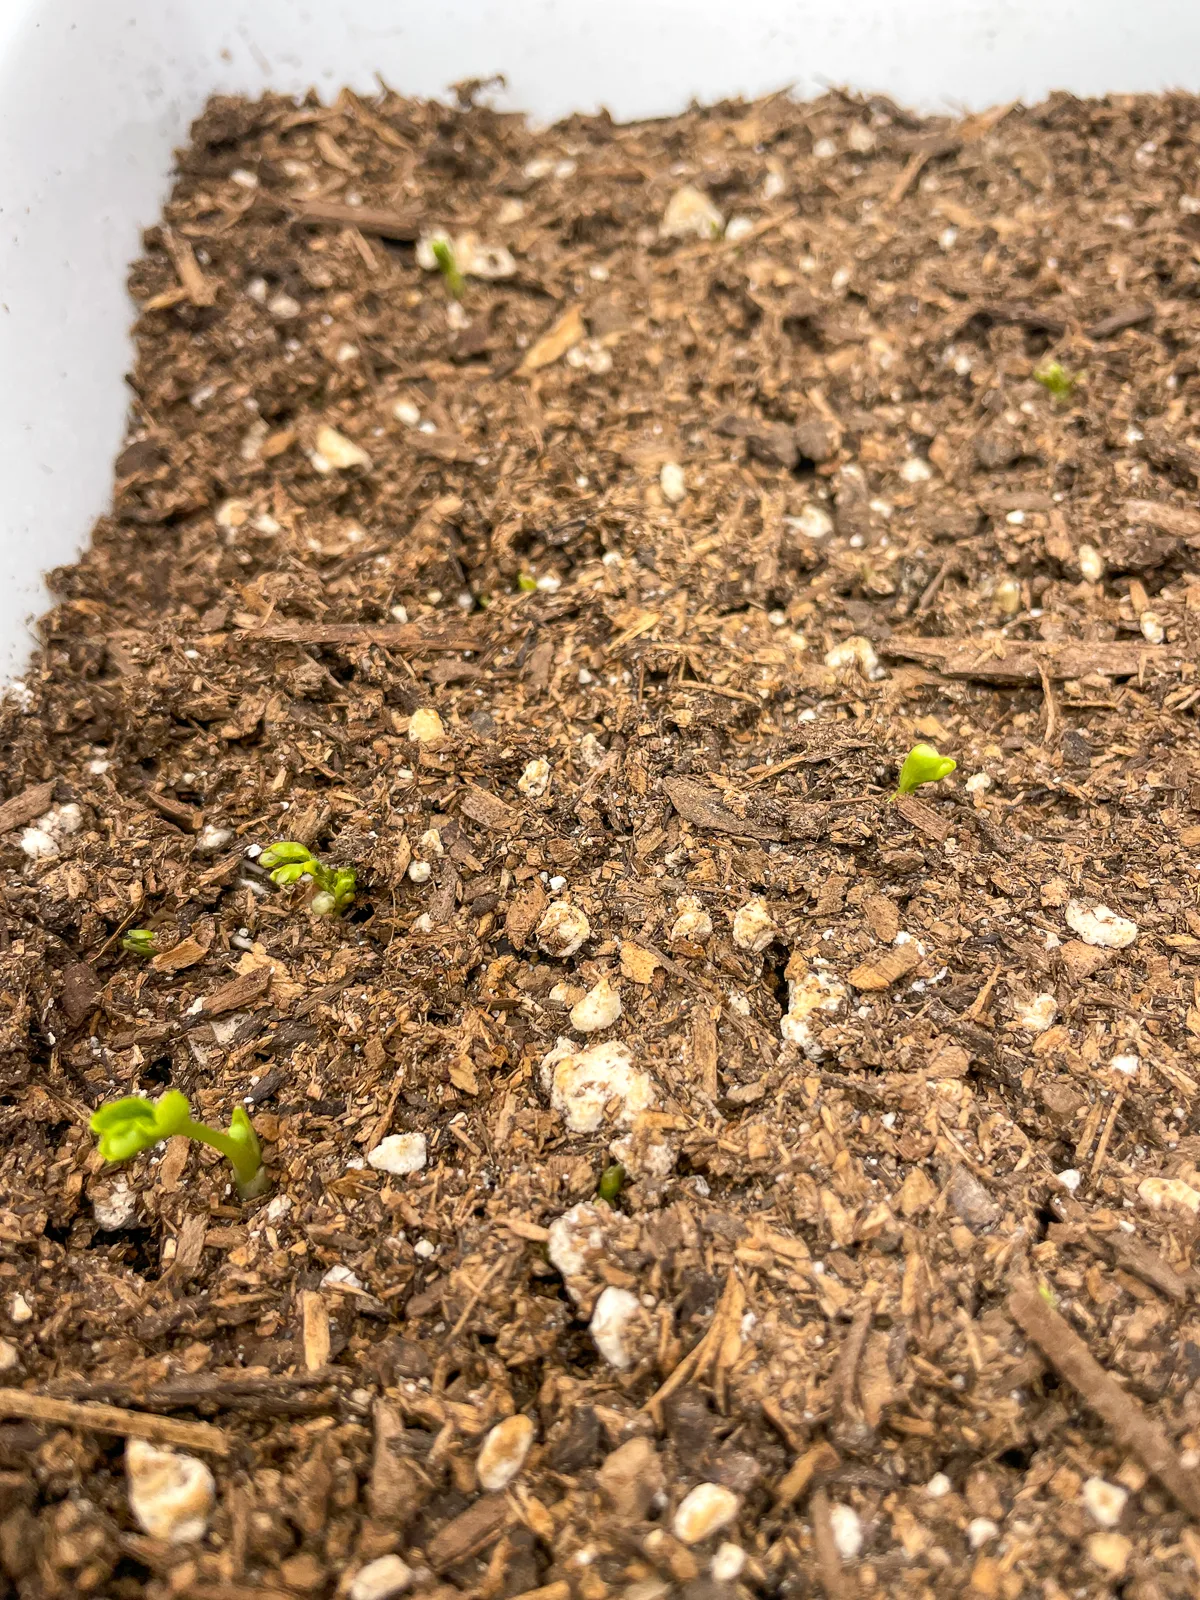
Presprouting ranunculus corms in late winter is a great way to get a jump start on the growing season. This simple process allows you to get a head start on these beautiful blooms, so they have more time to mature before planting outdoors.
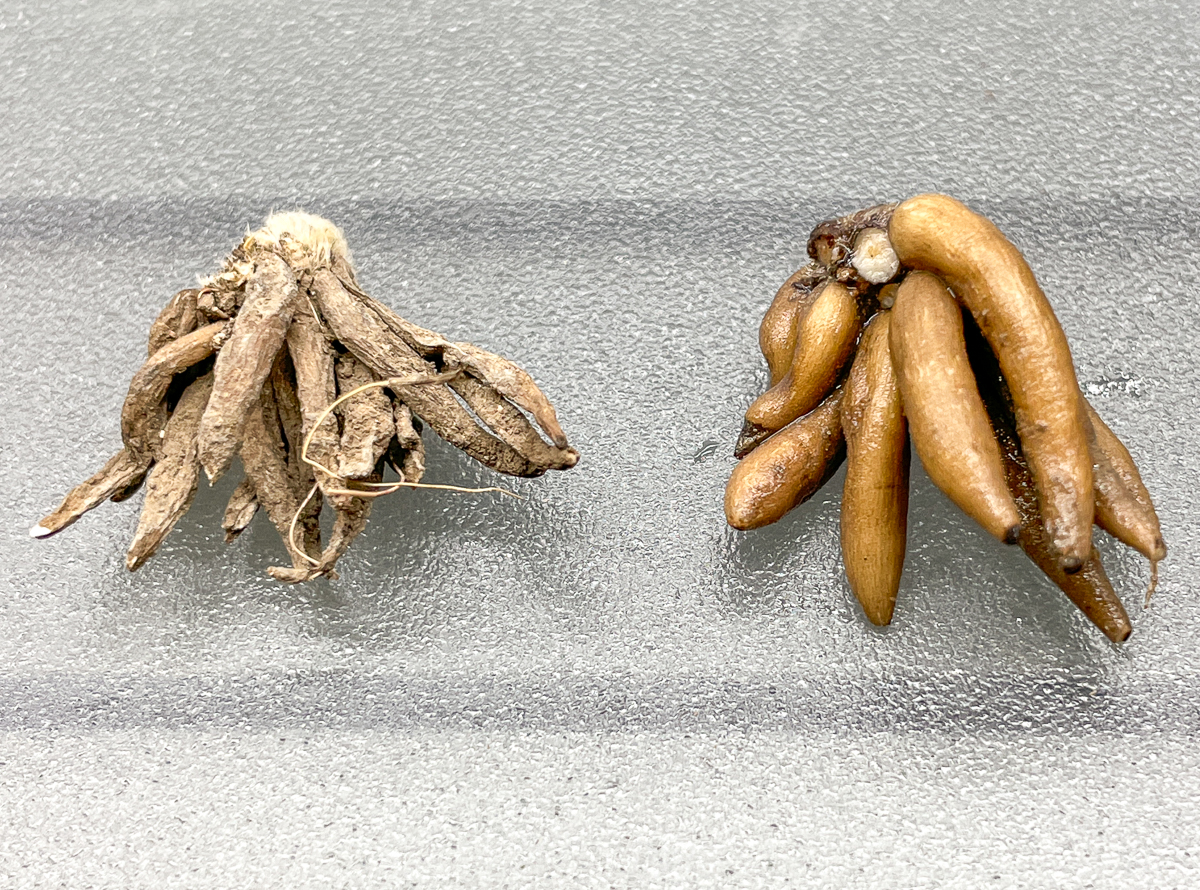
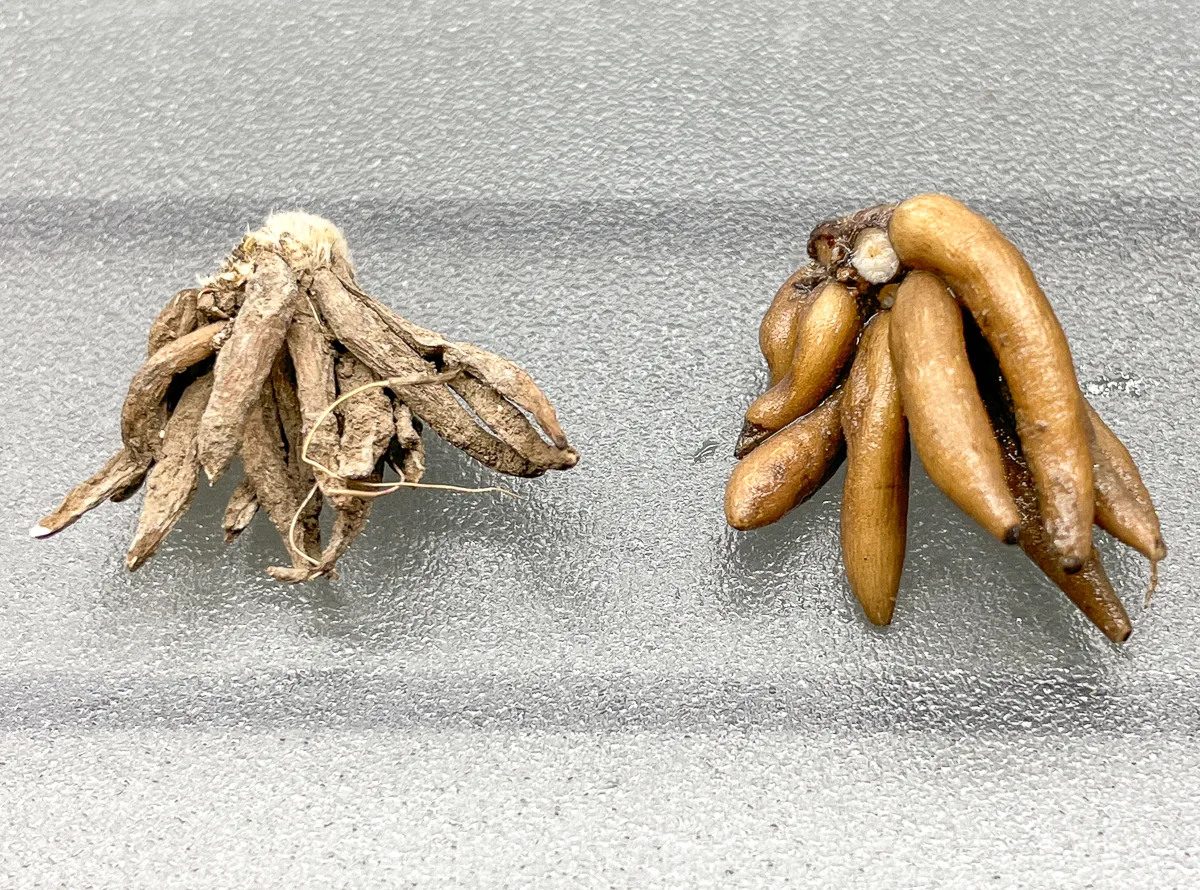
The pre-sprouting process involves soaking the corms until they plump up. Then you can plant them in shallow trays filled with pre-moistened soil until they start to sprout. Once they begin to form roots, you can leave them under grow lights until the weather warms up, or transplant them directly into your garden.
I always presprout my ranunculus corms to give them a head start. They'll bloom weeks earlier than direct sown corms, giving me a longer window to enjoy these gorgeous flowers!
Planting ranunculus corms
Ranunculus prefers cooler temperatures, so you can plant them outdoors before your last frost date. If temperatures will dip below 20 degrees, cover them with a frost cloth to prevent them from freezing.
Ranunculus are really heavy feeders, so you should prepare the planting area with compost first to give them plenty of nutrients. I top up my raised beds with a bag of compost and mix it in before planting.
Choose a spot with full sun (at least 6 hours or more of direct sunlight). I chose the raised bed where I grow my zinnias later in the summer, so I can get two different flower crops out of the same space.
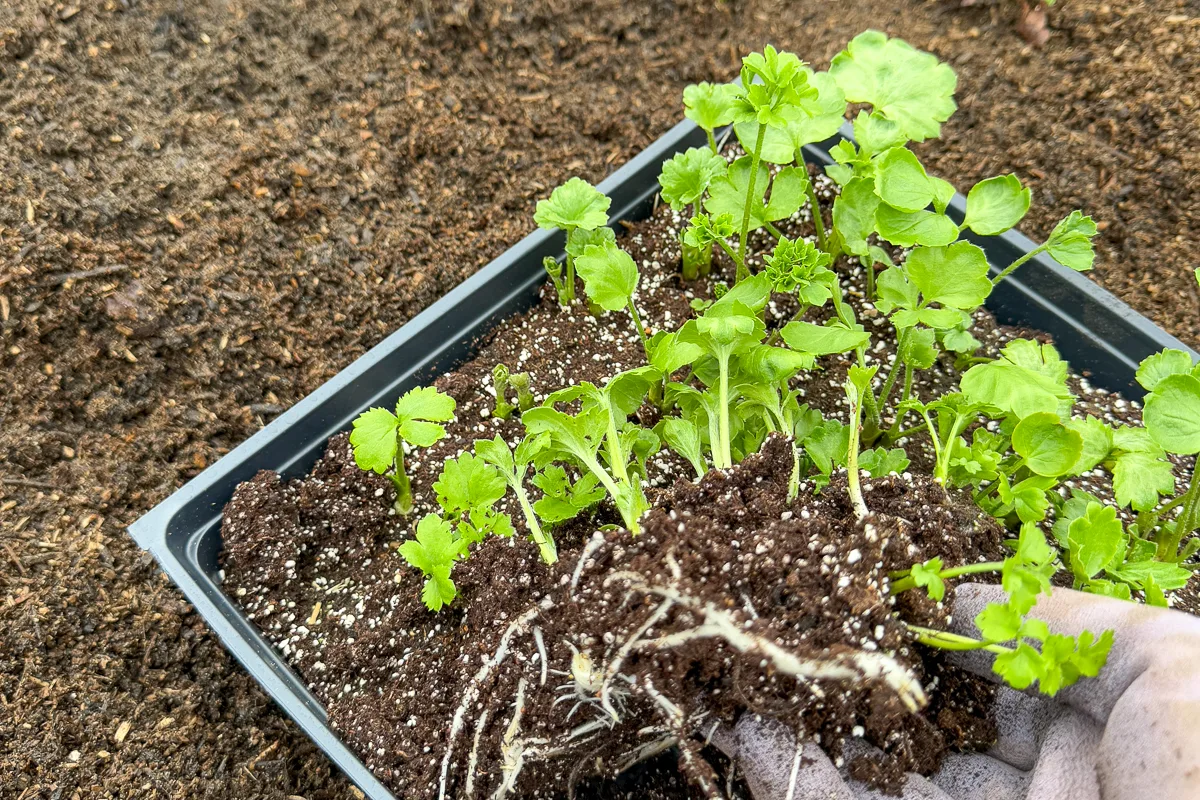
These presprouted ranunculus corms were practically bursting out of their trays! I've been acclimating them to outdoor temperatures after prespouting in the greenhouse, and they really took off.

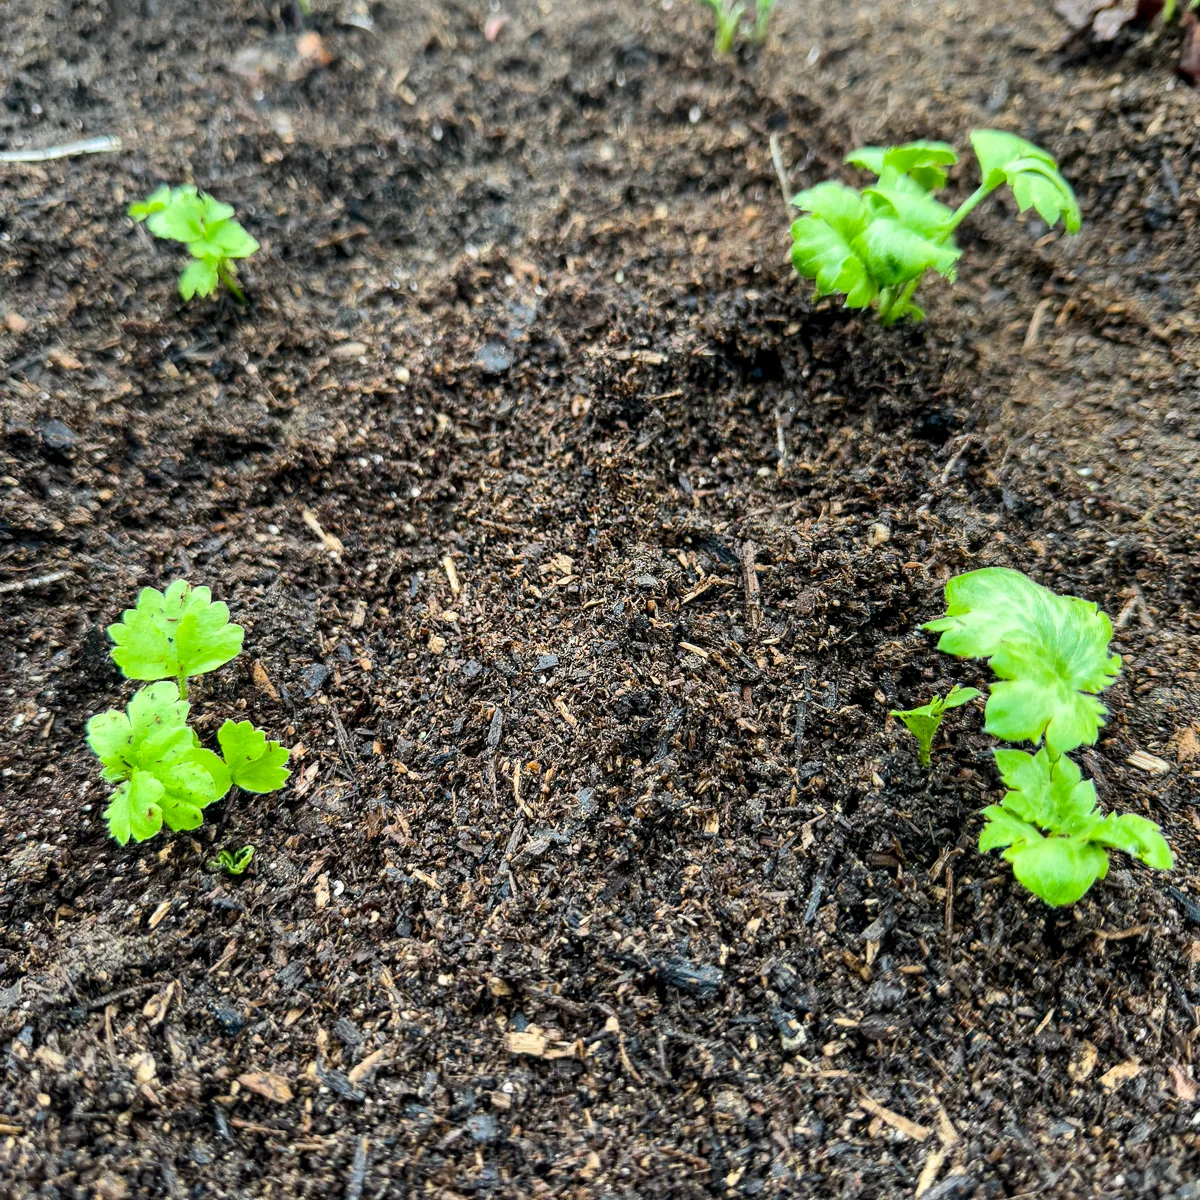
Space each hole 3-4 inches apart. I like to use my hand as a spacer for the first couple of rows. Ranunculus should be planted no deeper than 2", so I just poke my finger into the soil to mark the placement.


As I separate each plant, I just toss a corm into each spot! Some of these are multiple corms that were difficult to separate when I dug them up last year, which is why they have lots of shoots.

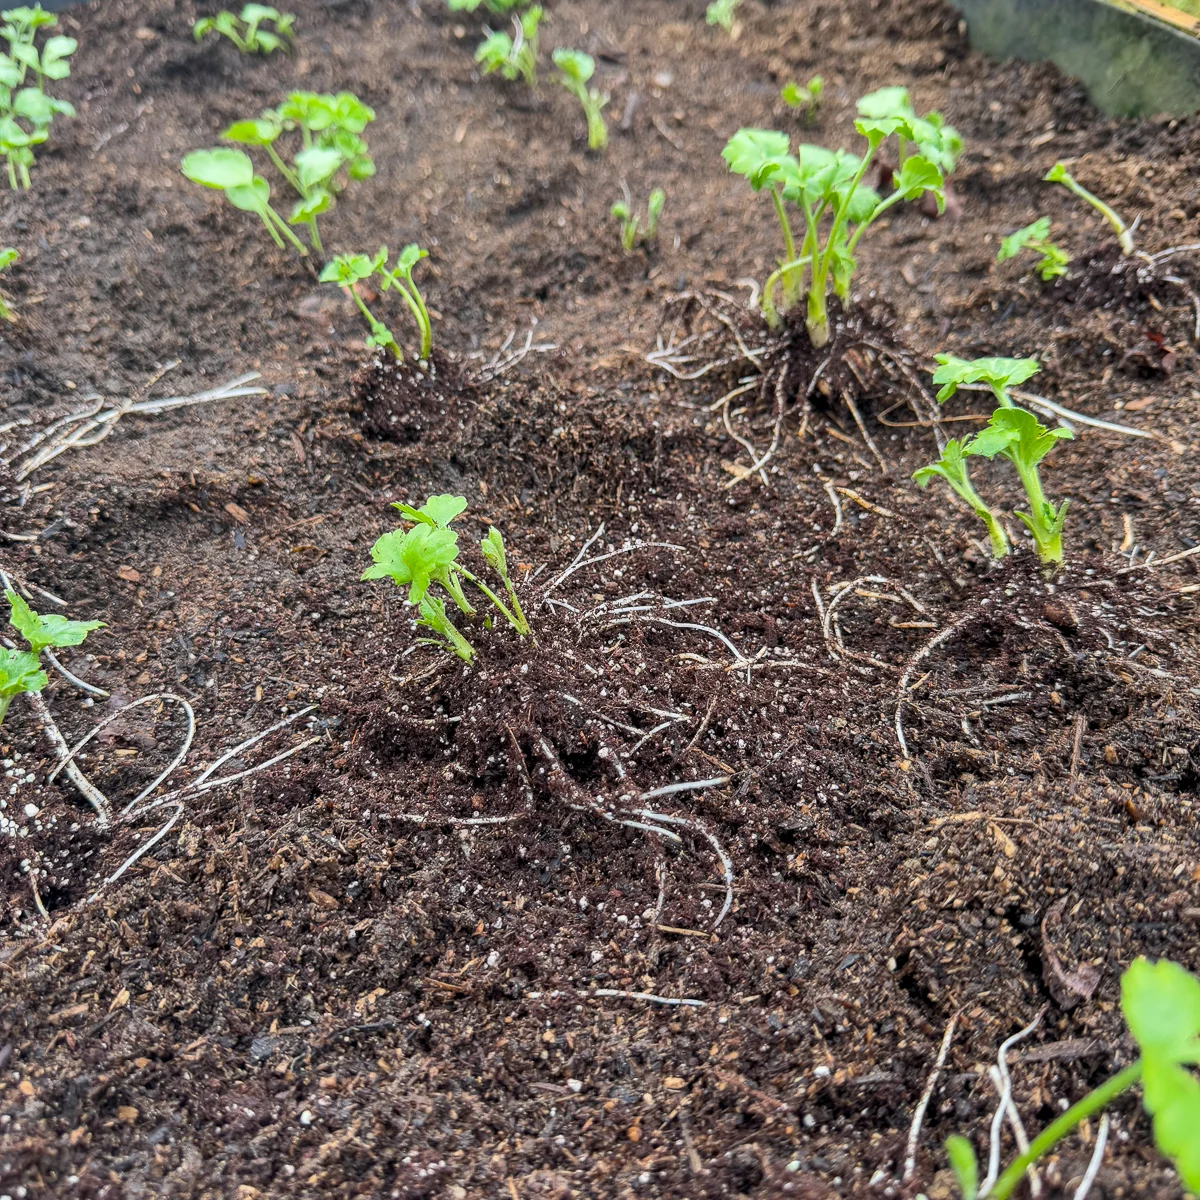
To plant them, I just remove a handful of soil, pop in the roots and corm, then cover it back up. Easy peasy!

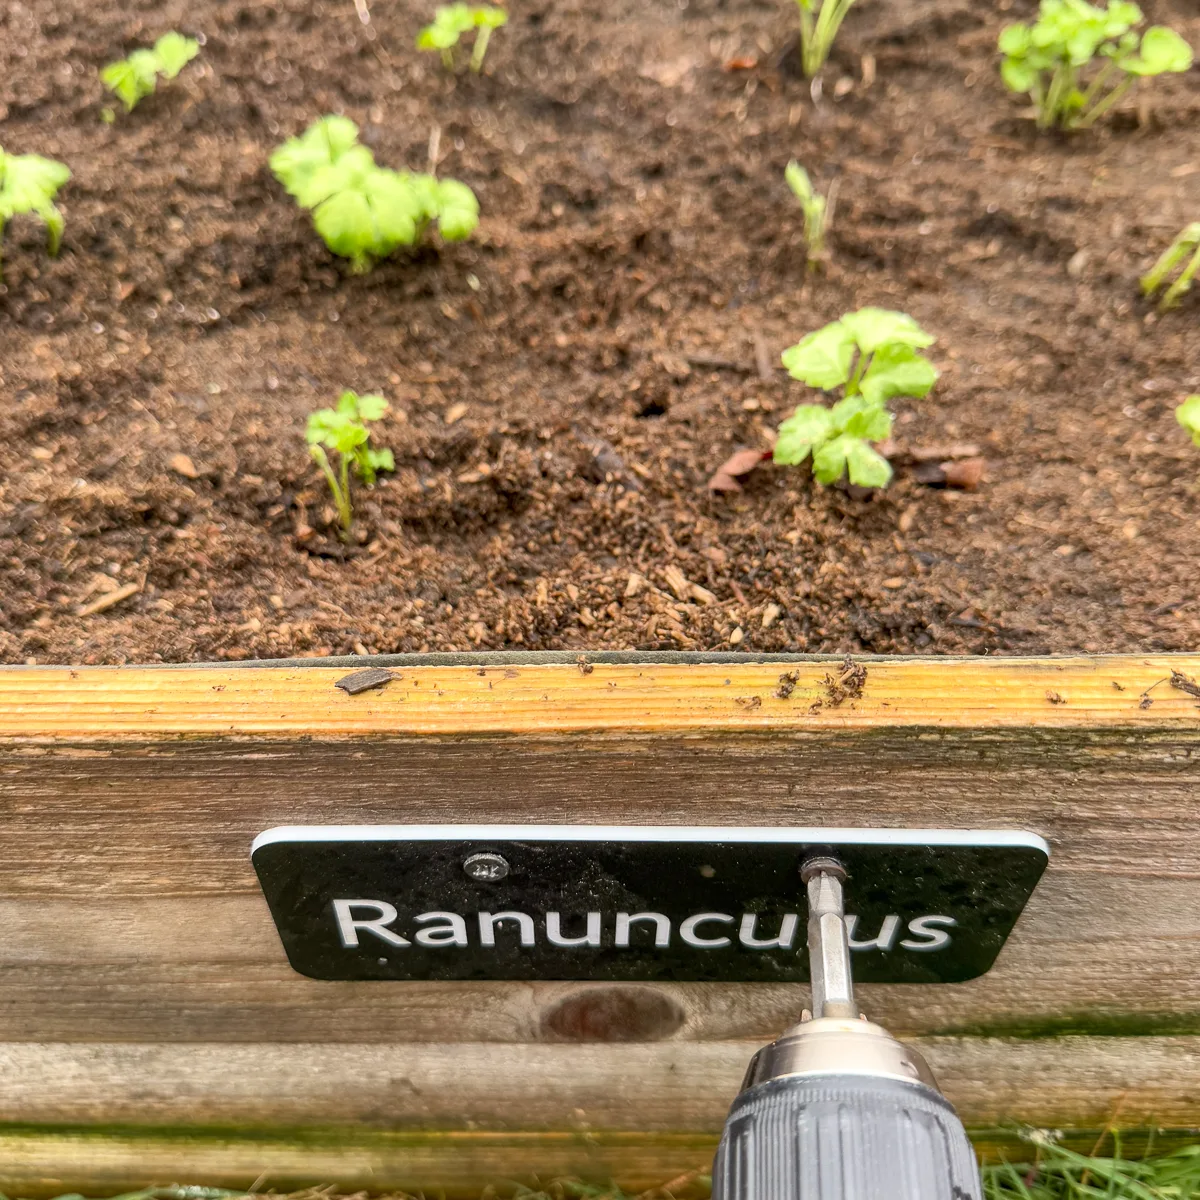
As a finishing touch, I add my engraved garden labels to the end of the bed. These raised beds are out by the street, and I always get questions about what I'm growing. Everyone thinks these are flat leaf parsley until they start to bloom!

Watering and Fertilization
Ranunculus prefer consistent moisture but don't like to sit in soggy soil. Water them deeply about once or twice a week, ensuring the soil stays evenly moist but well-drained. Reduce watering once the foliage starts to yellow after blooming.
I live in the rainy Pacific Northwest, so I typically don't need to water my ranunculus much at all! When I do, I try to avoid getting the petals wet because they can show water spots.
After the first round of blooms, apply a high phosphorous liquid feed once every two weeks to encourage more flowers. Ranunculus will continue to send up more blooms so long as they have enough nutrients and the temperature stays below 80 degrees.
Common issues
Ranunculus are pretty resilient plants that aren't bothered by many pests or disease issues. Deer won't eat them, although rabbits will nibble on their leaves. I plant mine in 12" high raised beds to prevent the bunnies from reaching them.
One of the most common issues is rot due to freezing. If the corms are left unprotected in temperatures below 20 degrees, the corms will freeze and rot when thawed. Cover with a row of frost cloth if these low temperatures are in the forecast!
Harvesting Ranunculus Flowers
Ranunculus make excellent cut flowers, and harvesting them at the right time ensures long-lasting, beautiful blooms.
For the best vase life, cut flowers when they are in the marshmallow stage. This means the buds are soft like a marshmallow but not completely open. They'll continue to open in the vase, giving you a much longer show!

Use sharp scissors or pruning shears to cut the stems down at the base early in the morning when they are most hydrated. Immediately place the flowers in cool, clean water and remove any leaves that would sit below the waterline to prevent bacteria growth.
Store them in a cool spot, and they can last up to 10 days in a vase! Changing the water every couple of days will help them stay fresh even longer.
Saving Ranunculus Corms
Ranunculus corms will multiply over the growing season, giving you more plants next season! But if you live in a cold climate, they won't be able to survive the winter. Luckily, you can dig up and store your ranunculus corms until next year!
Once the blooms have faded and the stems and leaves have turned yellow or brown, you can dig them up. Gently loosen the soil around the corms and pull them out of the ground.

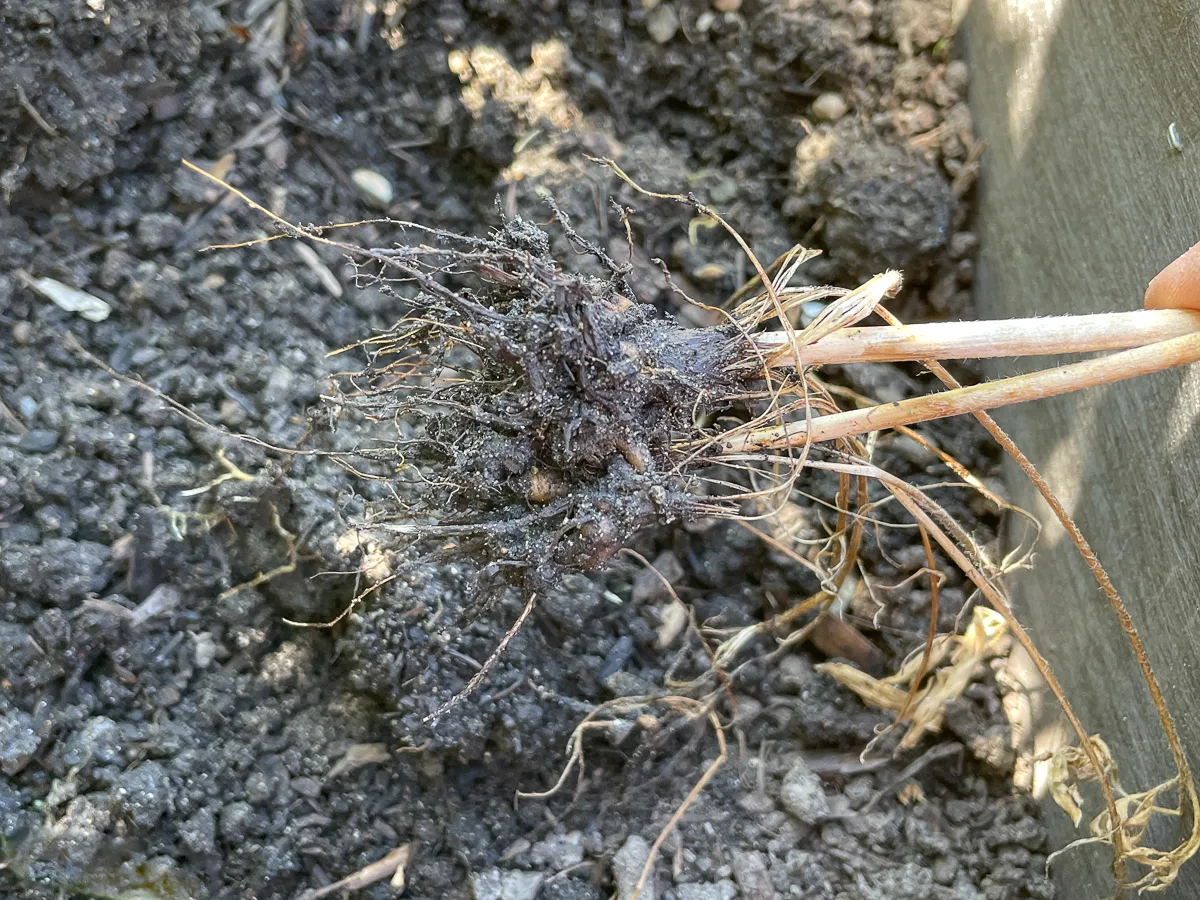
Allow them to dry out completely, then trim the dead foliage and clean off any dirt before storing them in a paper bag. Keep them in a dark, cool, dry spot until late winter when you can presprout them again!

