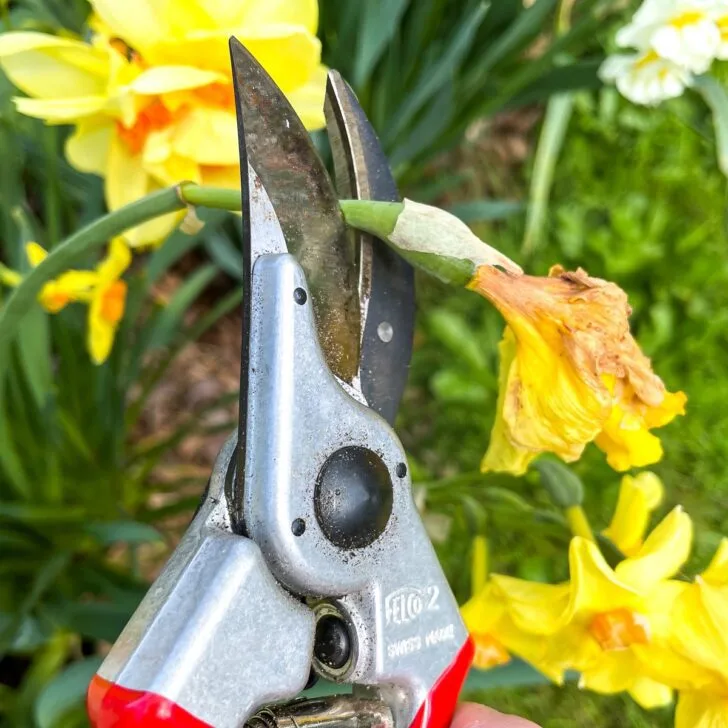
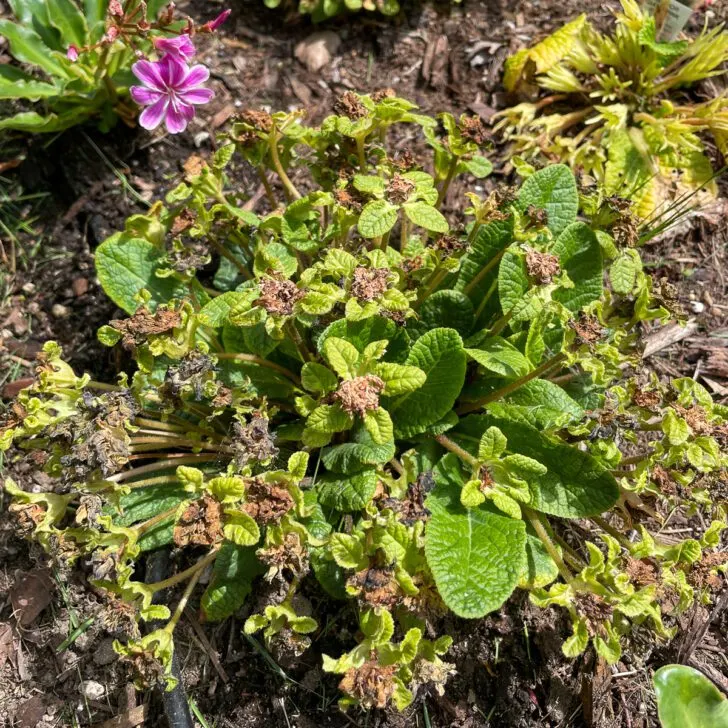
Discover how to care for tulips after they bloom, including when to deadhead spent flowers and cut back foliage, so they come back next year!
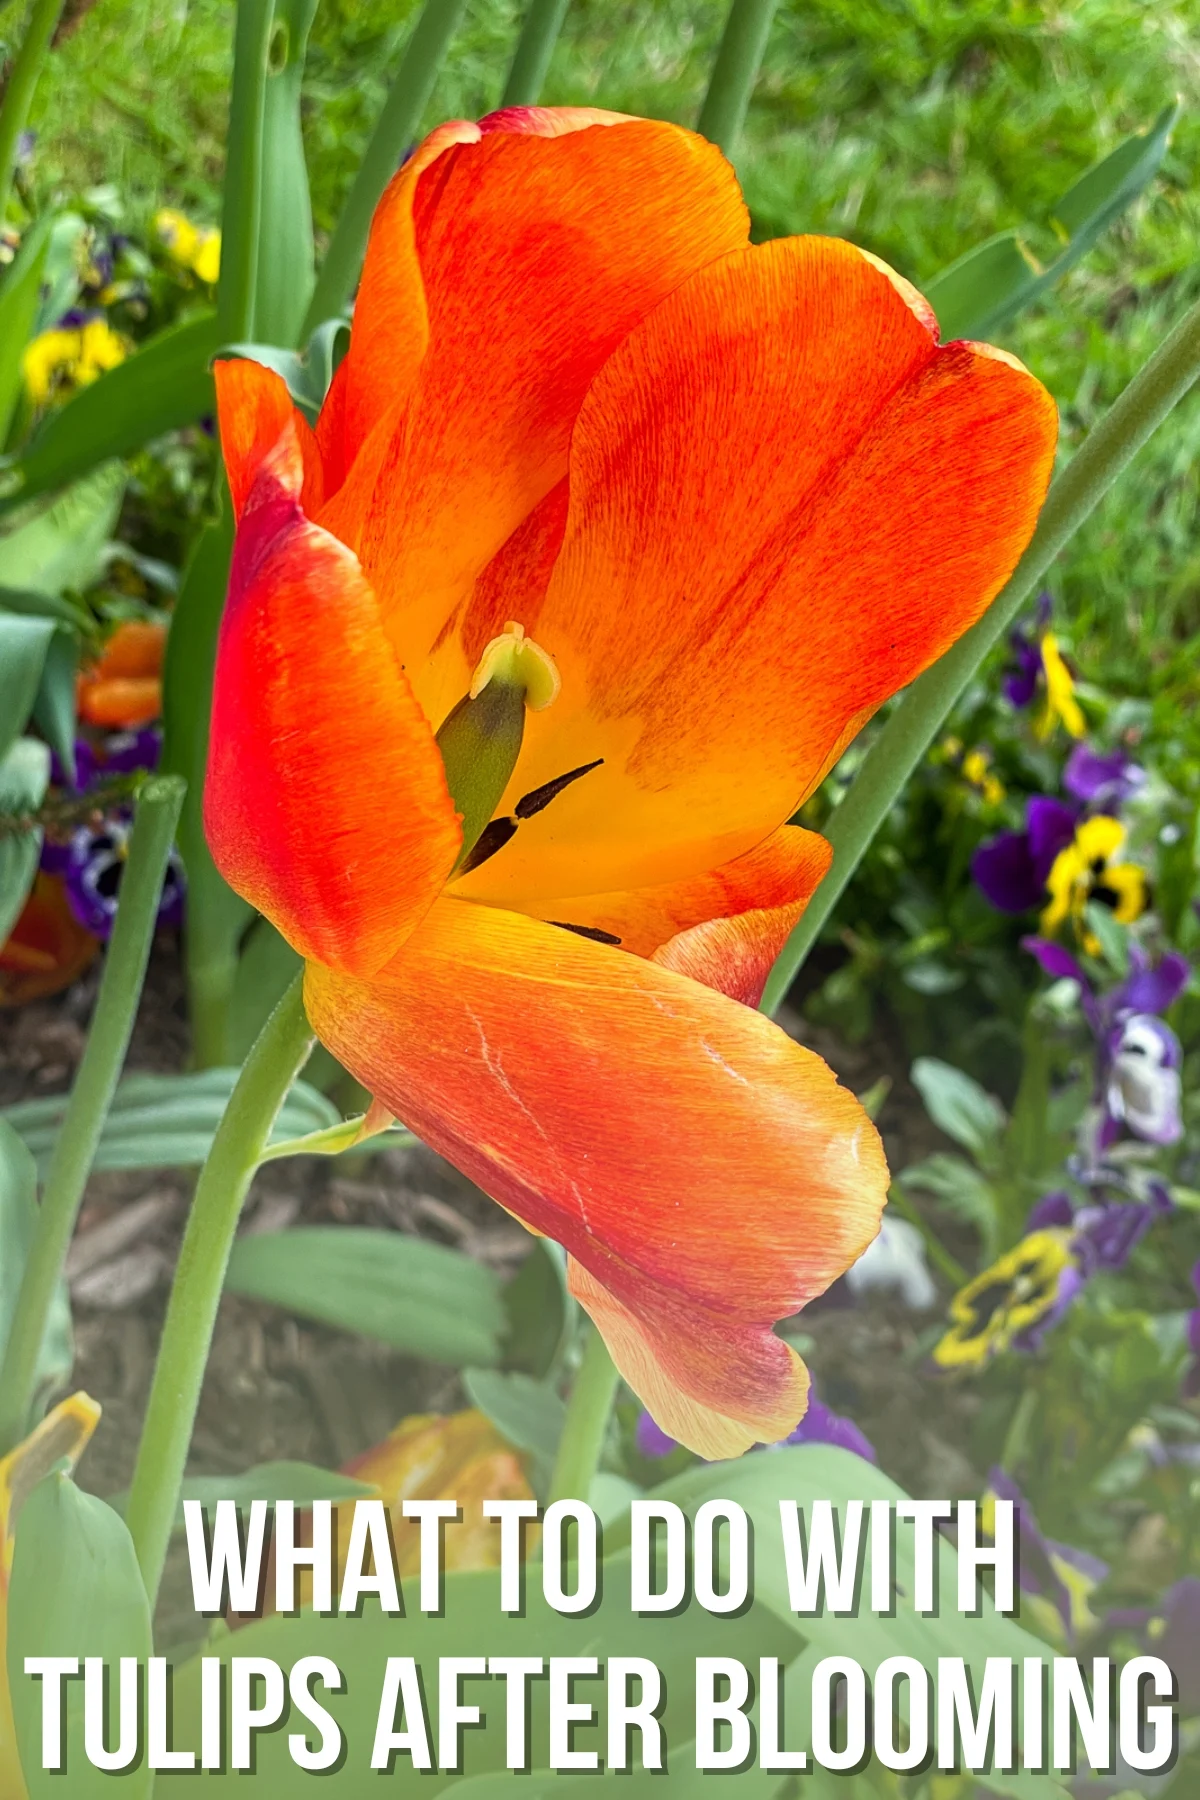
Tulips are my favorite flower, and I've planted hundreds of tulips bulbs in my garden. But what do you do with them after they've bloomed?
Taking proper care of your tulips once the flowers have faded is essential for ensuring healthy growth and beautiful blooms in the years to come.
In this article, we'll walk you through the steps to care for your tulips after blooming, so they can come back year after year.
Let's get growing!
This post contains affiliate links for your convenience. Purchases made through these links may earn me a small commission at no additional cost to you.
Cut off spent blooms
Once your tulips have put on their show and the flowers begin to fade, it's time to give them a little trim. This prevents the tulip from putting energy into seed production and instead focuses on storing energy in the bulb for next year's growth.
See the bulge at the top of this tulip stem? The petals have already fallen off, and the plant is working on ripening the seeds in that pod.
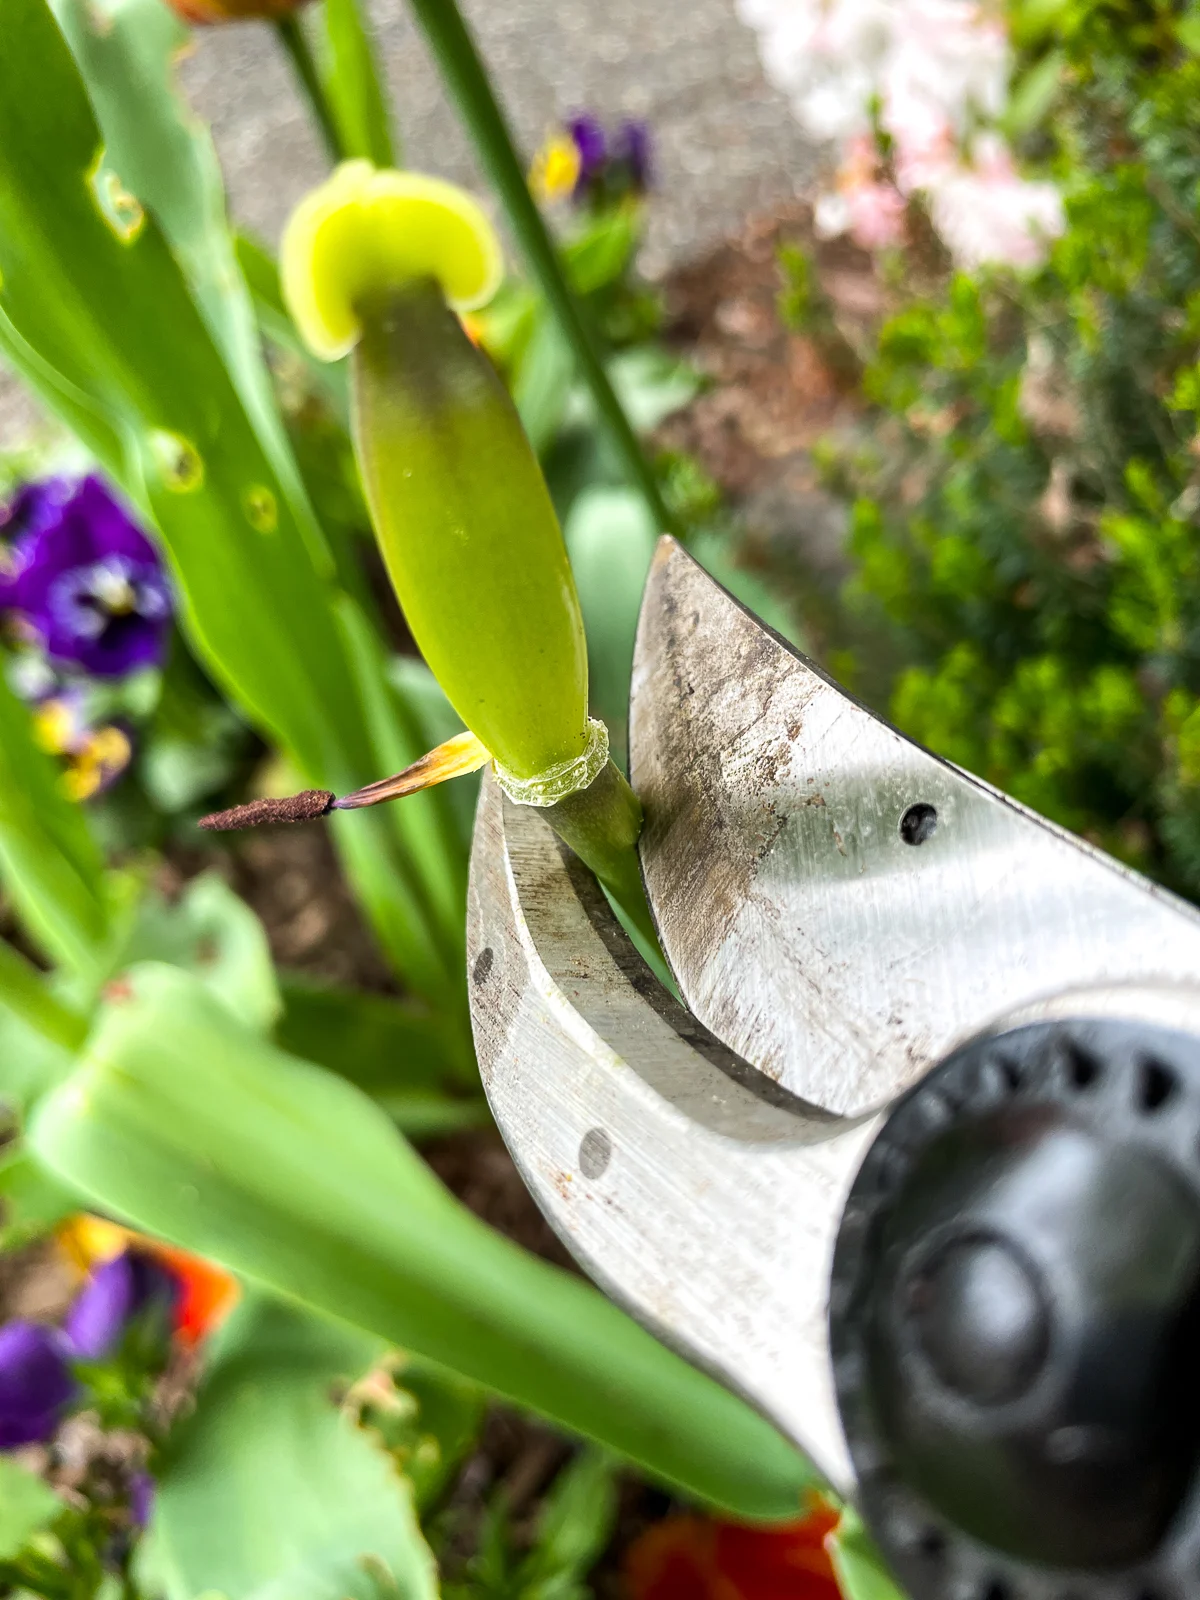
While you can grow tulips from seed, it will take many years before the plant produces flowers, and it probably won't look like the parent anyway. I'd rather have my tulips focus their energy on growing a healthy bulb for next year.
Trim the spent flowers as soon as they start to wilt or lose their petals. Cut off the faded bloom an inch or so below the head, leaving the stem and leaves intact.
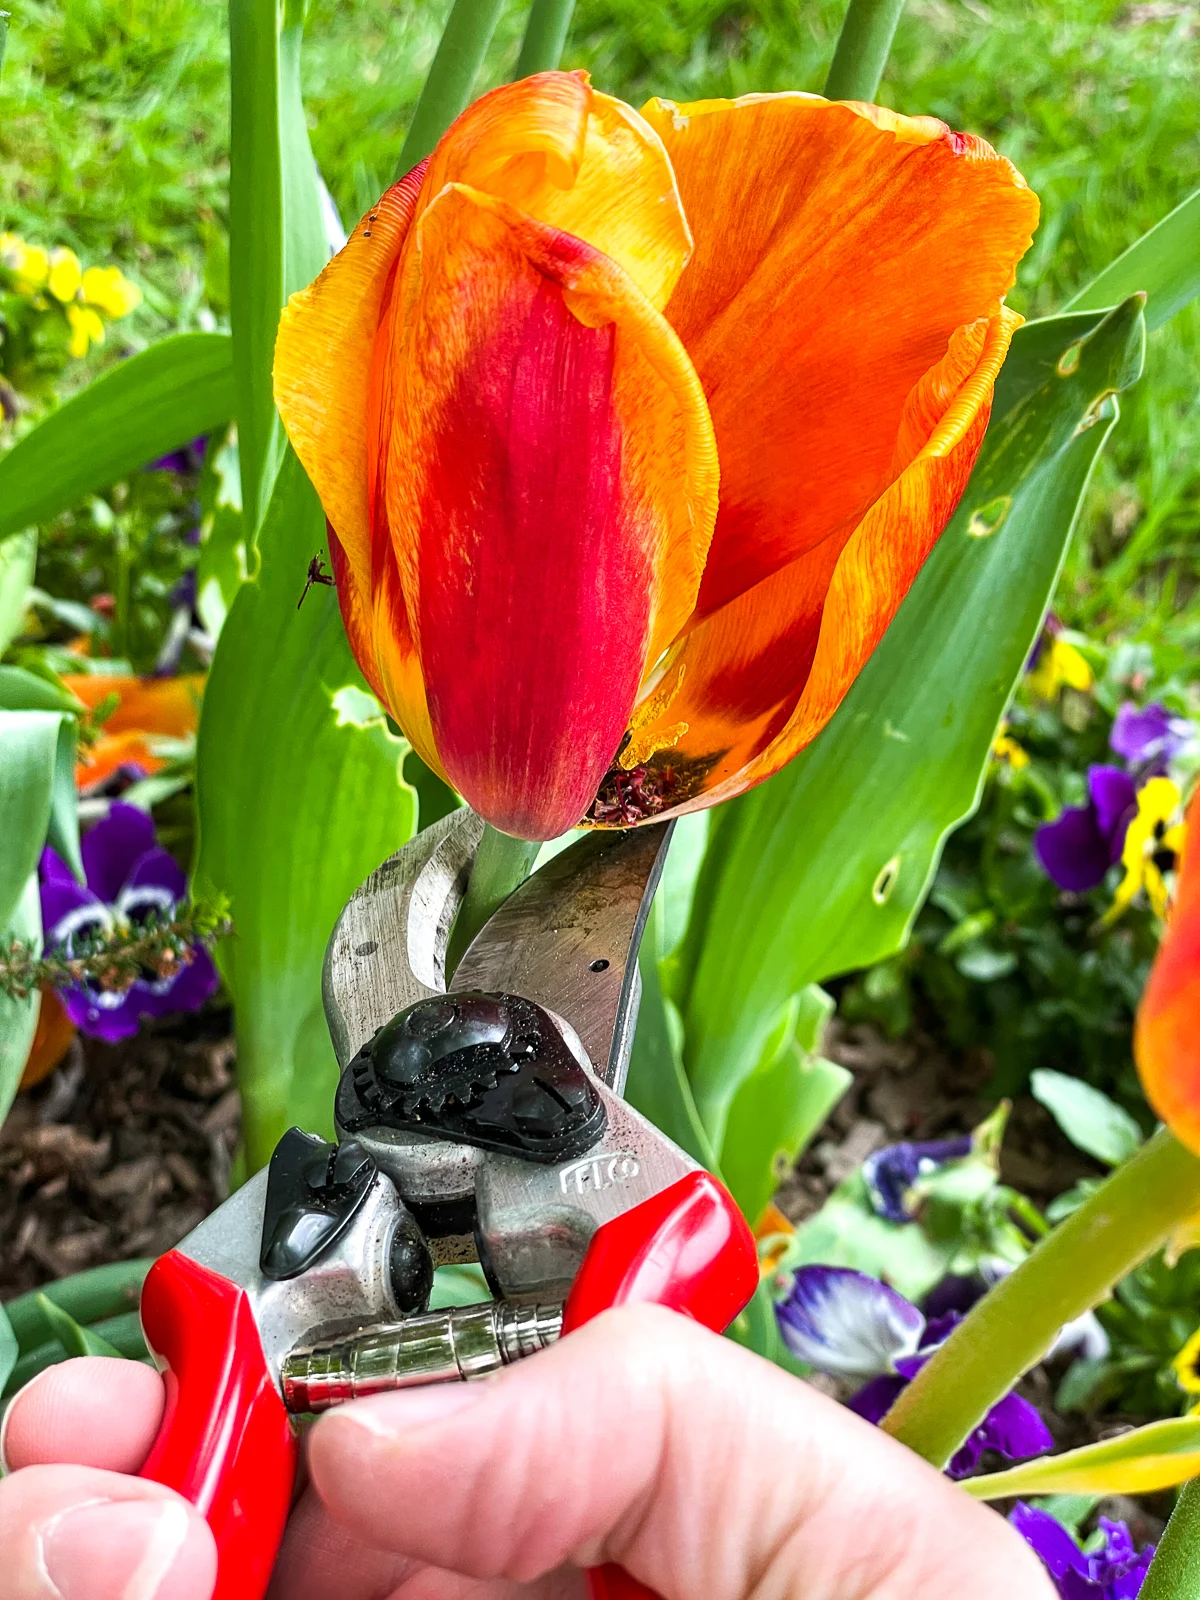
While it may be tempting to cut back the entire plant after the flowers have faded, resist the urge! The leaves play a crucial role in the tulip's growth cycle, and if you cut them off now, you won't get blooms next year.
Leave the foliage until it yellows
After trimming the spent flowers, it's essential to care for the remaining tulip foliage. The leaves will continue to photosynthesize and provide energy for the bulb, setting the stage for beautiful blooms next year.
Photosynthesis is the process through which the tulip leaves absorb sunlight and convert it into energy, which is stored in the bulb. This energy will be used to fuel the growth of next year's flowers, making it vital to let the leaves do their job.
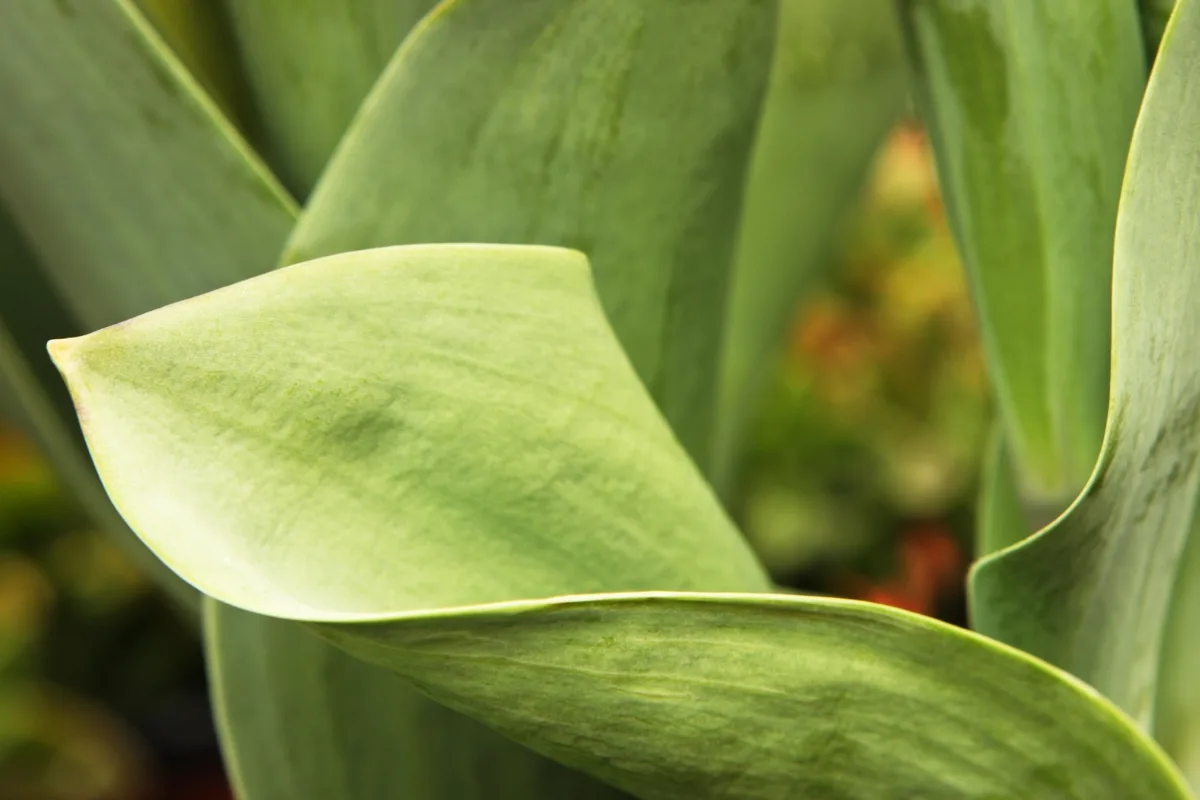
Be patient and allow the leaves to turn yellow before cutting them back. This can take up to a month, so consider planting herbaceous perennials nearby to disguise the foliage.
Once the leaves are yellow or brown, you can cut the foliage down to ground level. Leaving a small stub is fine, as it will eventually decompose.
Once you've cut back the foliage, it's a good idea to cover the area with a layer of mulch. Mulch will help protect the tulip bulbs from temperature fluctuations, keeping them insulated during the colder months. A 2-3 inch layer of organic mulch, such as shredded leaves or bark, should be sufficient.
Fertilizing tulip bulbs
Providing your tulip bulbs with the proper nutrients is an essential step in ensuring a healthy and vibrant display in the coming years.
Fertilizing your tulip bulbs after they bloom helps replenish the nutrients they've used during the growth and flowering process. This additional boost ensures that the bulb has everything it needs for the next year's growth and bloom cycle.
Once the tulip blooms have faded and you've trimmed the spent flowers, it's time to apply a bulb fertilizer. I like to use Bulb-tone, and I'll sprinkle it over this entire area once the daffodil and tulip blooms have faded. It's been a cold spring, so these garden beds are still looking great at the beginning of May!
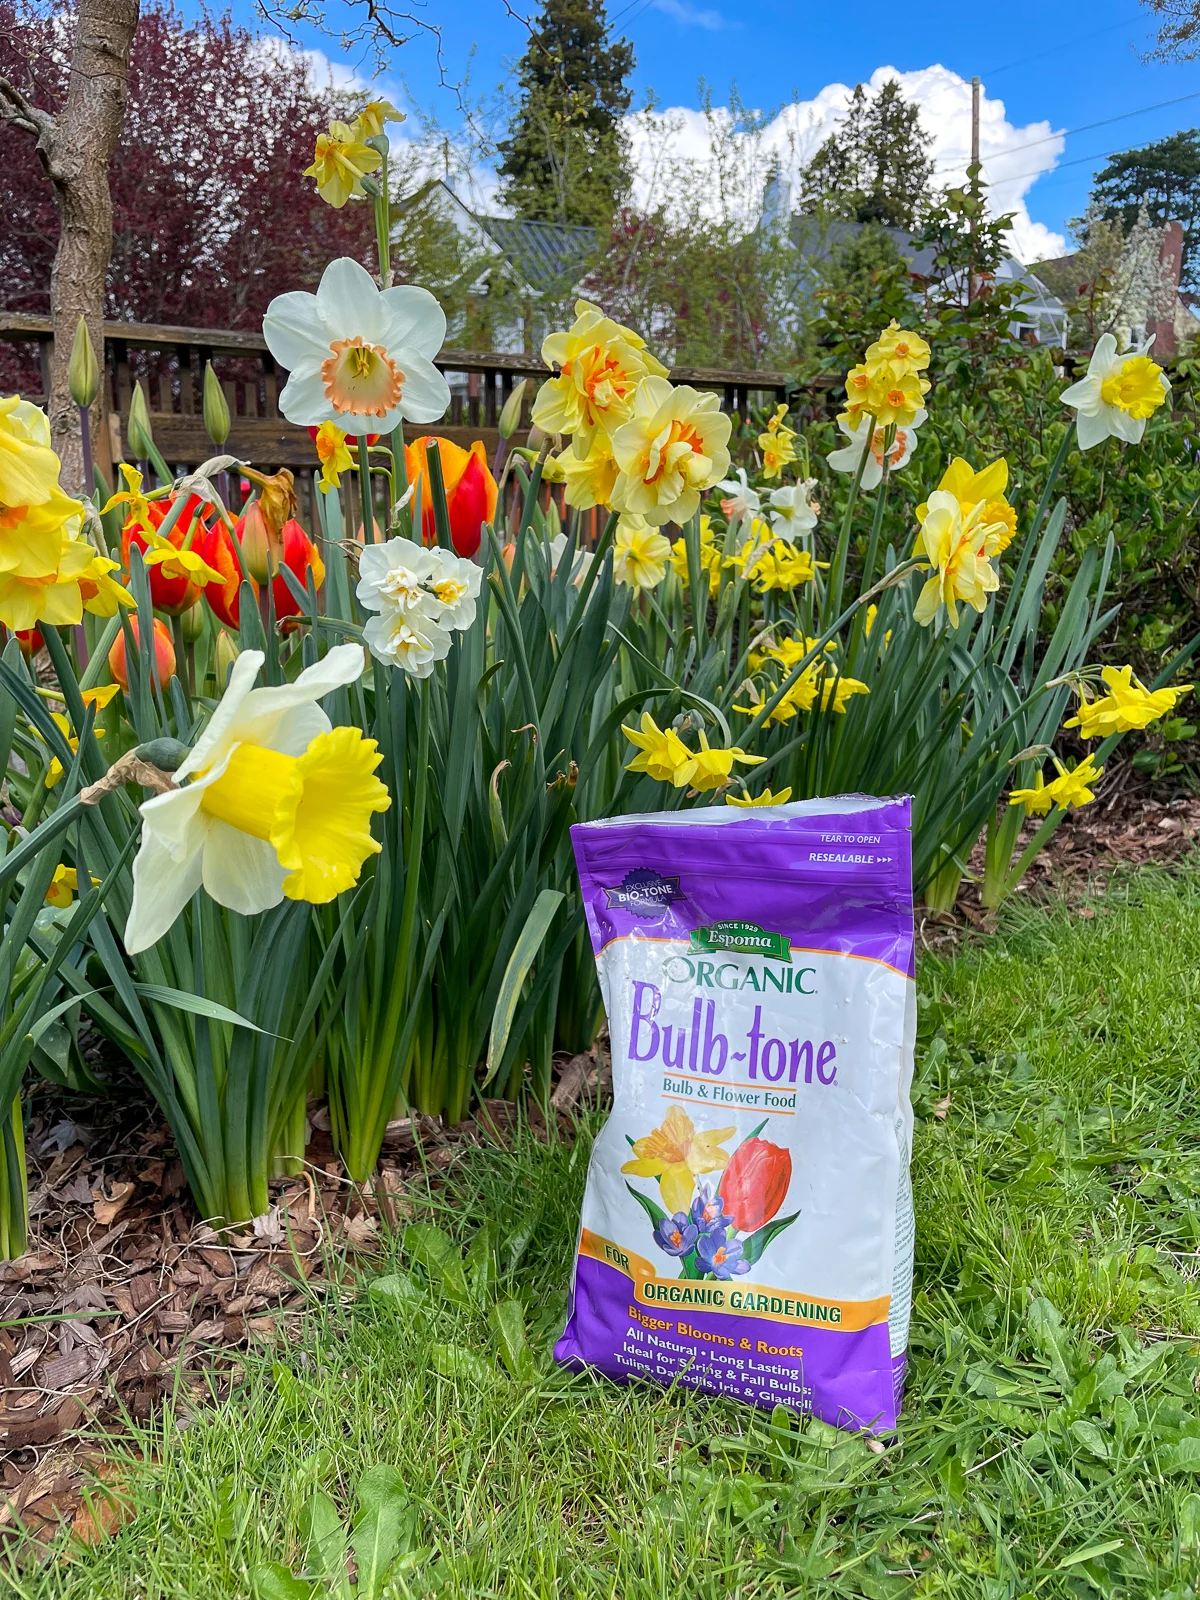
Gently work the fertilizer into the soil around the base of the tulip plants, being careful not to disturb the bulbs. Then, water the area thoroughly to help the fertilizer penetrate the soil and reach the bulbs.
Transplanting tulip bulbs
If you want to move your plants to another location, the best time to transplant your tulip bulbs is after the foliage has died back. I have a few random bulbs that pop up by themselves in the middle of an otherwise empty flower bed, so I'lll be transplanting them to a larger cluster once they'd faded.
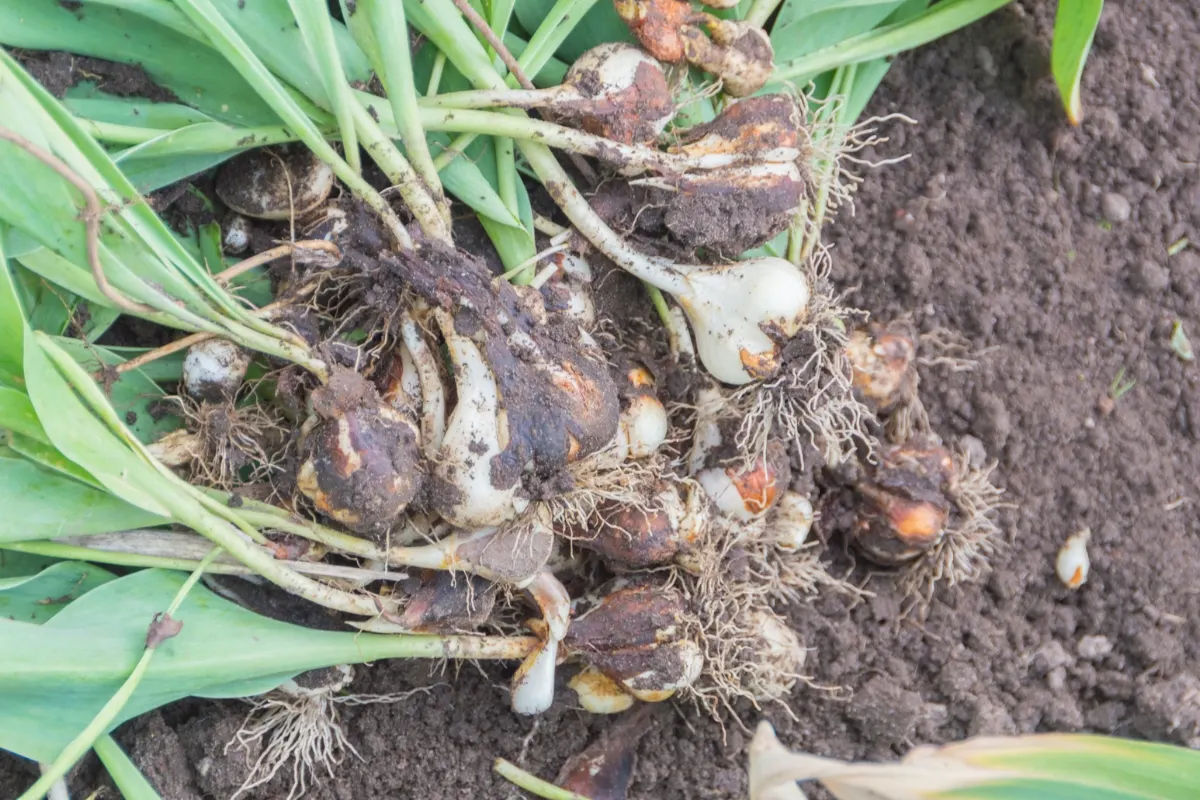
Gently dig around the bulbs, taking care not to damage them, and lift them out of the ground. Then plant them in their new spot at the same depth.
Storing tulip bulbs
If you're not planning to transplant your tulips immediately, you'll need to store them properly. Then you can plant your tulip bulbs in the fall as usual.
First, clean off any excess soil and let them dry for a day or two. Then, place the bulbs in a well-ventilated container, such as a mesh bag or a cardboard box with holes. You can also store them in peat moss, sawdust, or another breathable material, but make sure to check on them over the winter to ensure they haven't sprouted.
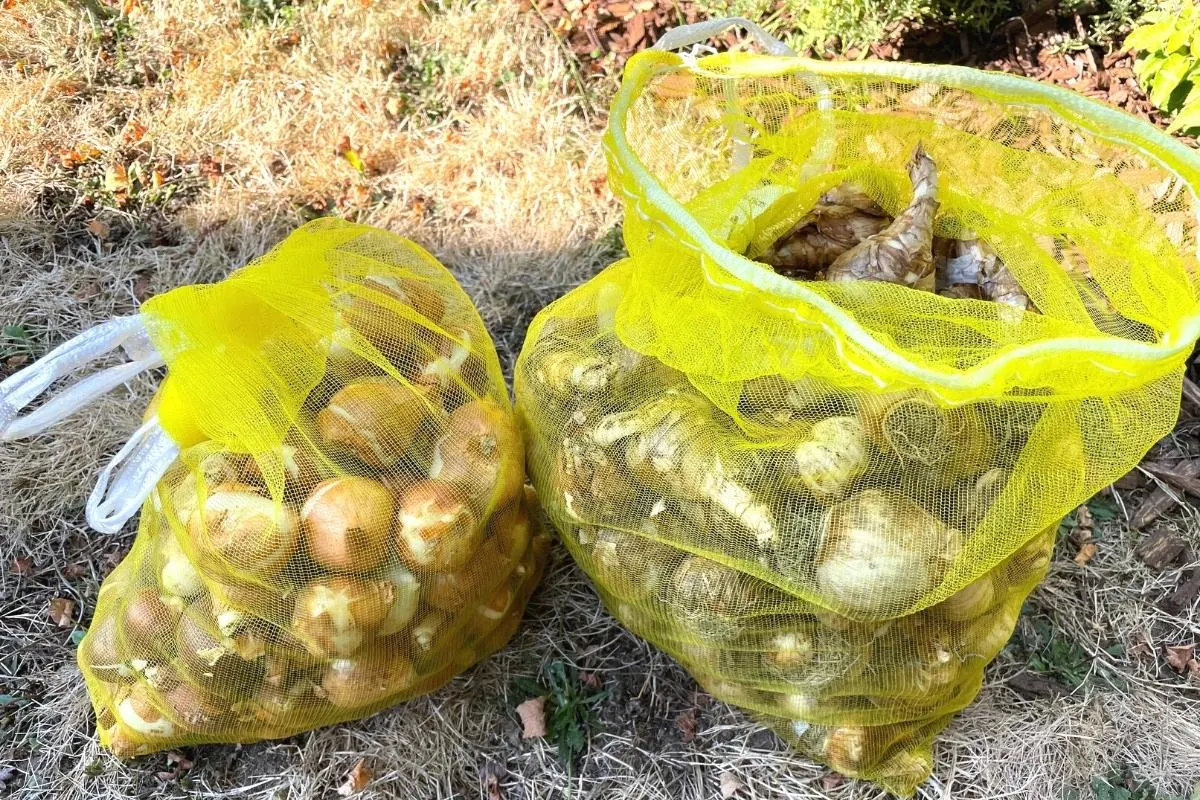
Store the bulbs in a cool, dry place, away from direct sunlight, and maintain a temperature between 35°F and 50°F. Check the bulbs periodically for signs of rot or mold and discard any affected bulbs.
Frequently Asked Questions
Yes, you can leave tulip bulbs in the ground, especially if you live in an area that gets cold enough during the winter for the proper chill time for the bulbs. Just ensure you provide proper post-bloom care, including trimming spent flowers, cutting back foliage, and fertilizing.
For potted tulip bulbs, follow the same post-bloom care steps as you would for in-ground tulips. Once the foliage has died back, you can either transplant the bulbs into the ground or store them in a cool, dry place until the next planting season.
If you cut back tulip foliage before it turns yellow, you may be sacrificing next year's blooms. The bulb will not have enough energy stored to produce a flower, although it may sprout new foliage.
Not all tulips will "naturalize" or "perennialize" and come back year after year, especially fancier varieties with fringed or double blooms. The classic Darwin hybrid tulip is the most reliable perennial bloomer.

