Grow Hummingbird Coral Nymph Salvia from seed and create a vibrant, pollinator-friendly garden oasis with this comprehensive guide.
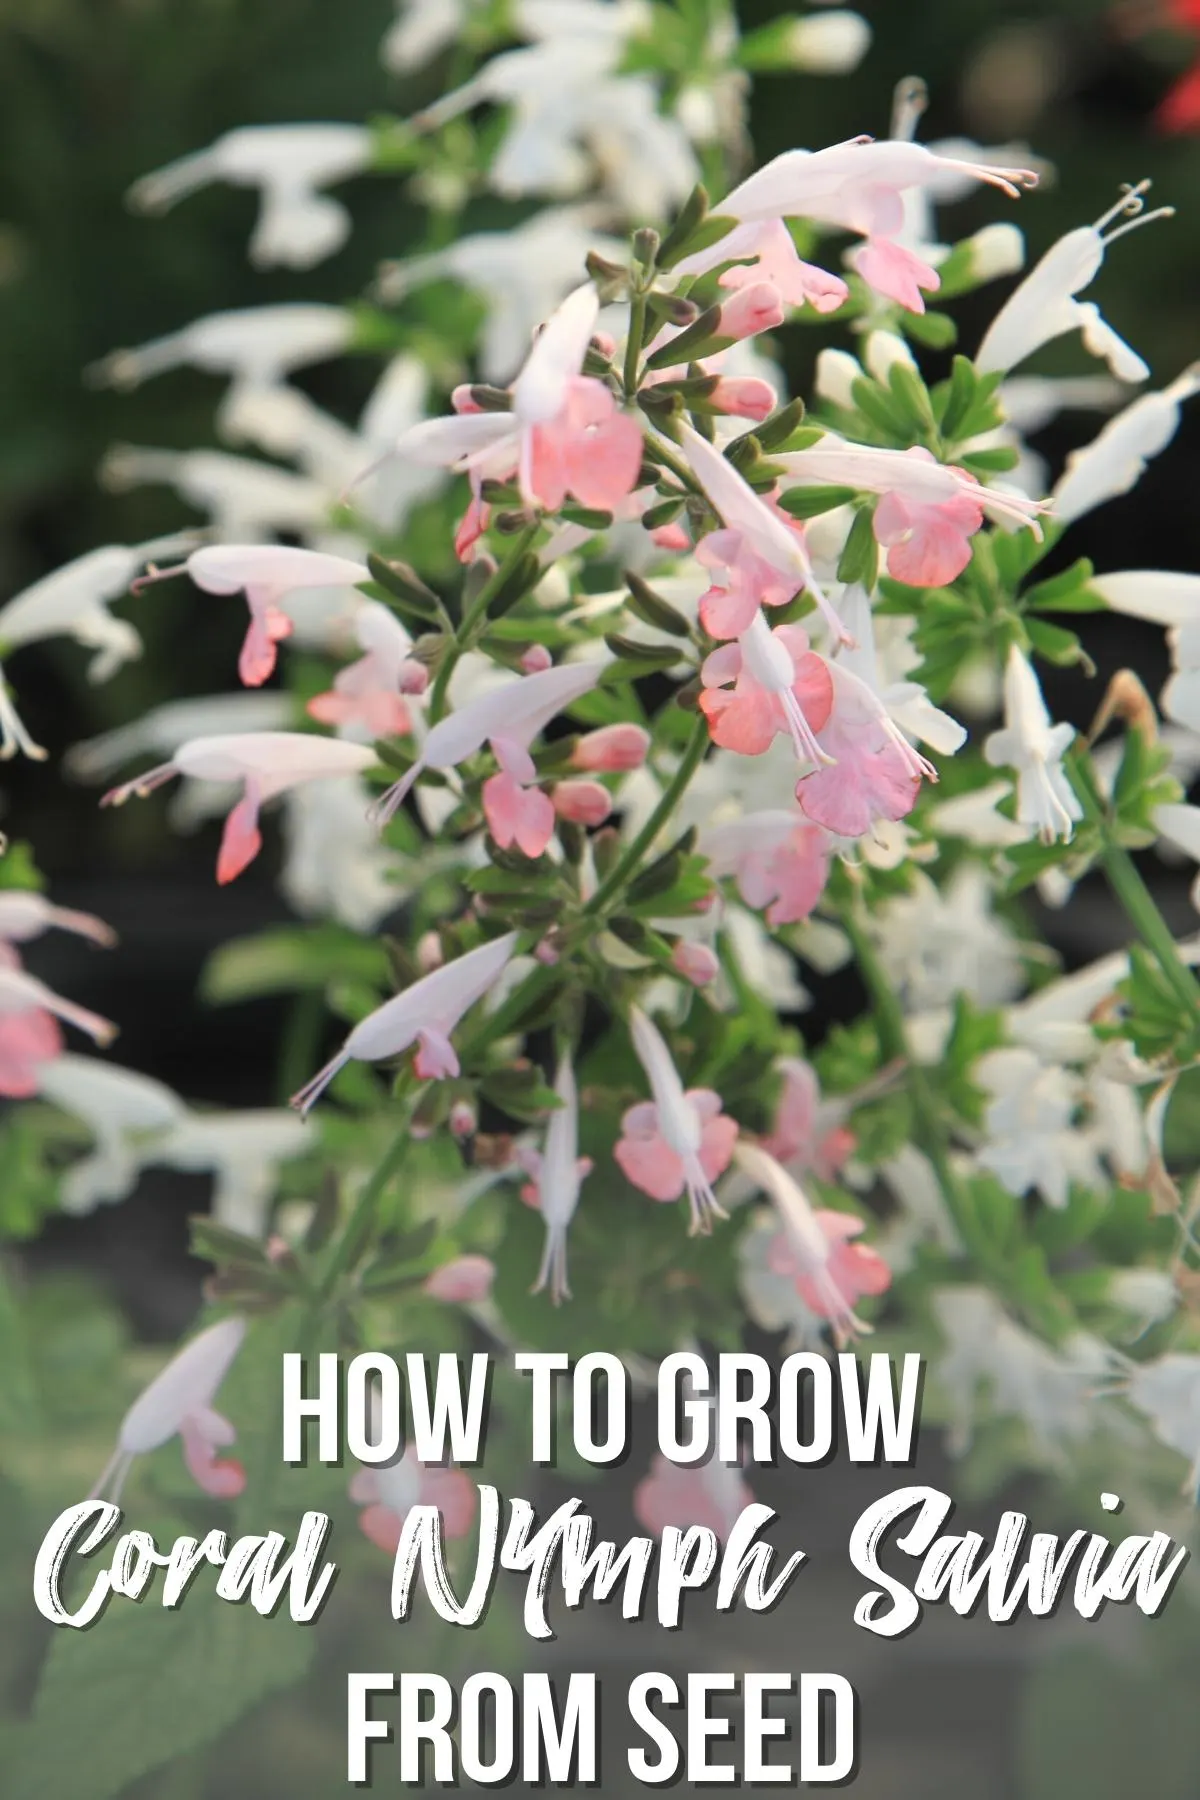
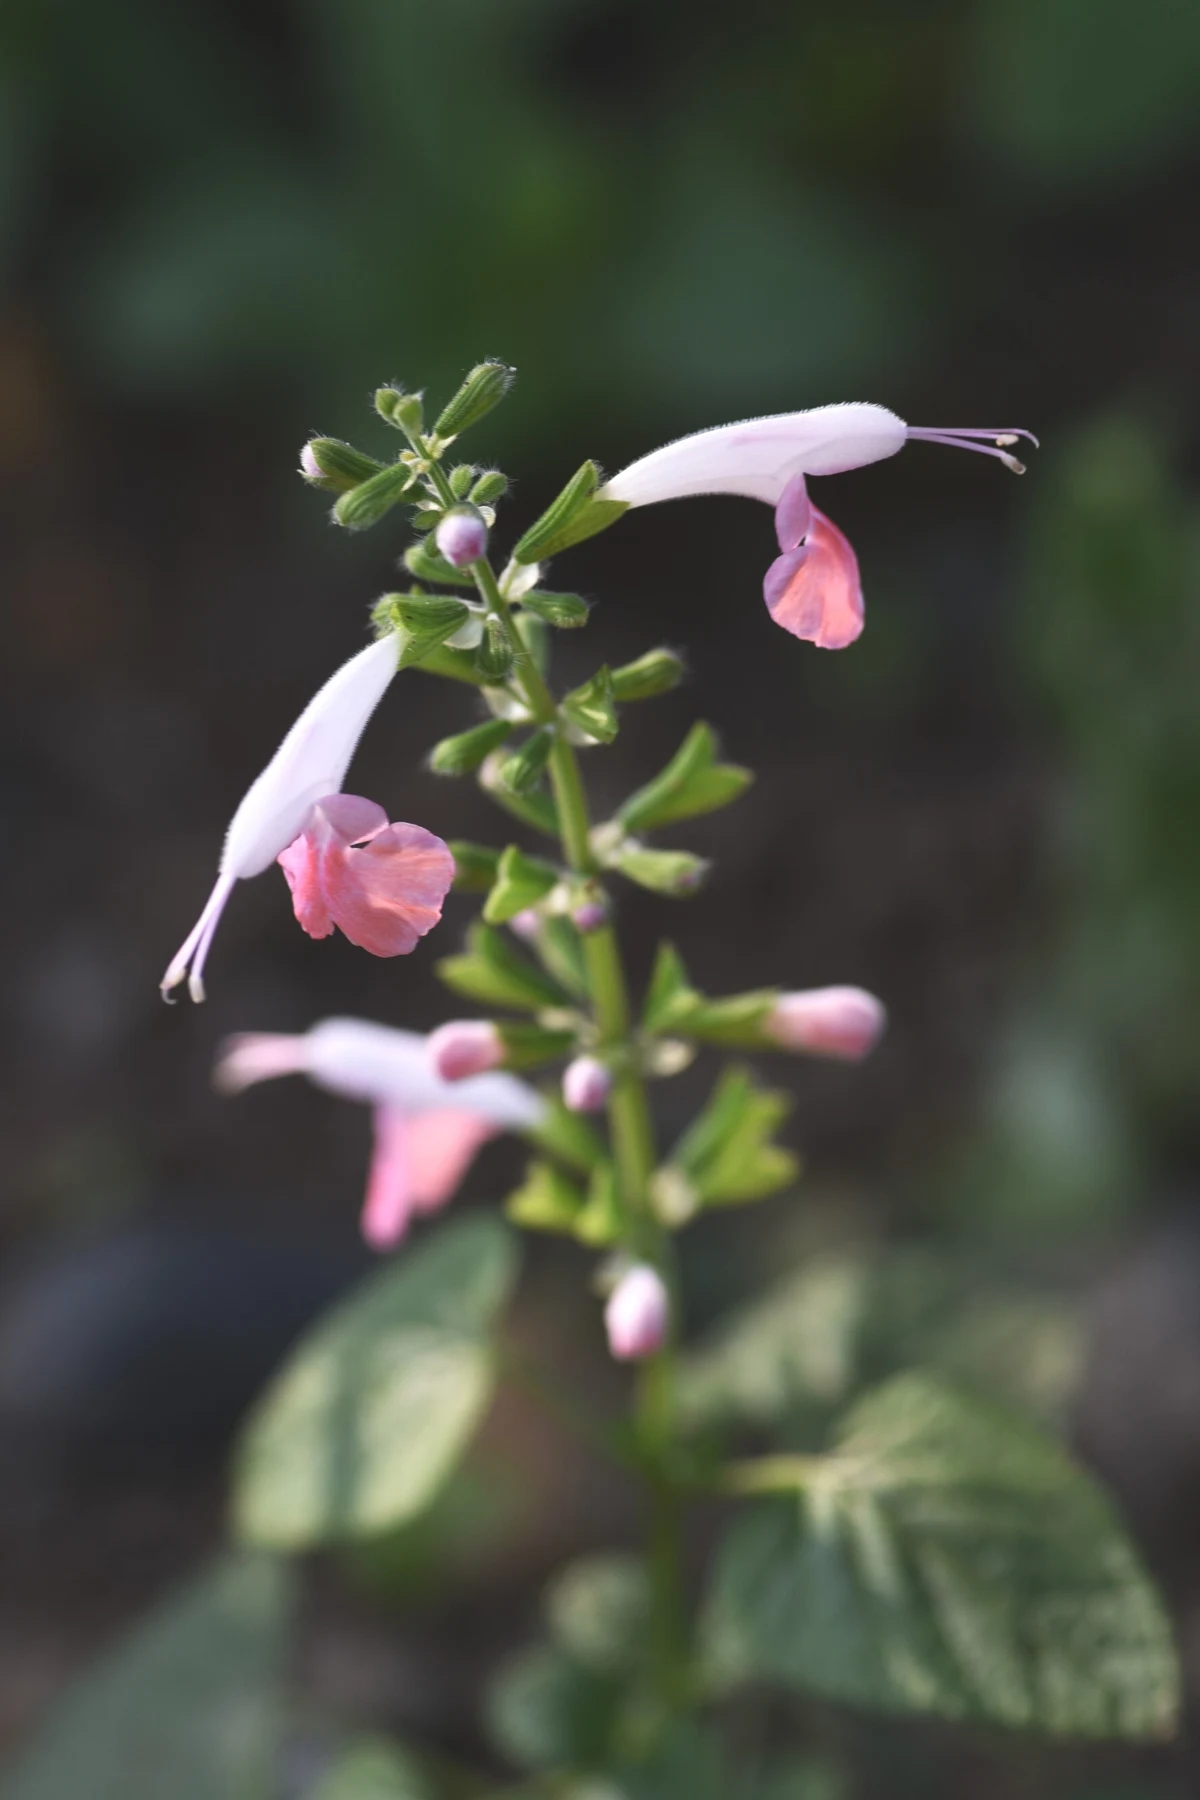
Coral Nymph Salvia is a gorgeous tubular pink and white bicolor flower that can attract hummingbirds and other pollinators to your garden. Their long blooming period, drought-tolerance, and low maintenance needs make them a valuable addition to any landscape.
By growing coral nymph salvia from seed, you can ensure that you have a continuous supply of these vibrant, pollinator-friendly flowers every year. This type of salvia is usually treated as an annual, although it may self-seed and pop up again the following year.
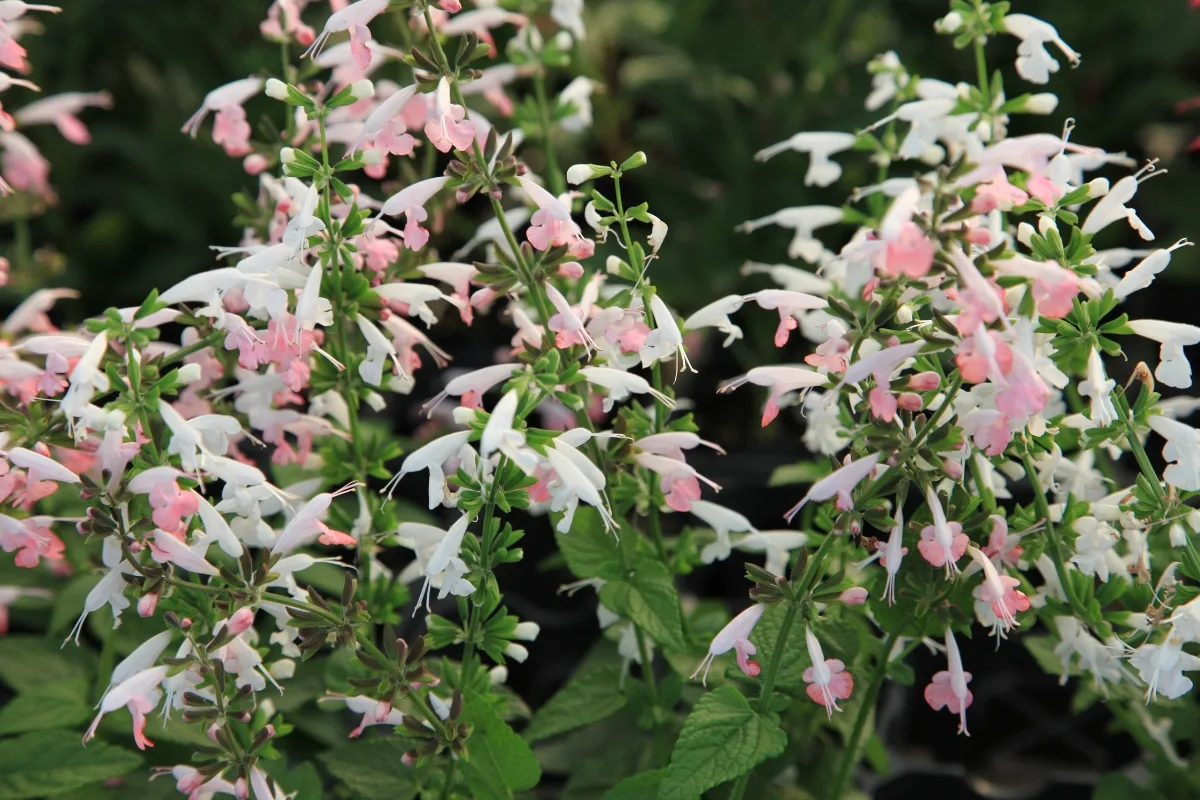
With a little guidance, patience, and care, you can cultivate a beautiful drift of coral nymph salvia that will attract hummingbirds for months to come. Here's how!
This post contains affiliate links for your convenience. Purchases made through these links may earn me a small commission at no additional cost to you.
Germinating Coral Nymph Salvia Seeds
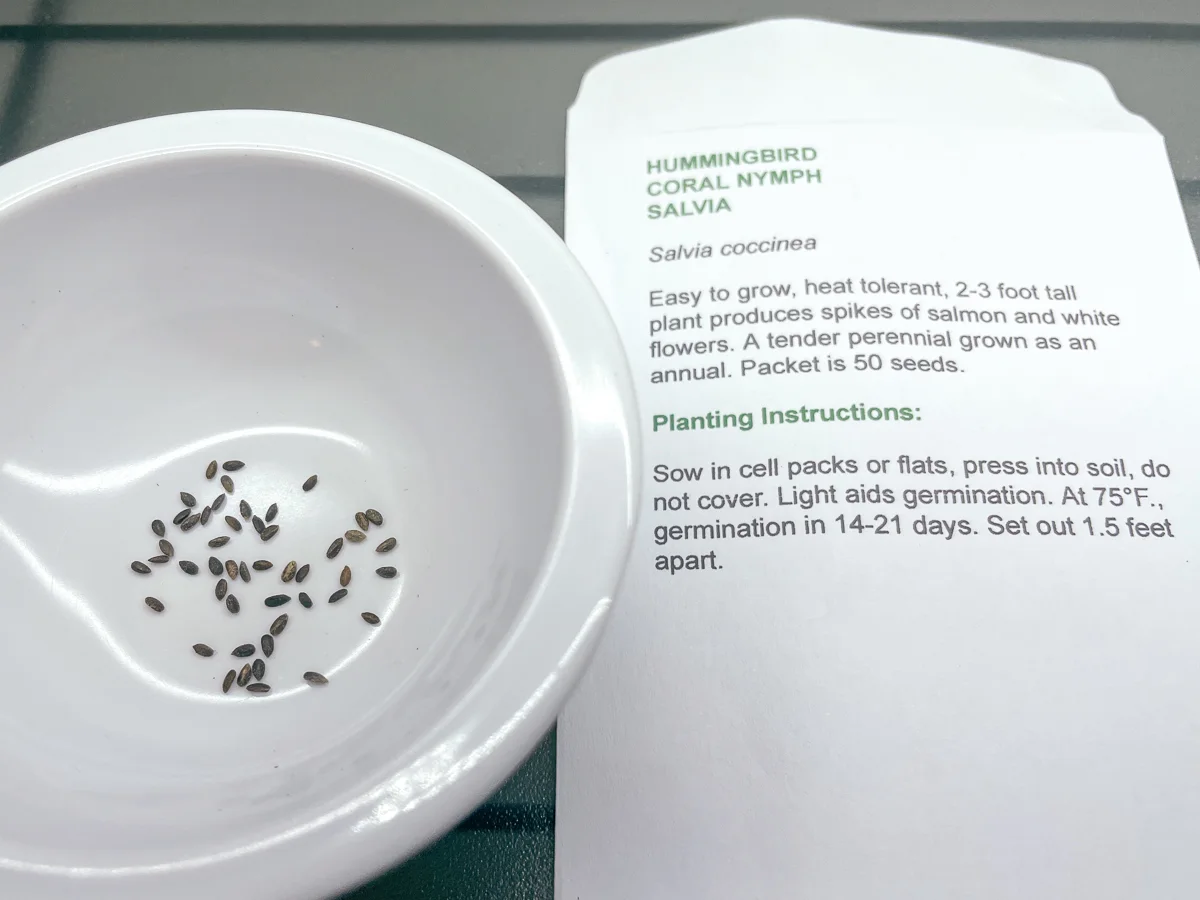
I bought these Hummingbird Coral Nymph Salvia seeds from Swallowtail Garden Seeds. Here's what they look like:
Start your salvia seeds 4-6 weeks before your last frost date to give your seedlings plenty of time to put on growth before you plant them in the garden.
Planting the seeds
Prepare your seed starting mix by thoroughly moistening it with water, ensuring it is damp but not soaking wet. Fill your clean and sterilized seed starting trays or pots with the mix, leaving about a quarter-inch of space from the top.
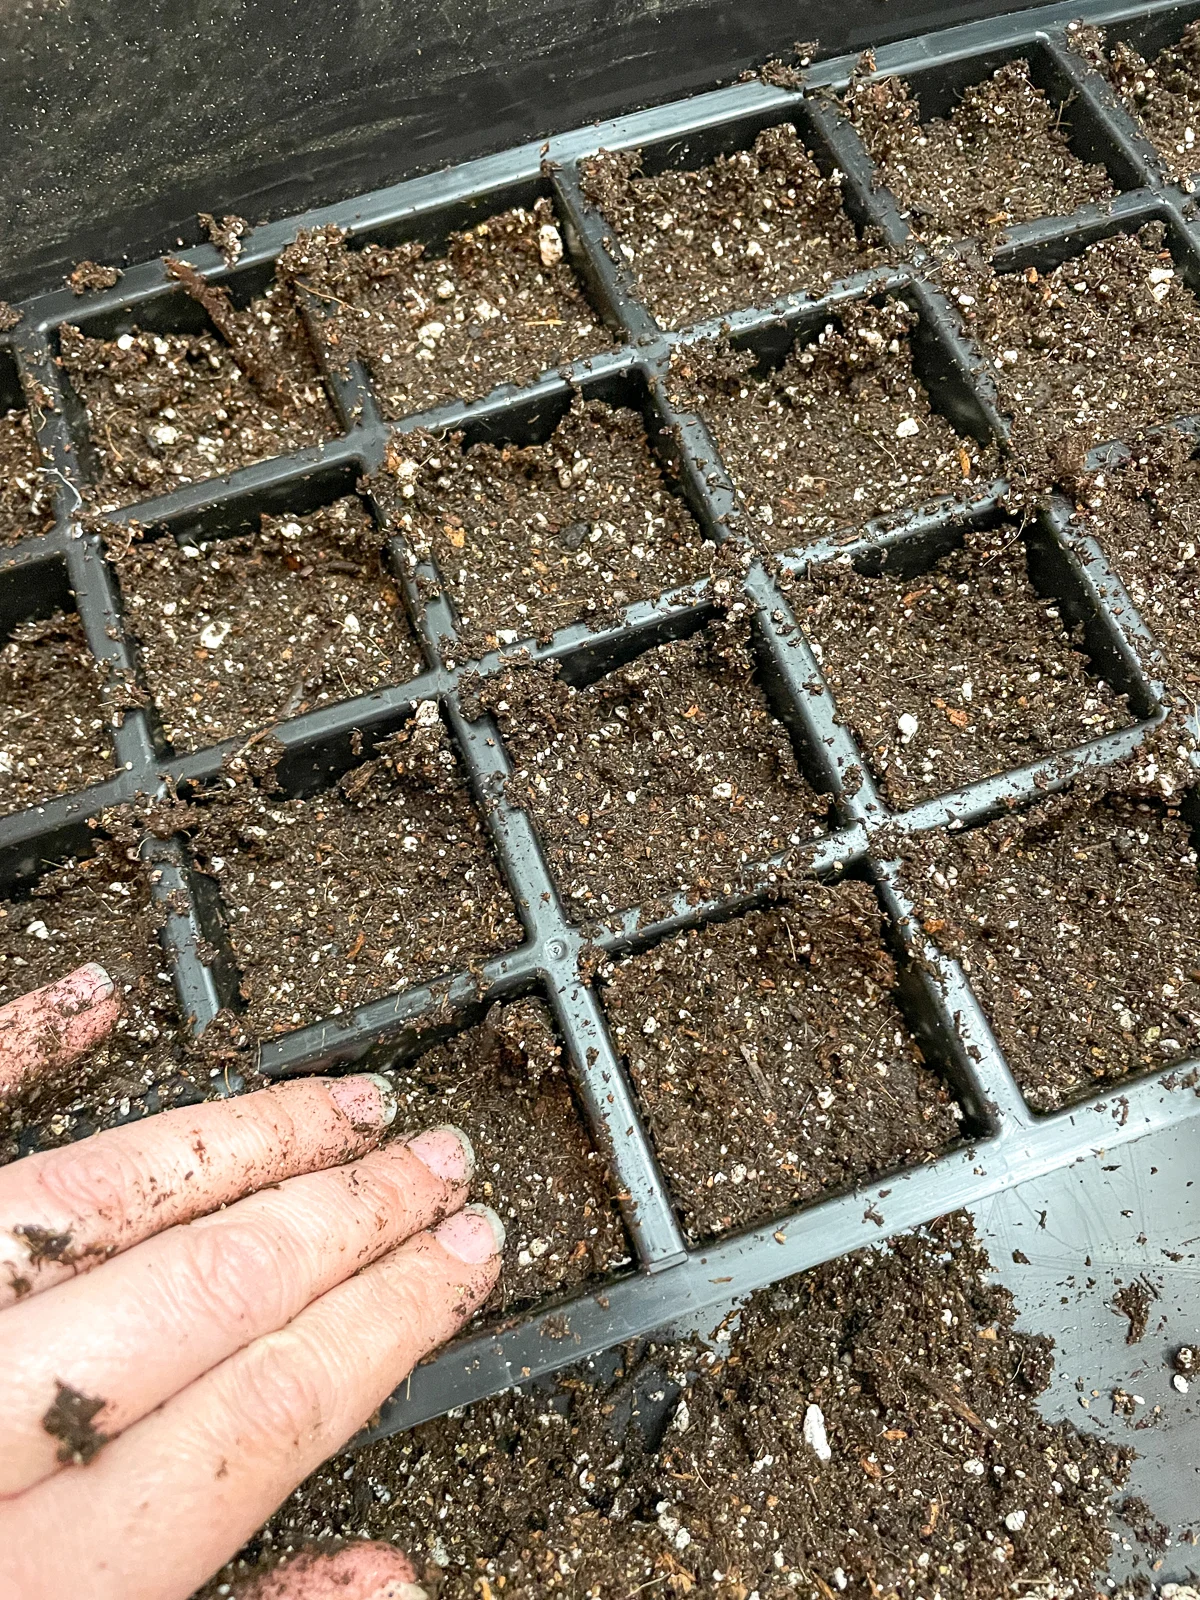
Place the seeds on top of the soil and gently press them down to ensure good contact. These seeds need light to germinate, so don't cover them with soil. Don't forget to label each container with the plant name and date of sowing to keep track of your progress.
Temperature, light and moisture requirements
These seeds prefer a consistently warm temperature, ideally between 70-75°F (21-24°C). A seedling heat mat can help maintain this temperature, especially in cooler conditions.
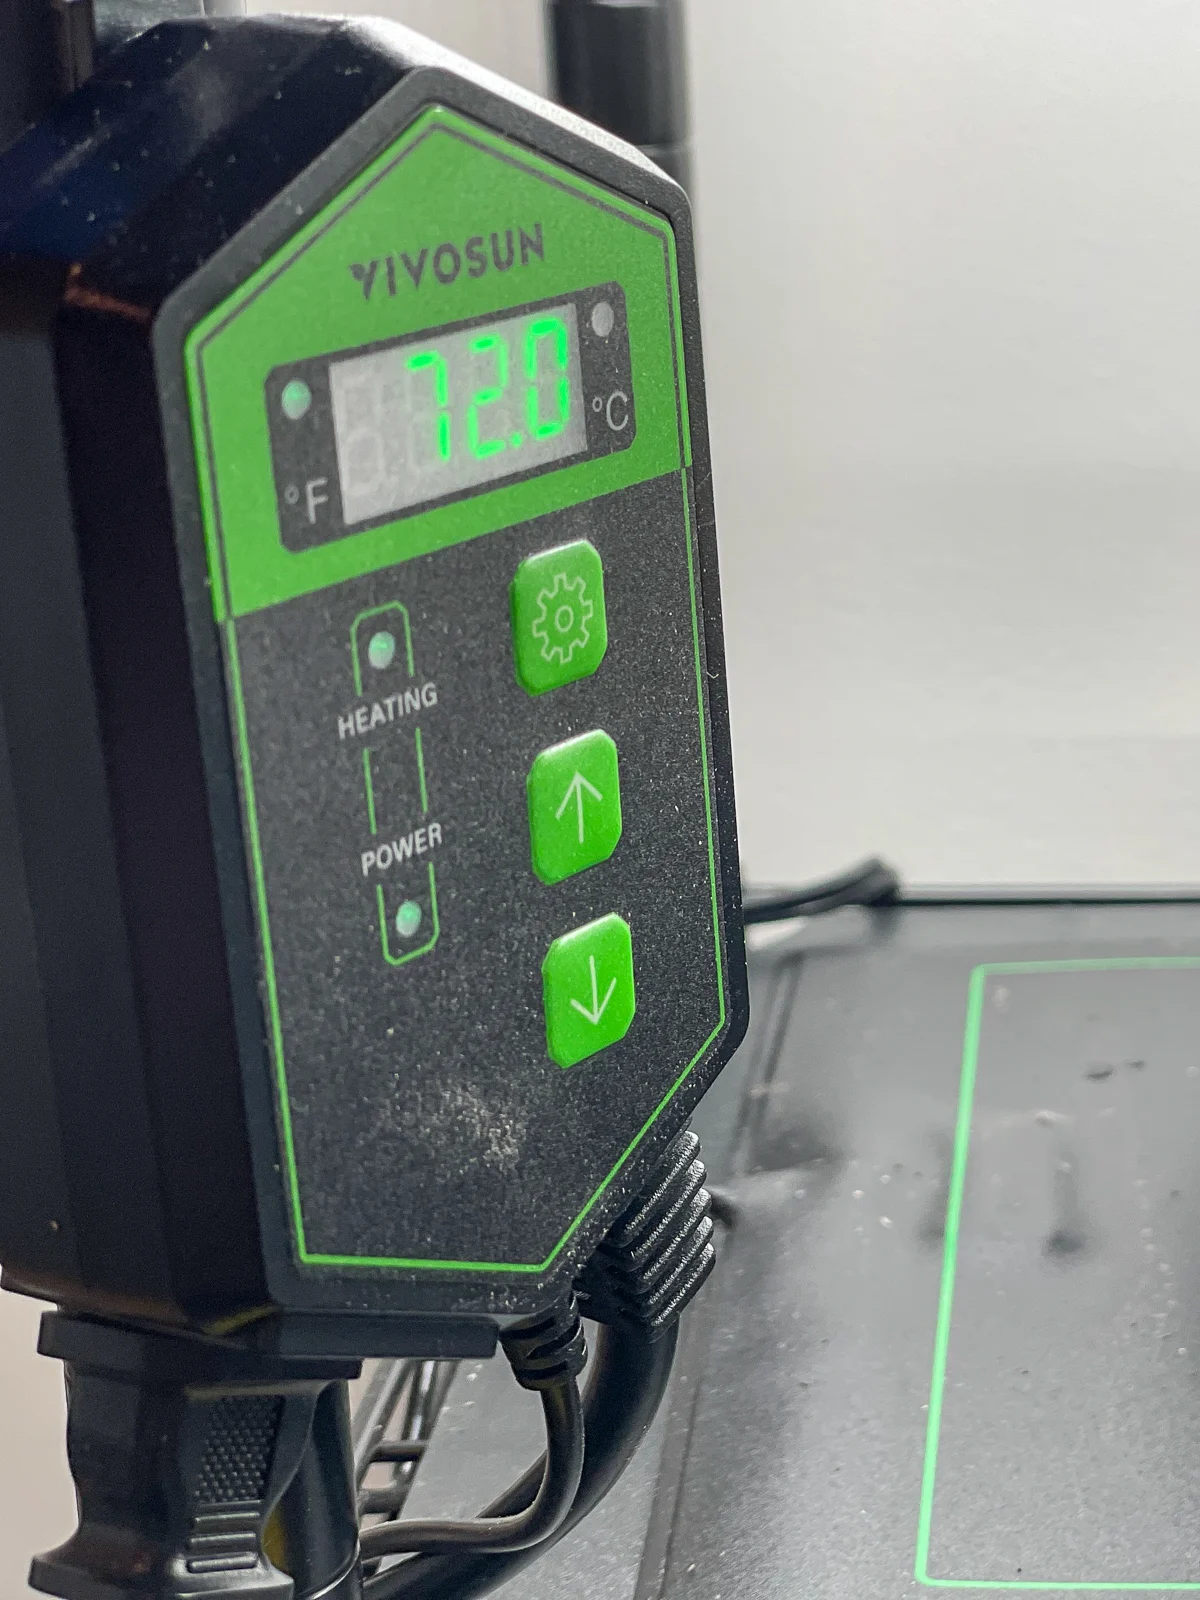
Place the seed tray under grow lights or in a bright space such as a greenhouse. My grow lights are on a timer that stays on for 16 hours a day, then turns off at night.
Maintaining consistent moisture is also vital. Use a spray bottle to mist the surface once a day. I like to use these self-watering trays that wick moisture from the reservoir up to the soil so the seedlings don't dry out.
Caring for Coral Nymph Salvia Seedlings
Although the seed packet said that germination will occur in 14-21 days, mine started popping up in just four days! Within two weeks, my salvia seedlings developed their first set of true leaves and were looking great!
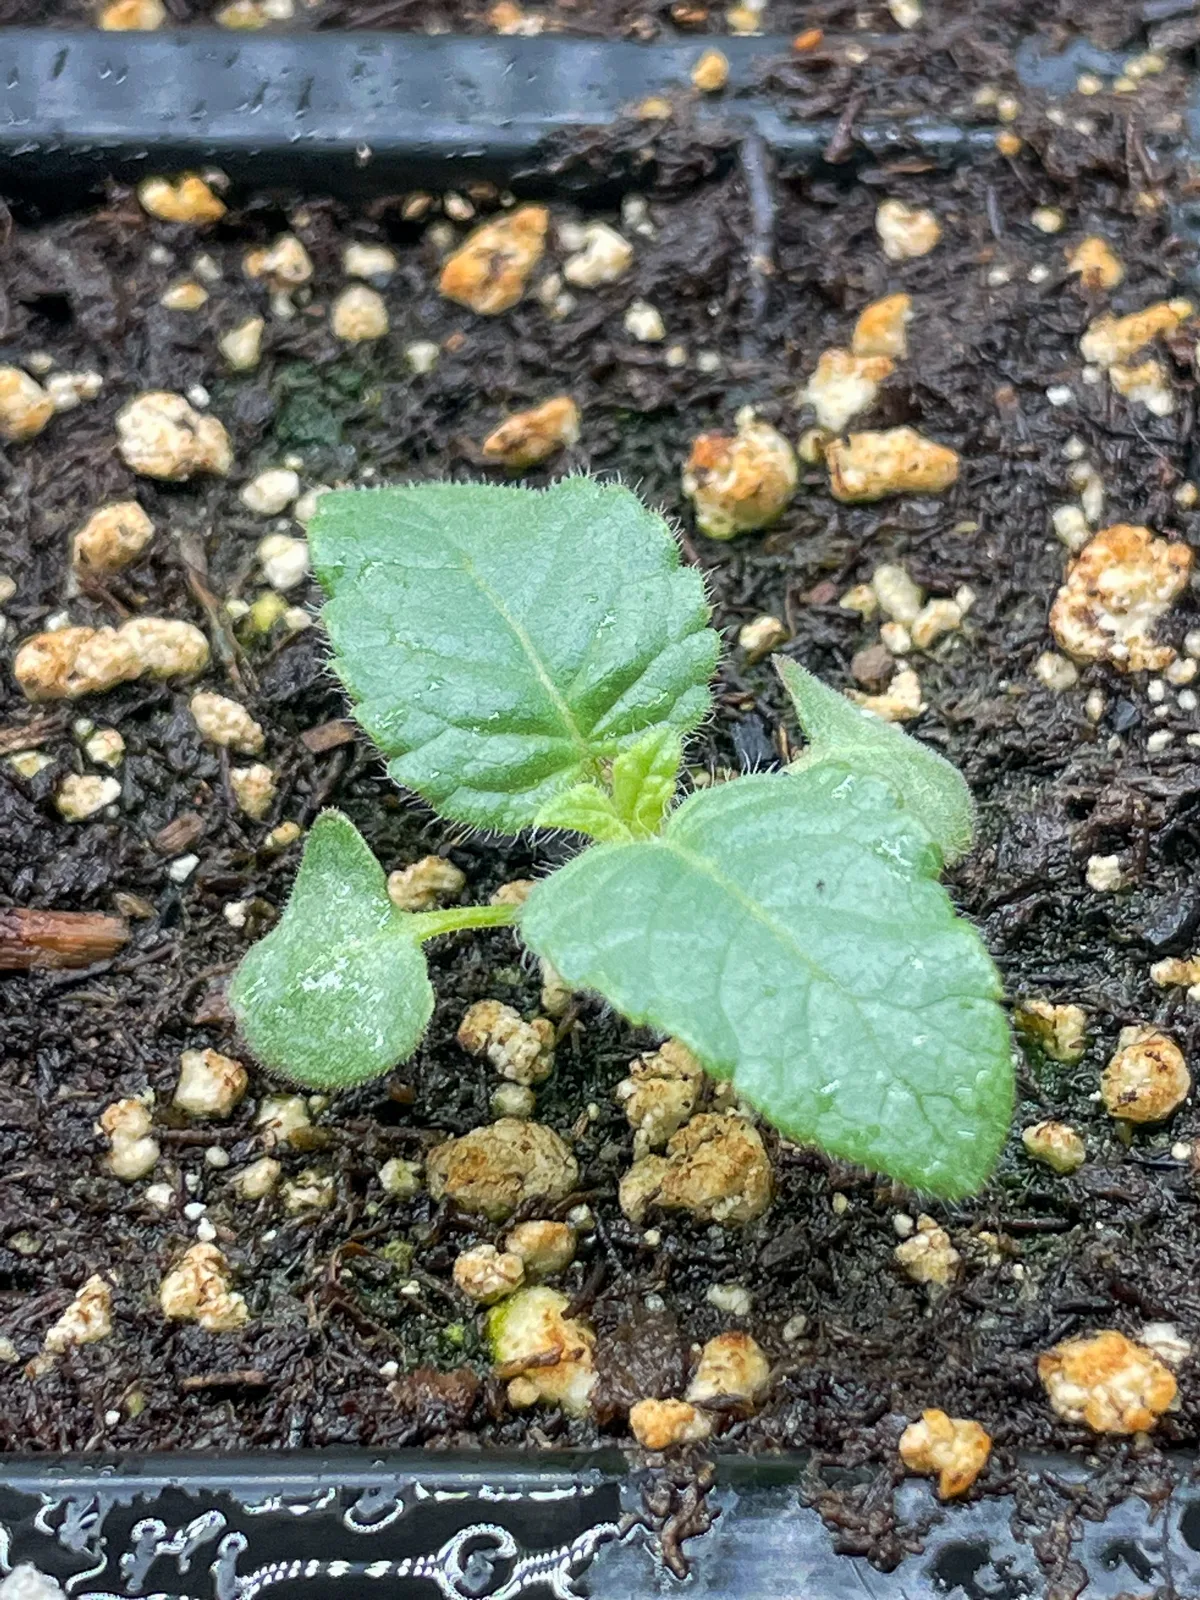
Good air circulation will help prevent fungal issues and produce stronger stems, so consider placing a small fan nearby to keep the air moving. I use these clip on fans that are attached to each shelf of my grow rack.
As your seedlings emerge, you may need to thin them out to ensure each plant has enough space to grow. Select the strongest-looking seedlings and carefully remove weaker ones, taking care not to disturb the remaining plants' roots. If there are empty cells in the seed tray where nothing germinated, I'll move extra seedlings into those spaces.
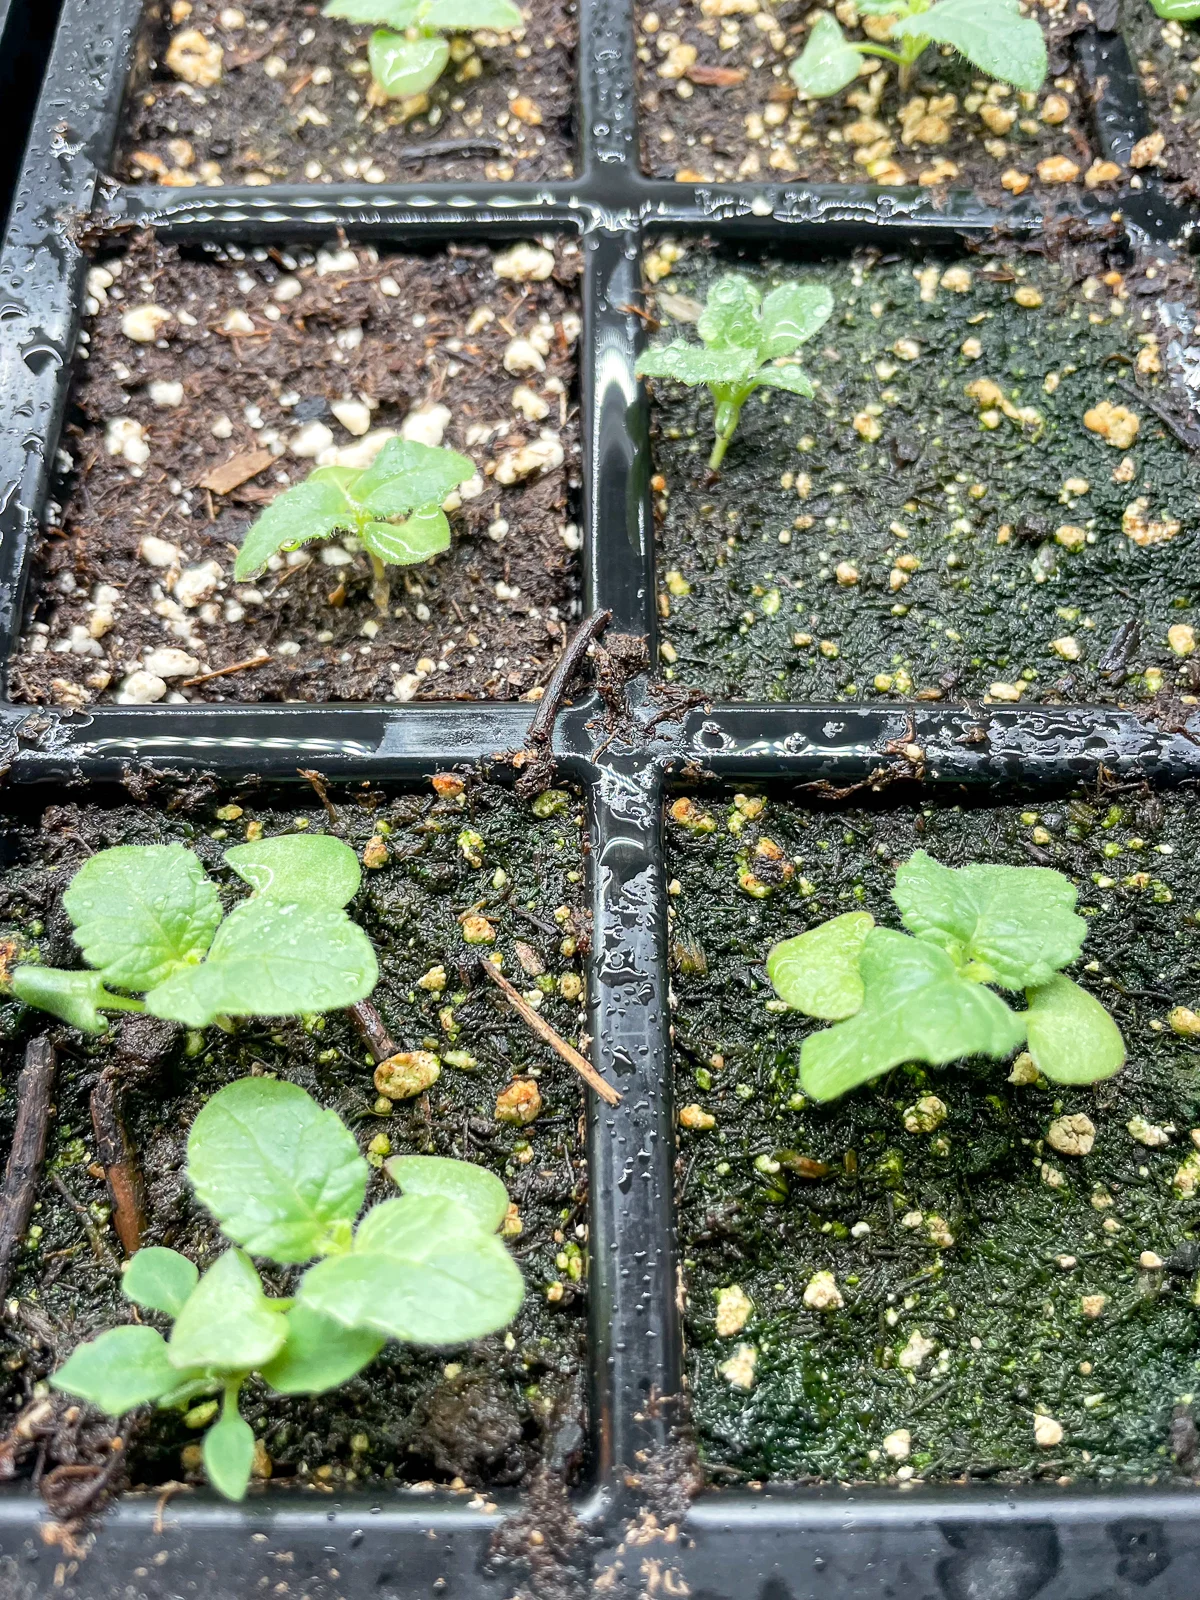
I fertilize all my seedlings weekly with a half dose of this fertilizer in a spray bottle. Seed starting mix doesn't have any nutrients in the soil, so you'll need to provide food for your seedlings or they'll start to turn yellow or stop growing altogether.
Planting Coral Nymph Salvia in the Garden
Once your overnight temperatures are at least 50 degrees consistently, you can start preparing your seedlings for planting in the garden or a container.
Hardening off
It's essential to acclimate your seedlings to outdoor conditions through a process called hardening off. Gradually expose them to sunlight, wind, and temperature fluctuations over the course of 7-10 days, increasing the duration of exposure each day.
While it may be tempting to skip this step and put your seedlings straight into the ground, don't risk it! They will most likely suffer transplant shock and die within a few days of planting them in the cold ground.
Prepare the garden bed or container
While your seedlings are hardening off, you can prepare the garden bed or container you'll be planting them in. Salvia requires full sun, so make sure that the spot you choose gets at least 8 hours or more a day.
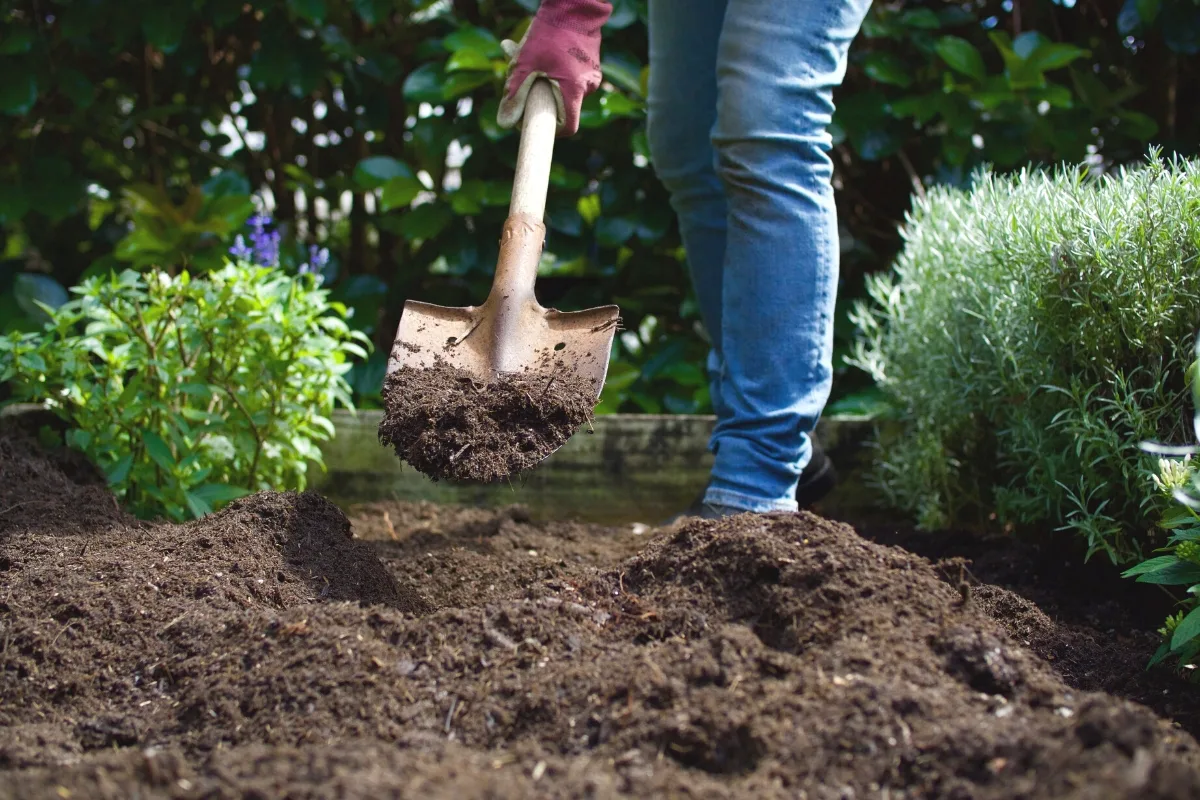
Loosen the soil, mix in organic matter and compost, and ensure proper spacing to allow each plant room to grow. If you're planting your salvia in the landscape, a distance of 12 to 18 inches apart should suffice. For containers, you can plant one salvia in an 8" pot and one additional seedling for every additional four inches in diameter.
Transplant your salvia seedlings
When it's time to transplant, handle your seedlings gently, taking care not to damage the fragile root systems. Always grab seedlings by a leaf, not the stem! The plant can regrow a leaf, but if the stem breaks, it's done.
Plant them at the same depth as they were in the seed trays or pots, water them thoroughly, and apply a balanced, slow-release fertilizer to give them a great start in their new environment.
Hummingbird Coral Nymph Salvia Care
Once your seedlings are settled in their new garden home, ongoing care and maintenance will ensure their continued success.
Regular watering is crucial, but take care not to overwater. Allow the soil to dry out slightly between waterings to prevent root rot. Mulch will help retain moisture, as well as suppress weeds.
Prune and deadhead spent flowers to encourage bushier growth and prolong the blooming period. If you notice that the blooms are starting to fizzle out, cut the entire plant down by half to start a new flush of growth.
By providing consistent care and attention, you'll cultivate a lush, vibrant garden of Coral Nymph Salvia, creating an attractive habitat for hummingbirds and other pollinators. Happy growing!
Check out these other flowers you can start from seed!

