If you reuse seed starting trays from year to year, you need to disinfect them first! Here's how to clean and sanitize seed trays easily!
Spring is the busiest time in the garden, with seedlings to plant, containers to fill and weeds to pull. After I get my starts in the ground, I usually just stack all the trays on a shelf and forget about them until next year.
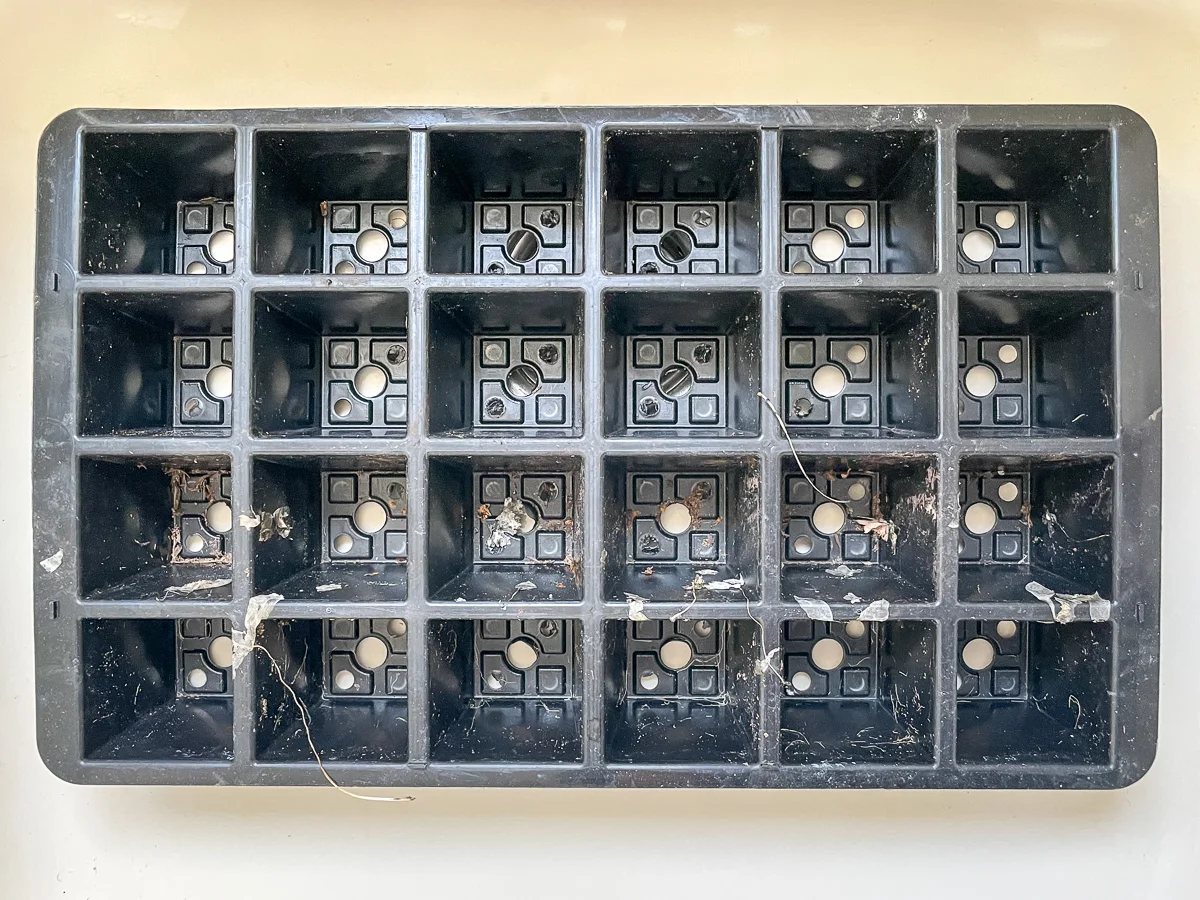
But when it comes time to start new seeds in late winter, all my trays are covered in gunk! They also could be harboring bacteria, fungus and viruses that could kill my new baby plants!

Before you start any seeds in a previously used tray, you need to disinfect it first! While some people say it's unnecessary, there's nothing more heartbreaking than discovering your seedlings have died unexpectedly from dampening off or other diseases. I'd rather be safe than sorry!
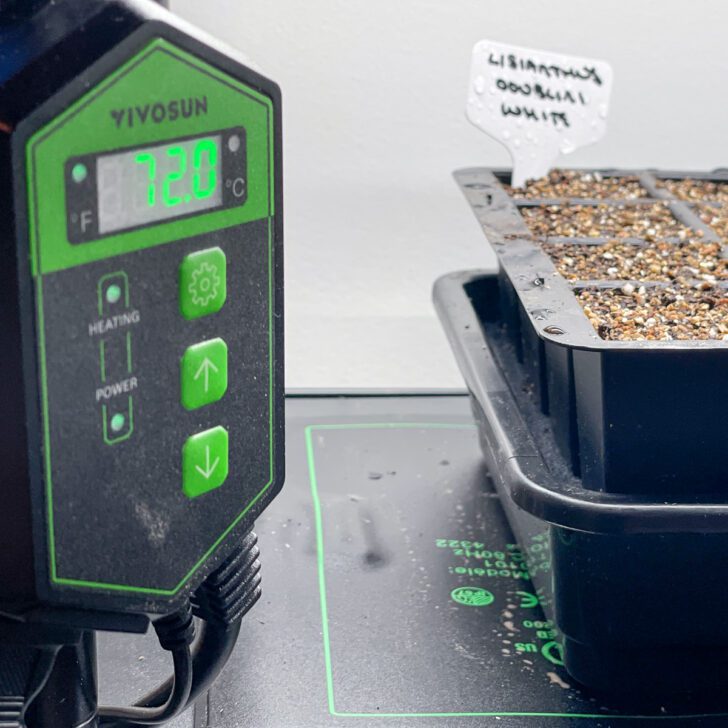
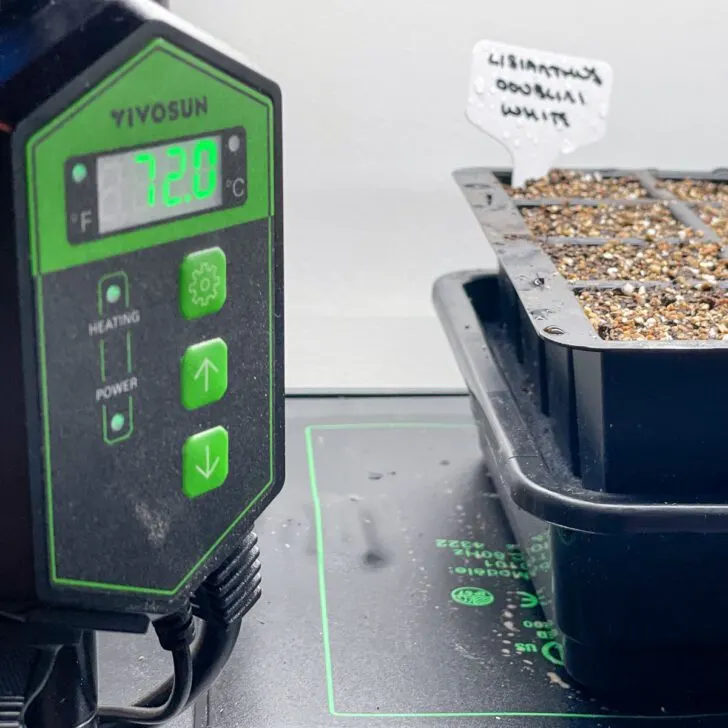
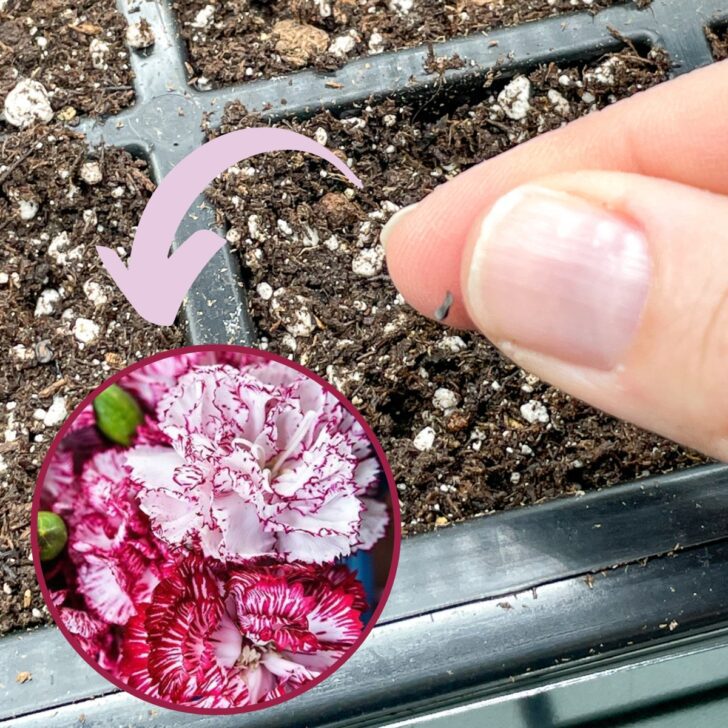
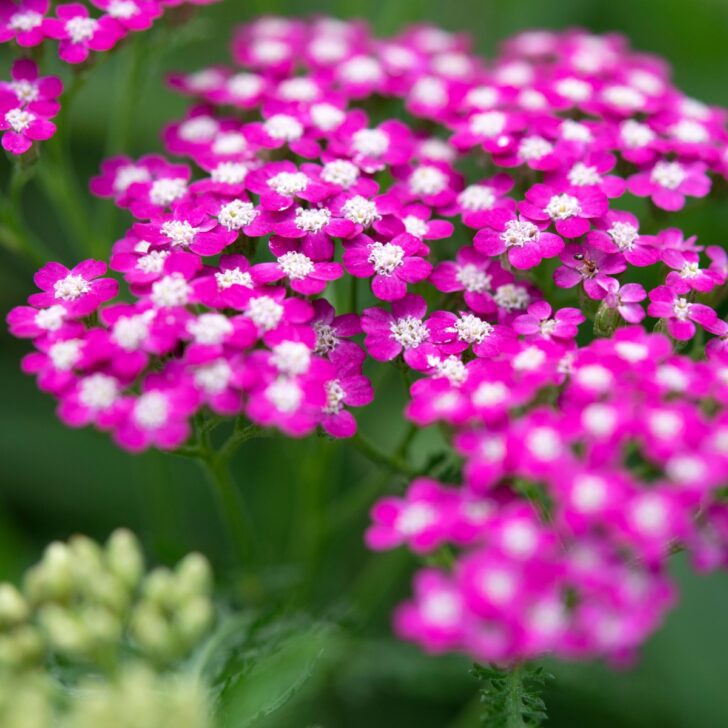
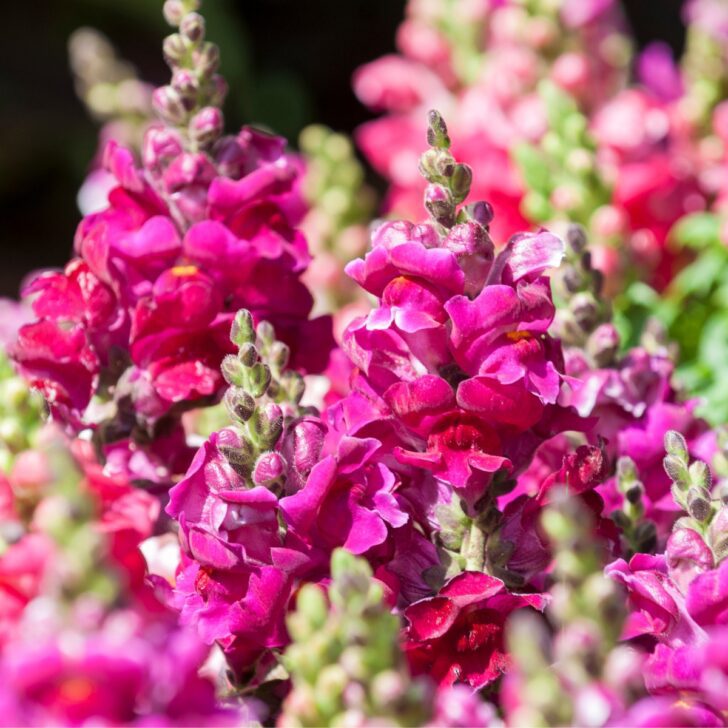
I recently started growing lisianthus, yarrow, dianthus and snapdragons from seed in brand new trays, which don't need to be sanitized. But now it's eight weeks before my last frost date, and I have a huge stack of seed packets to plant, so it's time to clean and sanitize those old seed trays!
This post contains affiliate links for your convenience. Purchases made through these links may earn me a small commission at no additional cost to you.
Wash the seed trays with dish soap
Brush off any leaves or loose dirt, then give your seed trays a good rinse with a hose or the sprayer in your kitchen sink. Flip it over and spray through each hole to remove the gunk stuck to the bottom.

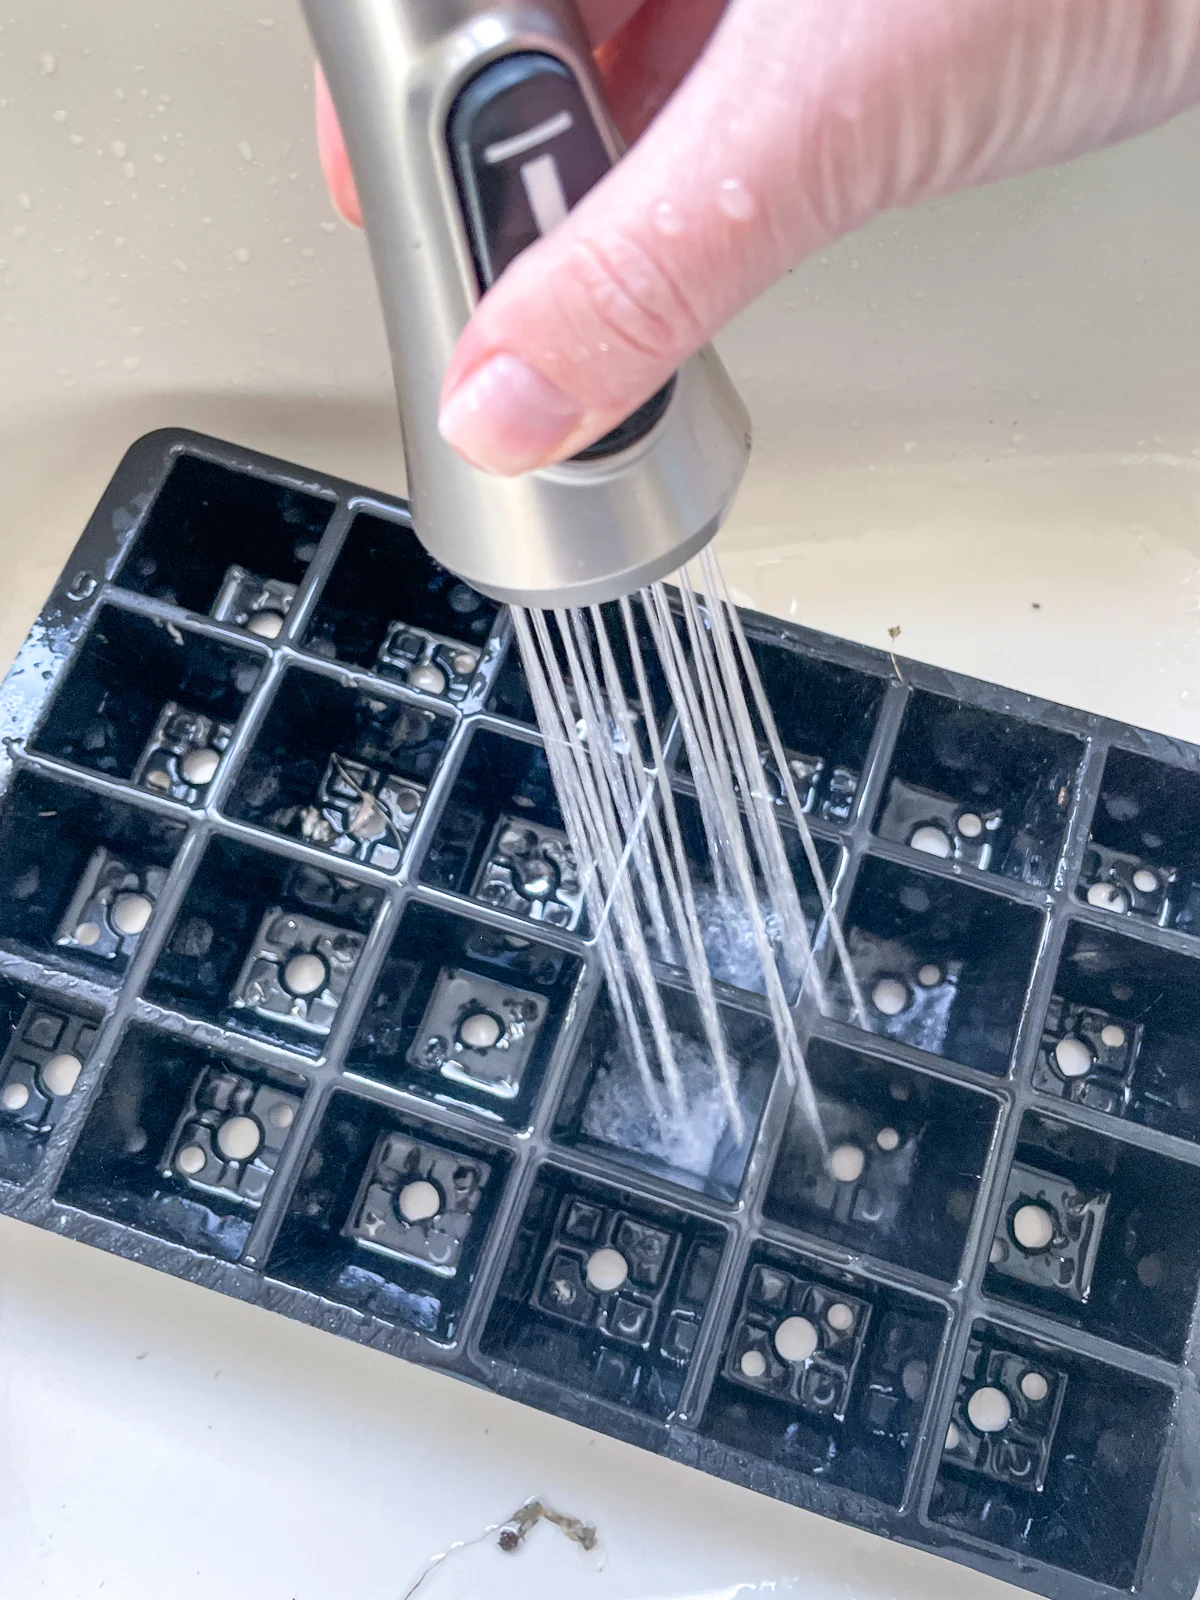
This dislodges most of the dirt, but I'll usually add a squirt of Dawn dish soap to a bottle brush and swish it in each cell to clean out the rest. Make sure to rinse out the soap thoroughly!
How to sterilize seed trays
Now that your seed trays are clean, it's time to sterilize them. But what should you use?
I've seen some tutorials that recommend using bleach, but I don't want my kitchen smelling like a swimming pool! Plus, if you're growing edible plants in your trays, do you really want those chemicals in your food?
Use food grade hydrogen peroxide
Standard hydrogen peroxide (H202) contains chemicals that extends shelf life, but isn't great for plants. Instead, look for food safe hydrogen peroxide, which doesn't have anything added. Food safe hydrogen peroxide is approved for preventing and controlling microbes that can cause diseases in crops, and it breaks down naturally into hydrogen and oxygen in the environment.
I fill my kitchen sink with warm water, then pour in about a cup of food safe hydrogen peroxide. Stack the seed trays so that they sit on top of each other instead of nesting together, so all the surfaces can soak properly.


Allow your seed trays to soak in the sanitizing solution for 10 minutes, then rinse them in clean water.
You could also mix up a 10:1 ratio of hydrogen peroxide and water in a spray bottle and mist it over your seed trays. This works best if you have a lot of trays to disinfect because you can do it outside, then hose them all off.
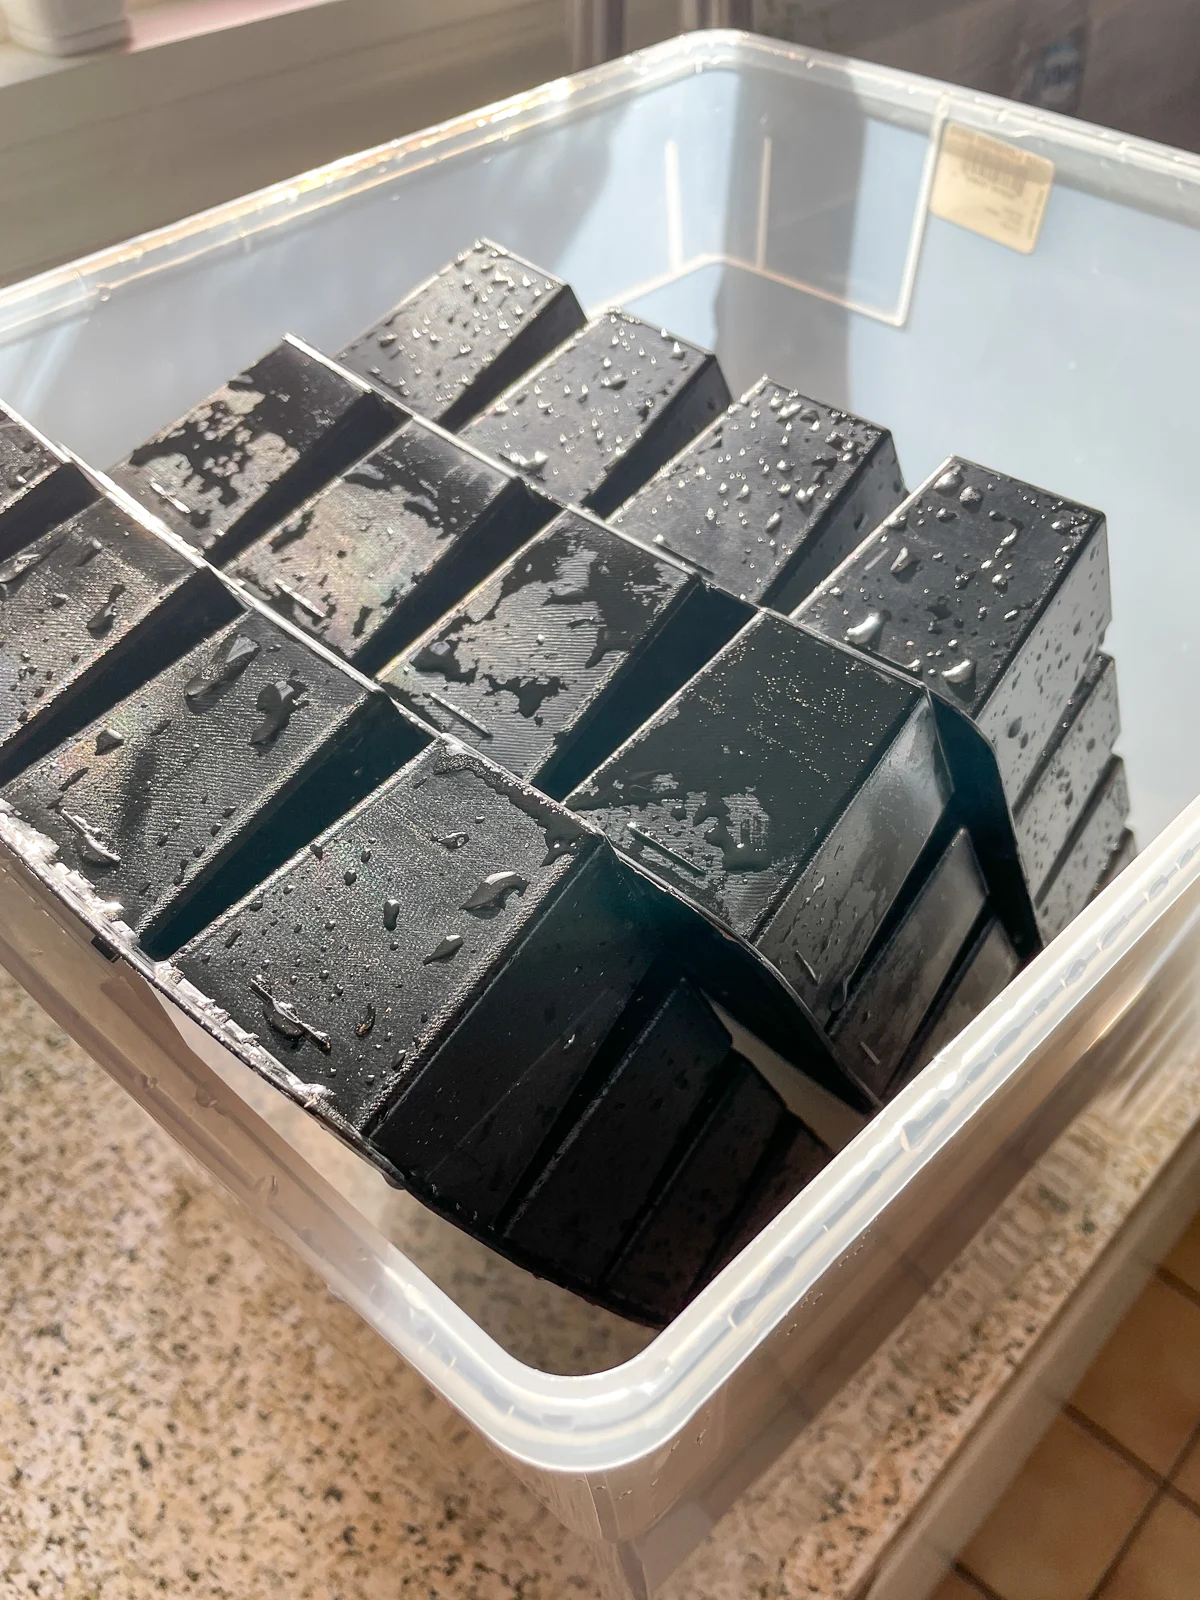
Let the seed trays air dry
After each seed tray has been thoroughly rinsed, allow them to air dry. I just pop mine in a plastic bin at an angle so they can drip dry on the kitchen counter. But if your weather is nice, you can leave them outside to dry in the sun.

Now your seed trays are clean and sanitized, and ready for a new crop of seedlings! I'll repeat the same disinfecting process for any plastic pots I use later on when my plants get too big for their tray, but the weather isn't warm enough for them to go outside yet.
It may seem like a lot of work, but so is starting plants from seed! I'd rather put in a few minutes of cleaning in the beginning to ensure happy, healthy seedlings later on!
Check out these other seed starting tutorials!