Growing hollyhock from seed is really easy! Learn how to plant and care for these gorgeous flowers without breaking the bank!

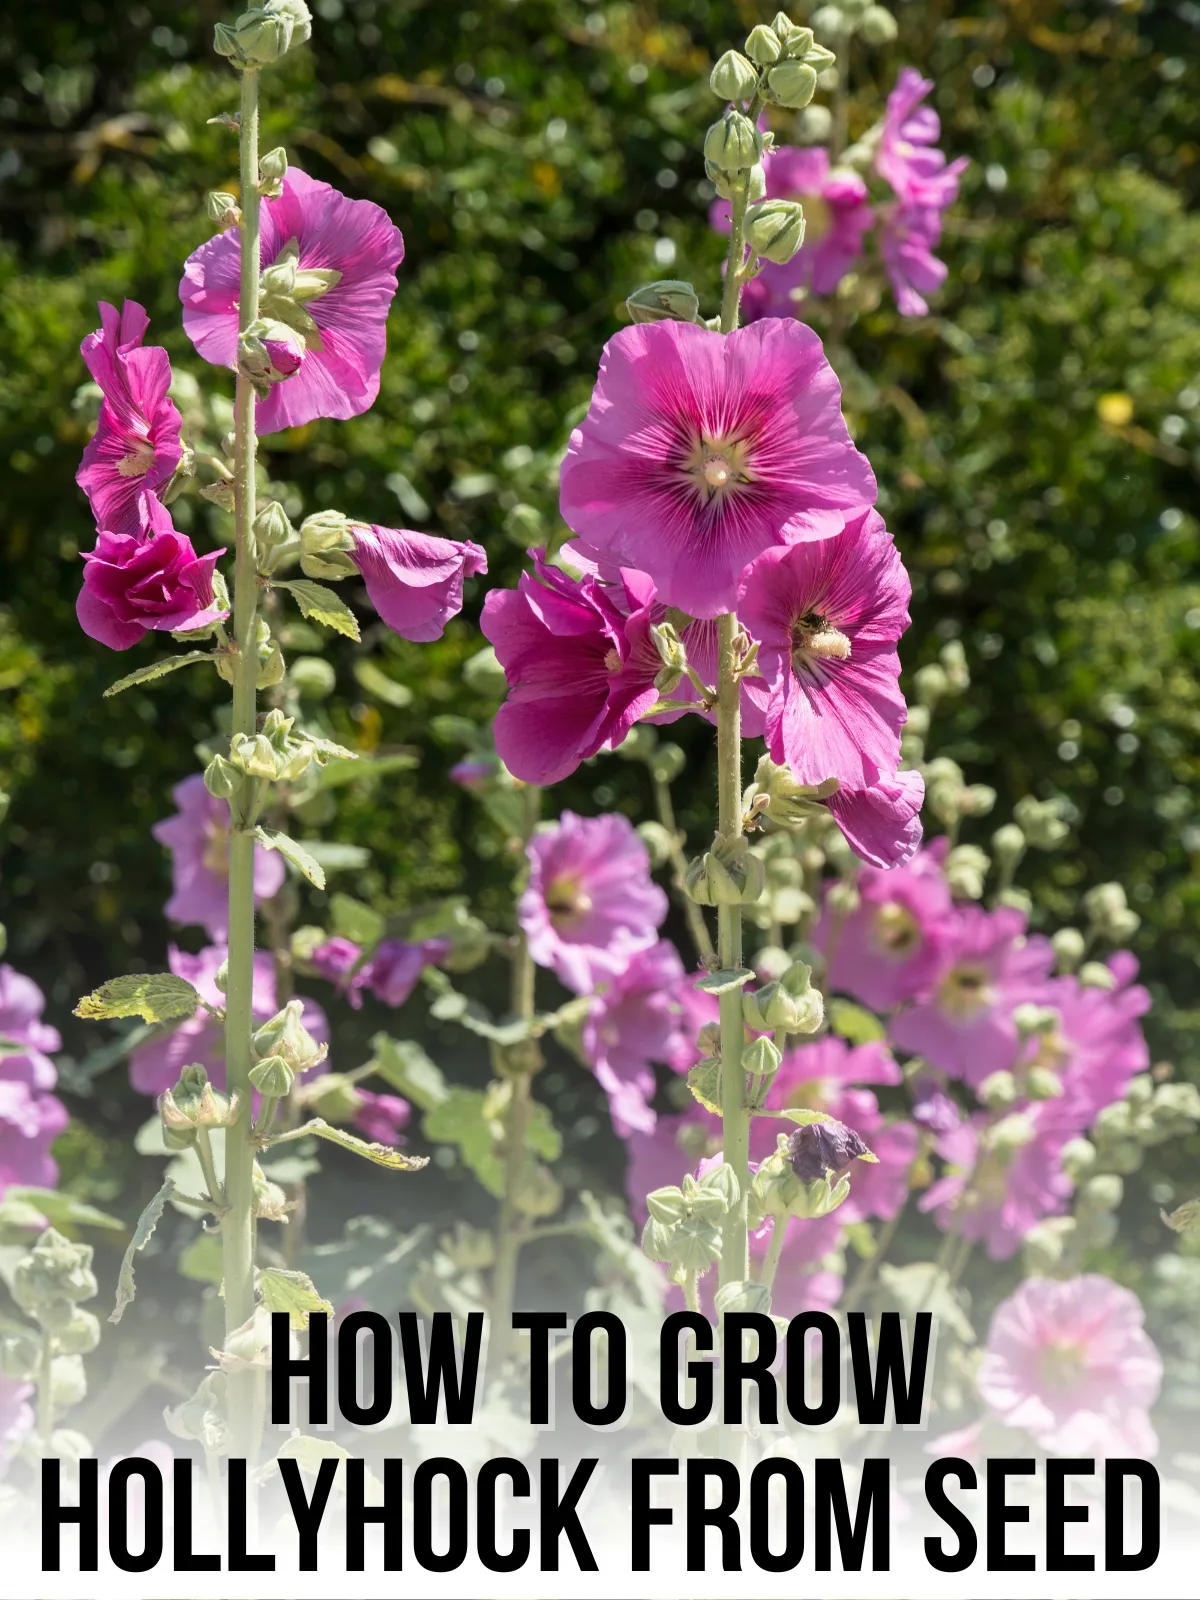
Hollyhocks are a classic favorite for cottage gardens. With their tall, elegant stalks and vibrant blooms, they're perfect for adding height and color to the back of flower beds.
Plus, they attract pollinators like bees and butterflies, making them a great choice for anyone looking to create a wildlife-friendly space.
Growing hollyhocks from seed is surprisingly easy! You can grow an entire hedge of these gorgeous flowers for the price of a single packet. Let's get growing!
Choosing the right hollyhock seeds
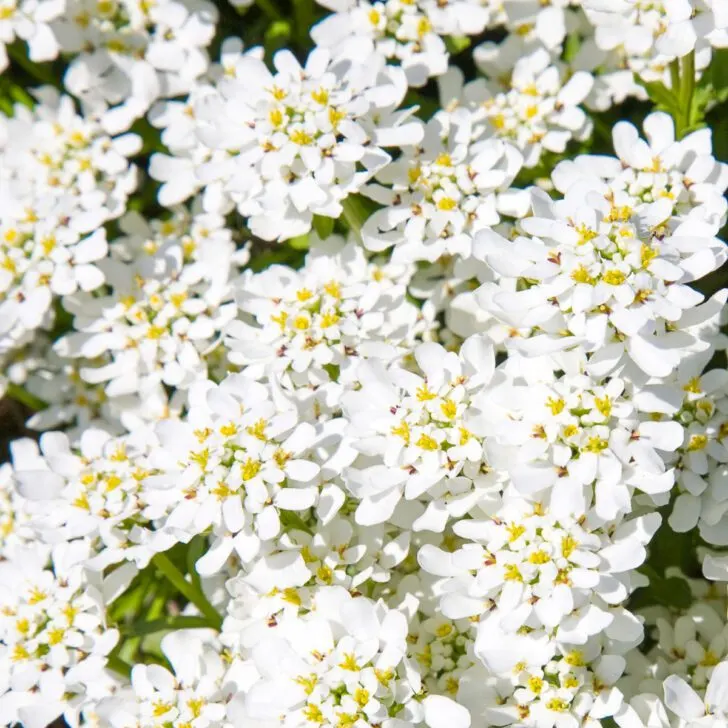
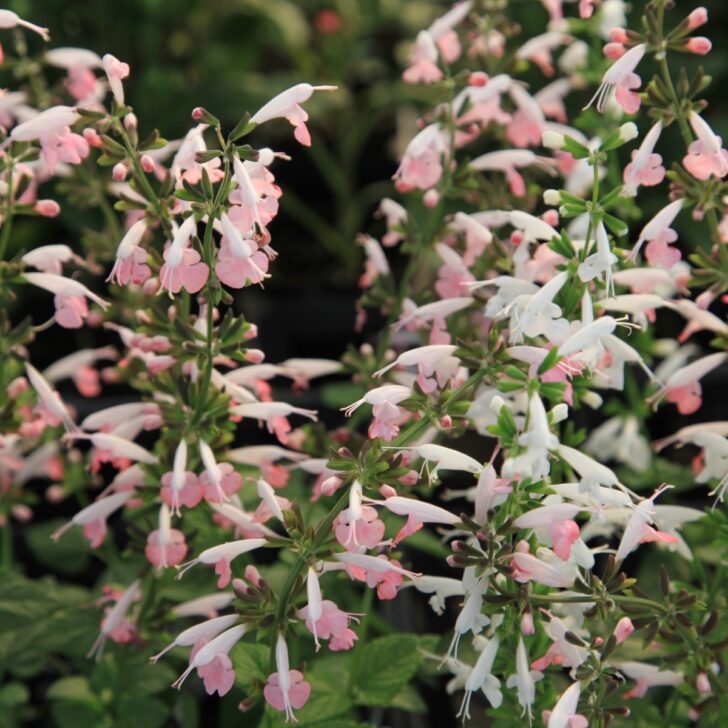
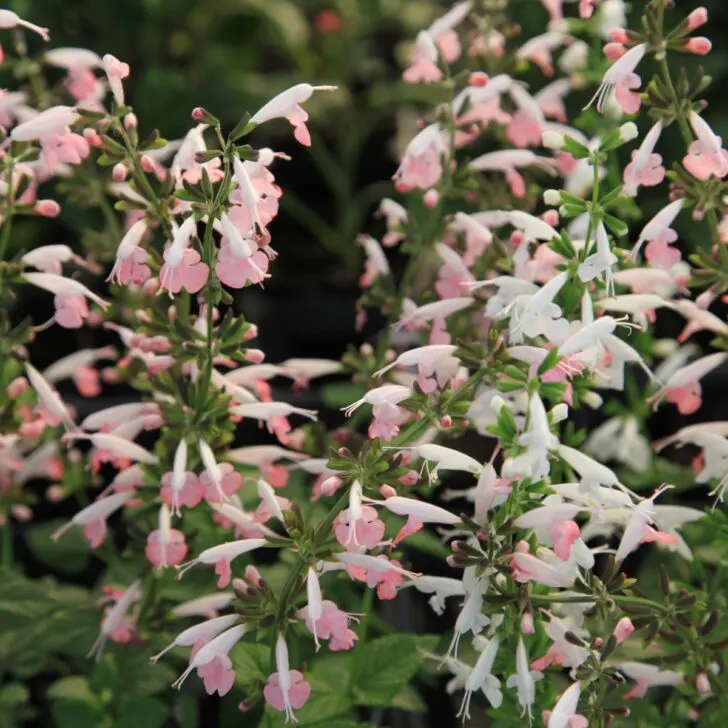
Hollyhocks come in a variety of colors, from soft pastels like pink and cream to bold shades like red and purple. Some even have unique double blooms that look like ruffled layers.
This year, I'm growing white and violet Chater's Double Hollyhocks from seed. This double variety features gorgeous, frilly flowers that extend up to six feet high!


It's a biennial, meaning they grow foliage in the first year and bloom in the second. But these plants readily self-seed, so long as you leave the spent blooms in place. I plan to start a second round of hollyhock seeds next year, so I'll always have a row blooming in the back of the garden bed!
Starting hollyhock seeds indoors
I always have better luck starting seeds indoors rather than direct sowing into the ground. It ensures that they're strong and healthy, just like when you buy a plant at the garden center.
Starting hollyhock seeds extra early, 10-12 weeks before planting them out, also gives you a shot at getting first year blooms on a biennial plant. I'll report back later in the season and let you know if it works!
Hollyhock seeds have a tough outer coating, and soaking them in water for 8-12 hours softens them up and speeds up germination. My soaked seeds sprouted in less than a week, rather than the 14-28 days listed on the seed packet!


The seeds are large and easy to handle. Just press them into the soil and lightly cover, or drop them into holes about ¼" deep. Gently water them in, then place them under grow lights for 12 hours or more a day.
After a few weeks, my hollyhock seedlings were bursting out of their seed trays!


It's still at least a month before our last frost date, so these seedlings need a bigger pot to keep growing strong. I save all my 4" pots and trays just for this purpose! The deeper containers allow for more root growth and the trays make it easier to move them around the greenhouse.


These seedling tongs make it easy to gently grab the root ball and pull it out without damage.


I used the same tongs to make a hole in the middle of each pot, so the seedlings fit right in!


A few cells had two seedlings, so I carefully teased apart the roots and transplanted them separately.


Once they're all potted up, they go back under grow lights until it's time to plant them in the garden!


Transplanting hollyhocks outdoors
When your seedlings are strong and the risk of frost has passed, it's time to transplant them into the garden.
Before planting, harden off the seedlings by gradually introducing them to outdoor conditions over the course of a week. Start by placing them outside for a few hours in a sheltered spot, increasing their time outdoors each day. I set a timer on my phone so I don't forget about them!
Choose a location that gets full sun, as hollyhocks need plenty of light. Space the plants about 18-24 inches apart to give them room to grow without overcrowding.


I can't wait to see a row of hollyhocks like this growing in my garden! I'll add some photos once they bloom!