Learn how to collect geranium seeds with our step-by-step guide. From identifying ripe seed pods to proper storage, we've got you covered!
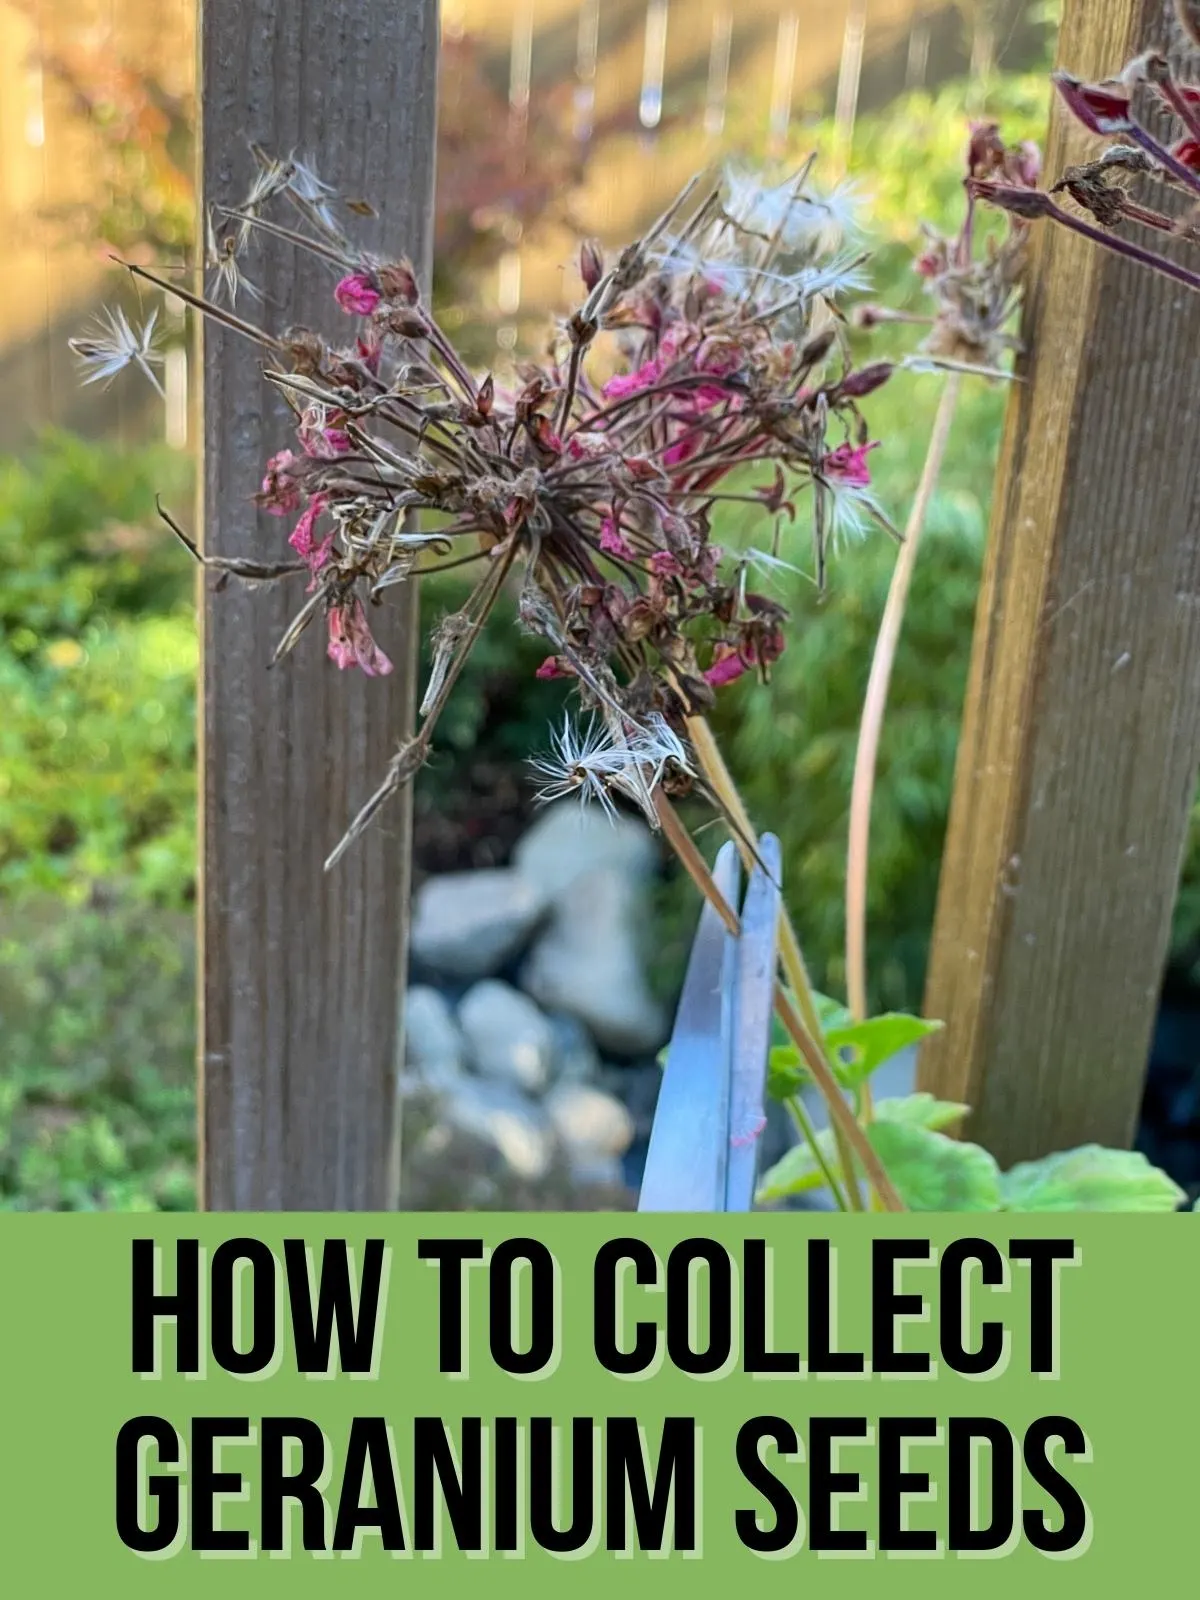
Geraniums are one of my favorite flowers to grow from seed, and they're so easy to care for in the garden. But did you know you can save geranium seeds from your plants to grow next year?
In this article, I'll walk you through the entire process, from identifying ripe seed pods to separating the seeds from the chaff and the best ways to store your collected seeds.
Let's get growing!
This post contains affiliate links for your convenience. Purchases made through these links may earn me a small commission at no additional cost to you.
When to collect geranium seeds
Timing is everything when it comes to collecting geranium seeds. Harvest too soon, and your seeds won't be ripe. Wait too long, and the seed pods will burst open and scatter.
Most geranium varieties are ready for seed collection in late summer to early fall. I stopped deadheading my plants at the beginning of September and harvested the seed pods in early October.
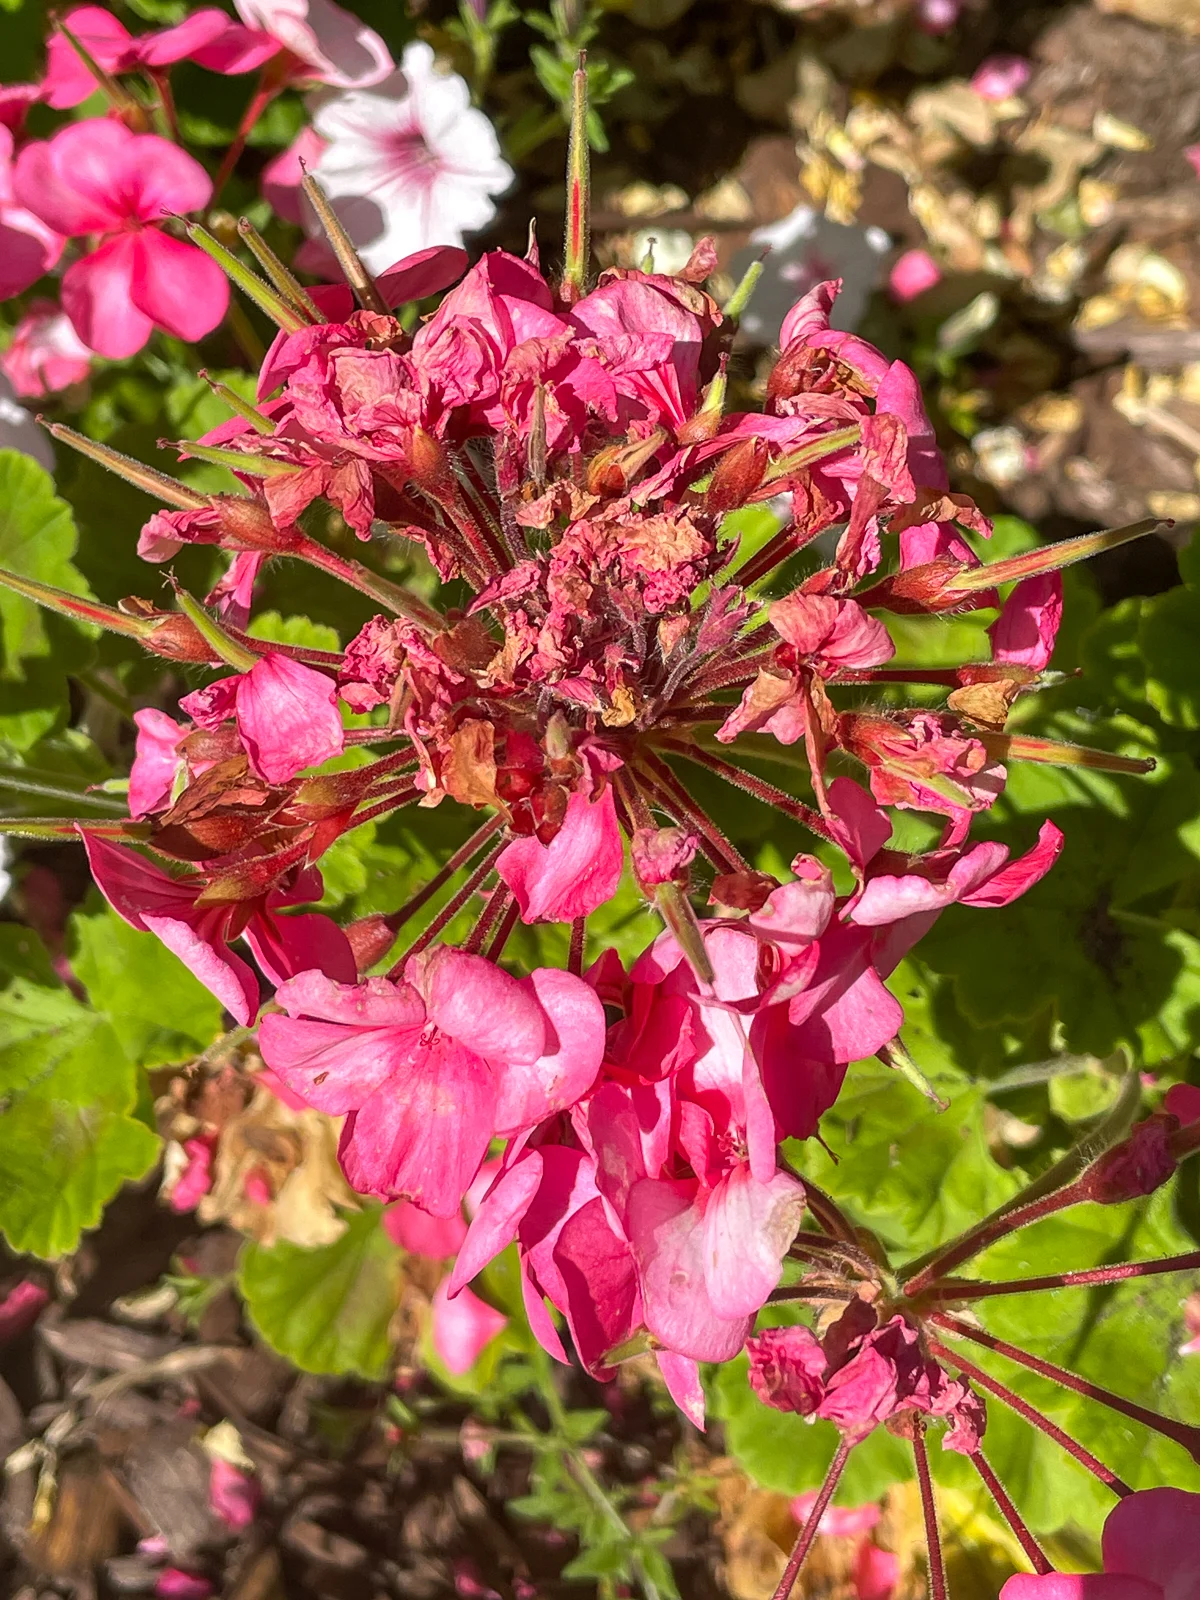
Aim to collect seeds after a few dry days. Moisture can make the seeds stick to the pods and even lead to mold issues later on. So check the weather forecast and wait for a stretch of sunny days so the seeds have a chance to dry out for the best results.
How to Harvest Geranium Seeds
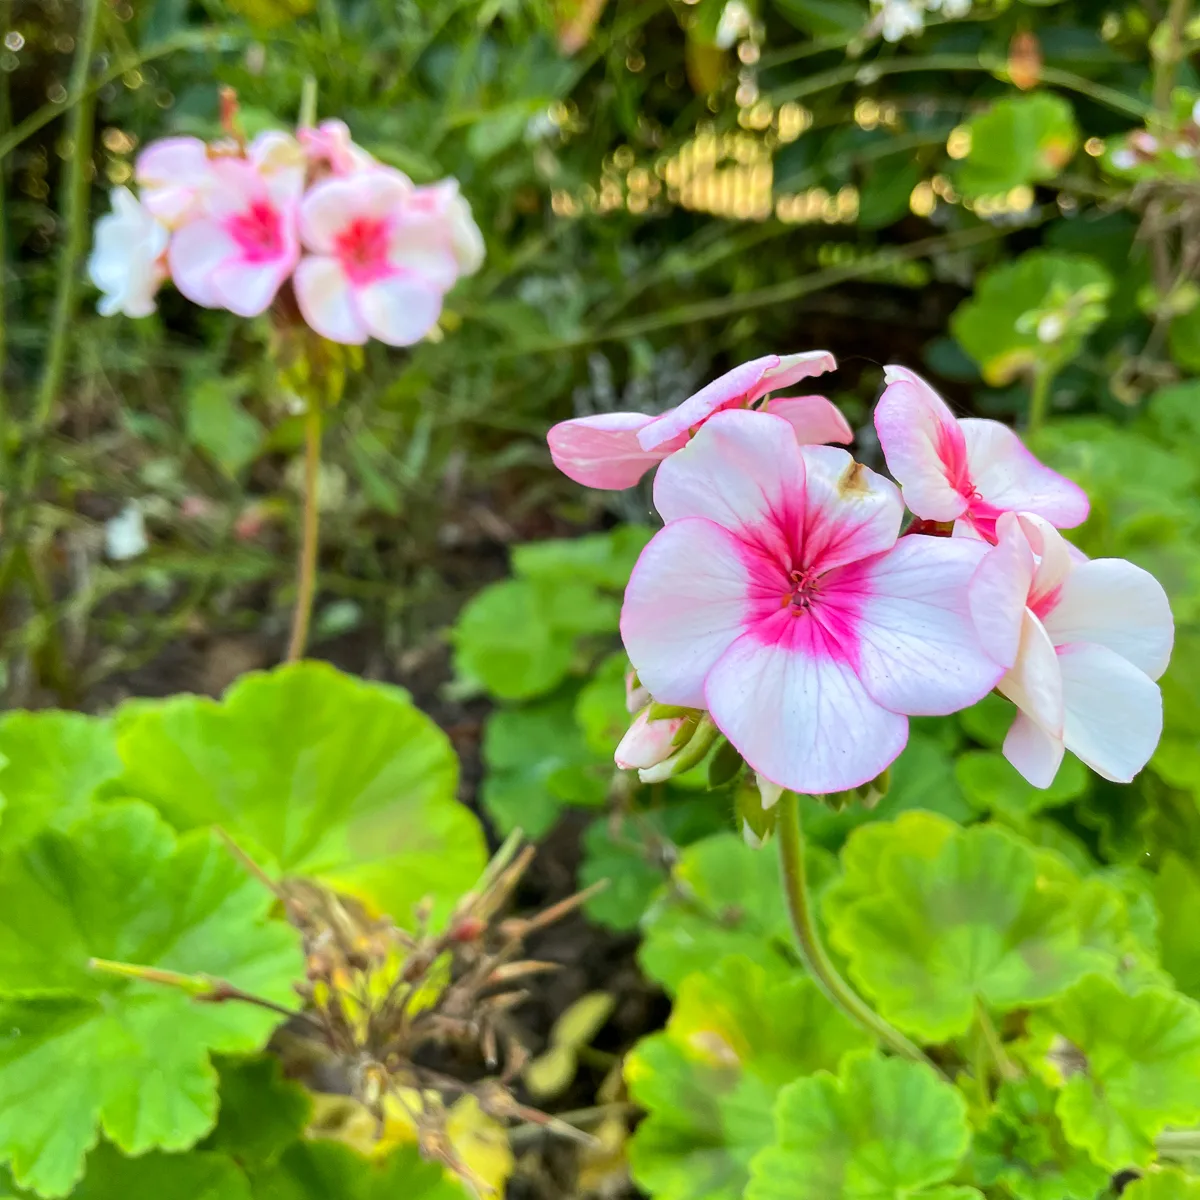
I grew all these Maverick Star geraniums in containers on our deck stairs and out in the landscape. They were so bright and cheerful, and I definitely want to grow them again!
If I were to buy them again, it would cost me almost $5 with shipping just for 10 seeds! It only took a few minutes to harvest hundreds so I can enjoy these beautiful geraniums in my garden for years to come.
Cut the ripe seed pods
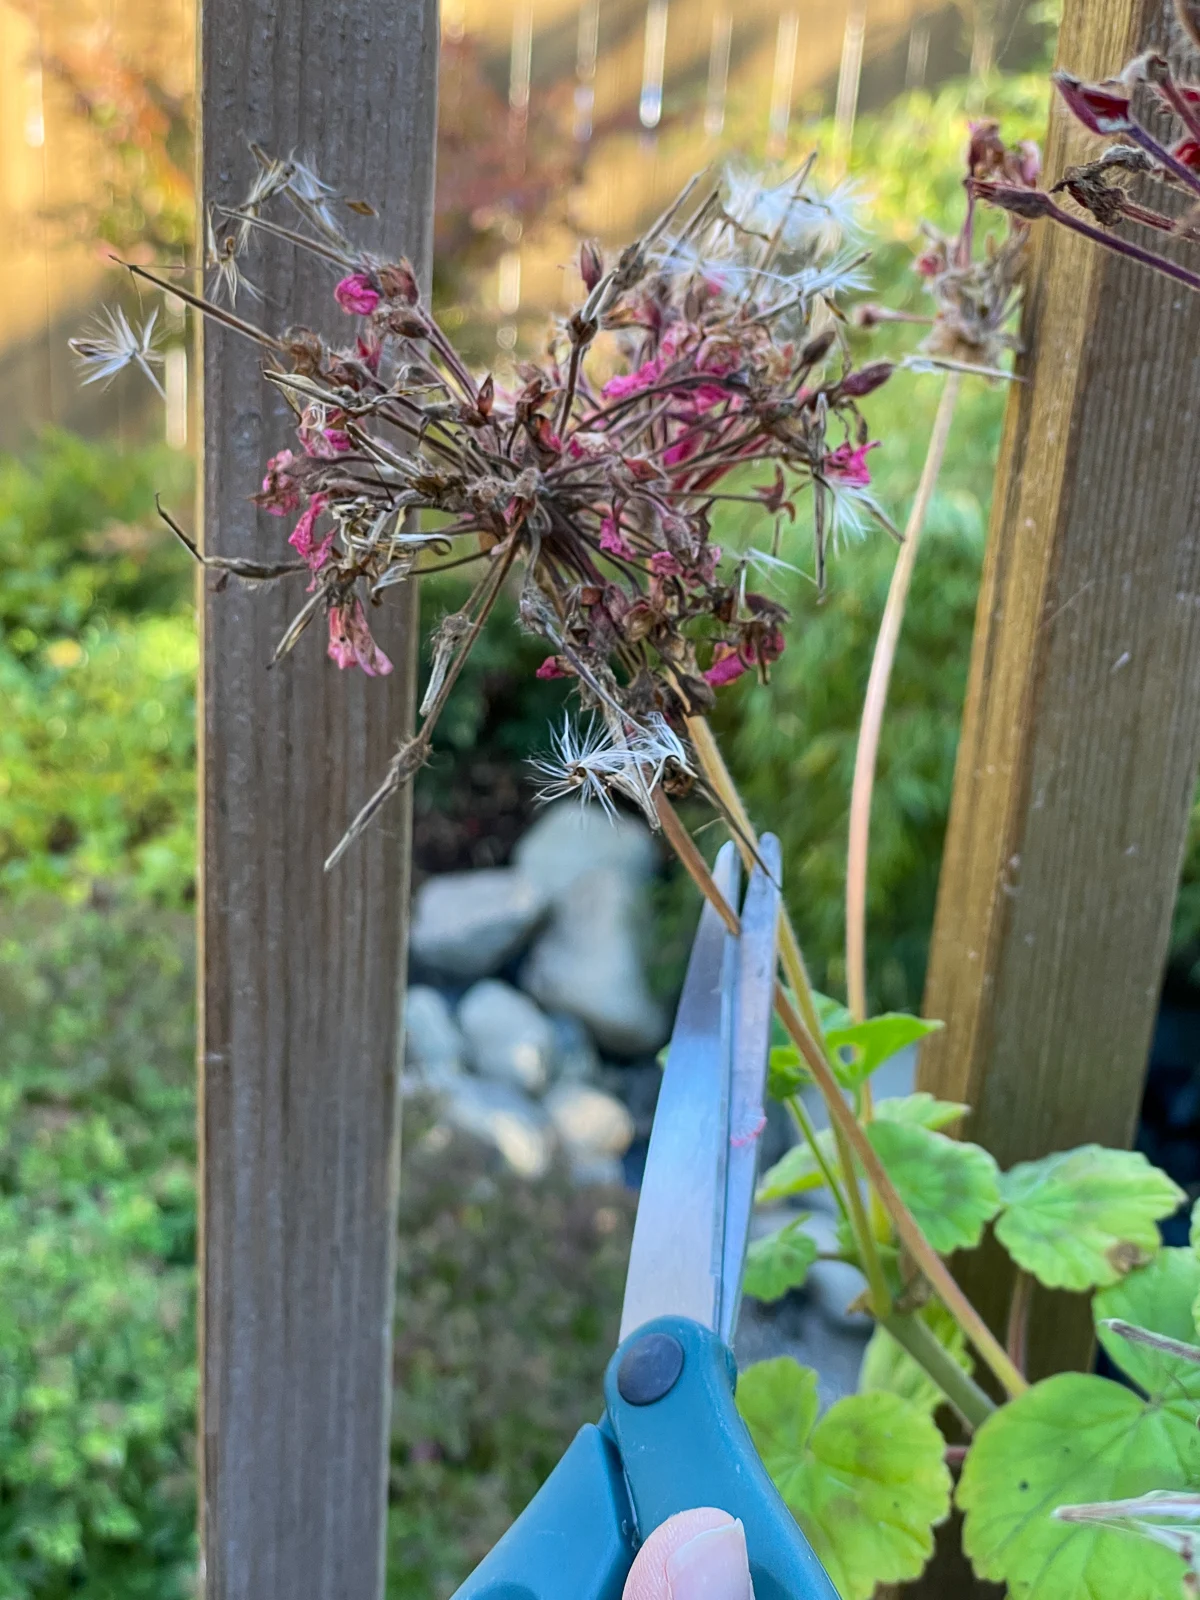
Start by identifying the ripe seed pods. After the flowers drop, you'll be left with these spikes. You know when the seeds are ripe when you start seeing white, feathery wisps like a dandelion puff.
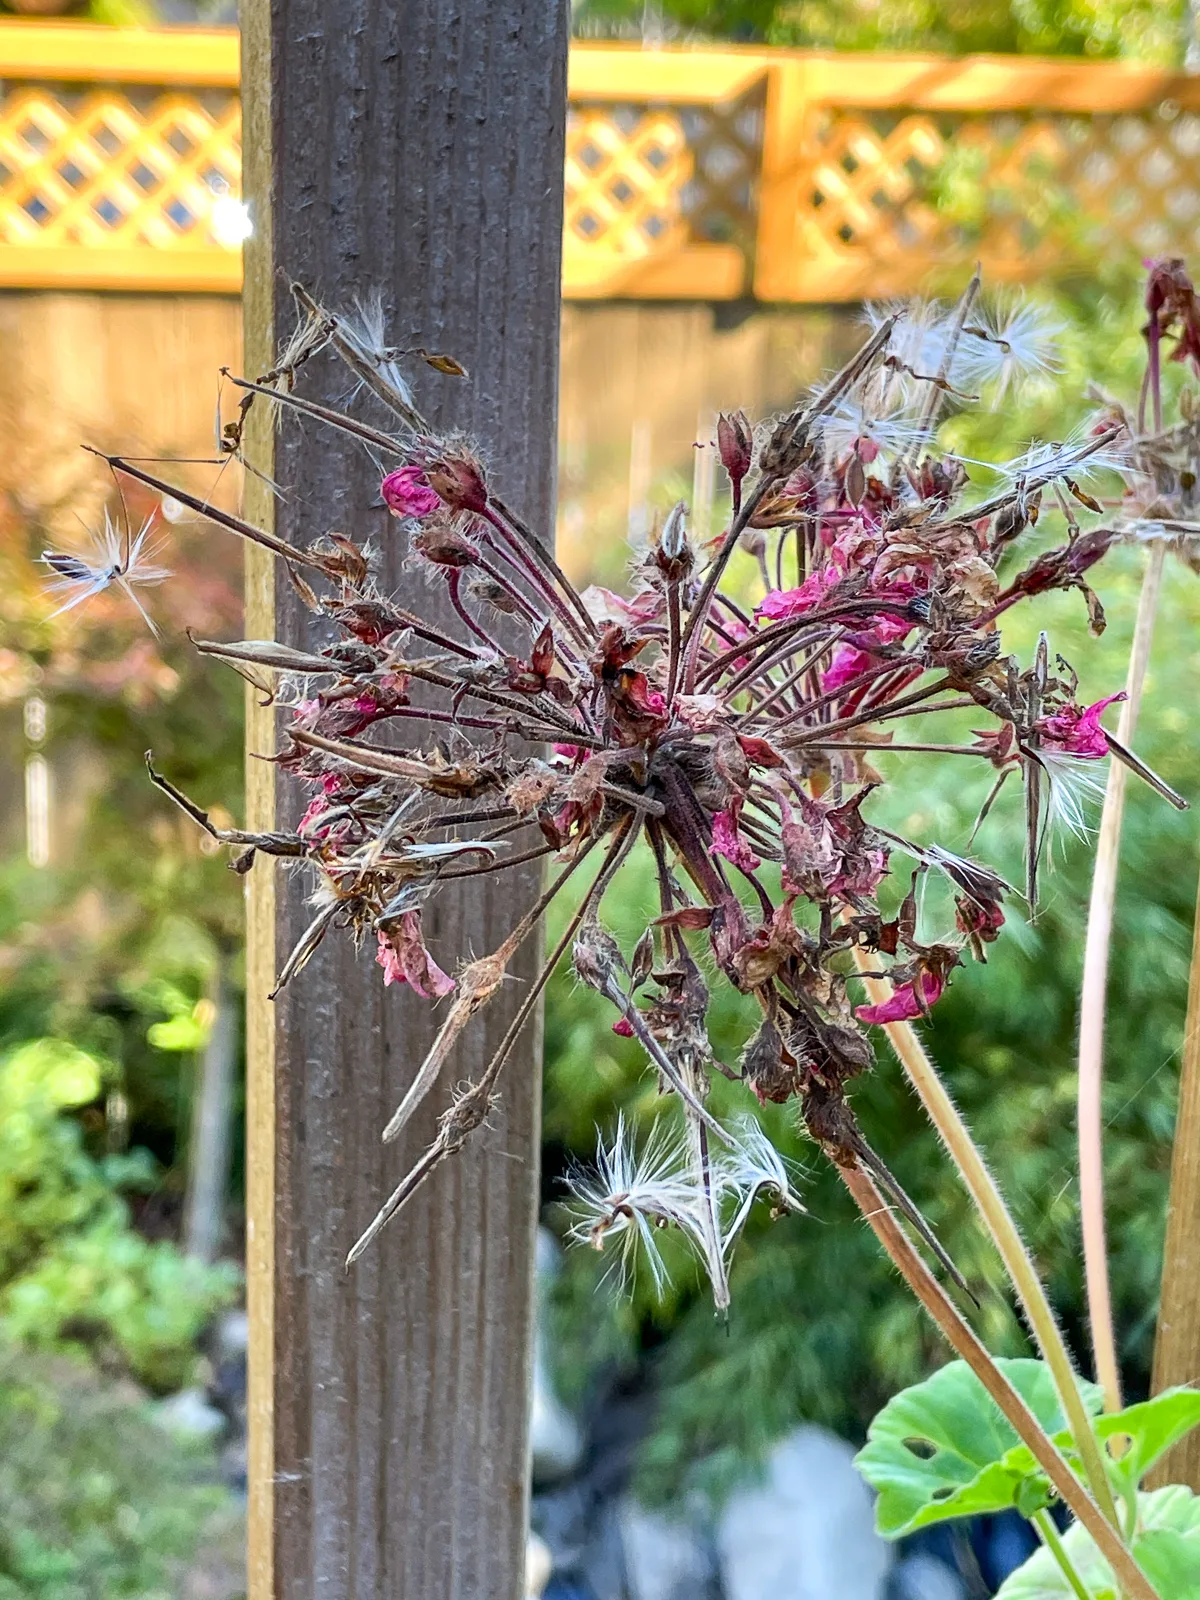
Geranium seeds have a spring mechanism inside the pod (which I'll show close up later on). When the seeds are ripe, the plant will fling the seeds into the air so the feathery part will catch in the wind and carry it away.
Ideally, you'll want to collect geranium seeds before they all fly away. But even if your seed pods look like this, there will be plenty left!
Use scissors or garden shears to snip off the entire seed head. I like to leave a few inches of stem to make it easier to handle.
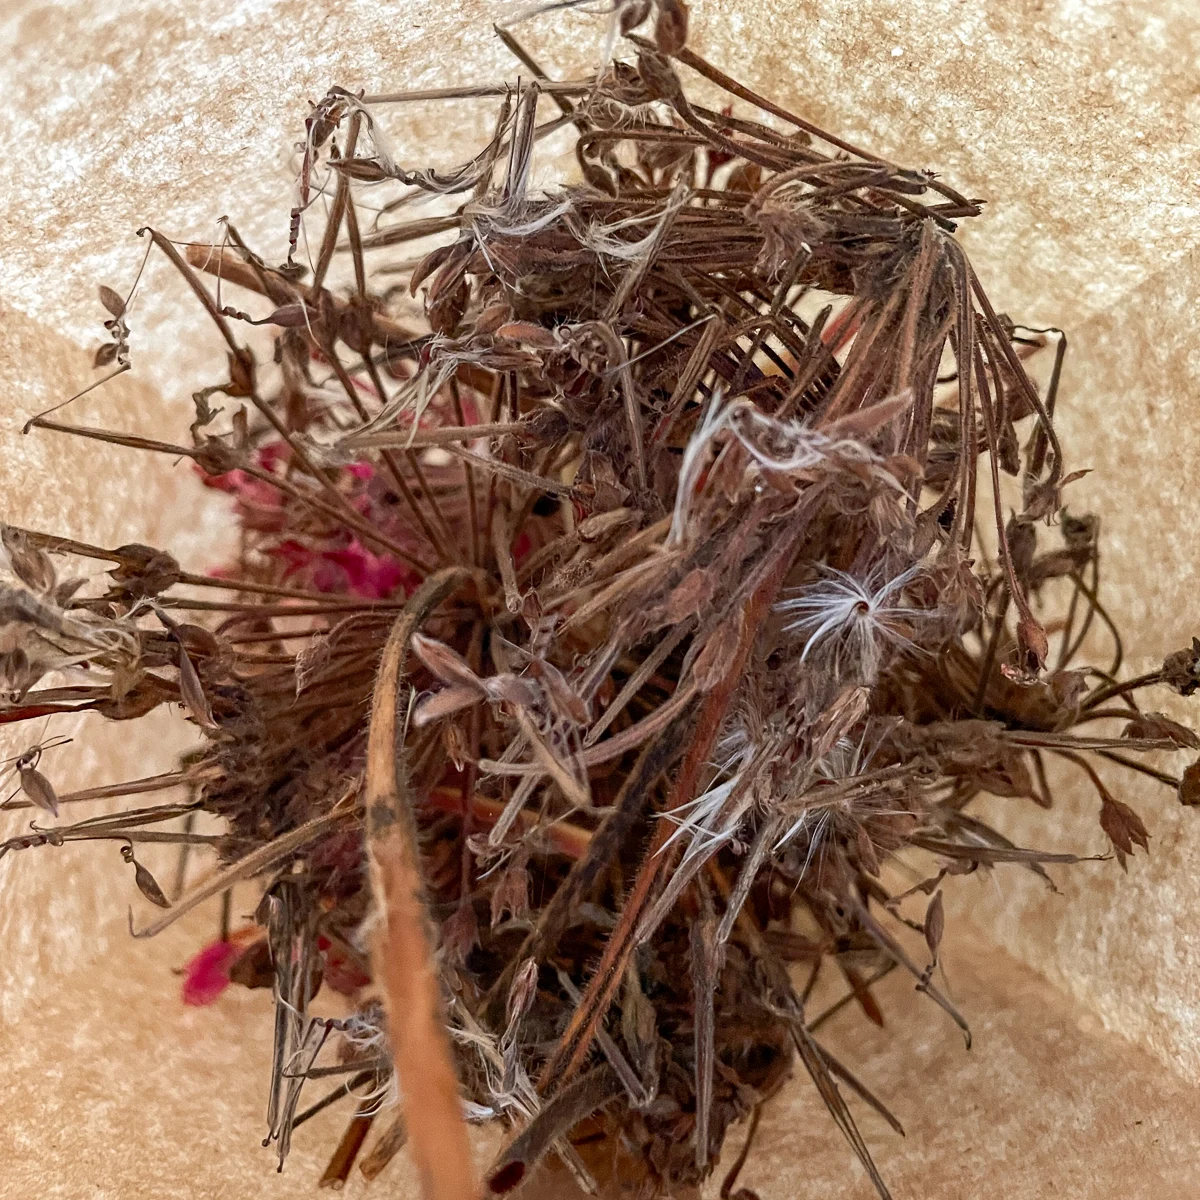
Place all the seed heads in a paper bag and leave it open in a warm, dry location for a few days. This will allow any excess moisture to evaporate and make it easier to extract the seeds.
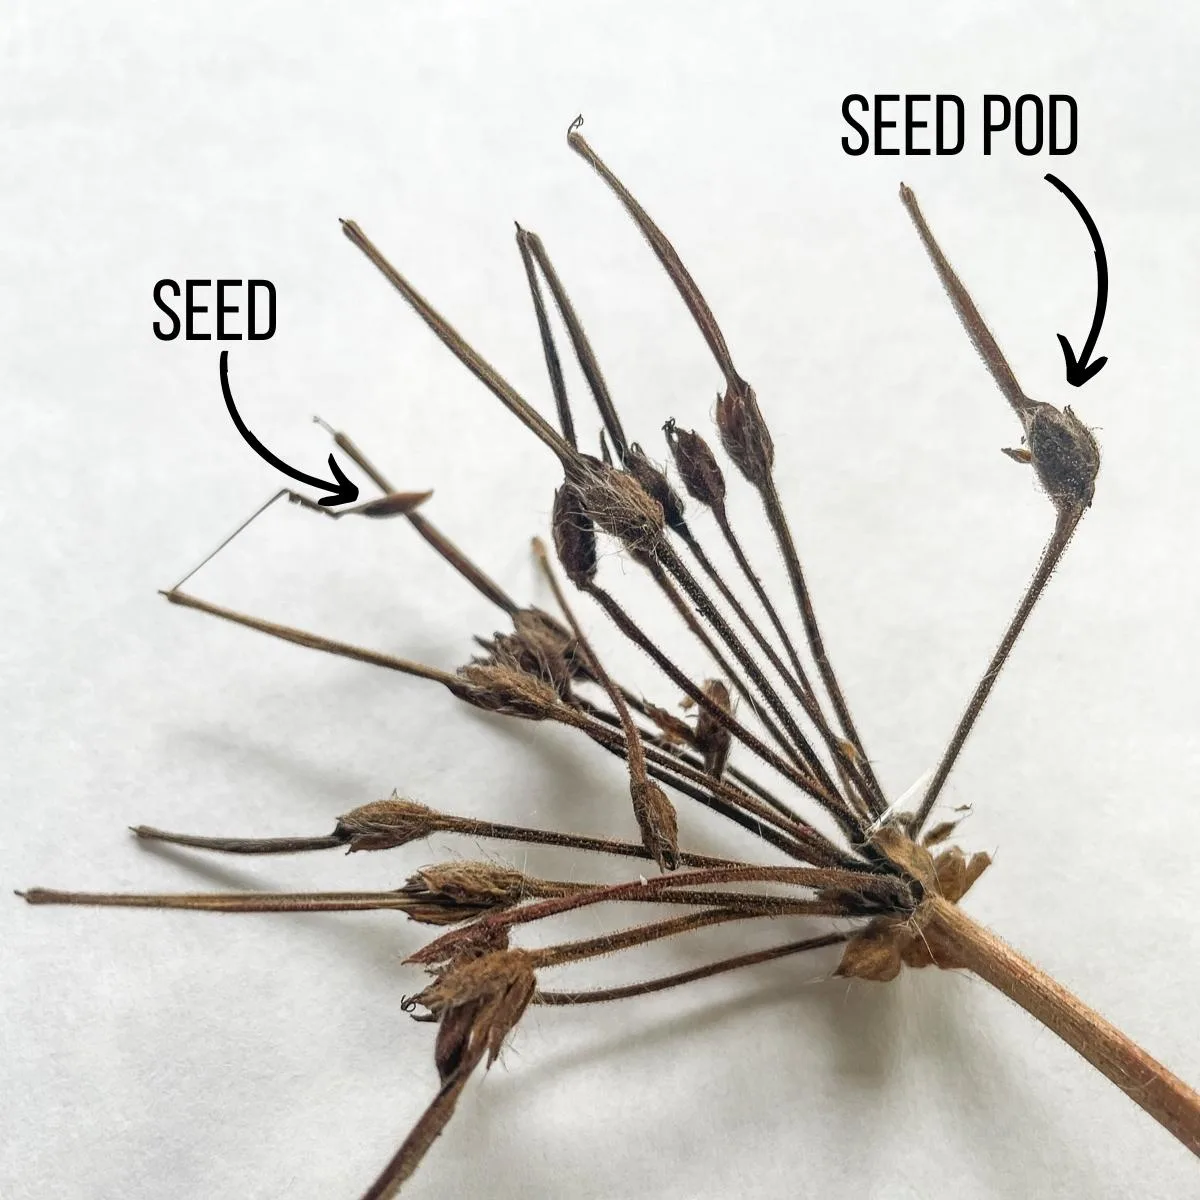
Anatomy of a geranium seed pod
Each geranium cluster is comprised of a collection of stems with pods at the ends. The "spring" and tassel are wrapped up tight in the long point at the end.
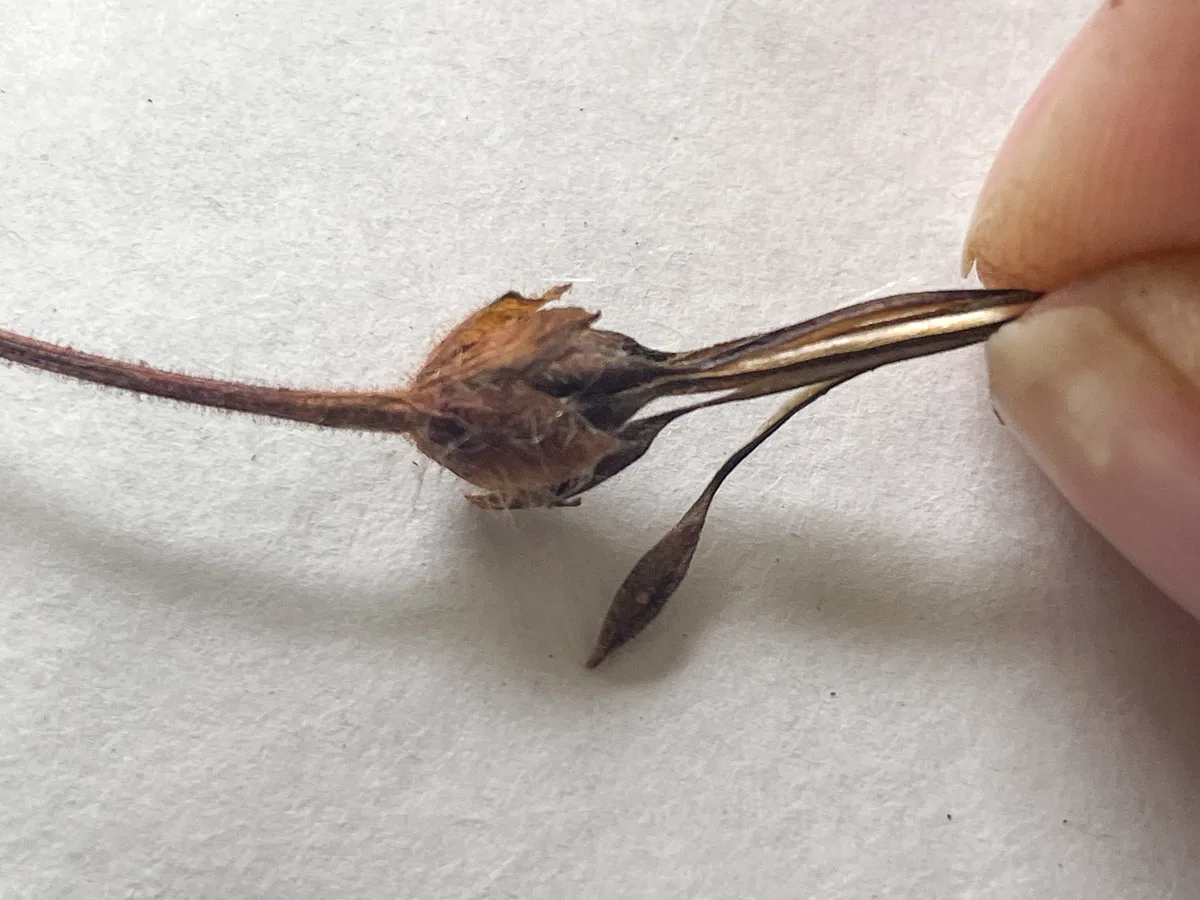
If you gently pull the end, you can see all the seeds arranged in a circular pattern around the inside of the pod.
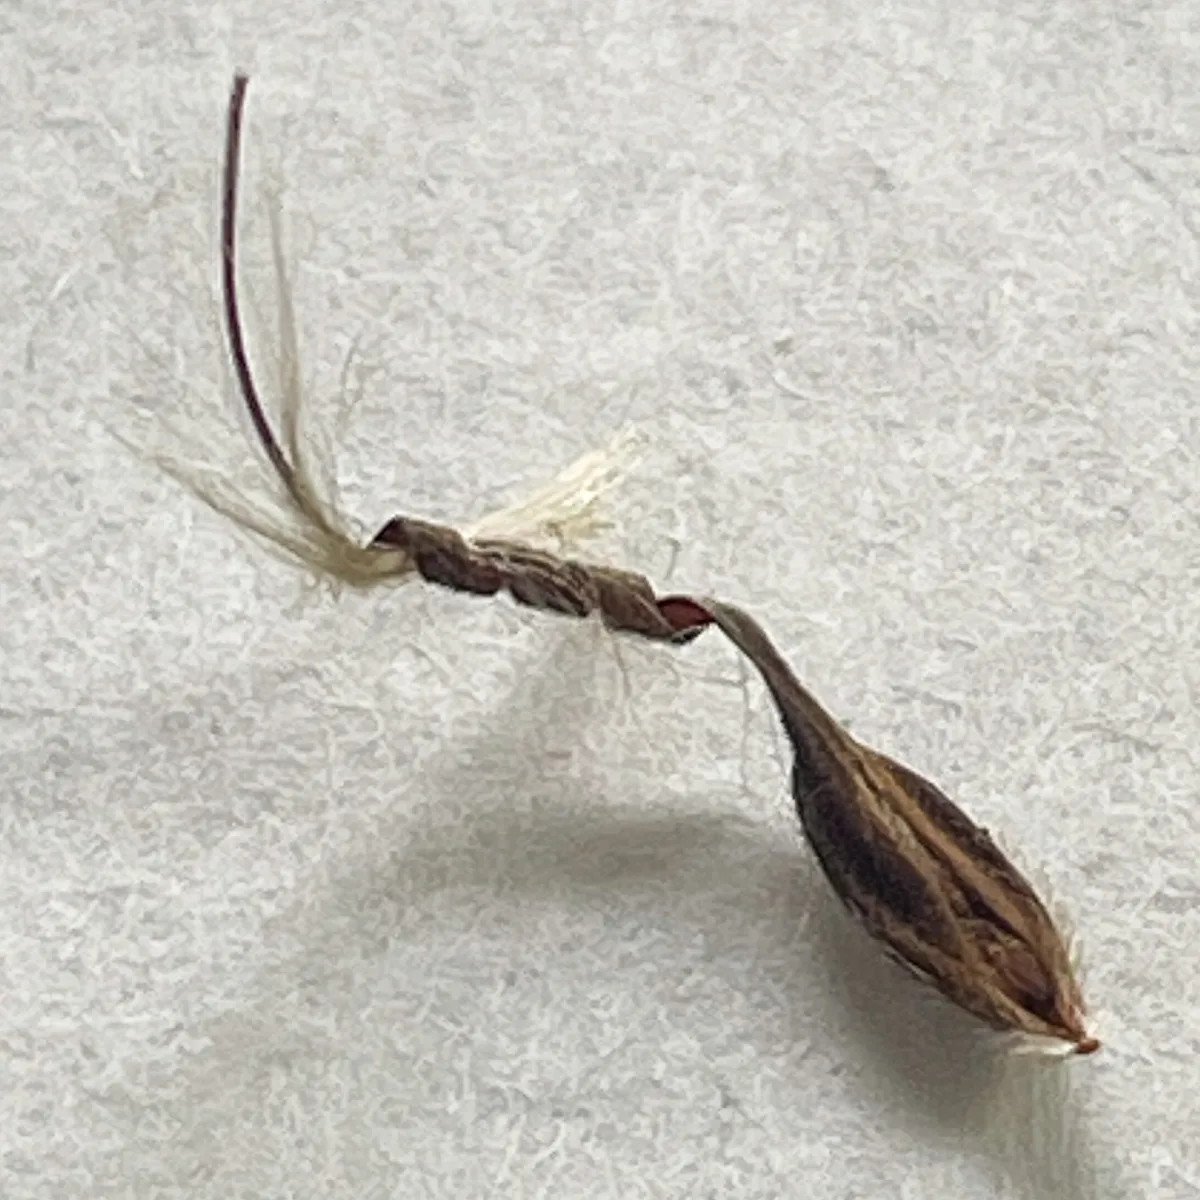
Here you can see the seeds I separated from the pod and stem. The white tassel is on the inside, and fluffs out when it's released from the seed pod. Because the plant hadn't ejected these seeds, the tassel is straight.
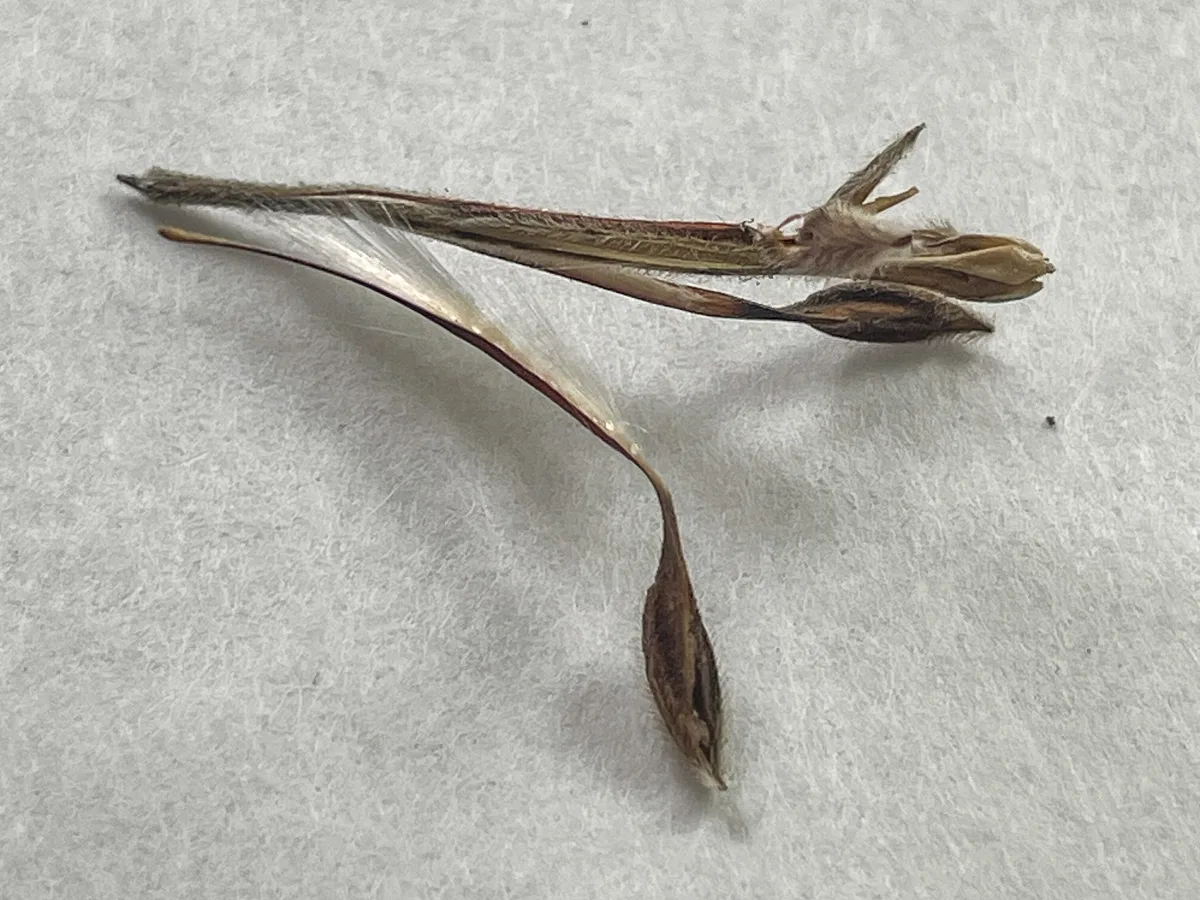
Here's a seed pod that the geranium plant tried to fling away. Notice how it's coiled up like a spring!
If you want to see a similar type of seed pod and how it flings seeds in ultra-slow motion, check out this video!
Remove the seeds from the seed pod
Now that you know what to look for, the harvesting process is really easy! Gently pull the end of the seeds from the pod.
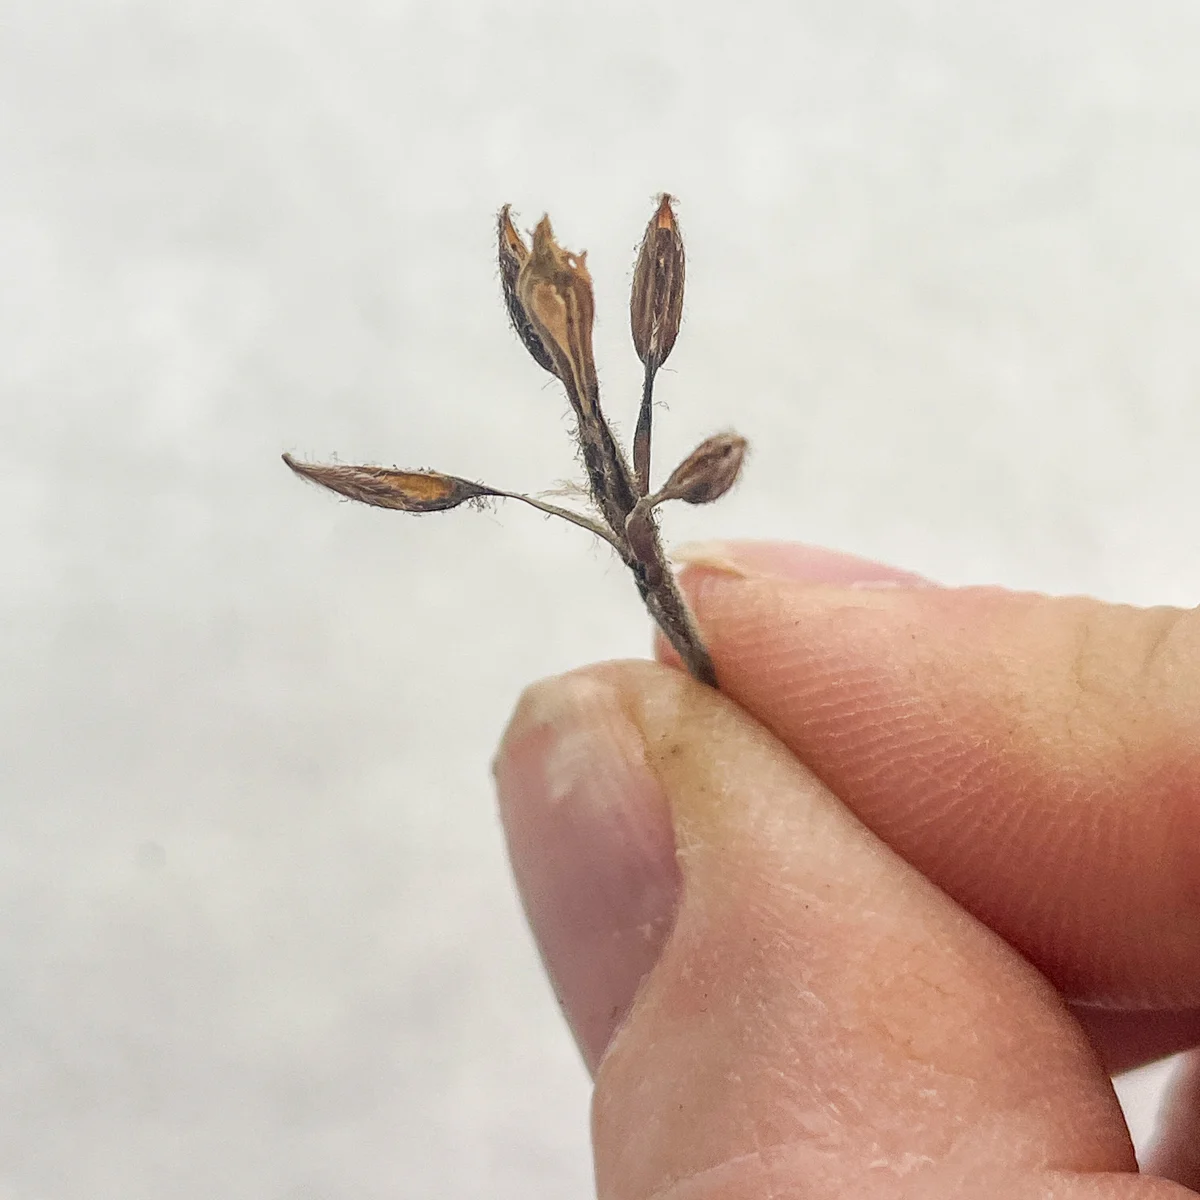
Then you can use your fingers to separate the seed from the tassel. I ended up with hundreds of seeds from just a few geranium plants!
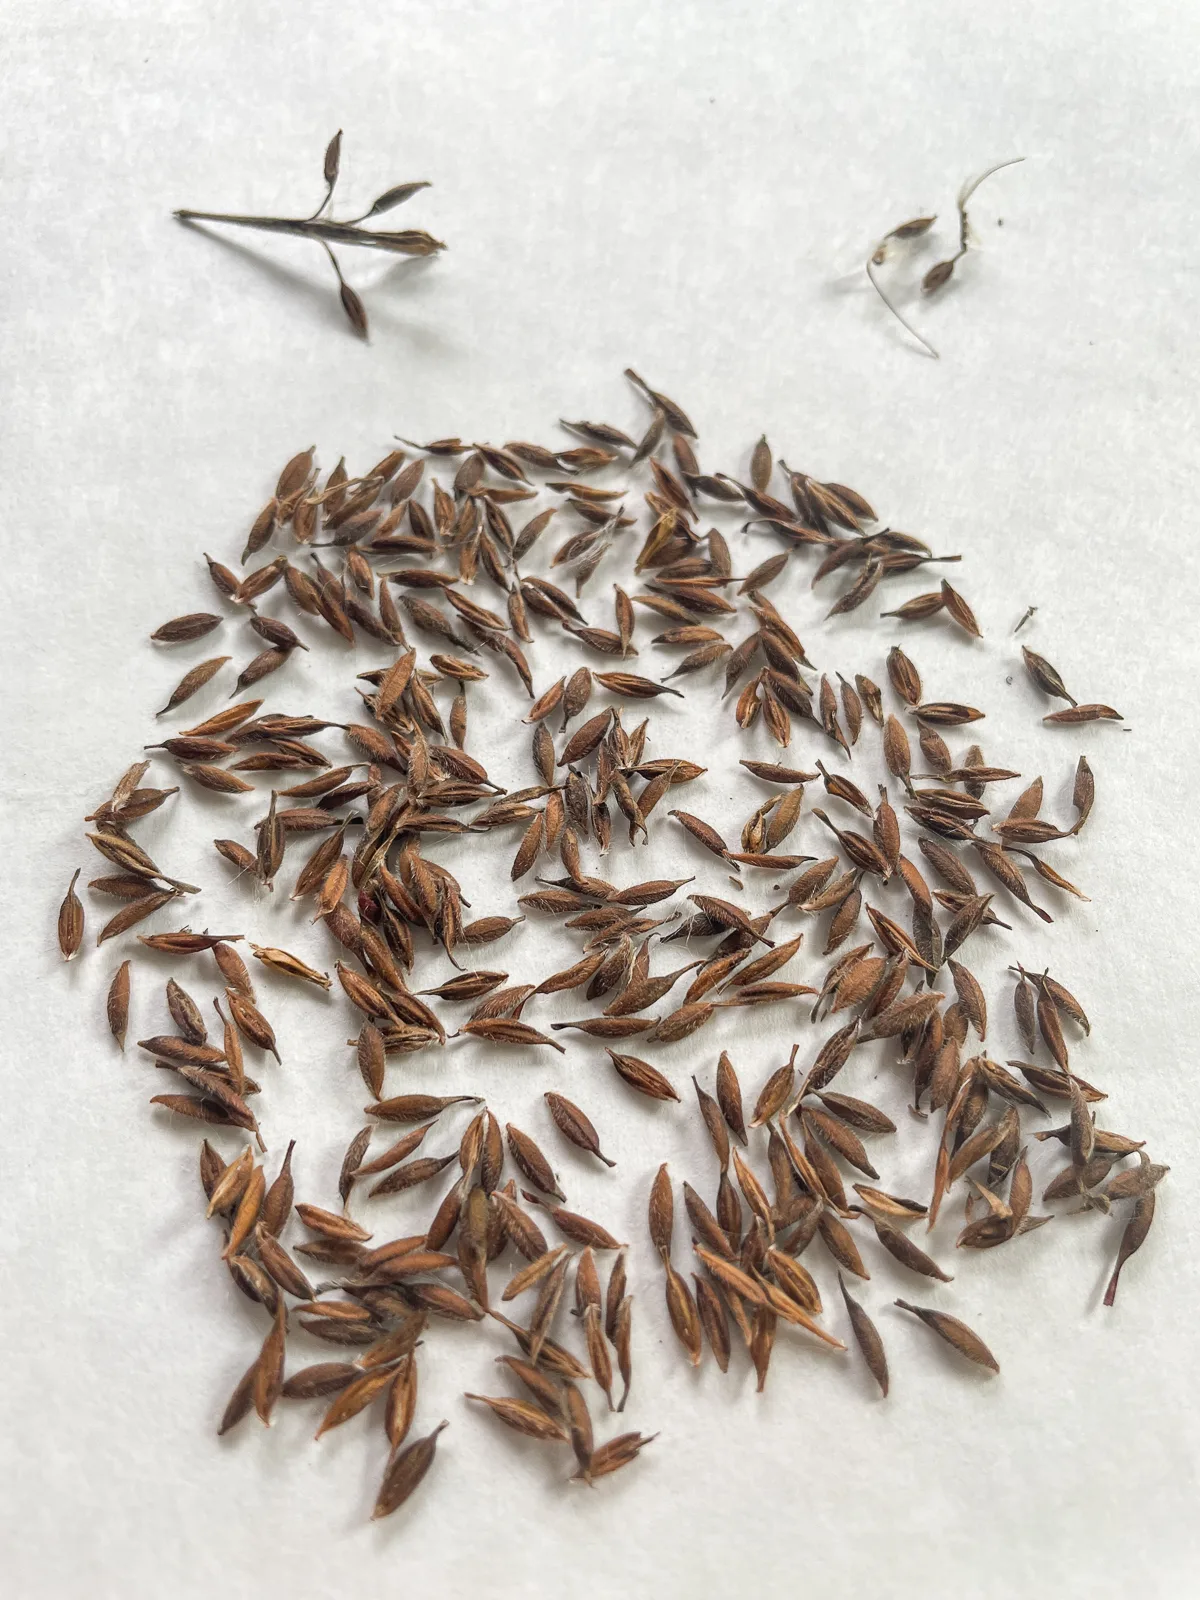
Store your seeds properly
Once the seeds are separated, I let them dry out a little more before storage. Spread them out on a paper towel or a piece of newspaper in a well-ventilated area. This helps to remove any residual moisture, which is crucial for long-term storage.
After a few days, I scoop up all the seeds into small envelopes, which I label with all the information I'll need for next year.
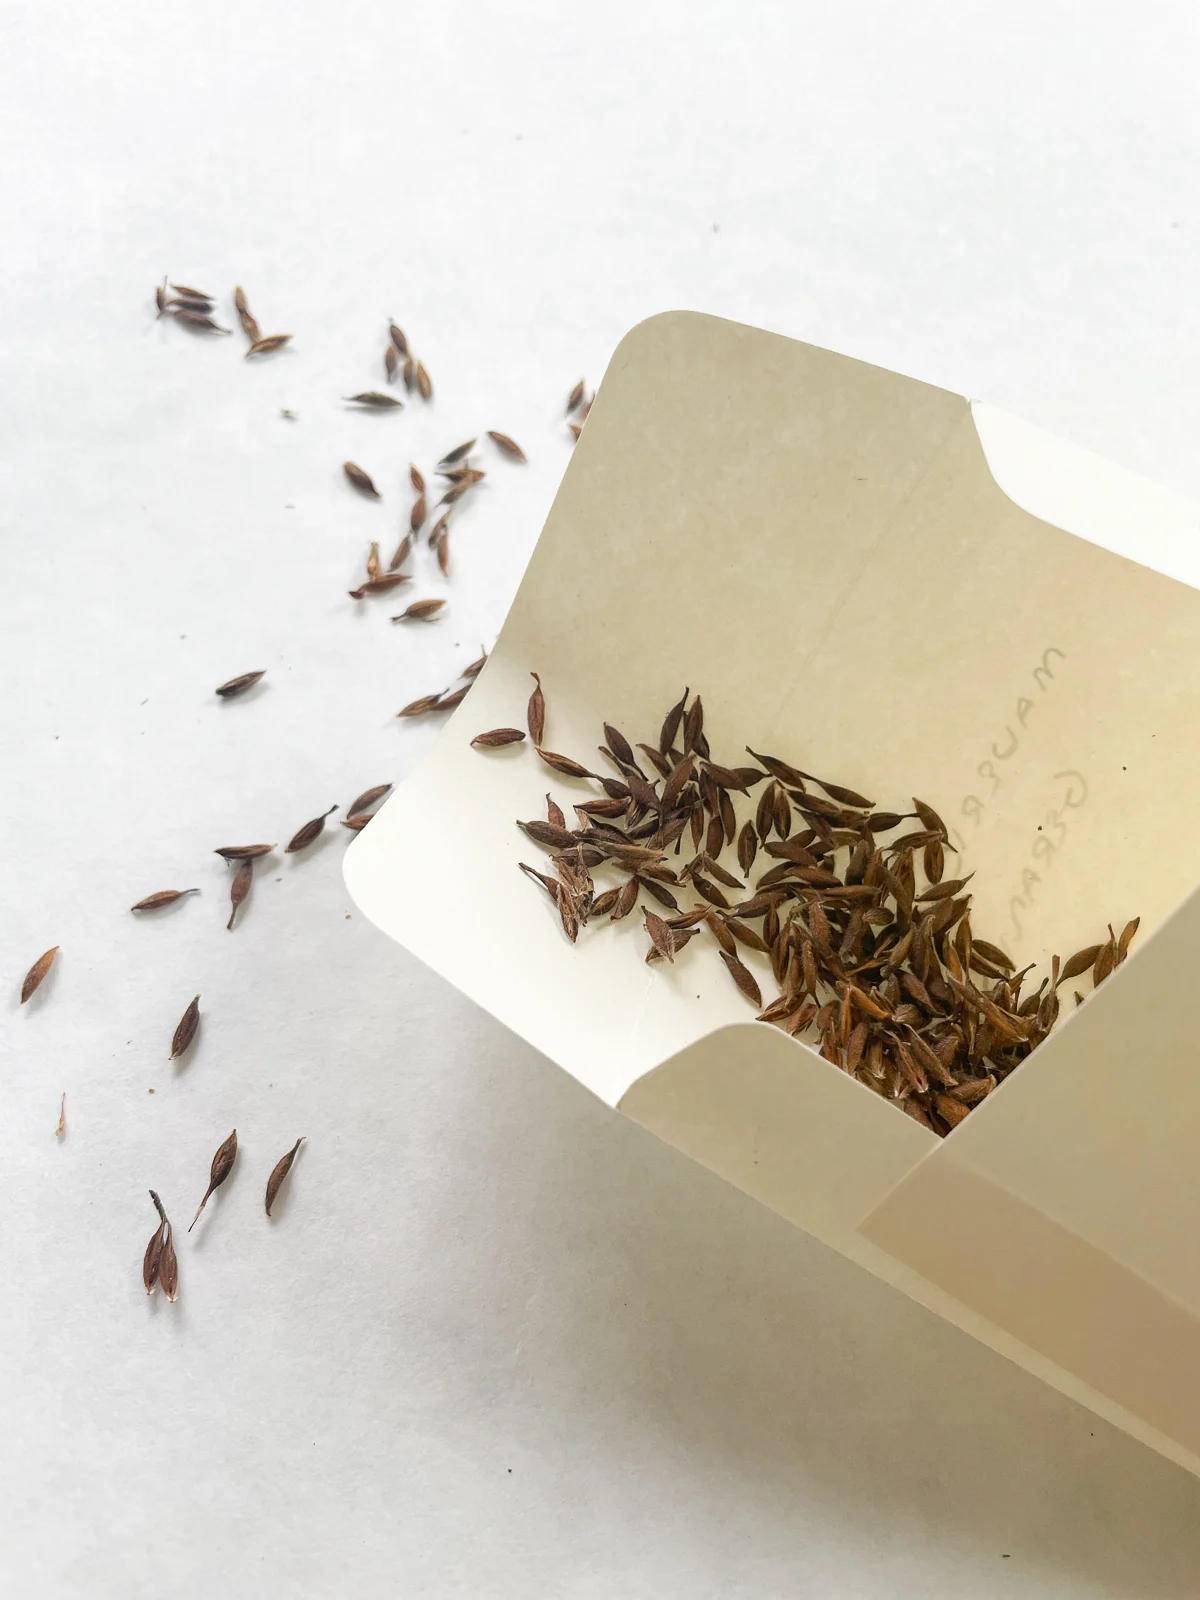
It's important to store seeds in a cool, dark place. Temperature fluctuations and exposure to light can reduce their viability. I use this photo storage case with individual boxes for each kind of plant, which is kept in our basement.
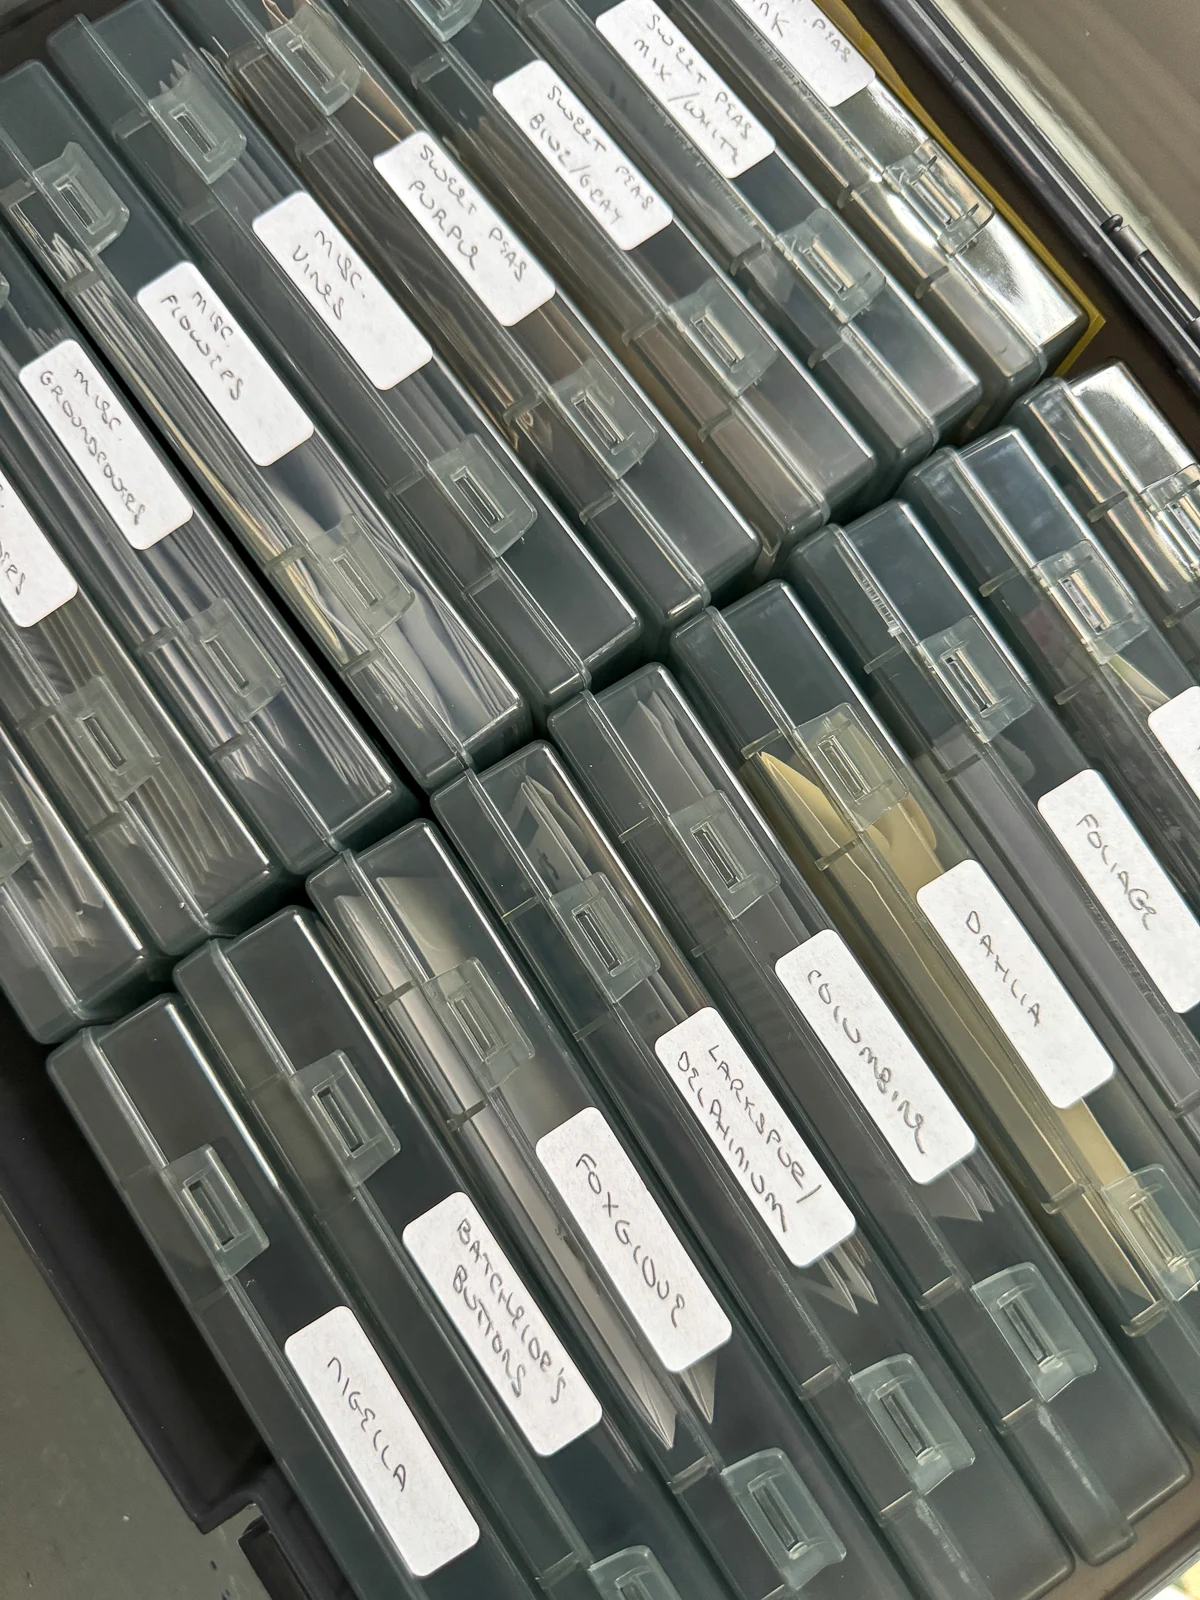
Humidity is another factor to consider. Too much moisture can lead to mold, so it's a good idea to add a small packet of silica gel to your storage container. This will help keep the environment inside the container dry, ensuring your seeds stay in tip-top shape for planting season.
Collecting your own geranium seeds can be a rewarding experience, giving you a head start on next year's garden while saving you some money.
So why not give it a try? Your garden will thank you, and you'll get the satisfaction of seeing your plants come full circle-from bloom to seed and back to bloom again. Happy gardening!
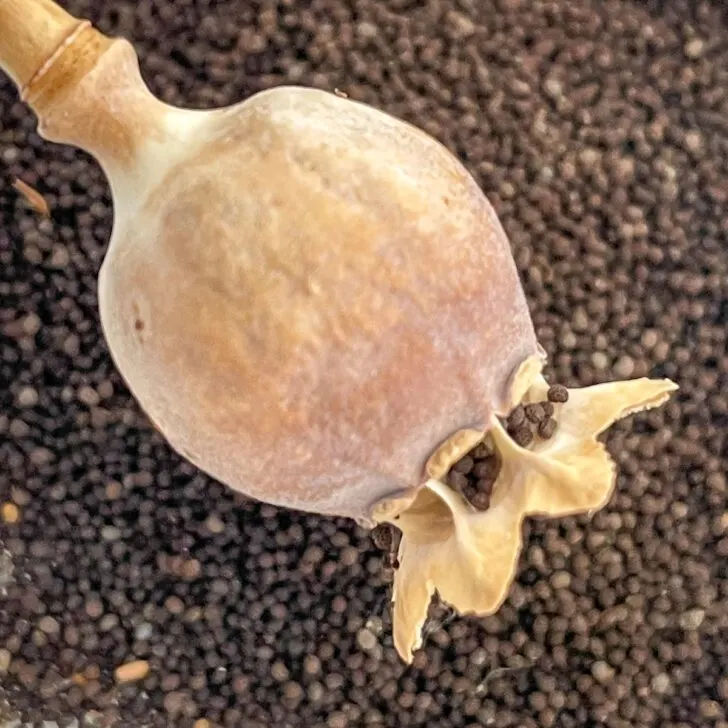
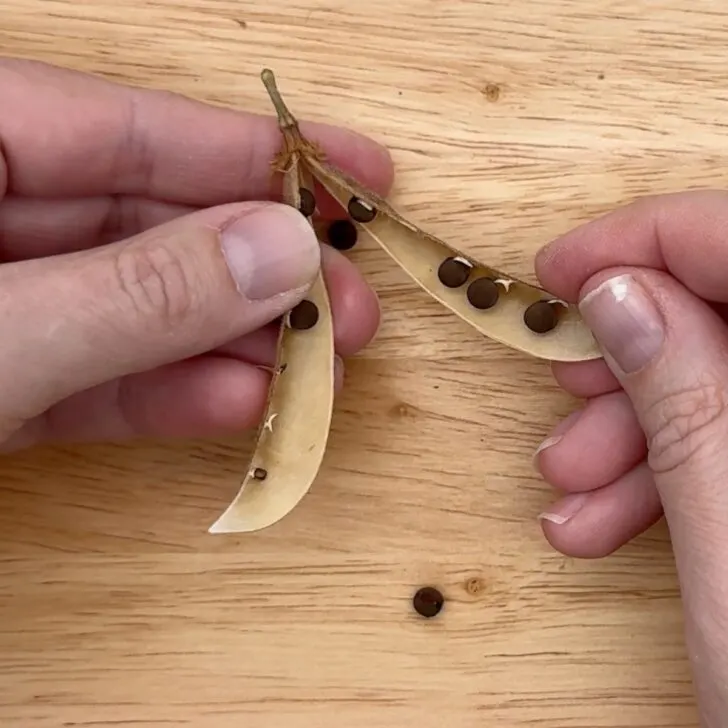
Check out these other seed-saving tutorials!

Su
Wednesday 18th of September 2024
Absolutely brilliant. Thanks for that. I liked the photos very much.