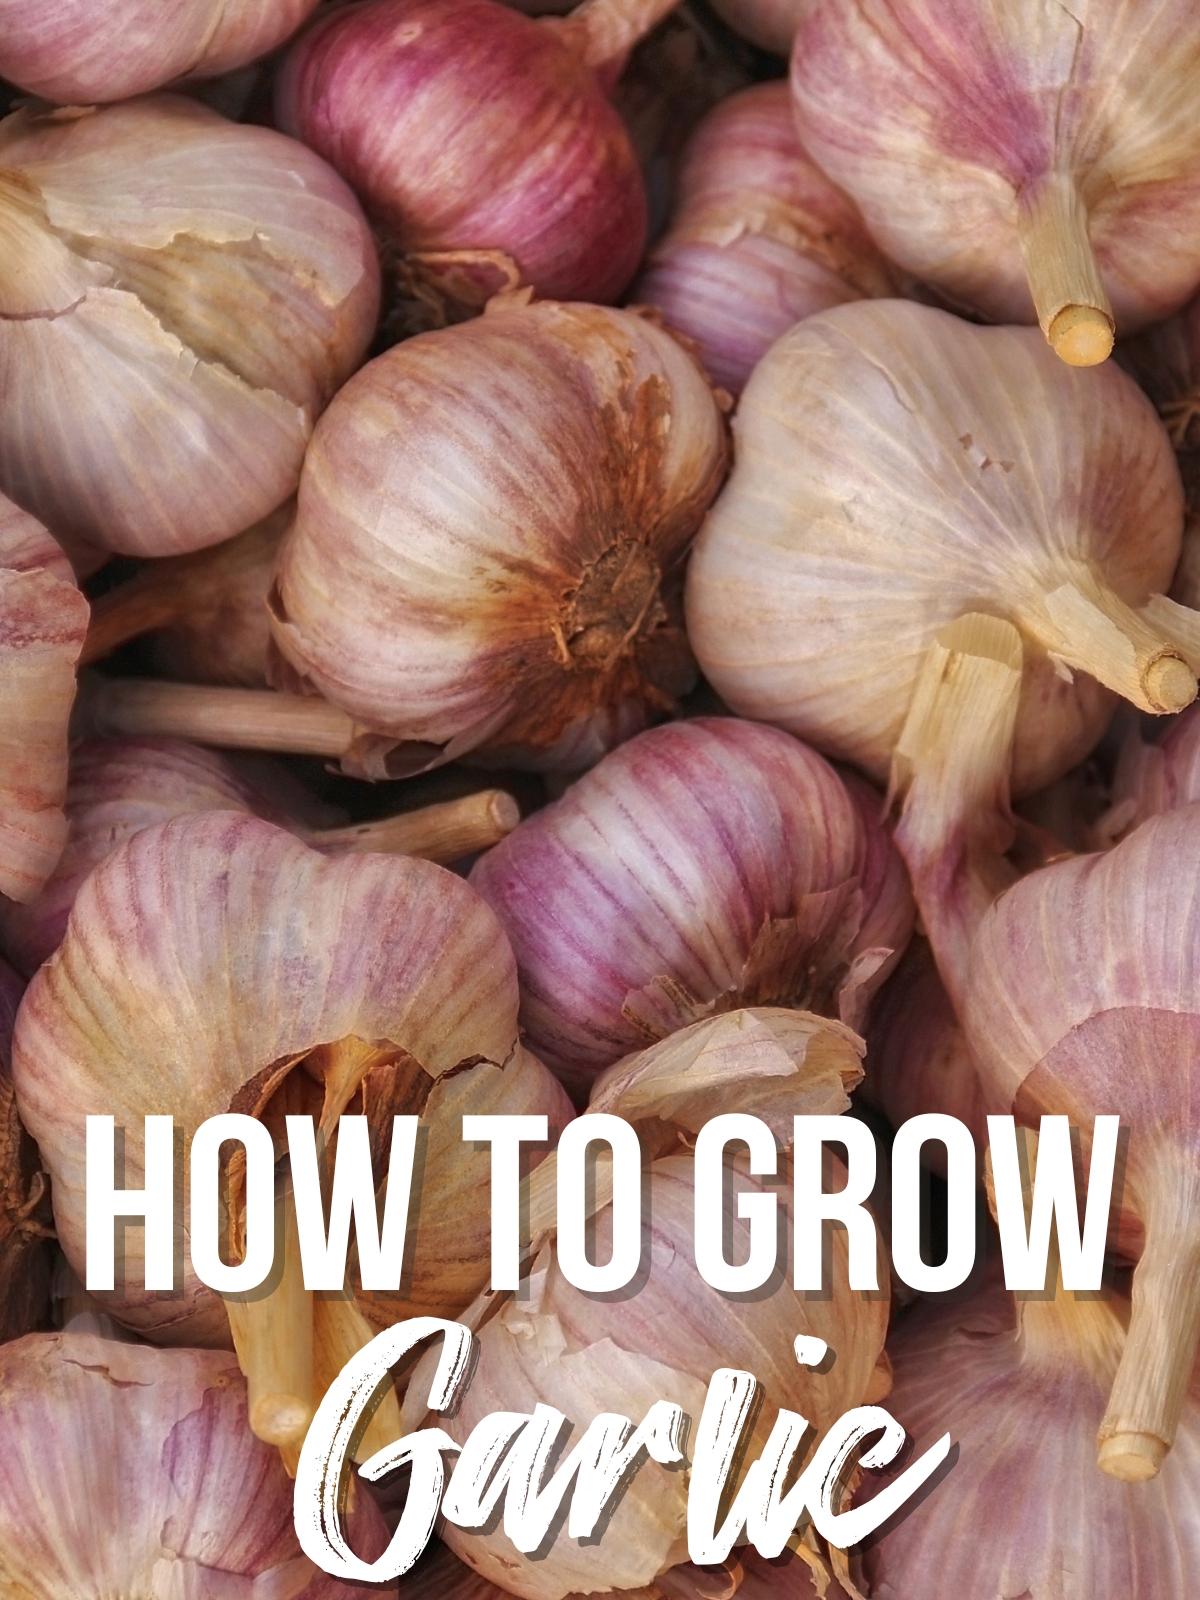
You don't need a huge garden to grow garlic! Learn how to grow garlic in grow bags or pots on your deck or balcony and get a great harvest!

Planting garlic in grow bags is a great way to grow this kitchen staple just about anywhere. Grow bags give you more control over the nutrients in the soil and make it easy to move the plant to a sunnier spot as light levels change in spring.
These fabric pots also allow for better drainage, which is crucial for root plants like garlic. You can learn more about the pros and cons of gardening with grow bags here!
So, if you've ever wondered how to grow your own garlic but didn't think you had the room or the right conditions, read on. This guide is for you!
This post contains affiliate links for your convenience. Purchases made through these links may earn me a small commission at no additional cost to you.
Choosing the Right Container
Size does matter when it comes to choosing a container for your garlic. You'll want a pot that's at least 8 inches deep to give those roots room to grow. A width of 10 inches or more is also a good idea, especially if you plan on planting multiple cloves.
Don't forget about drainage. A solid container or pot should have drainage holes at the bottom to prevent waterlogging. Garlic doesn't like "wet feet," so good drainage is crucial for a healthy harvest.
Grow bags are porous on all sides, so my garlic will survive our wet Seattle winter without any issues. If your winters are cold but dry, consider adding a layer of mulch to the top to retain moisture.
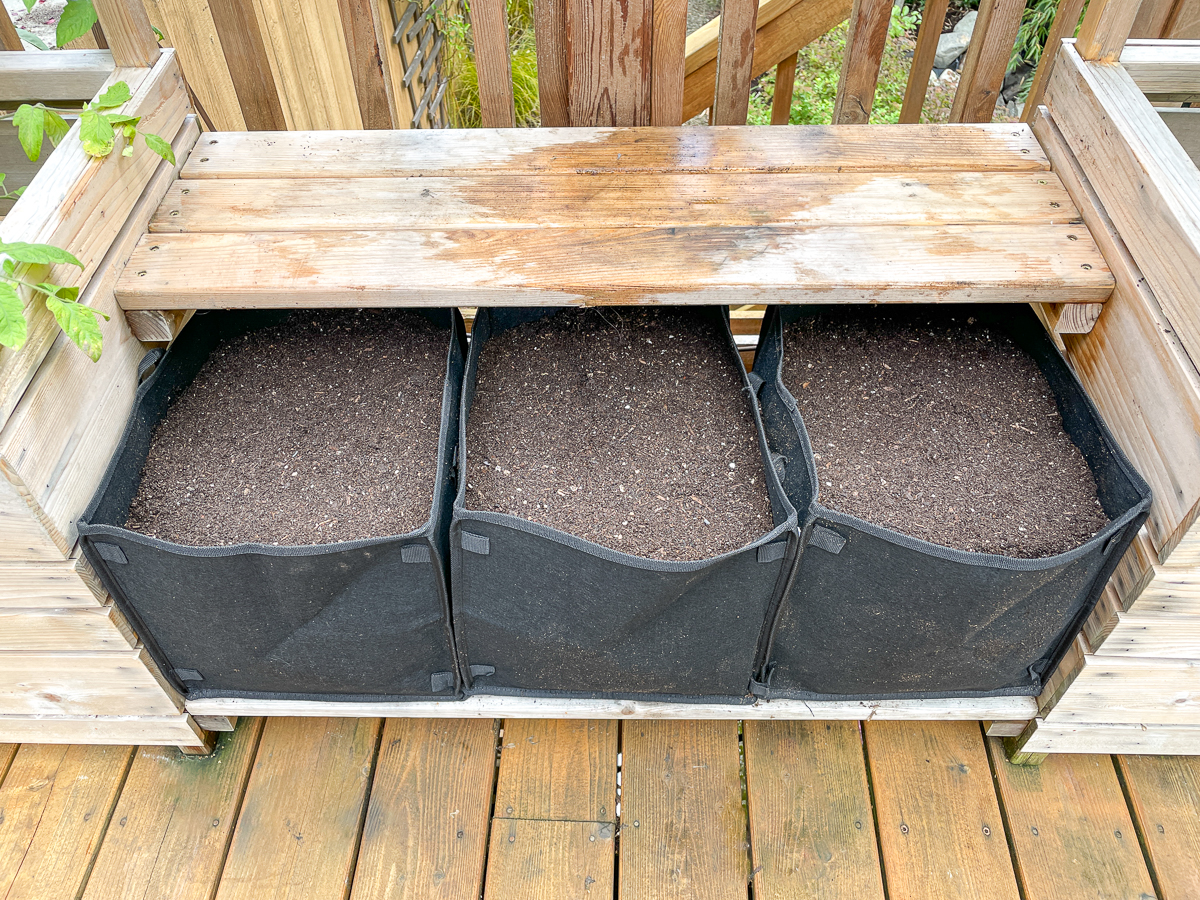
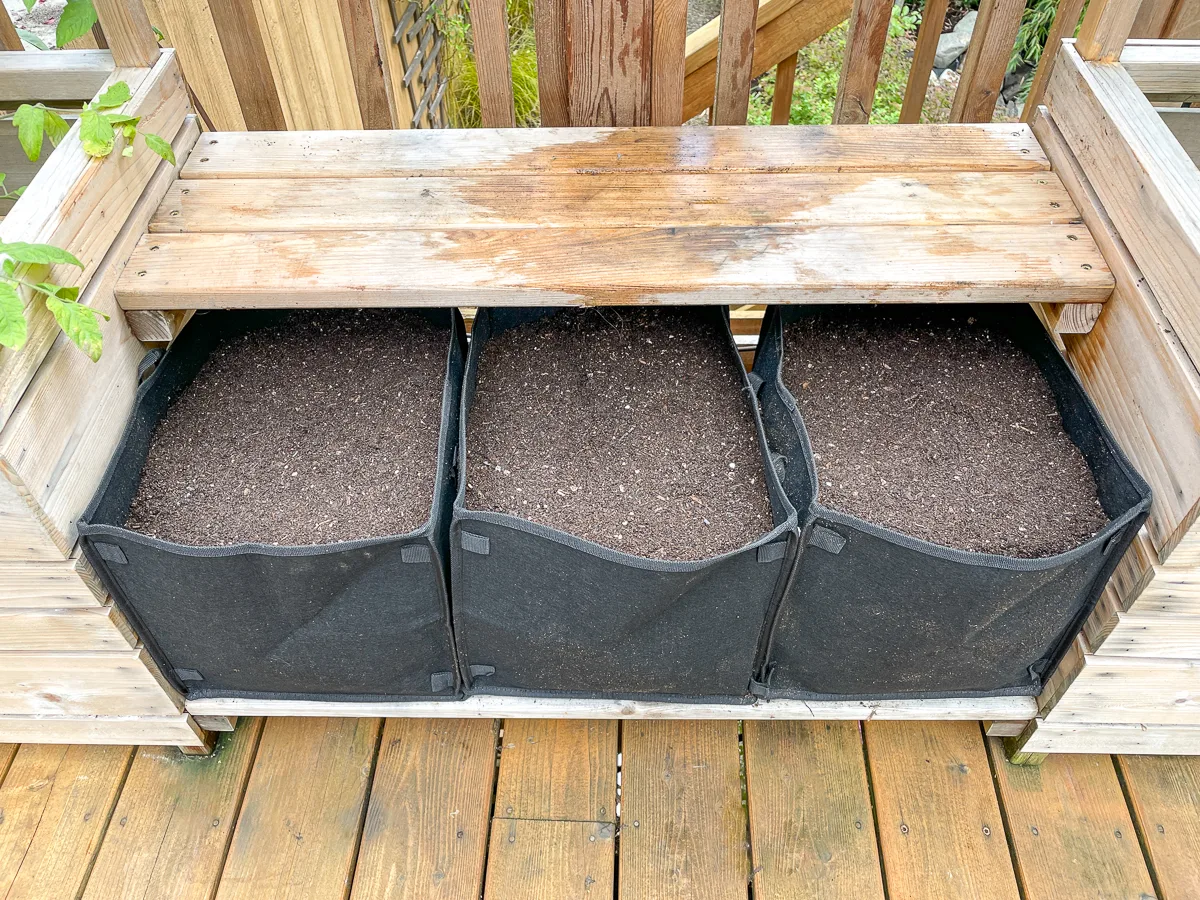
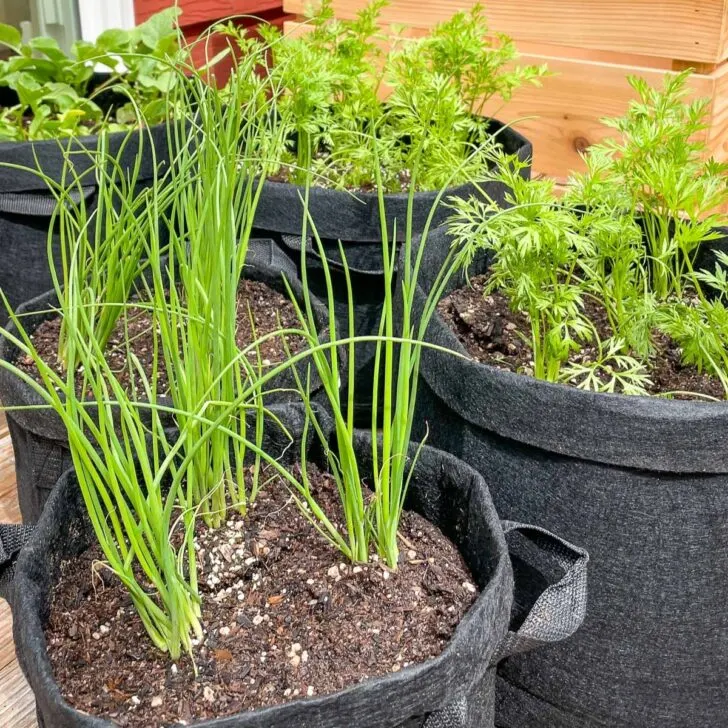
I'm planting my garlic in these 7 gallon grow bags. Three of them fit perfectly on the lower shelf of my outdoor plant stand, and the square shape allows me to maximize the space.
Selecting the Right Garlic Variety
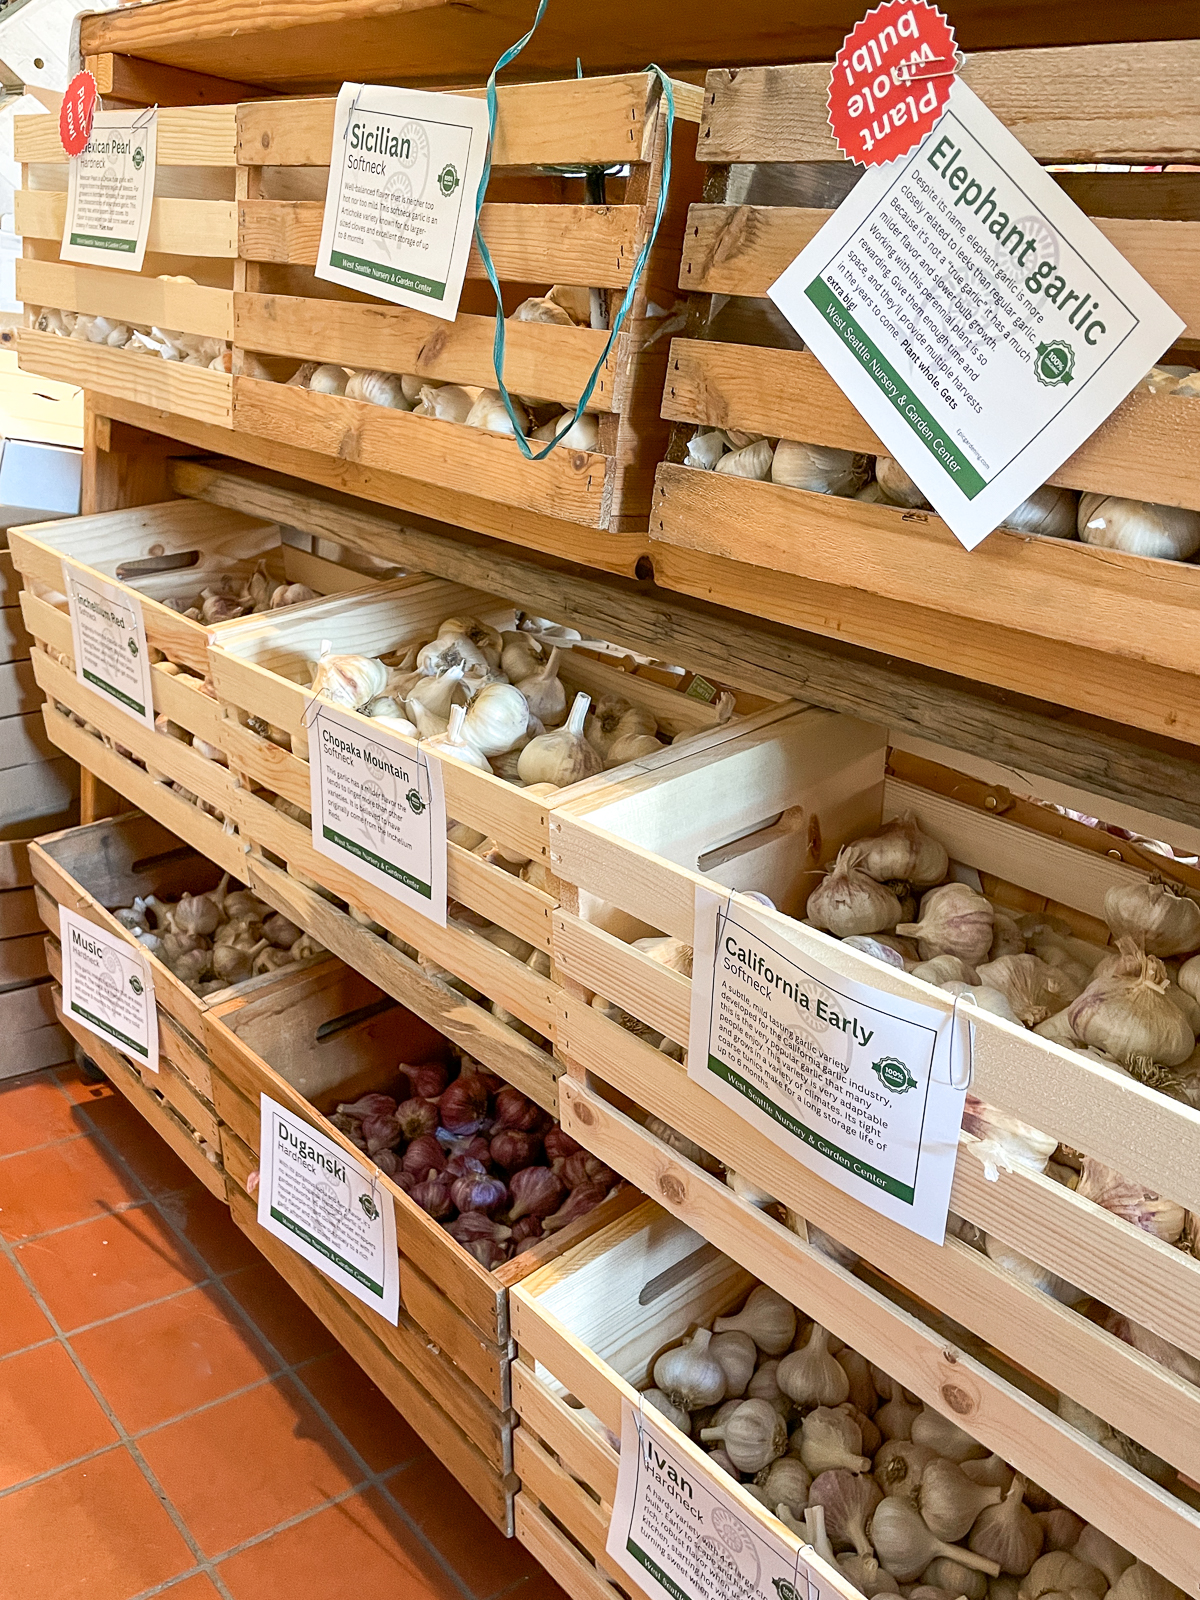
Now that you've got your container sorted, it's time to talk garlic varieties. There are mainly two types to consider: softneck and hardneck.
Softneck garlic produces more small cloves and stores well, which is why it's the type most commonly found in grocery stores. However, it's better suited for warmer climates that don't get below freezing in winter.
Hardneck garlic is known for its strong flavor and produces garlic scapes as well as bulbs for twice the harvest. However, hardneck varieties need a prolonged cold period to bulb up, so only choose this type if your area gets at least a few weeks of freezing temperatures in winter.

I live in zone 8b, where we have fairly mild winters but can get freezing temperatures. We can typically plant either type of garlic successfully here, but hardneck varieties may not get enough cold to grow well in the ground.
Here's where planting garlic in grow bags helps yet again! Because the container doesn't provide much insulation, the garlic will get colder than if it was planted in the ground. This will give hardneck garlic enough cold hours to bulb up properly in summer.
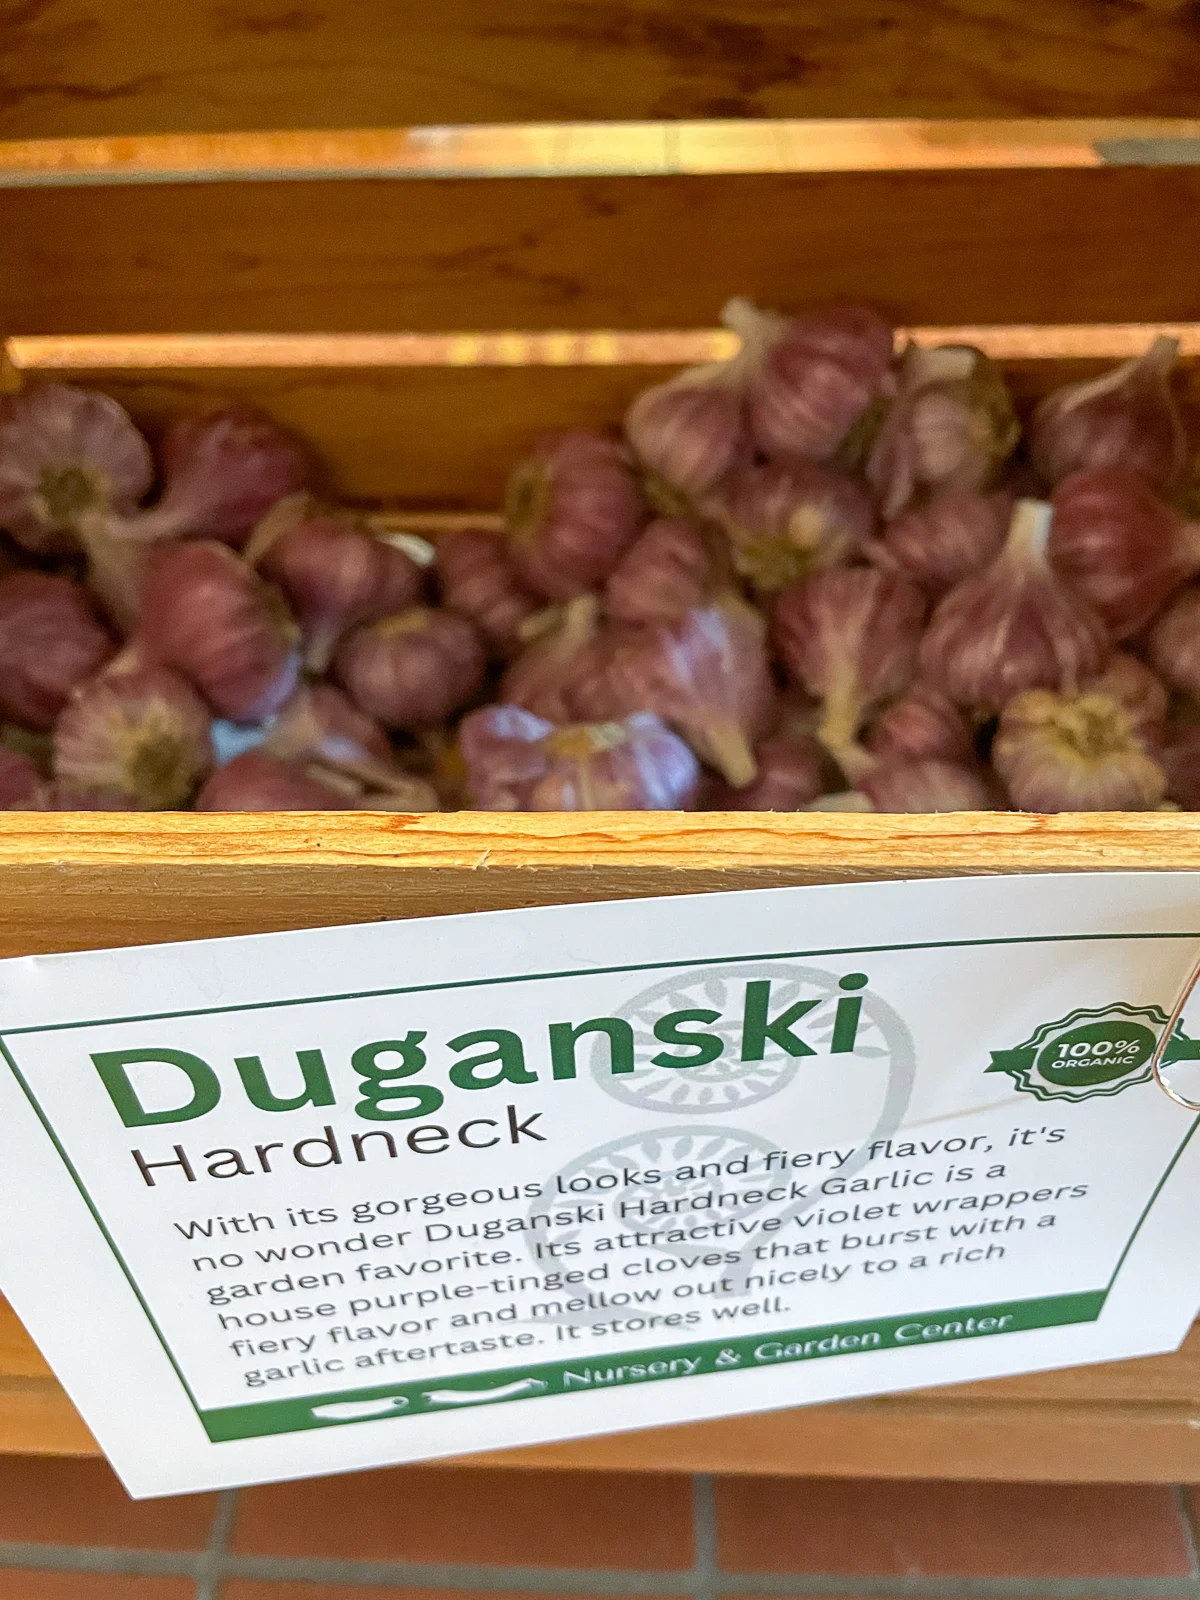
This year, I'm growing Duganski hardneck garlic. It has a stronger flavor and stores better than other hardneck varieties. We make a lot of garlic pasta, and we're looking forward to trying this one out in our favorite dishes!

Soil and Fertilizer
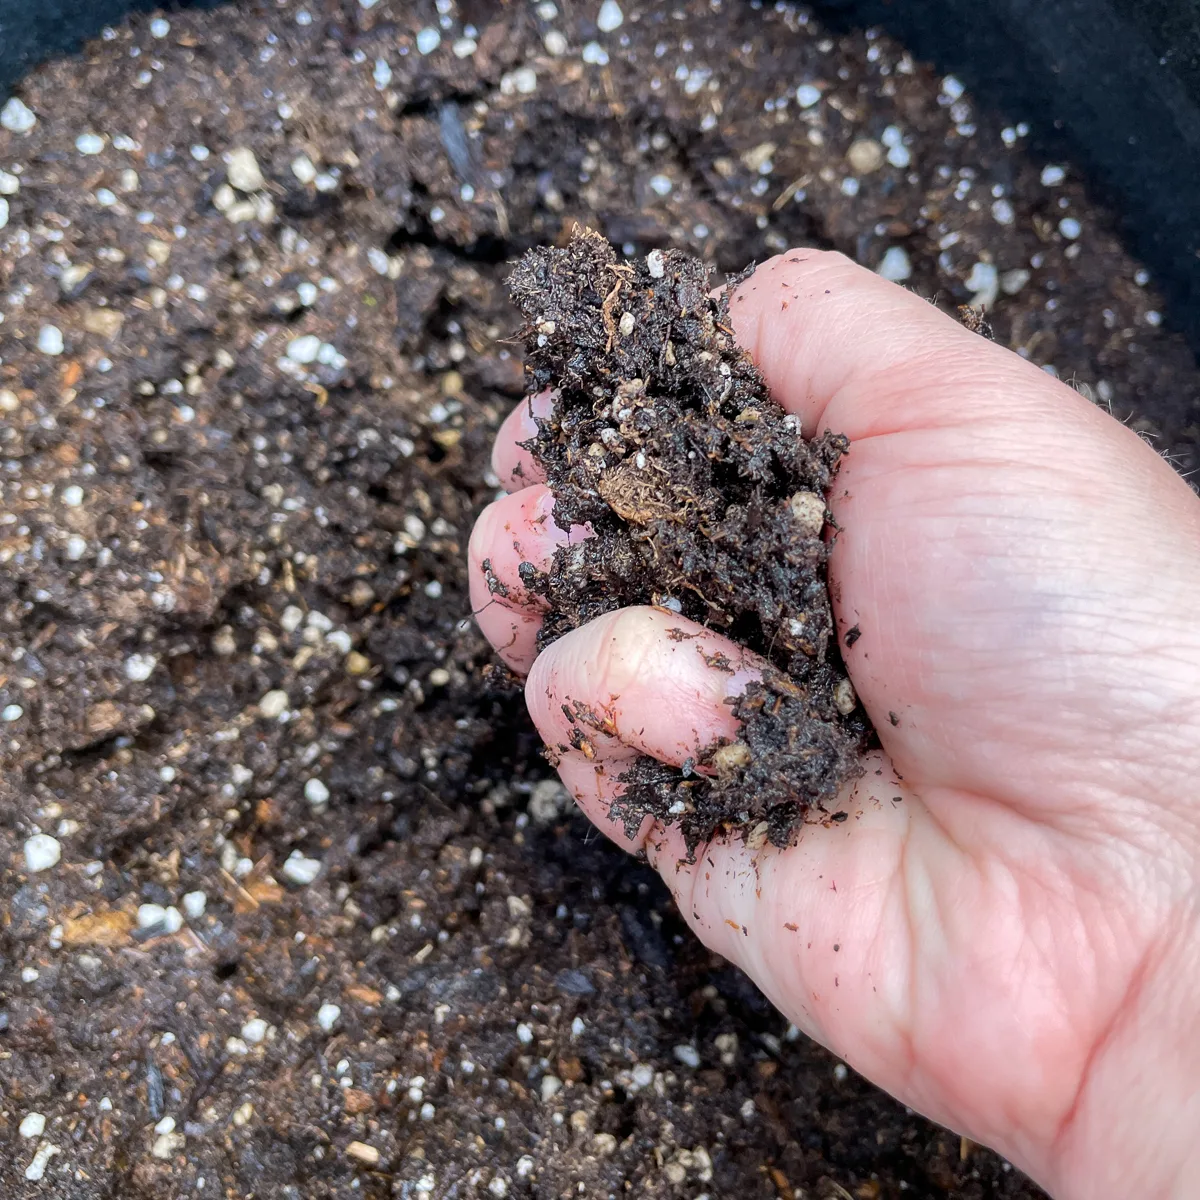
The type of soil you use can make or break your garlic harvest. You'll want a well-draining soil mix, ideally one that's rich in organic matter. Many gardeners opt for a mix of potting soil and compost for the best results.
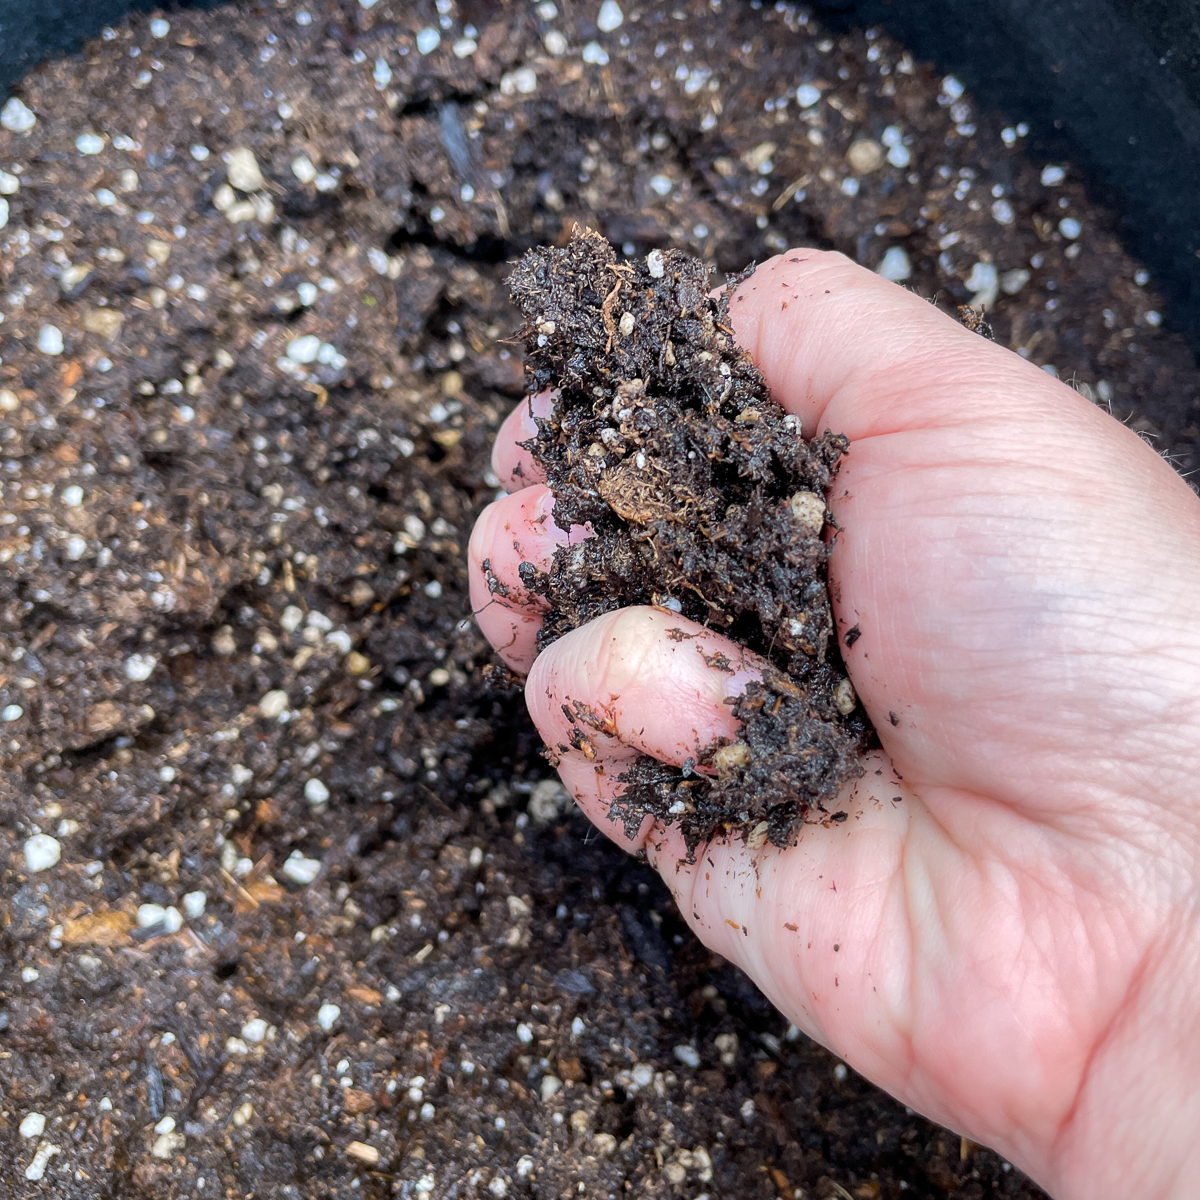
Drainage is key because garlic is prone to root rot if it sits in waterlogged soil. One way to check to see if your soil holds onto too much moisture is to give it a squeeze. If water runs out like a sponge, you should add some sand or perlite to improve the drainage.
Organic materials like compost or well-rotted manure are great for adding nutrients to the soil slowly over time. I like to add a handful of Bio-Tone Starter Fertilizer to each grow bag before planting.
In the spring when the garlic sprouts leaves, sprinkle an organic granular vegetable fertilizer over the soil surface every four weeks until summer. Once the bulbs begin to form, garlic ceases to benefit from fertilizing.
Separating and selecting the garlic cloves
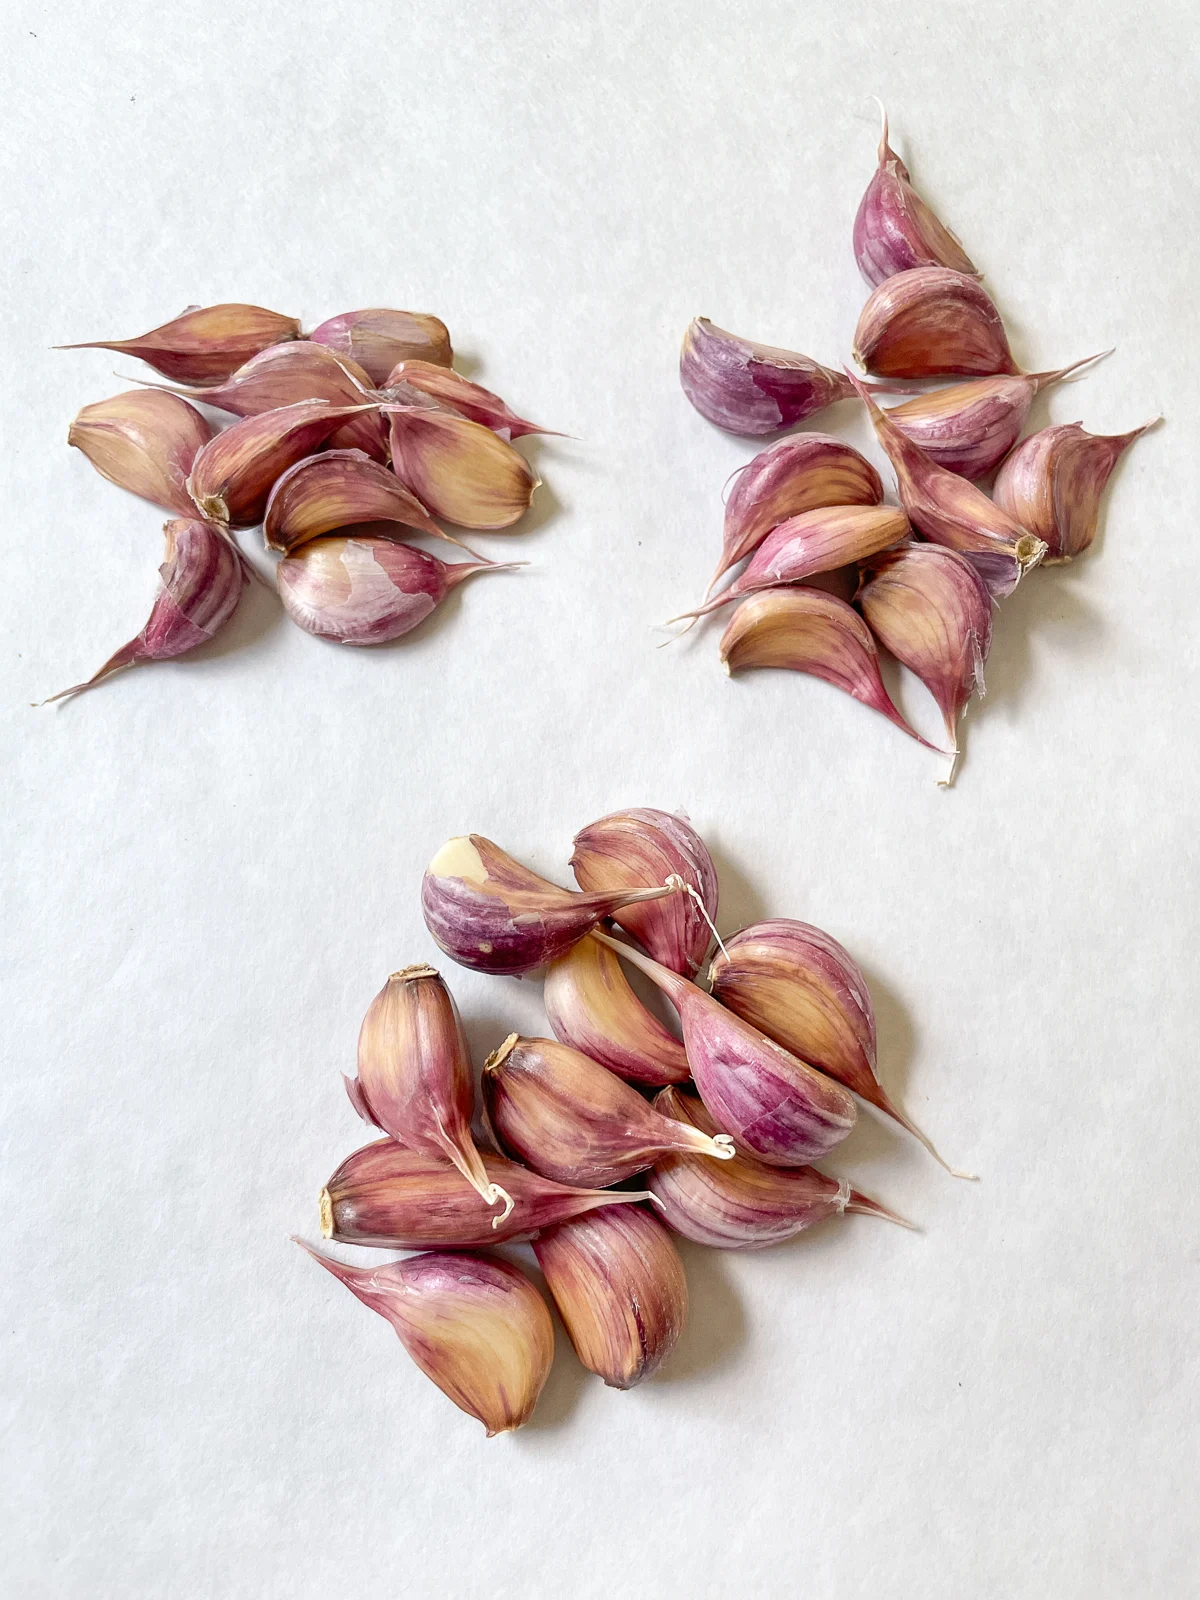
Each clove of garlic will produce a new bulb. But larger cloves grow into bigger, healthier garlic bulbs. If space is an issue, separating out the biggest ones will give you the best crop next year!
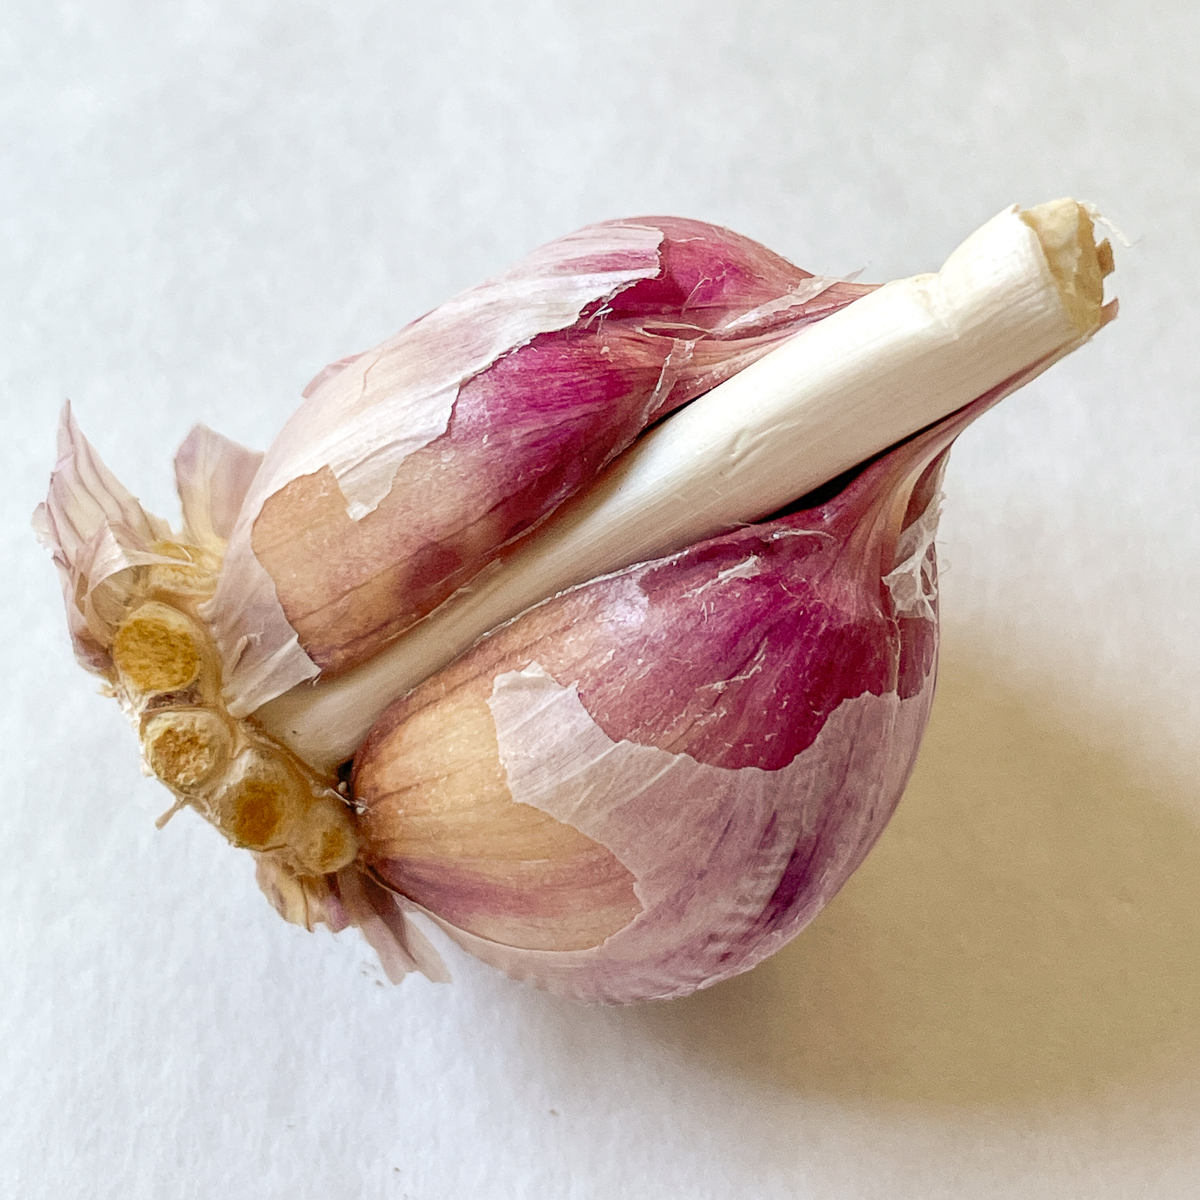
Start by breaking apart a garlic bulb to reveal the individual cloves. Do this gently to avoid damaging them, and keep most of the paper intact. You can see the central stalk of the hardneck garlic with the cloves arranged around it.

I opened up all three bulbs I bought and sorted the cloves by size. I'll be planting five cloves in each 7 gallon grow bag, so I chose the biggest ones (the bottom pile) for planting.

Planting garlic in grow bags
Garlic cloves should be planted about 4-6 inches apart with the tip of the clove 3" below the soil surface. I filled my grow bags until the soil level was about 5" from the top, then placed the cloves with the pointy end facing up and the flat end down.
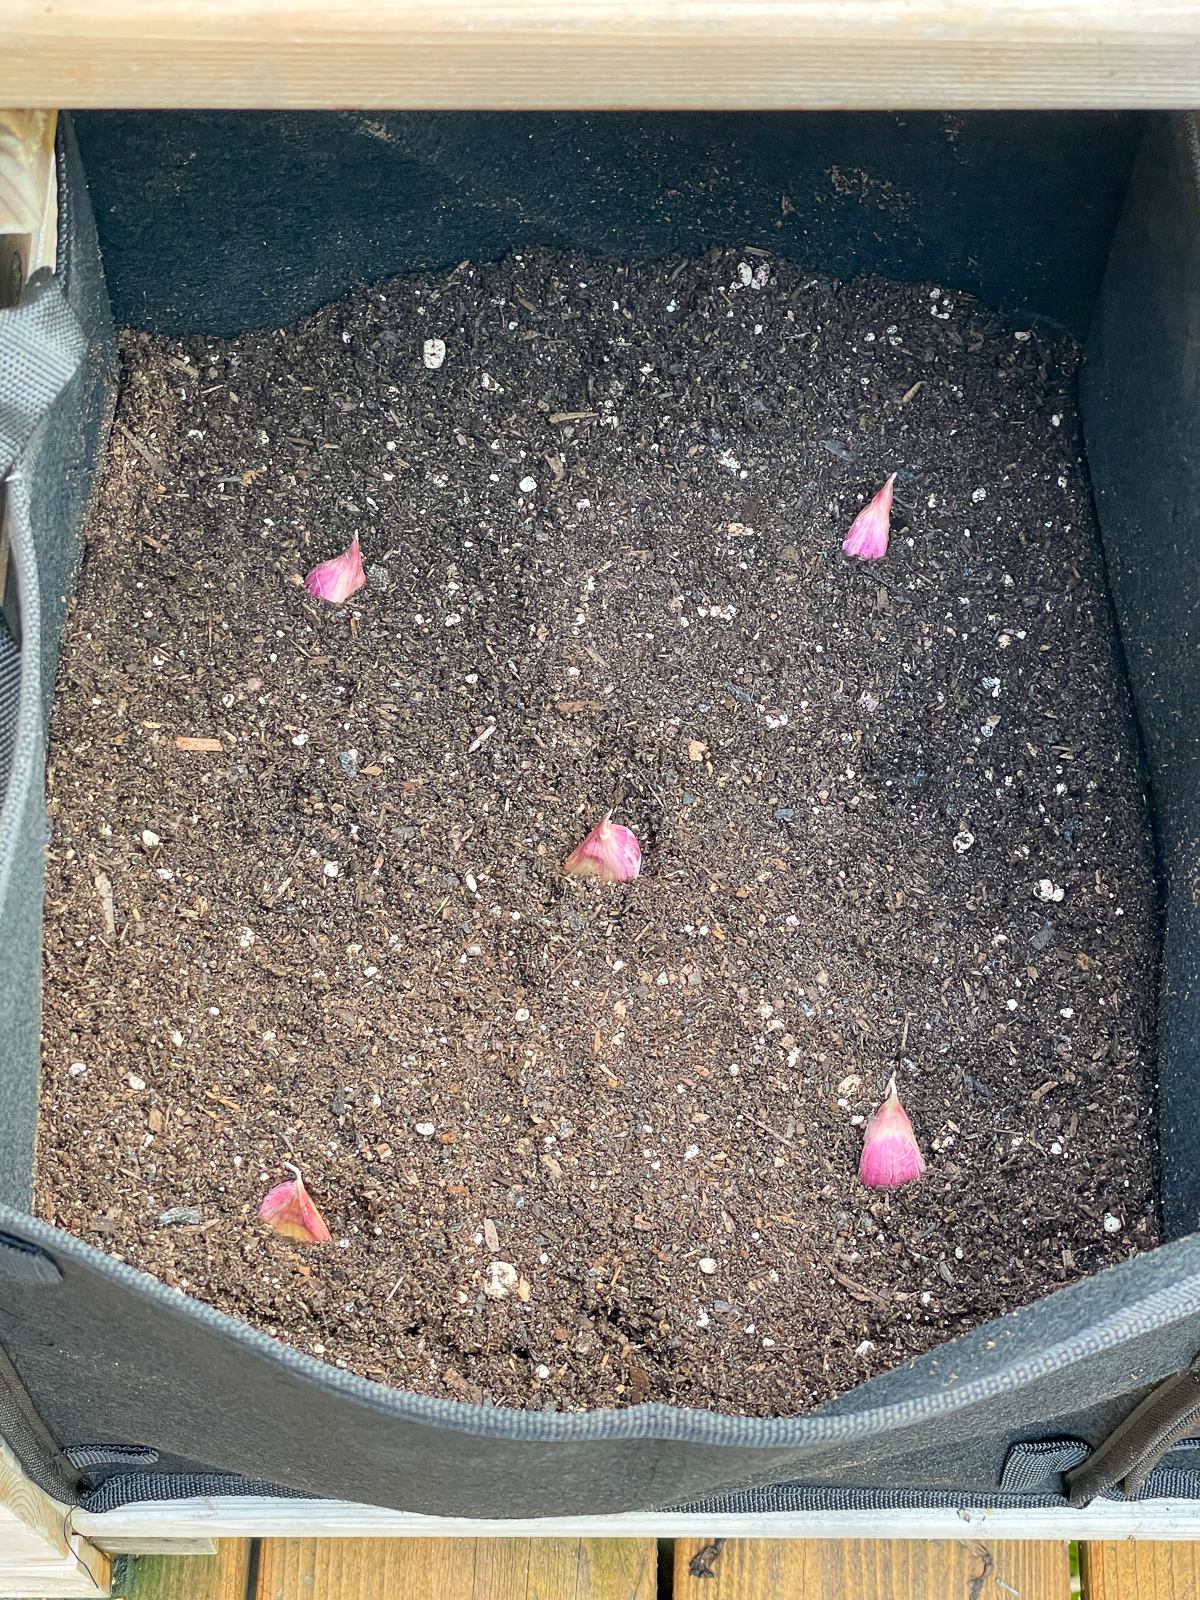

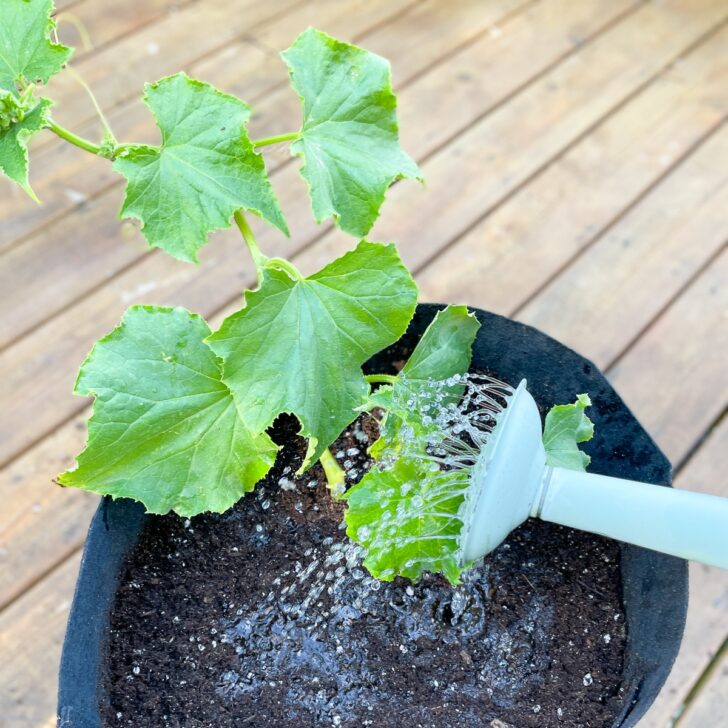
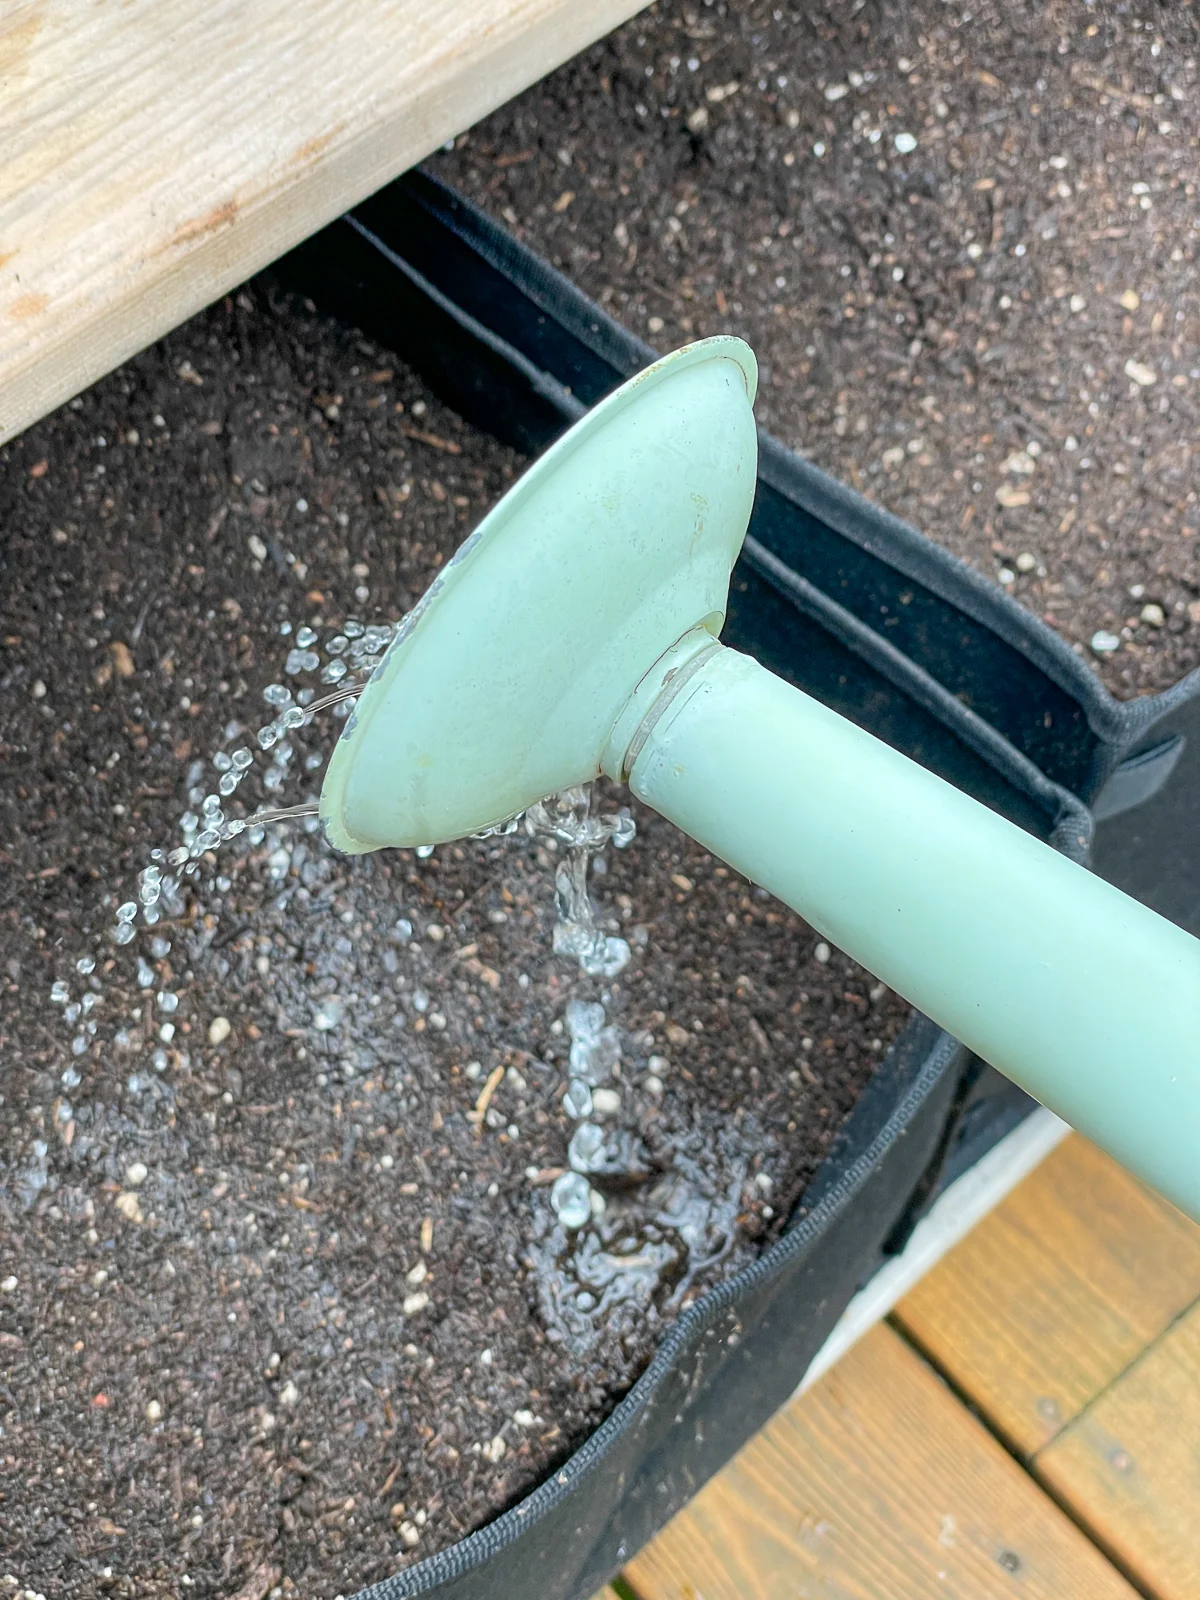
Cover the cloves with 3 inches of soil, leaving some space at the top of the grow bag or pot. This will give you room to add mulch, which will help retain moisture if your winters are typically dry. Give your newly planted garlic a good watering to settle the soil.

Watering and Sunlight
Speaking of watering, garlic likes consistent moisture but not waterlogged conditions. A good rule of thumb is to water when the top inch of soil feels dry to the touch. Seattle winters are really, really wet, so I doubt I'll need to water these at all until late spring when I turn on our drip irrigation system.
Aim for at least 6 to 8 hours of direct sunlight per day. The beauty of container gardening is that you can easily move your plants around so they get the right amount of sunlight.
During the winter, this spot on our deck gets full sun because the surrounding trees have lost their leaves. When they begin to leaf out again in late spring, I'll move these grow bags to a sunnier spot.
Harvesting and Storing
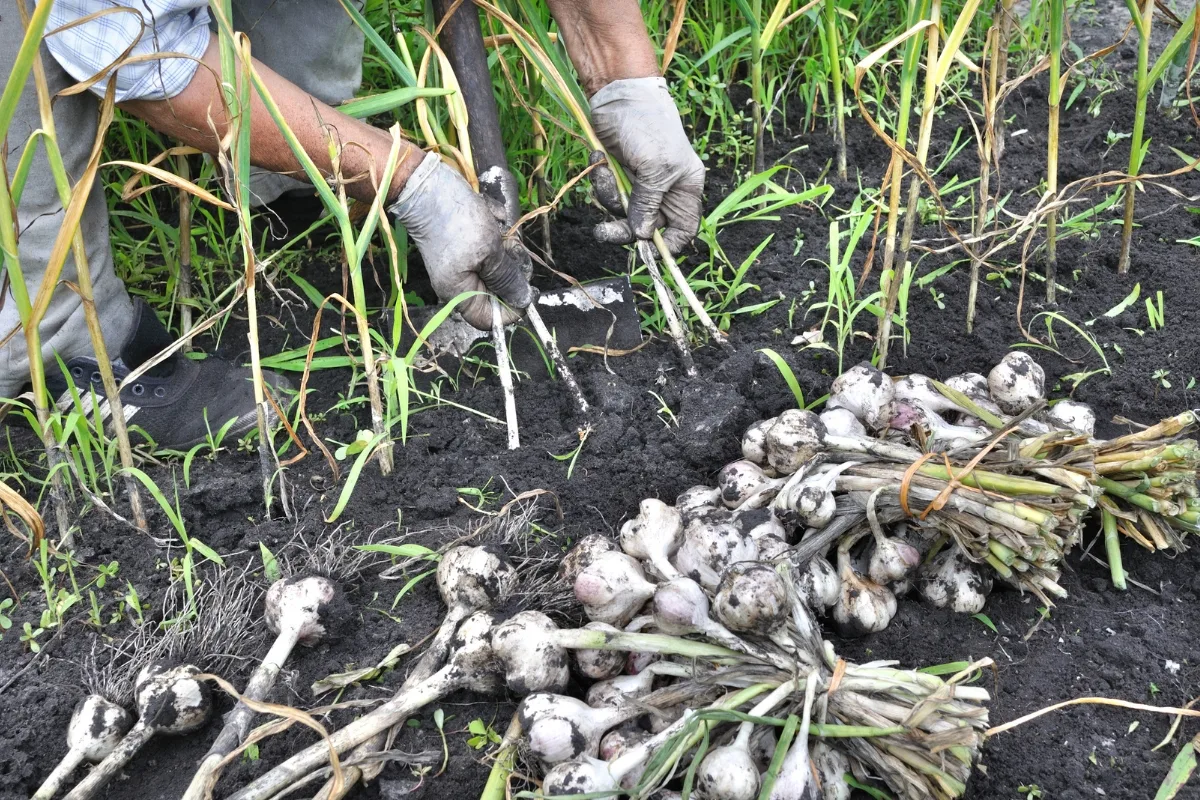
How do you know when it's the right time to harvest? A good indicator is the leaves. When they start to turn yellow, it's usually a sign that your garlic is ready for harvesting.
To harvest, gently loosen the soil around the bulb with a trowel or your hands, and then pull the garlic out. Be careful not to damage the bulb or the cloves, as this can affect their storage life.

After harvesting, you'll want to cure your garlic to extend its shelf life. To do this, hang the bulbs in a dry, well-ventilated area for about two weeks. Once they're fully cured, store them in a cool, dry place with good air circulation.
With proper harvesting and storage, you can enjoy your homegrown garlic for months to come. Softneck varieties can be stored for up to a year under the right conditions. Hardnecks typically only last 3-6 months, so they should be used up first.
So, what are you waiting for? Get your hands dirty and start planting! Whether you're a seasoned gardener or a complete newbie, container gardening offers a flexible and manageable way to grow garlic. And when you're enjoying that first homegrown clove in your favorite dish, you'll know it was all worth it!
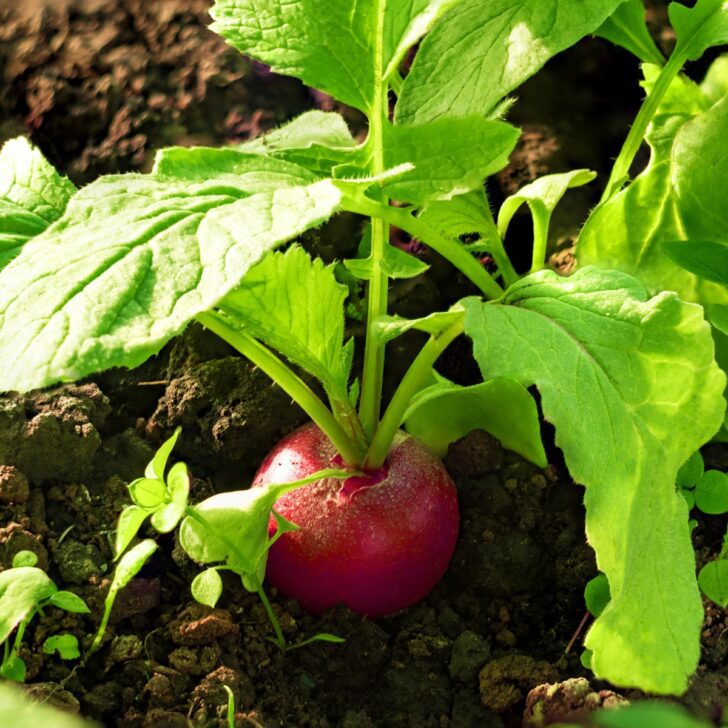
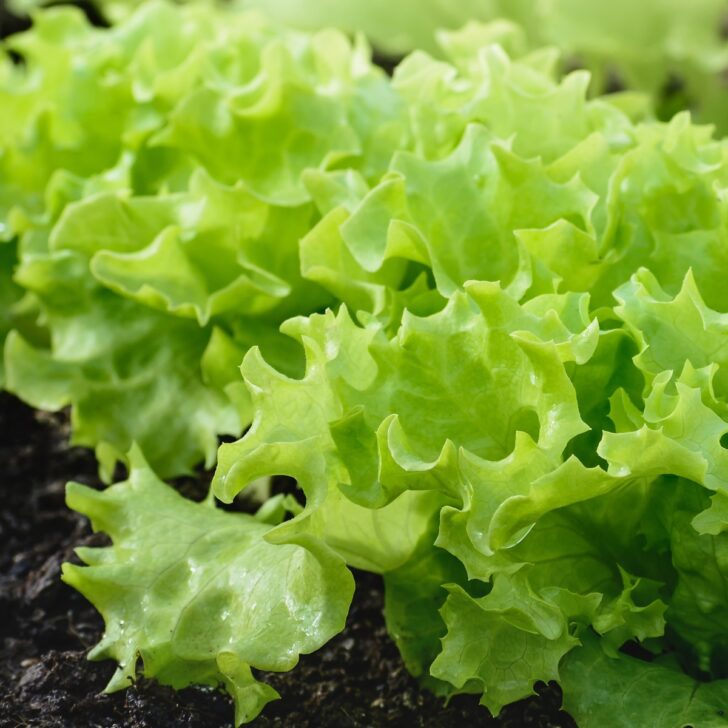
Check out these other vegetables you can grow in containers!