Growing plants in grow bags is similar to any other container. But consider these things before you sow those seeds or plant those plugs!

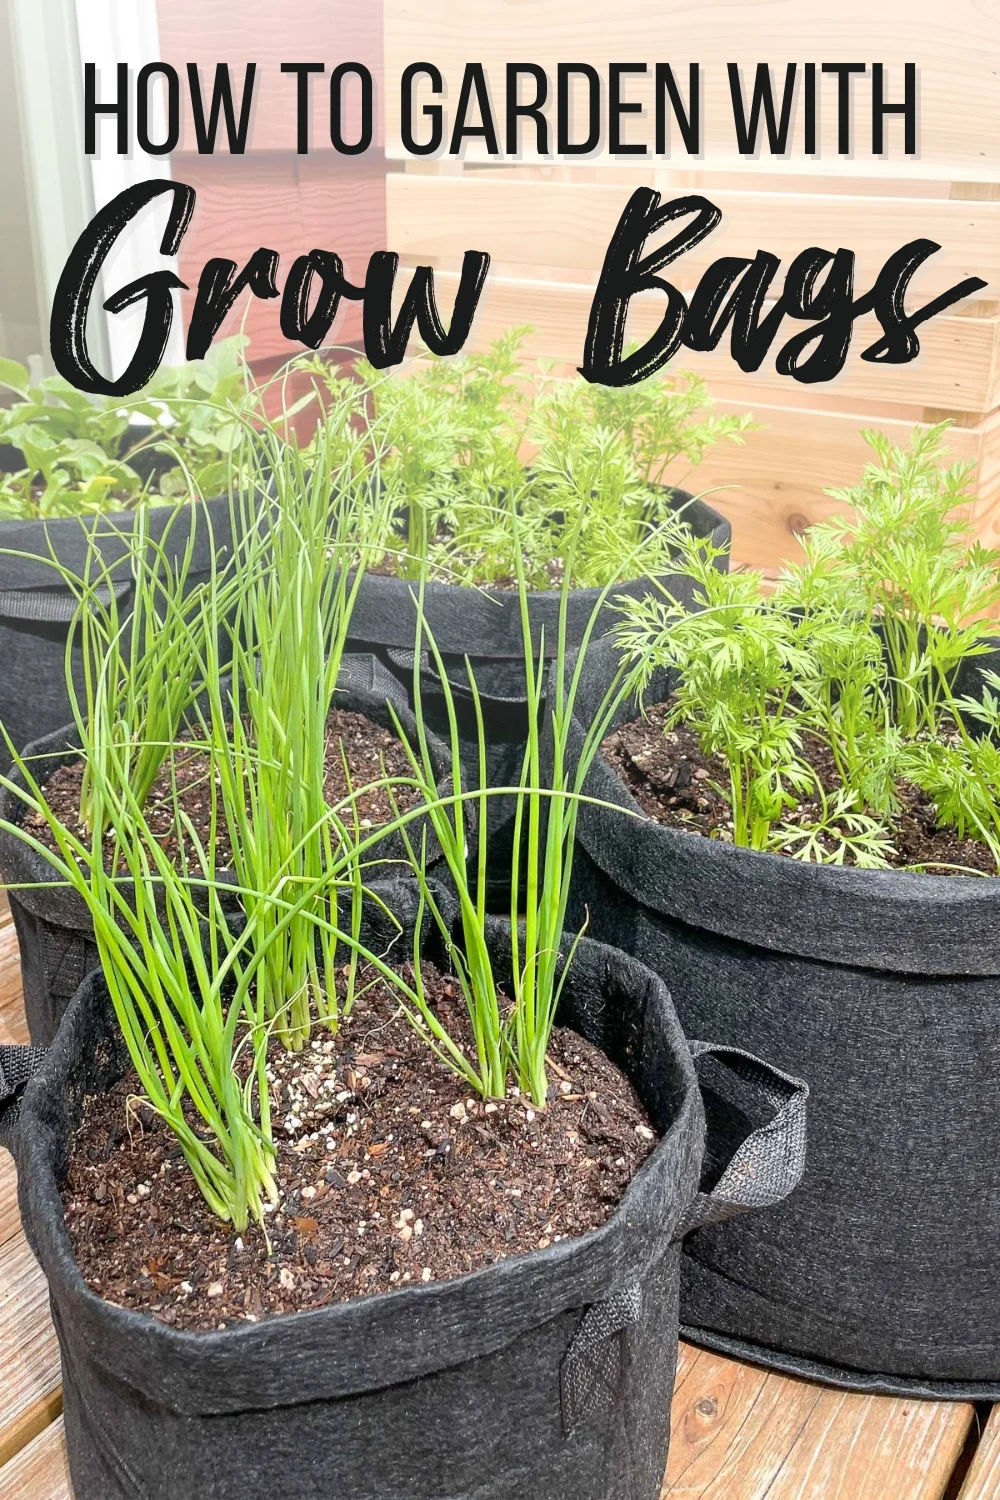
There are plenty of benefits (and a few drawbacks) to using grow bags instead of a plastic pot. If you've decided to use these fabric sacks for your next crop, here are a few things to keep in mind when you plant them up!
This post contains affiliate links for your convenience. Purchases made through these links may earn me a small commission at no additional cost to you.
Consider the Size of Your Plant when Fully Grown
You don't want your plant to outgrow your pot. Make sure you have the best-sized pot for your plant at the start, to save yourself the trouble of repotting and reduce transplant shock.
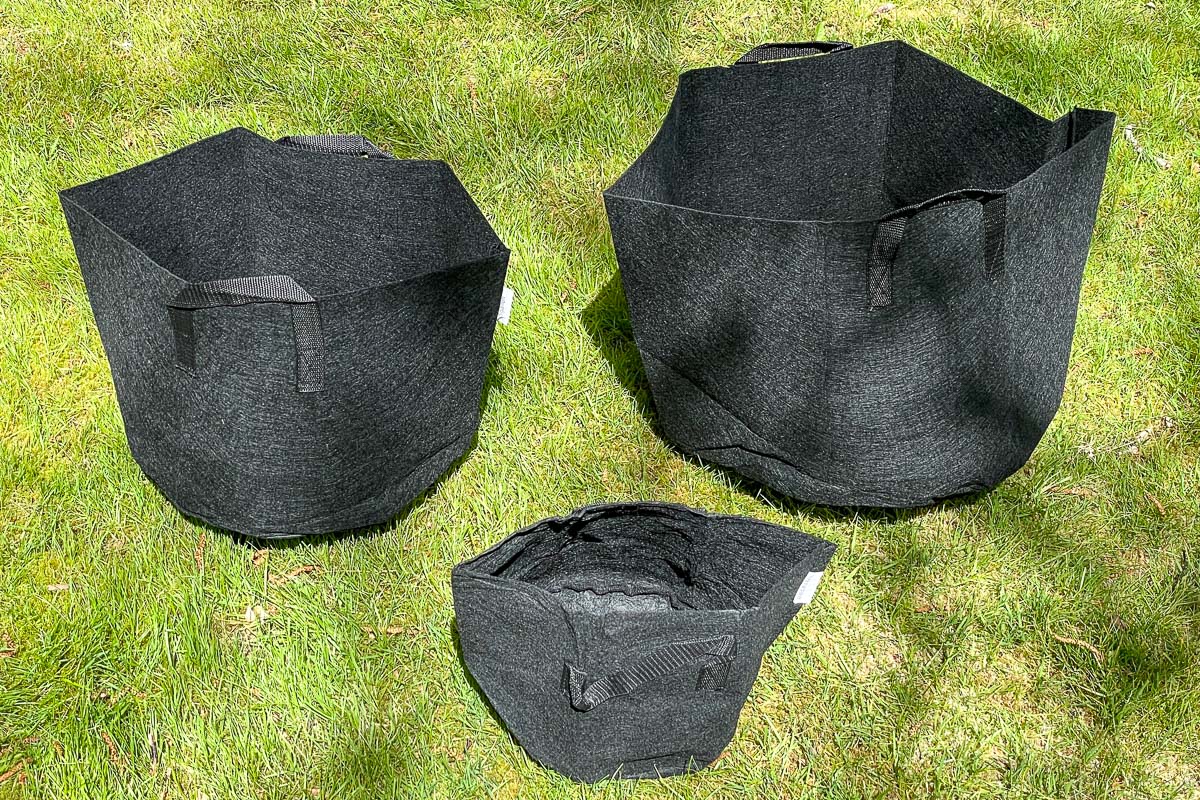
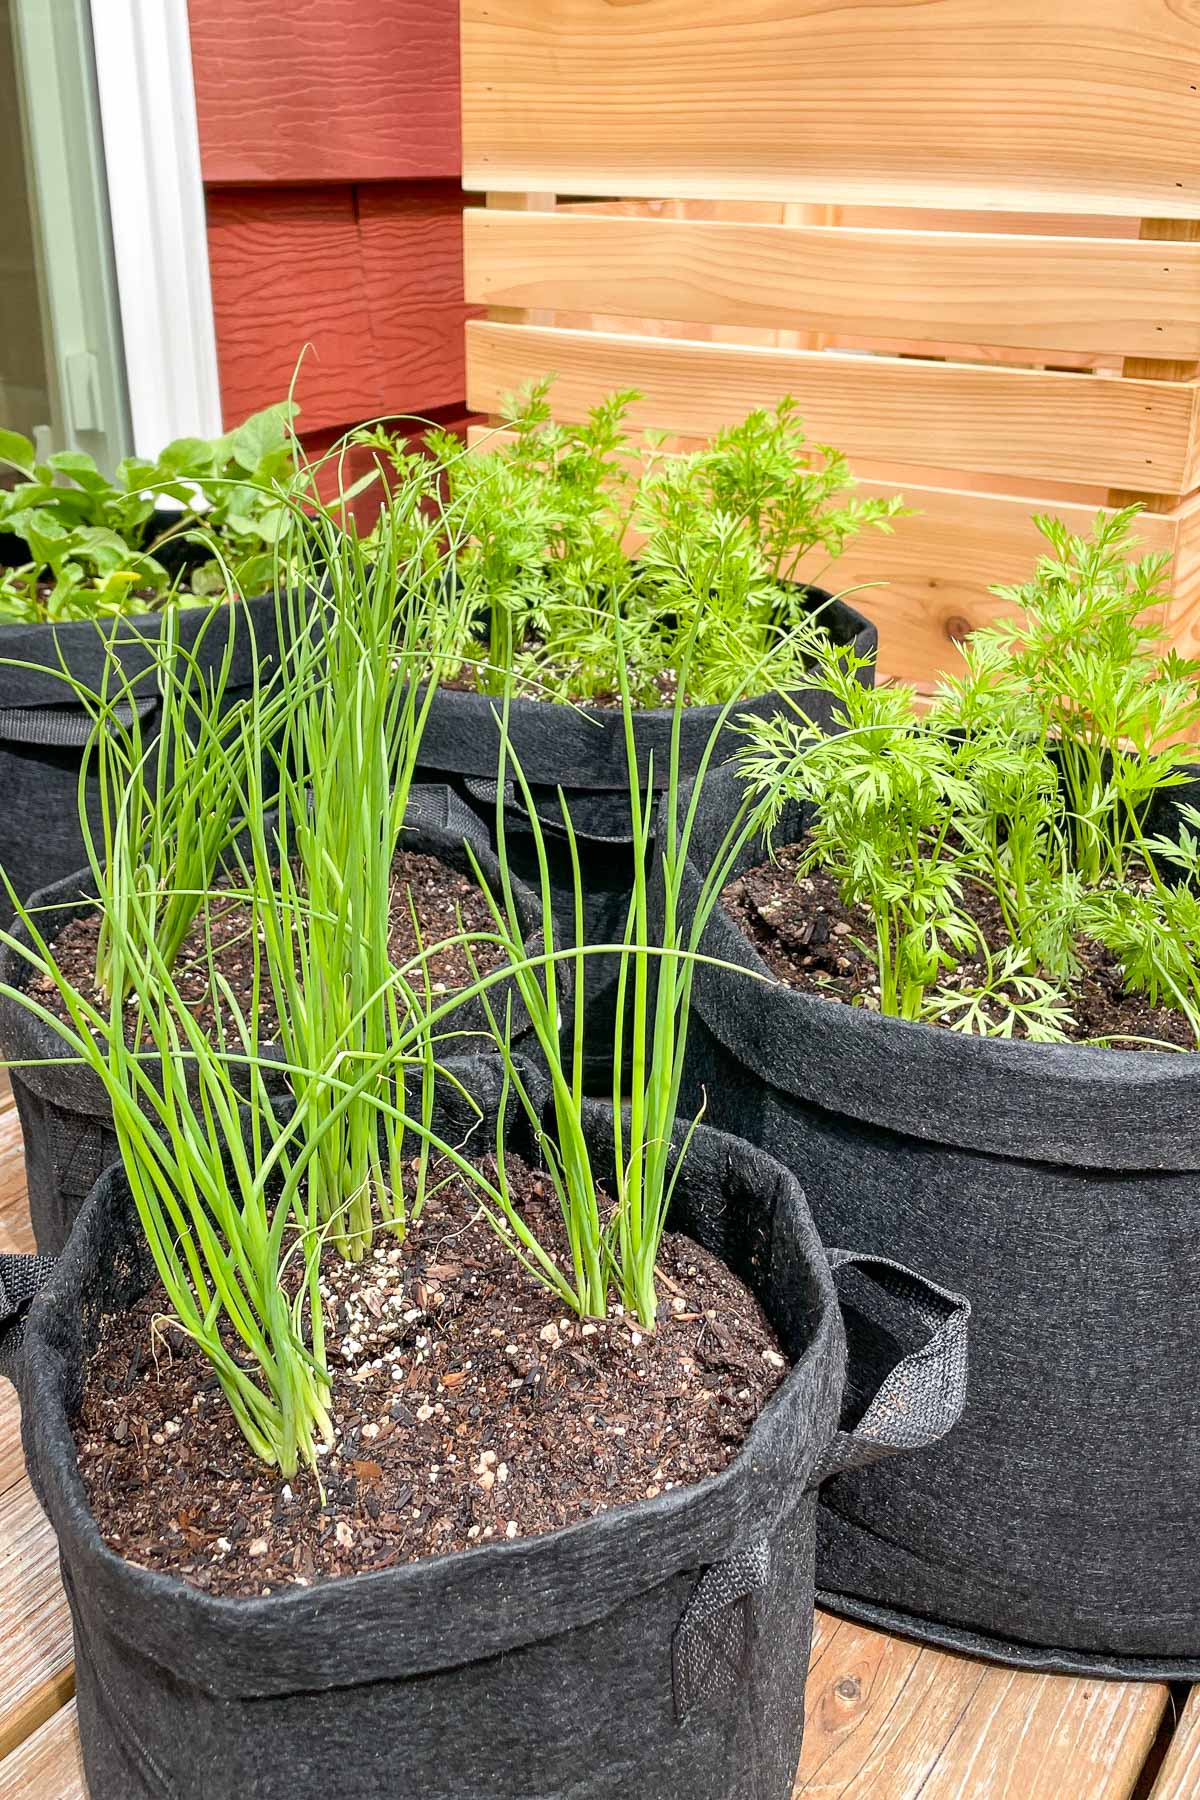
Grow bags are typically sold in a variety of gallon sizes. I picked up a variety of Vivosun 2-gallon, 5-gallon and 10-gallon bags for my vegetable garden. This brand tends to hold up better than some of the cheaper ones you can find online. You can see the difference in sizes below.

Here are some guidelines for the most common vegetables:
- Tomatoes - 5-10 gallons (full-size), 3-5 gallons (cherry)
- Beans - 3 to 5 gallons.
- Cucumbers - 5-10 gallons (less for dwarf)
- Carrots - 1 quart to 3 gallons, 12 inches deep
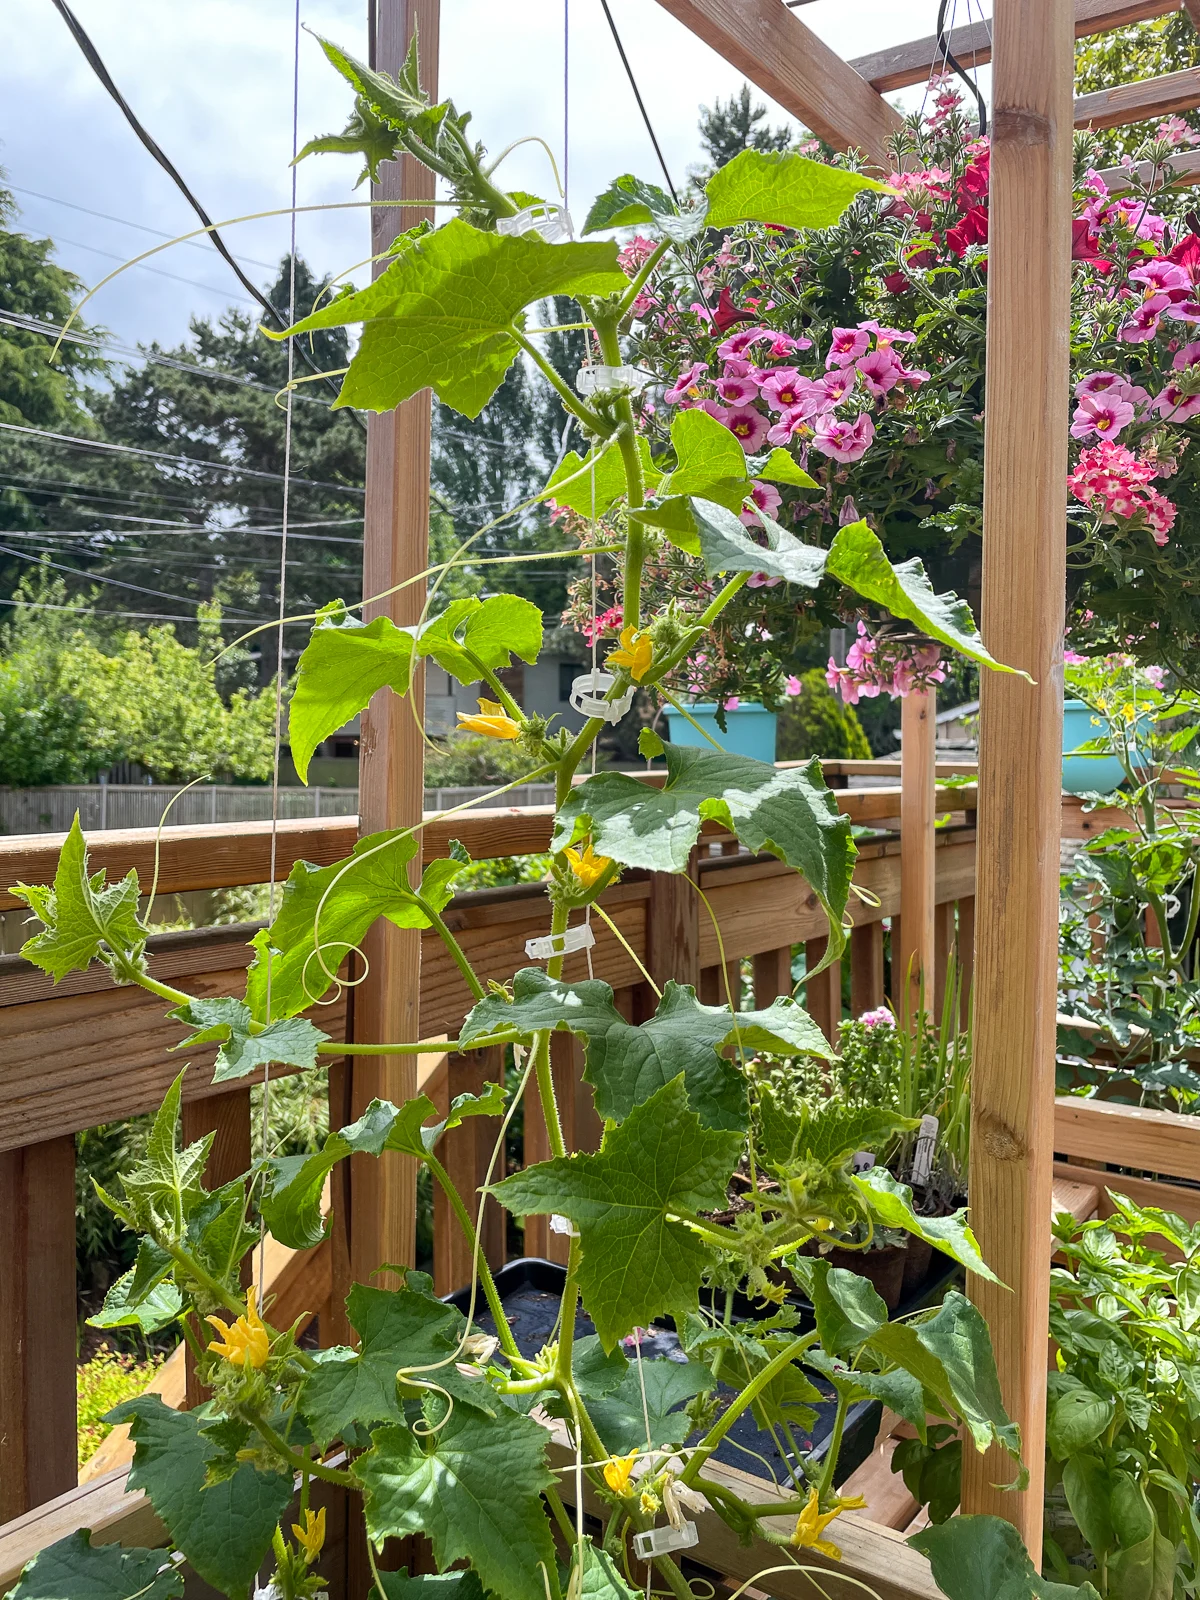
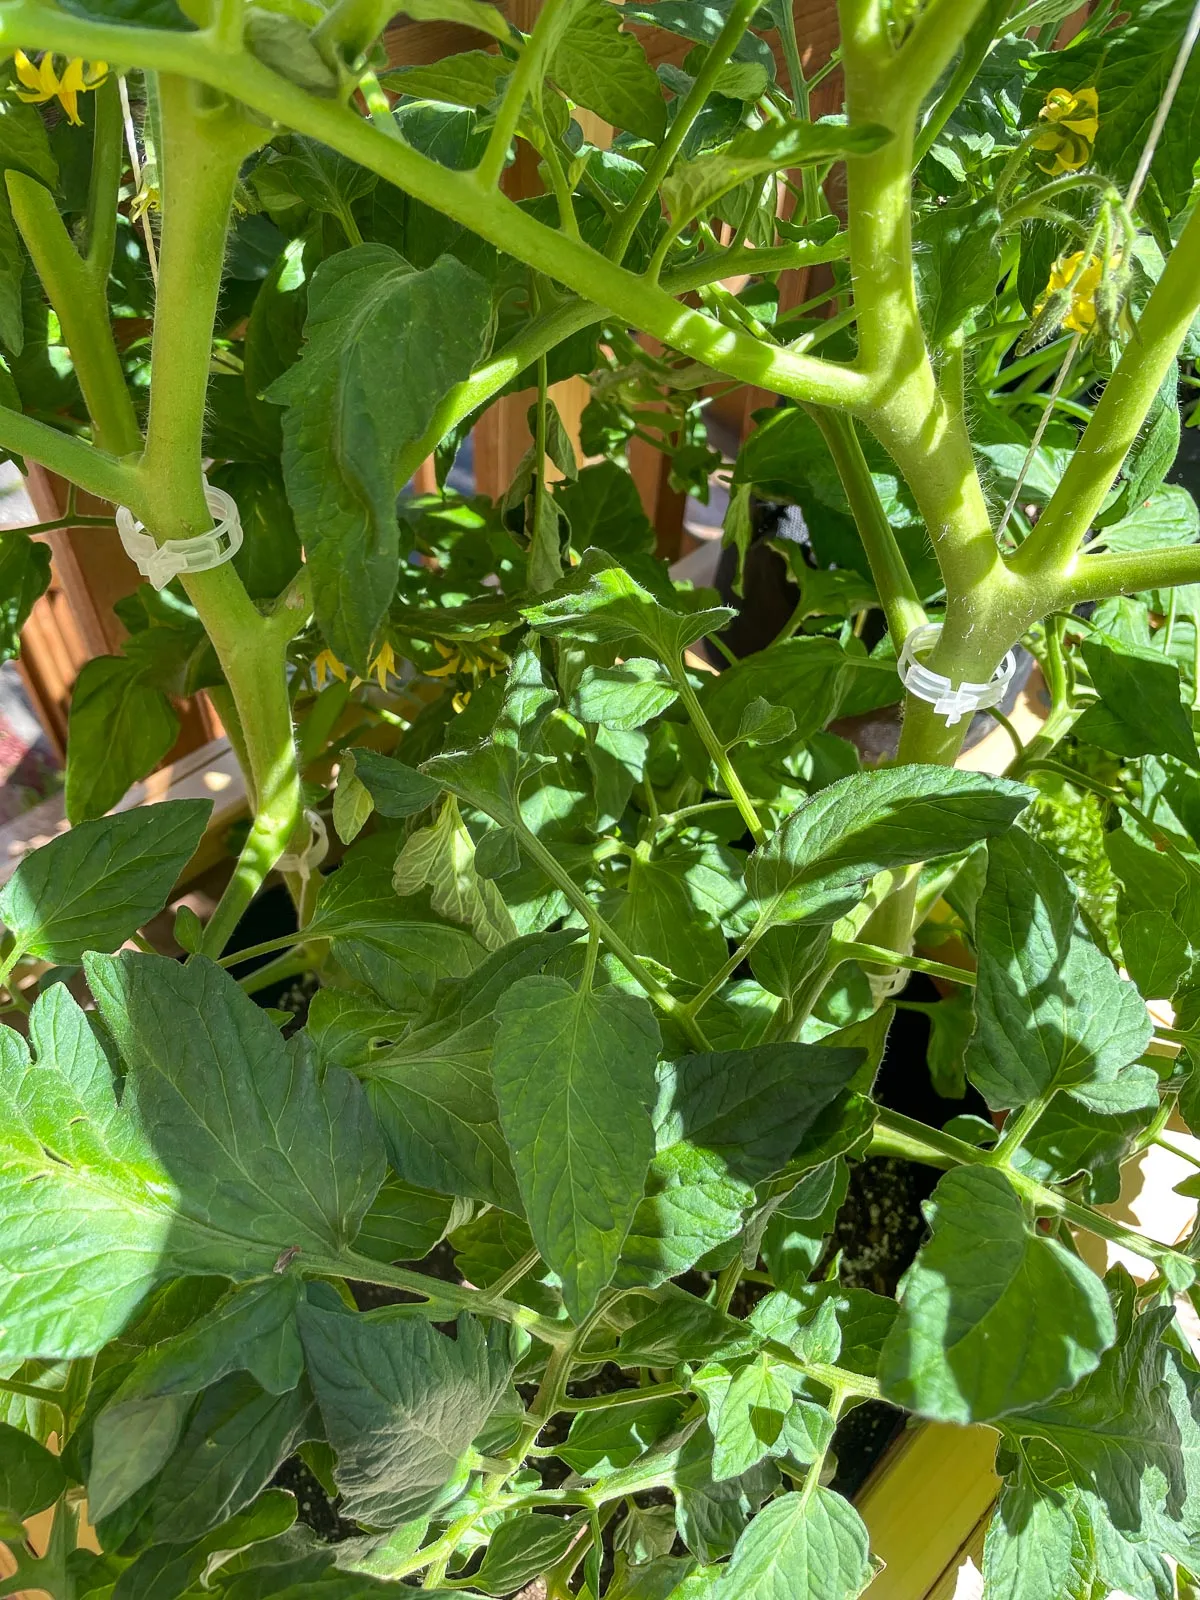
I'm using a 10 gallon grow bag for my cucumbers this year, and limiting it to one plant per bag. As you can see, it's quite happy and has been putting on lots of growth in a short period of time.

Use Potting Soil
Make sure to use potting soil instead of garden soil. Garden soil contains a bland mix of sand and dirt that is made to supplement your existing topsoil. While this works well for your yard, it isn't ideal for pots or bags.

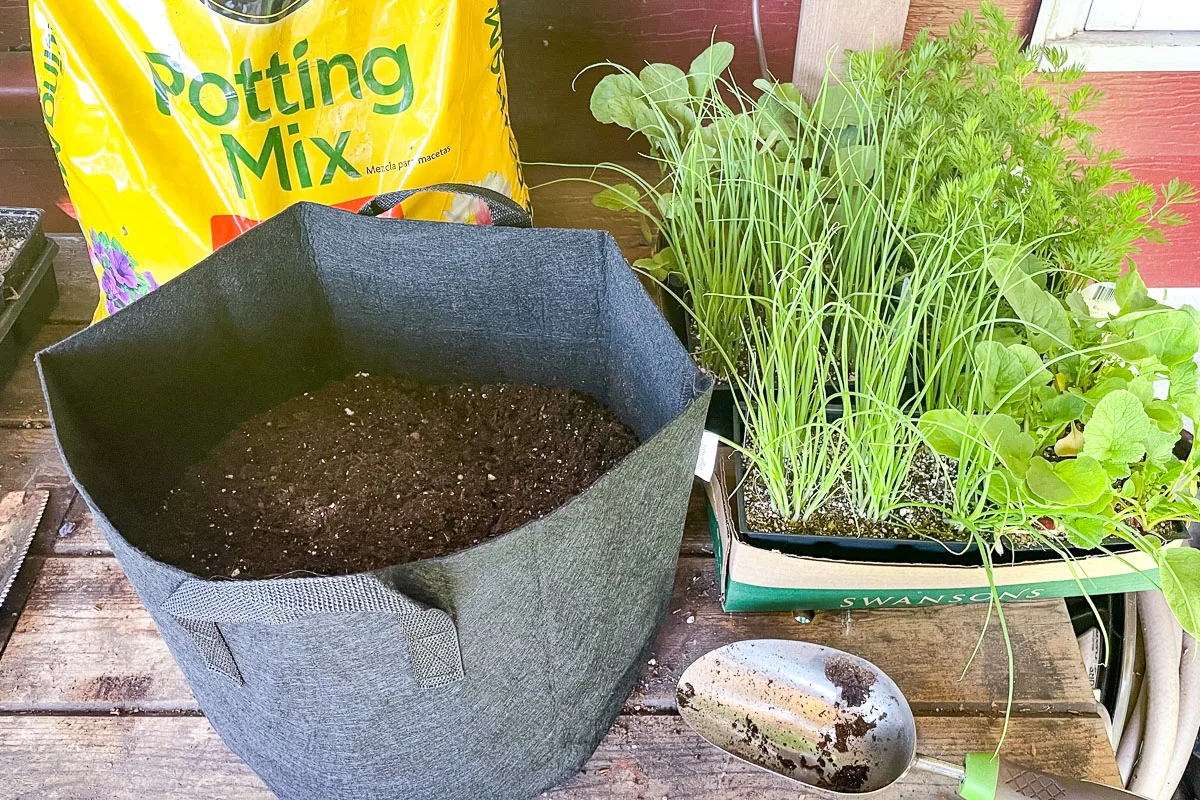
Instead, use good potting soil. Some varieties have fertilizer mixed in already, so you'll need to take that into account when adding fertilizer yourself. Too much can burn your tender plants!
By the way, the DIY potting bench you see in the photo above really saves my back and makes it much easier to pot up these plants. It also keeps the potting soil and fertilizer all in one place on the shelf below, so I can quickly get to work!
Add Fertilizer
Check the needs of your plant, and then add a fertilizer that gives it what it needs. Plants in pots or bags need a little extra boost, as daily watering will begin to wash away needed nutrients.
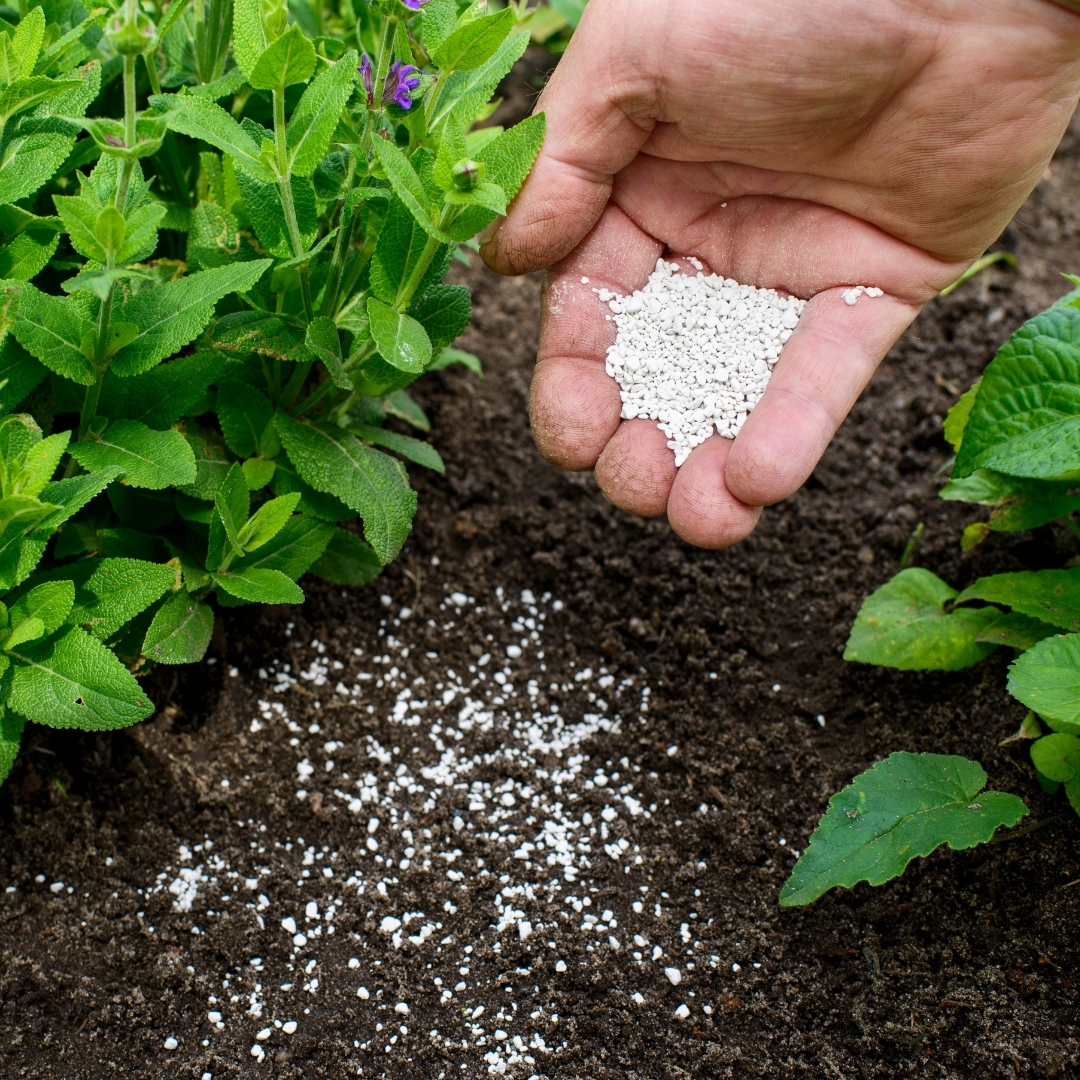

I prefer to use organic fertilizer in my vegetable garden, so I added some Espoma GardenTone to my potting soil before planting. For tomatoes, I use Espoma TomatoTone, which has the exact nutrients they need for a huge harvest!
Add Vermiculite to Retain Moisture
Grow bags will require more water than the ground or a regular pot. By adding vermiculite to your potting soil, you increase your soil's ability to retain water. Keep in mind that many potting soil mixes already include vermiculite, so this step may not be necessary.
Shake the Bag to Remove Air Pockets and Fill the Edges
Your soil should be uniform throughout without any air pockets or bubbles. If your plant's root makes contact with too much air, it will stop growing and send out new roots elsewhere. Giving the bag a good shake will help mitigate this problem.
Leave a Few Inches of Space at the Top
Don't fill your bag all the way up to the top. Leave a little space to allow room to cover the soil with mulch. Not only will this improve your plant's appearance, but it will also help your grow bag retain water.
I also prefer to roll down the top edge of the bag to give it more stability. It also prevents the handles from sticking up, giving all the containers a more uniform appearance.

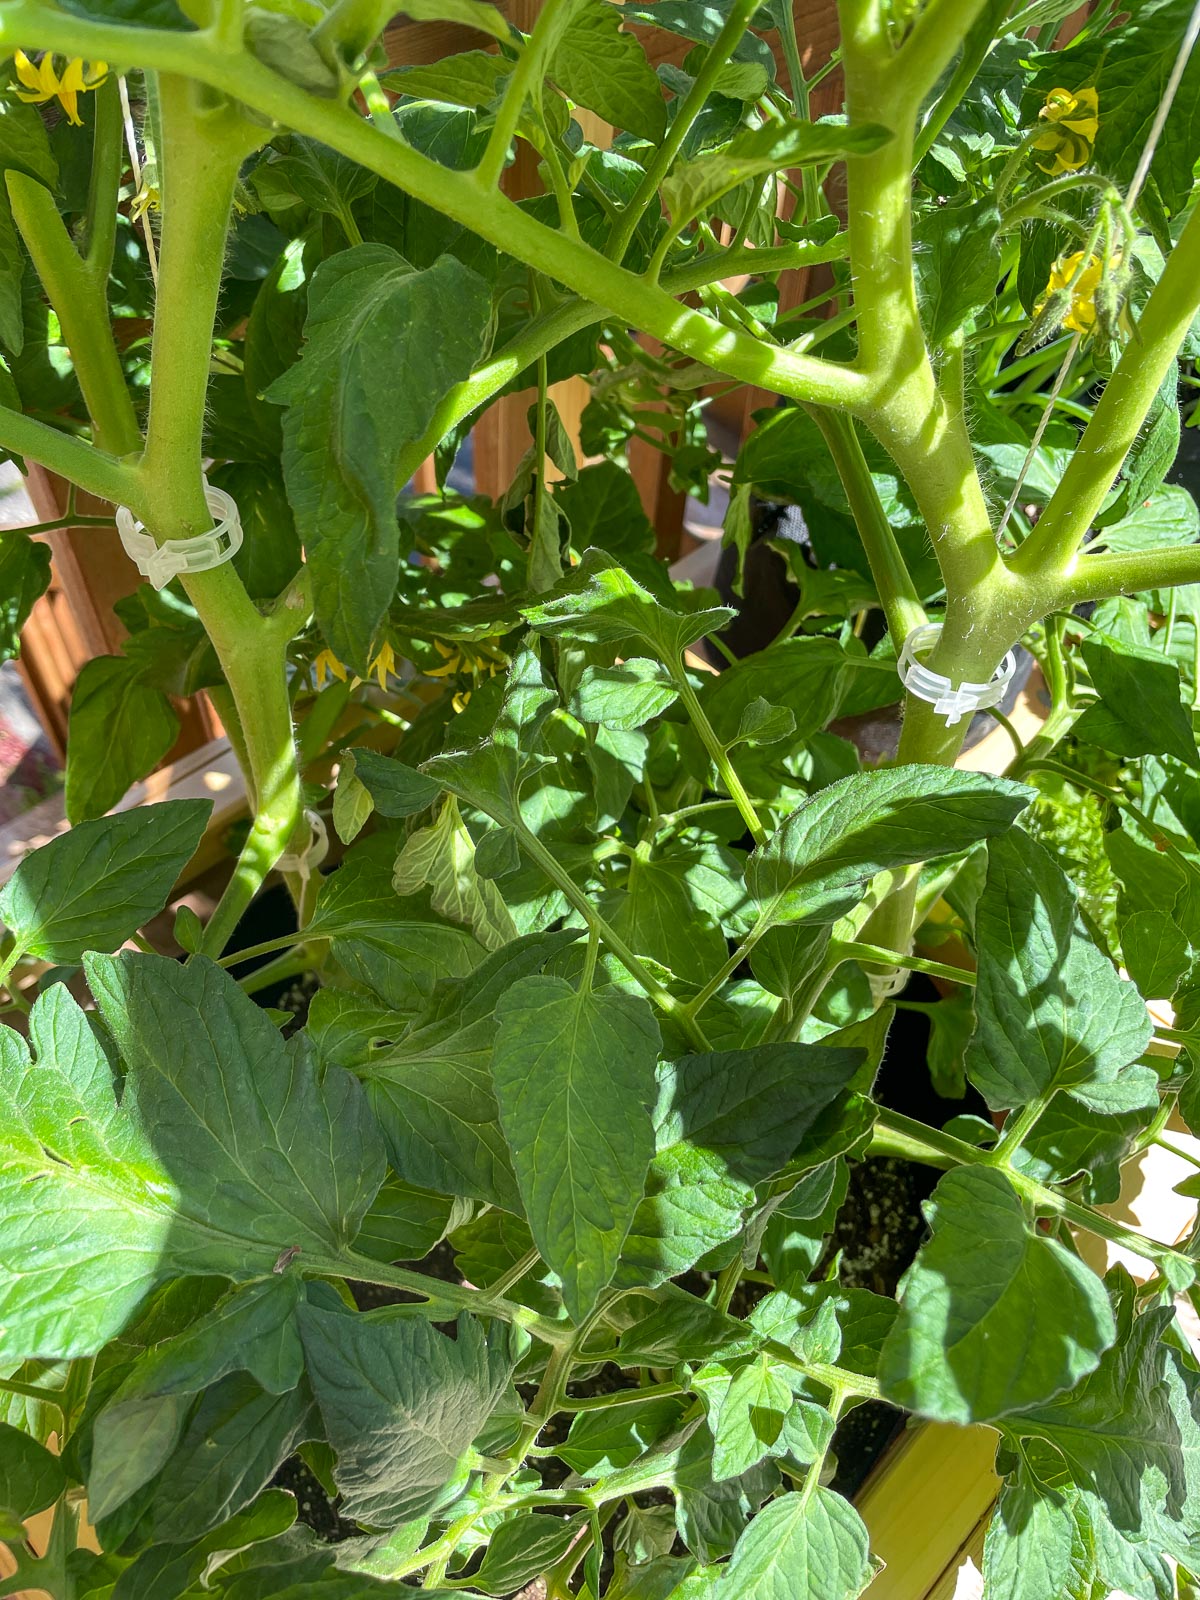
Don't Add Too Many Plants to One Bag
Remember to consider the spacing of each plant. The seed packet or plant label will indicate how far apart each plant should be.
Crowding can cause plants to compete for nutrients. Also, plants near the edge of the bag may struggle to develop a strong root system, as the air will stunt their growth.
I made this mistake when planting tomatoes in grow bags for the first time. The starts I purchased were small, and I didn't take into consideration how big they would grow! I had to dig one out and move it to a new bag, risking damage or transplant shock.
Place in a Spot with Good Sunlight
Once you have everything planted, it's time to place your new friend in the sun. Check each plant's specific sunlight needs.
The great thing about garden bags - you can always move them throughout the day if they need more sun! Many have handles built into the sides, or you can place them on a rolling stand so you can easily move larger plants.
Add Drip Irrigation or Place in Watering Pan
Finally, add a drip irrigation system to your garden bags for hassle-free watering. You can learn more about the pros and cons of drip irrigation here.
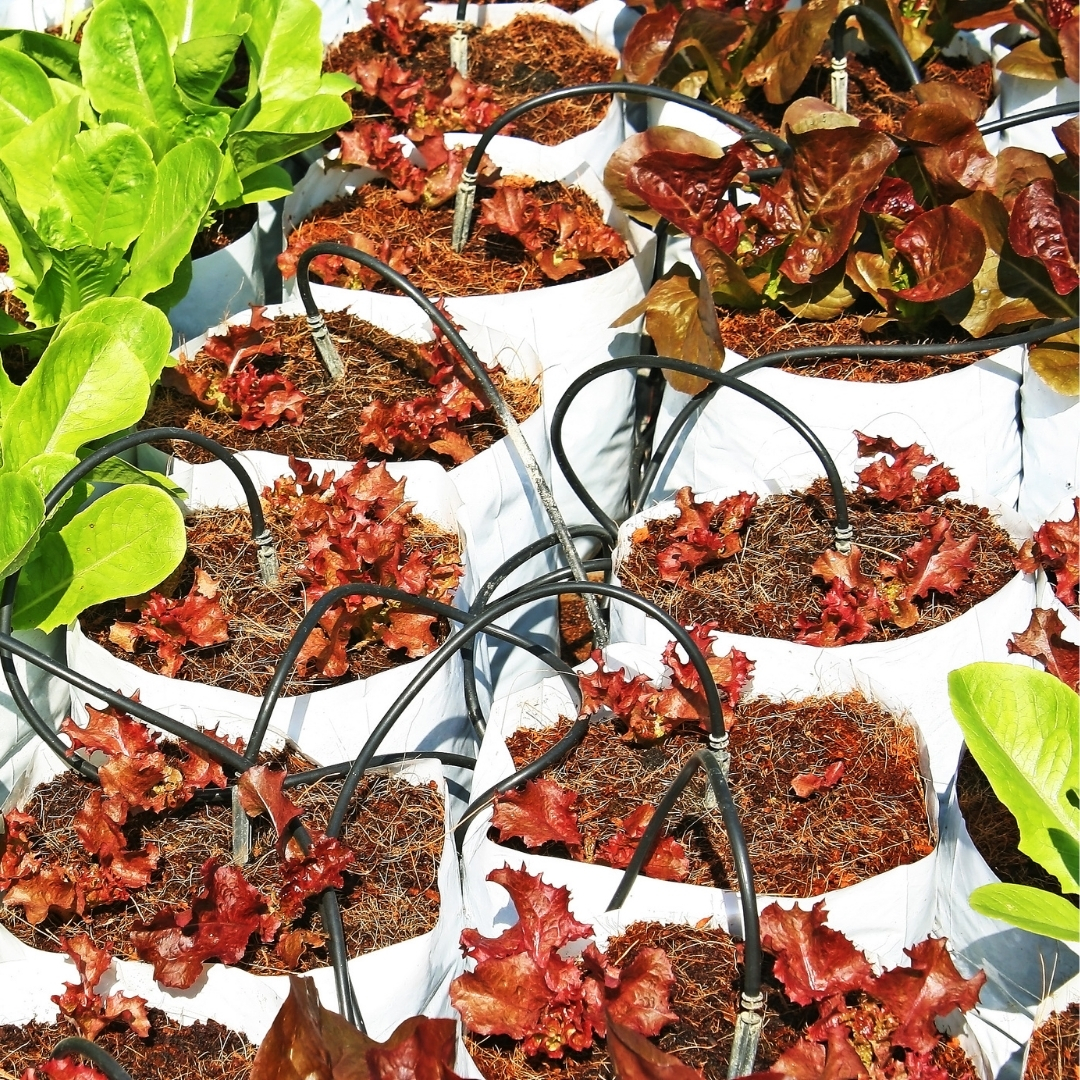
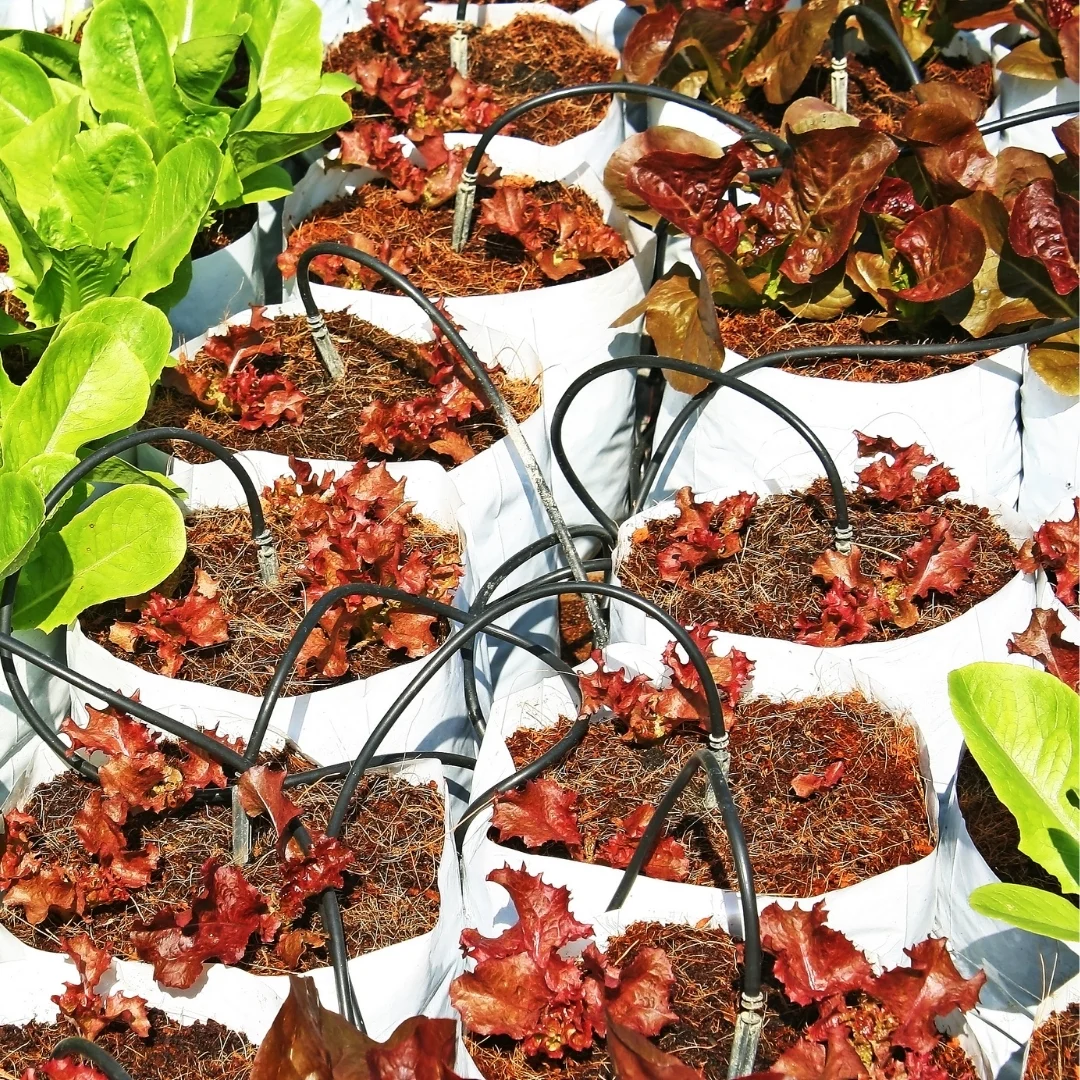
Some people opt to place their grow bag in a pan of water. As you fill up the pan, the water wicks up into the soil. Using pans is a great way to keep your plants watered if you need to be away for several days.
Hopefully you've learned something useful today about gardening with grow bags. If you've never tried grow bags before, give it a shot. You might be surprised at how easy they are to use - and how much your plants love them!
Check out these other plant care articles!