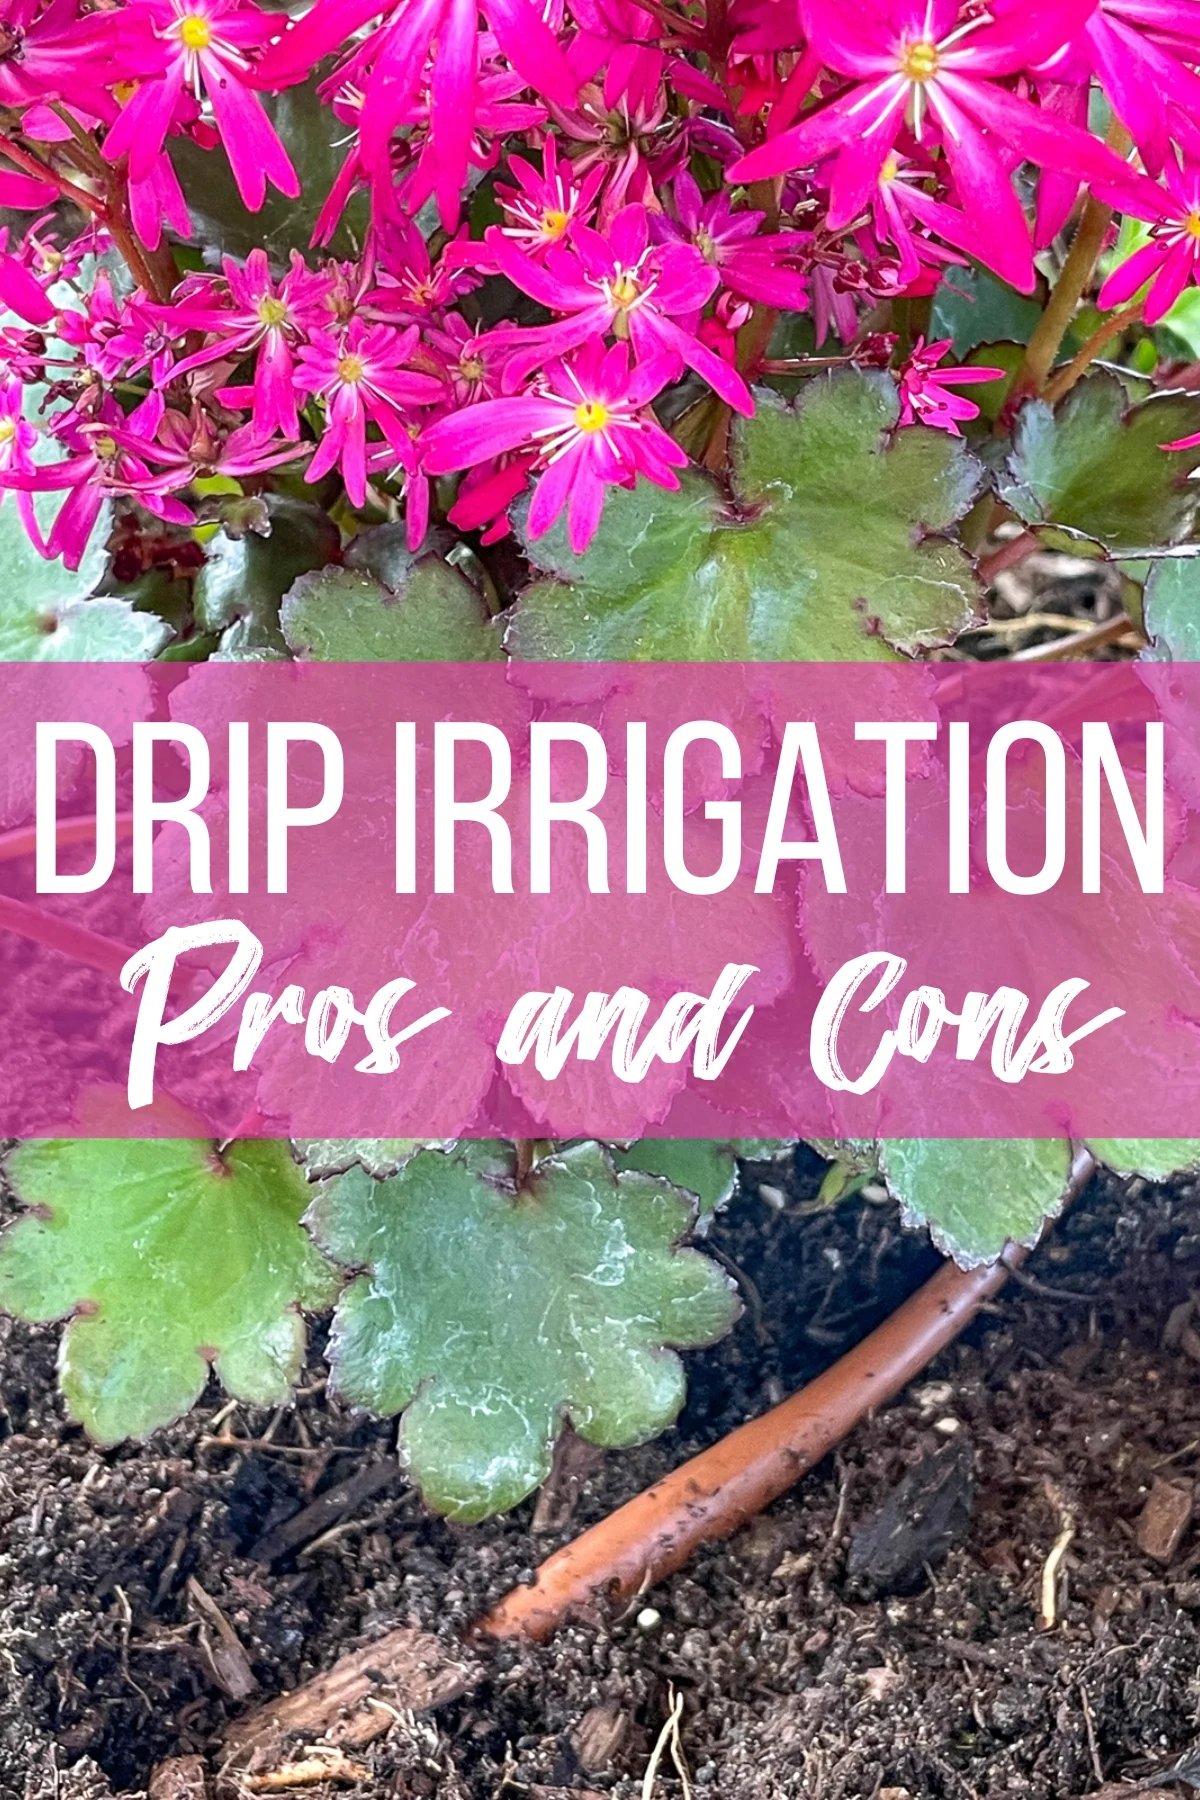
Why use drip irrigation instead of sprinklers or hoses? Compare the pros and cons of drip irrigation to help you decide if it's right for you!

Tired of dragging out the hose every day to water your garden? Or maybe your sprinkler system isn't quite reaching those plants in the back, causing them to wilt.
There's a better way to water! Drip irrigation is an easy system to set up yourself, and you can set it and forget it with the addition of a timer. It delivers customized moisture levels to each plant, so they can all thrive!
This project may seem like a lot of effort when a sprinkler or a hose will do, but there's plenty of good reasons to install drip irrigation in your garden! I'll compare the pros and cons so you can decide if it's right for you!
If you're ready to dive in, check out this tutorial on how to install drip irrigation for all the details!
This post contains affiliate links for your convenience. Purchases made through these links may earn me a small commission at no additional cost to you.
Drip Irrigation Benefits
It's more efficient
Gallons of water are wasted every time you use a hose or a sprinkler, because the water sprays everywhere. Drip irrigation goes straight to the roots of each individual plant, so the surrounding bare soil doesn't get wet.

Like with a built-in sprinkler system, you can set up a drip system on a timer. This prevents overwatering when you forget to shut off the system, or underwatering when you forget to turn it on!
It cuts down on weeds
Every time you spray water all over your garden bed, you're also watering those dandelion seeds that float down to the soil! By localizing the water to the roots of the plants you want to keep, you prevent weeds from getting the moisture they need to sprout!
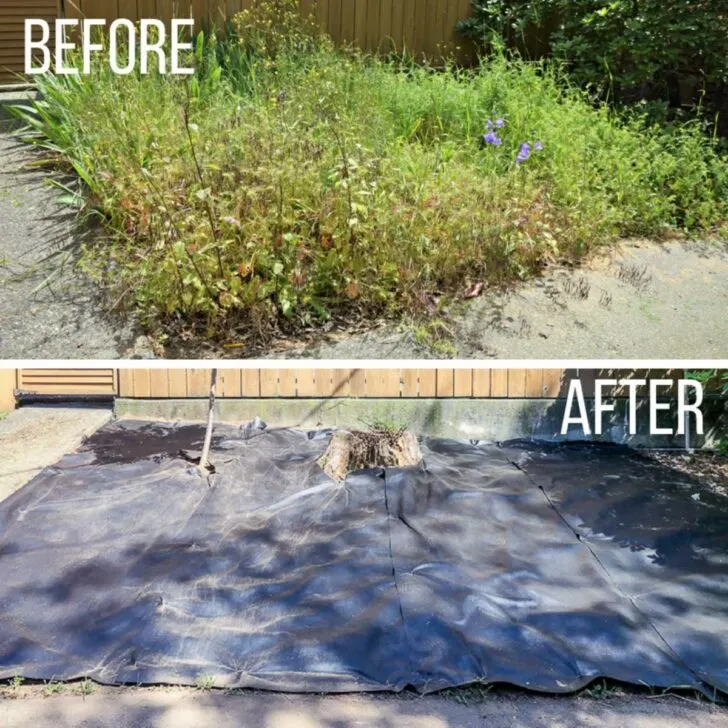
I witnessed this firsthand after I set up drip irrigation in our front yard. There were a few places where there were lots of smaller plants covering a large area, such as the pachysandra under the Japanese maple tree.

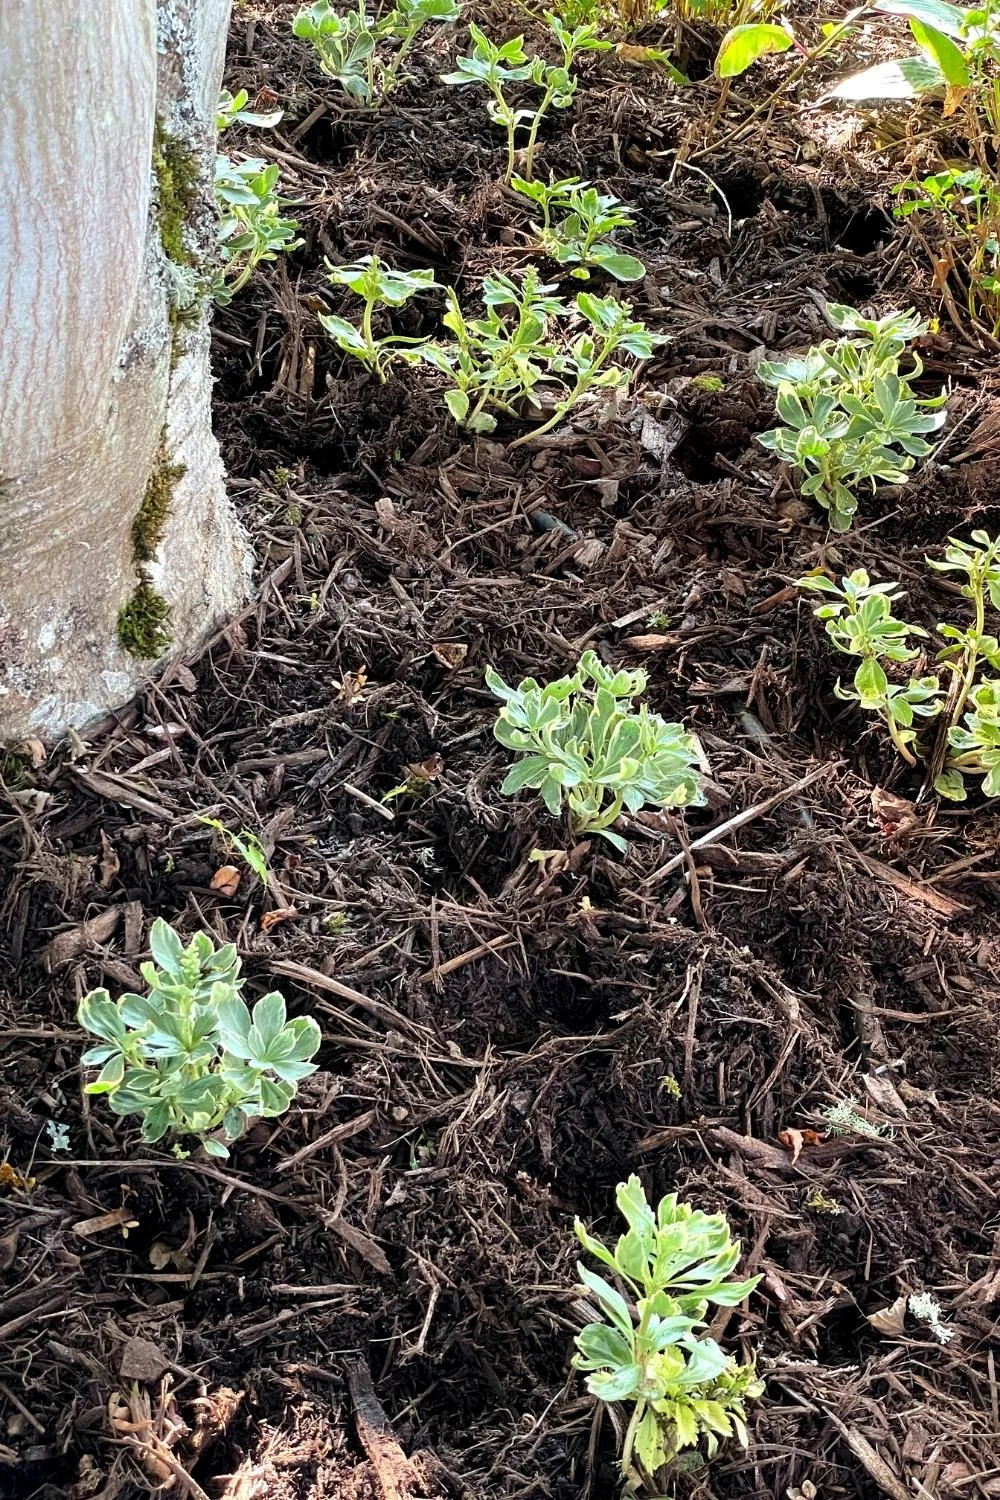
Instead of installing individual emitters or drip tape to dozens of small plants, I added a mini sprinkler to the main drip line to provide a fine mist over the entire area. The pachysandra loved it, but so did the weeds! It was the only area that needed extensive weeding throughout the growing season.
It saves money on your water bill
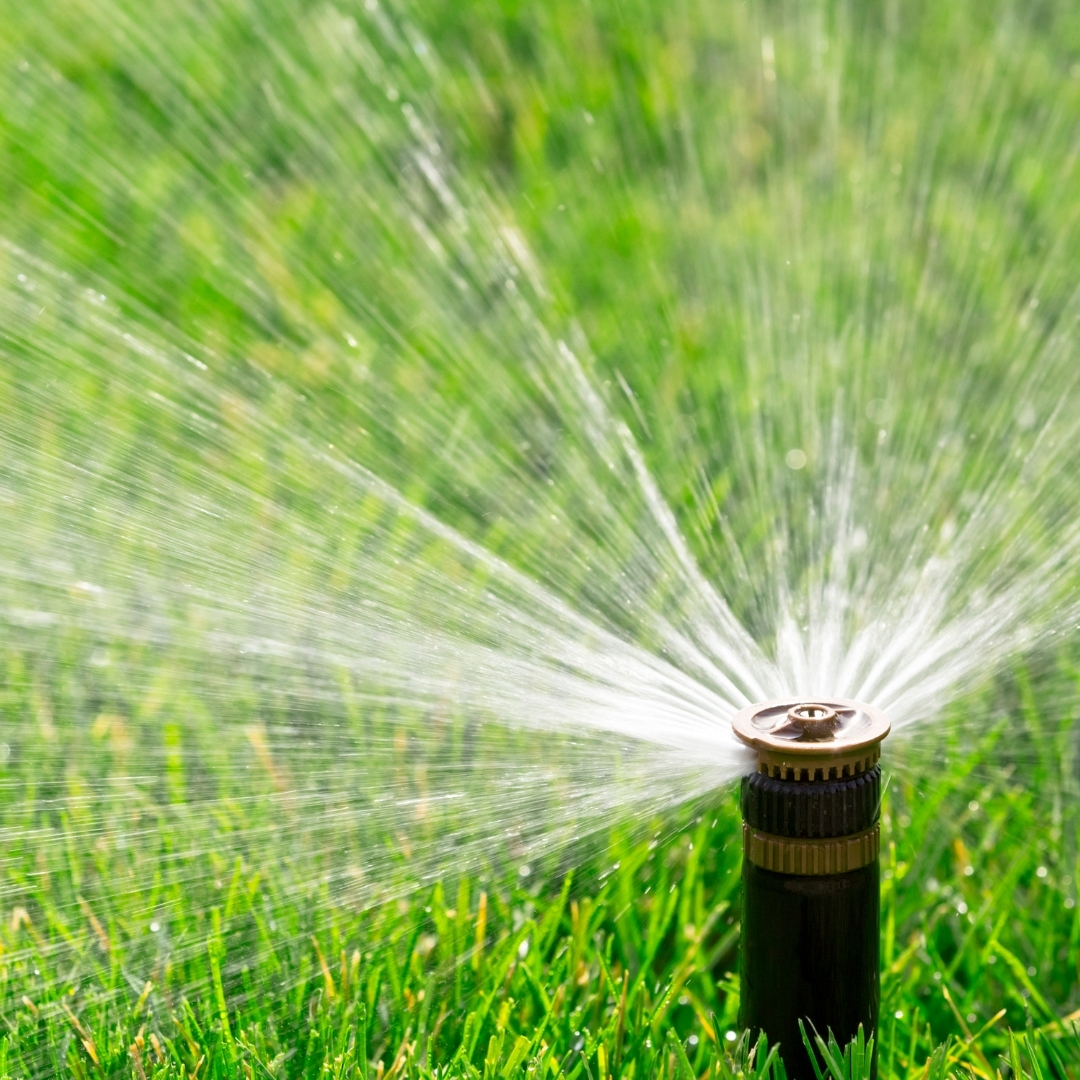
A typical sprinkler can use up to 1,000 gallons of water per hour! In comparison, each drip emitter ranges from ½ gallon to 4 gallons of water per hour. You would need a huge garden with hundreds of plants in order to use the same amount of drip irrigation water as a single sprinkler!

Another problem with sprinklers and hoses is that dry summer air and heat will cause the water to evaporate before it even hits the ground. That's why they recommend watering only in the early morning or evening hours when the sun isn't as strong.
Drip irrigation emitters are positioned right above the soil, so water doesn't have a chance to evaporate before hitting the ground. And because it's a gradual drip instead of a flood, the soil has a chance to absorb the moisture without drowning the plant or washing away precious nutrients.
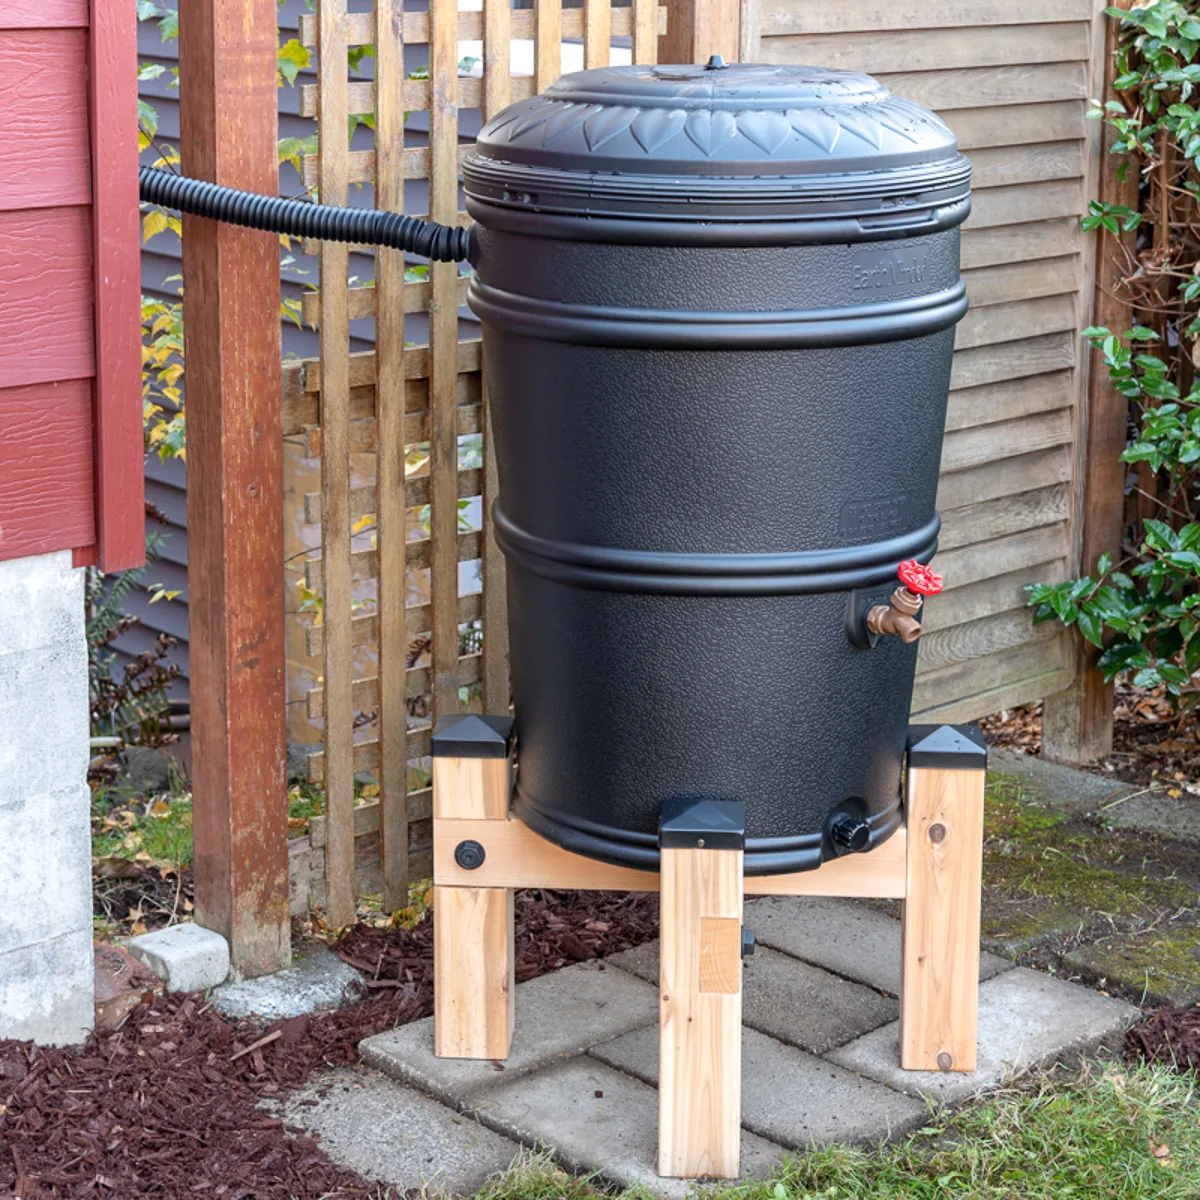
You can save even more money by using a rain barrel to collect water that would normally go down the drain! You'll need to elevate your rain barrel on a stand to create enough water pressure to flow through the system. This rain barrel drip irrigation kit gives you everything you need to set it up!

It's easy to install yourself
In-ground sprinkler systems require digging trenches for the pipes, and a plumber to set up everything up properly without leaks. We have a sprinkler system in our backyard (which I'll be converting to drip later this spring), and it must have been an insane amount of work!

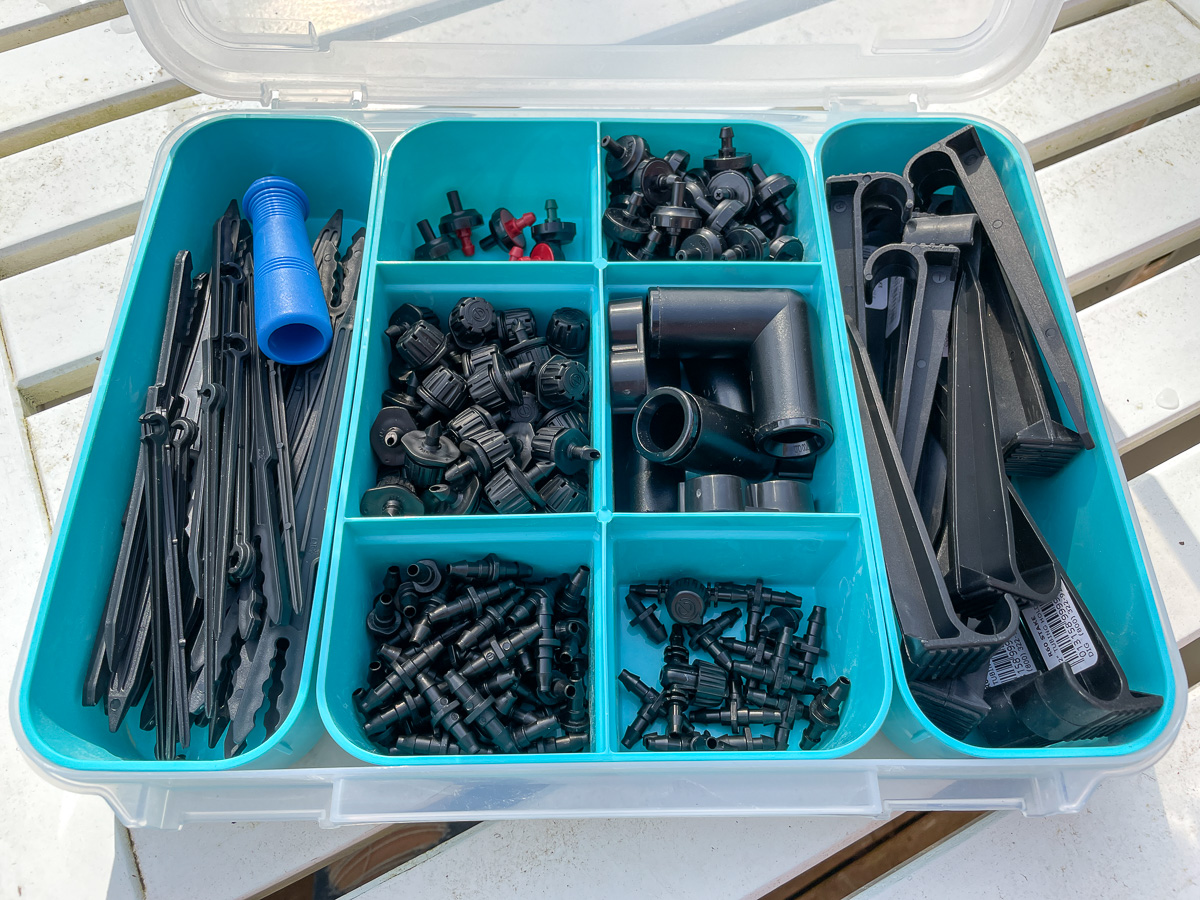
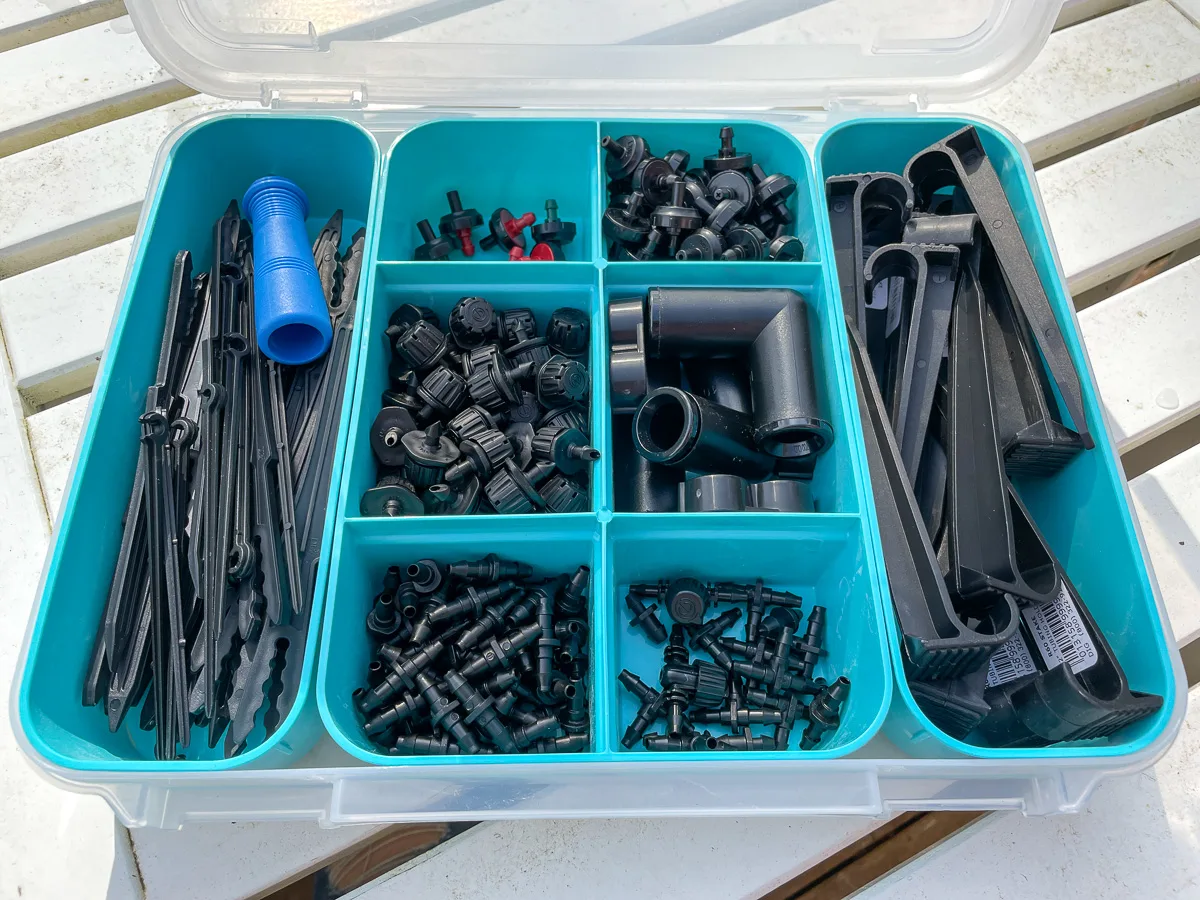
Installing drip irrigation is a super easy DIY project that even a beginner can tackle. There are plenty of inexpensive kits that provide you with everything you need to get started. Additional components are available at any home improvement store, so you can customize the setup to meet your garden's needs.
It's easy to adapt to your growing garden
If you decide to convert an area of lawn into a garden bed, or add a huge drift of flowers in a section of the garden that doesn't have a sprinkler, you're stuck watering by hand every few days. But with a drip system, you can run a short line of tubing out to the new section in minutes!


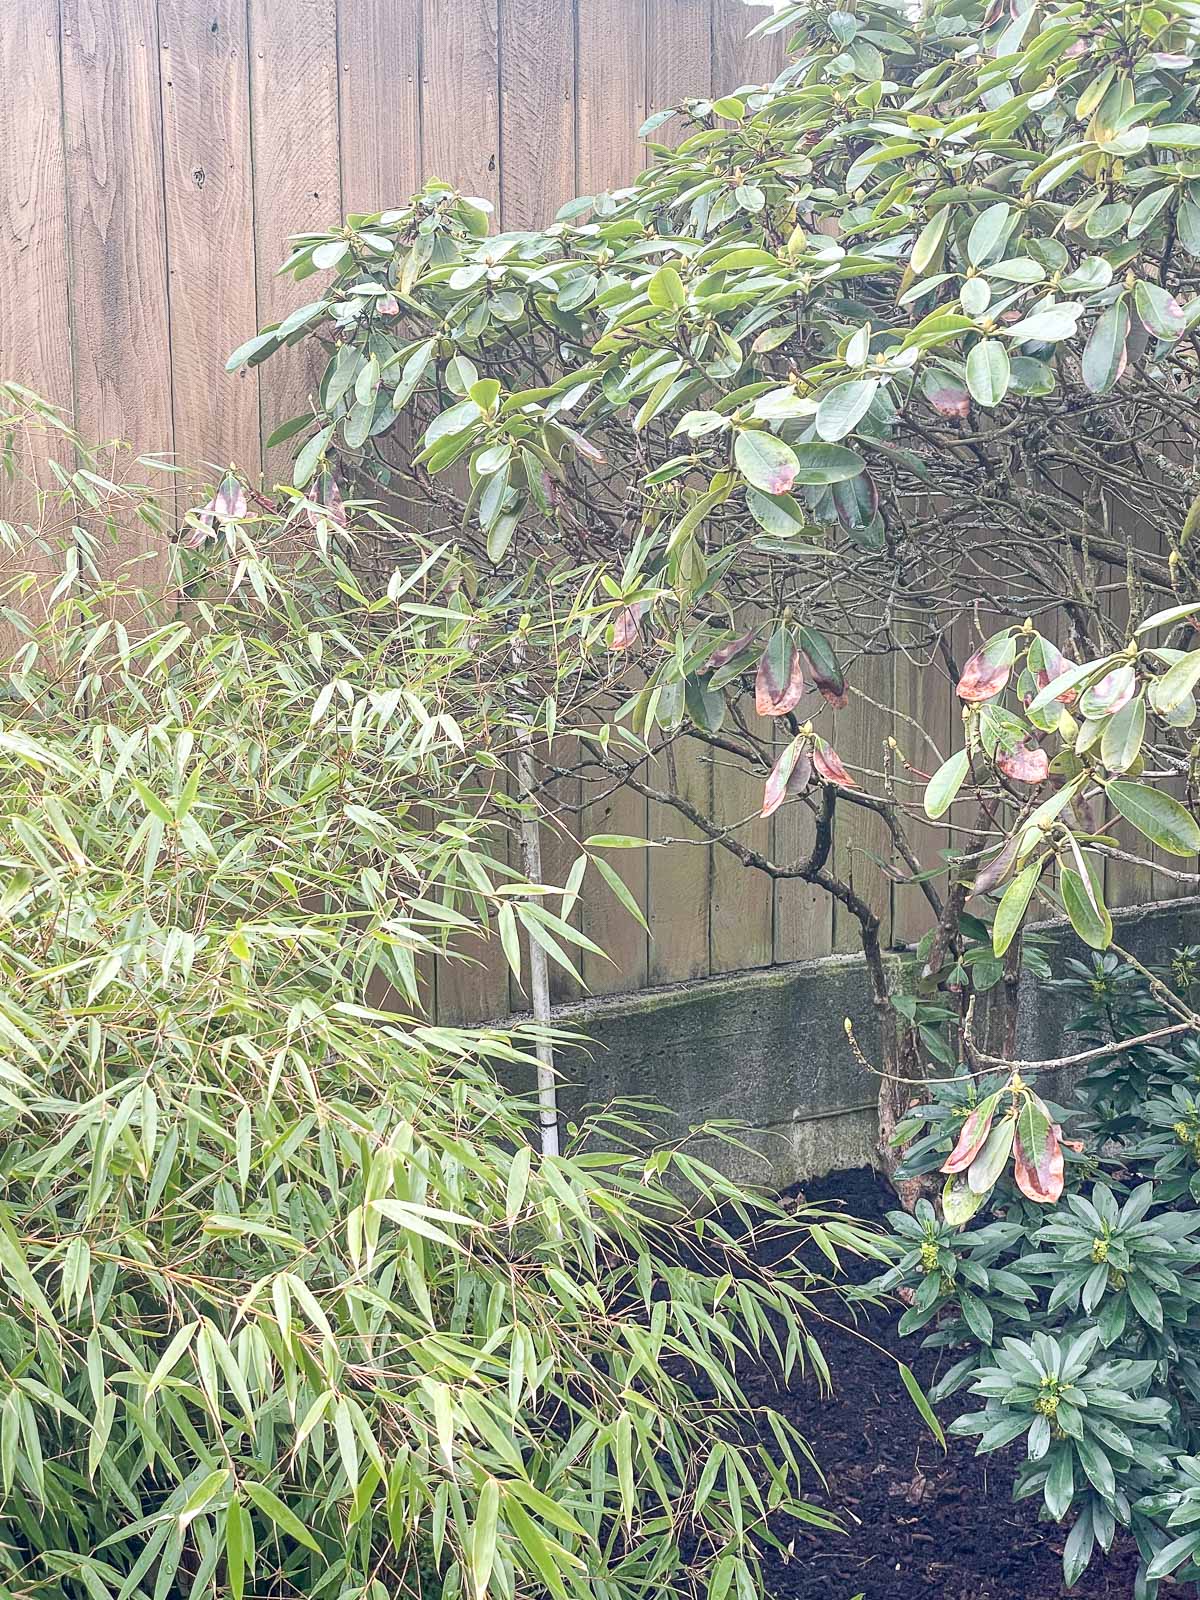
Drip irrigation is easier to adapt to the growth of your garden as well. One of the sprinkler heads in our backyard is completely blocked by the bamboo I planted a couple years ago and a Rhododendron that was probably a small plant when the sprinklers were first installed.

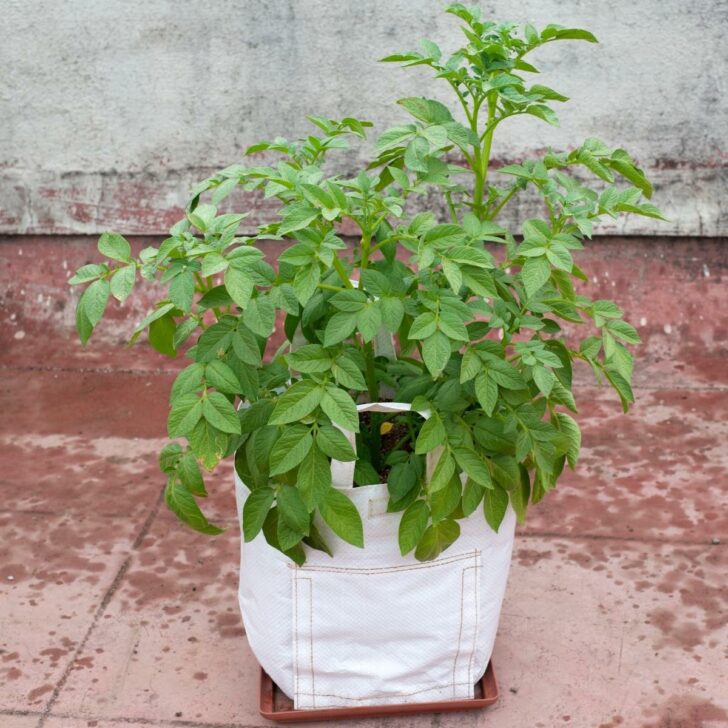
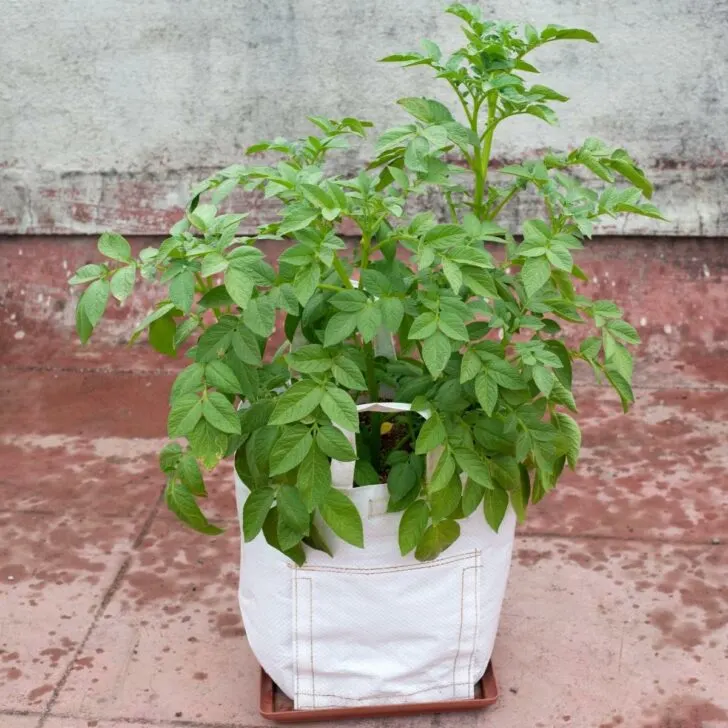
You can even set up drip irrigation to containers and grow bags! I was always forgetting to water our deck railing planters, but now that I have a drip line running to each pot, the system waters for me!
It prevents hard water stains on foliage
If you have hard water at your home, it can show on your plant's foliage! It creates a white, dusty film when it dries, makes your garden less vibrant, and can limit the plant's ability to photosynthesize. By watering directly at the soil level, your plant's leaves will look shinier and greener!
It prevents fungal issues
Overhead watering can cause certain plants, such as pachysandra, to develop fungal issues. By watering at the base of the plant, the leaves stay dry and these problems are minimal!
Drip Irrigation Drawbacks
Here are a few things to keep in mind when deciding whether to install drip irrigation in your own garden.
It can be expensive to set up
Depending on how large your garden is, it can be more expensive to set up a drip irrigation system. All those supply lines, timers and emitters can add up!
However, once the main supply lines are installed, adding more emitters is easier and less expensive than digging a new sprinkler. It's also simple to switch things around if your garden design changes, because everything is at the surface.
It takes time to set up and fine tune
Running individual drip lines to every plant in your garden can seem like a huge task! It took about a week to tackle my front yard, because I worked in small sections and tested it as I went.
Keep an eye on your plants after the system is set up, and change out emitters if necessary to keep them happy. After everything is set up, you may find that some plants need more or less water than you thought.

For example, I found that I needed to add a second 1-gallon-per-hour emitter to my hydrangeas because they started wilting. I also installed a second emitter to the other side of large ornamental grasses because one side was growing better than the other. For more flexibility, you can use adjustable emitters to fine tune the amount of water that comes out with the twist of a dial!
Tubing can get cut accidentally
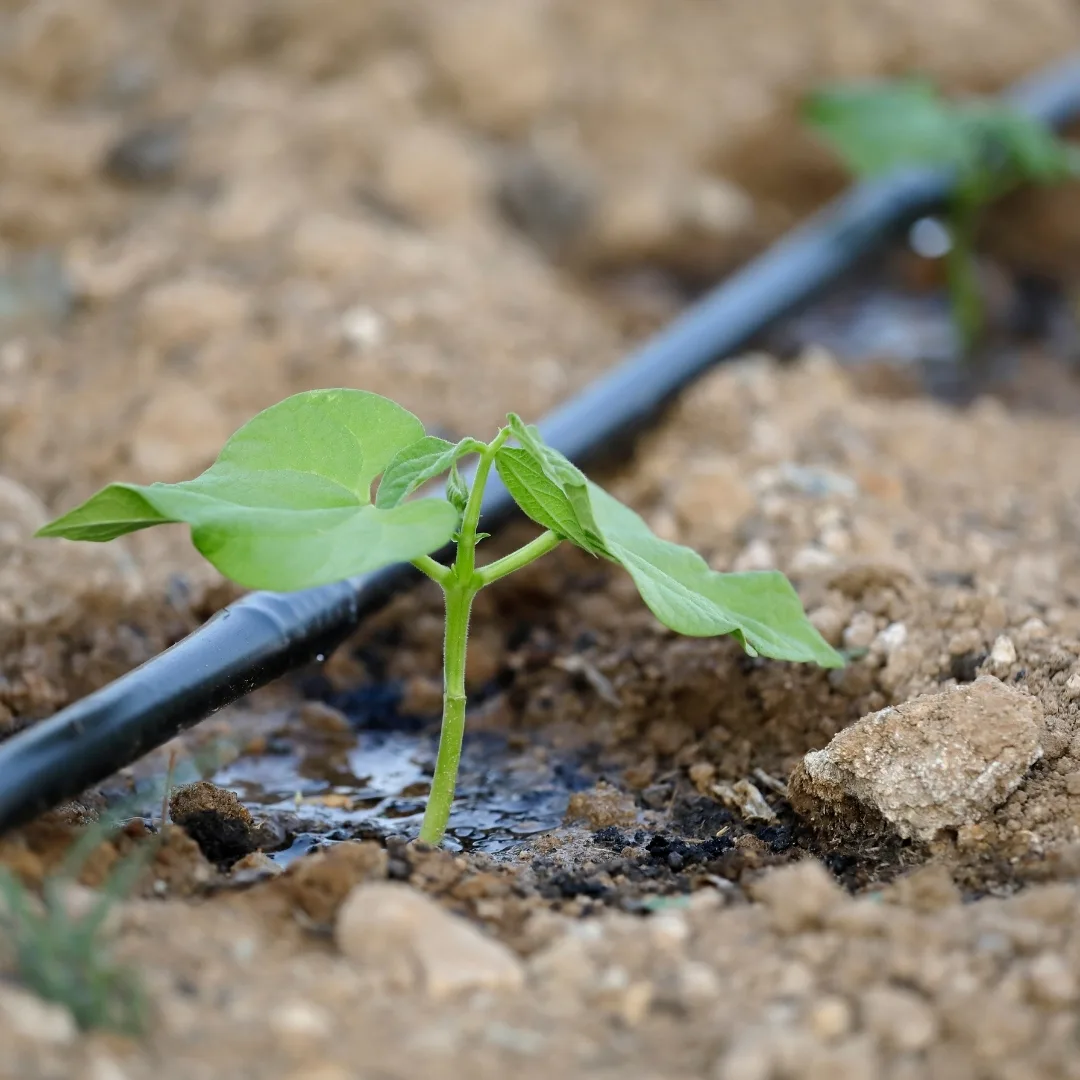
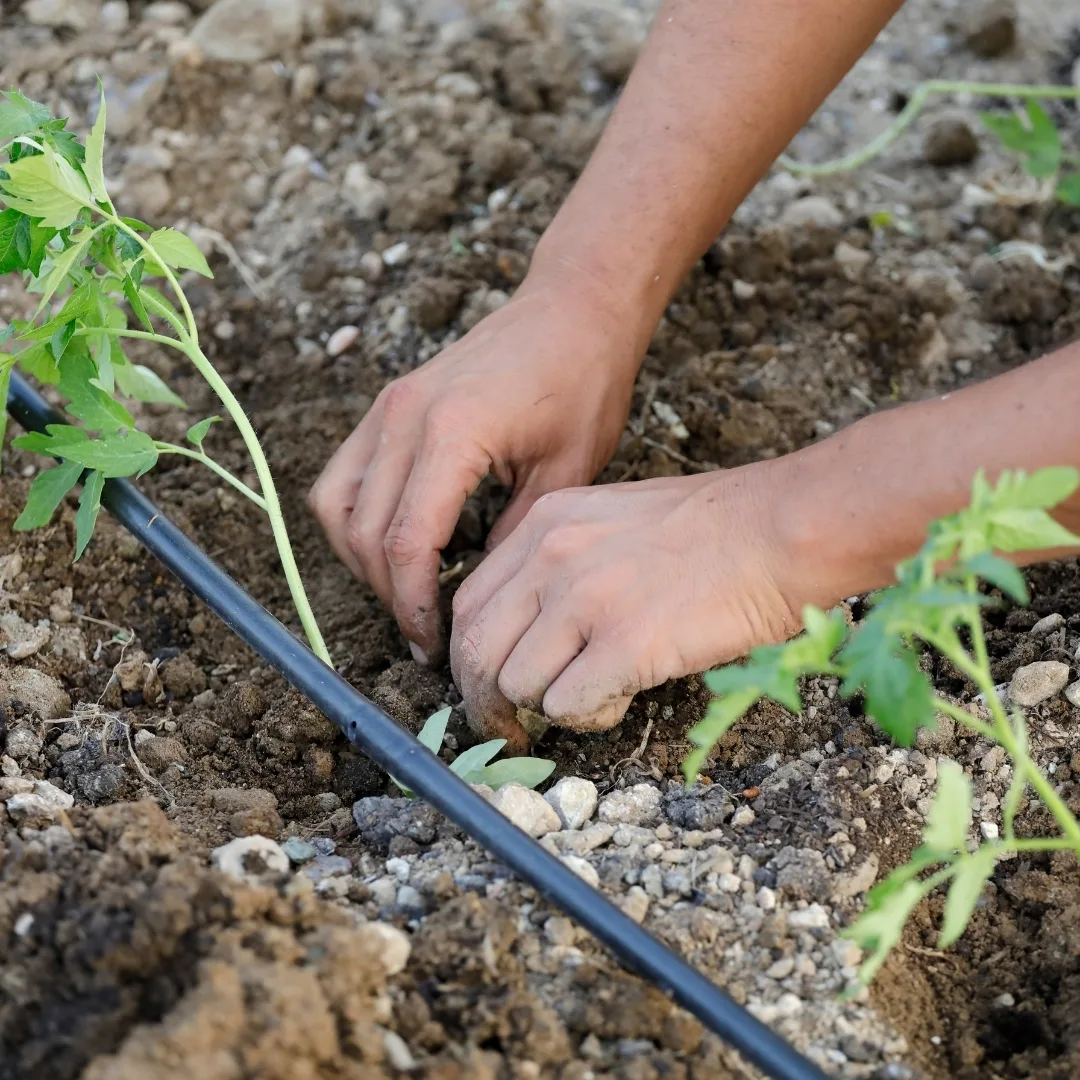
Most drip irrigation systems use a larger ¾" supply pipe that runs through the garden bed. It is typically buried slightly in the soil or covered with a thick layer of mulch.

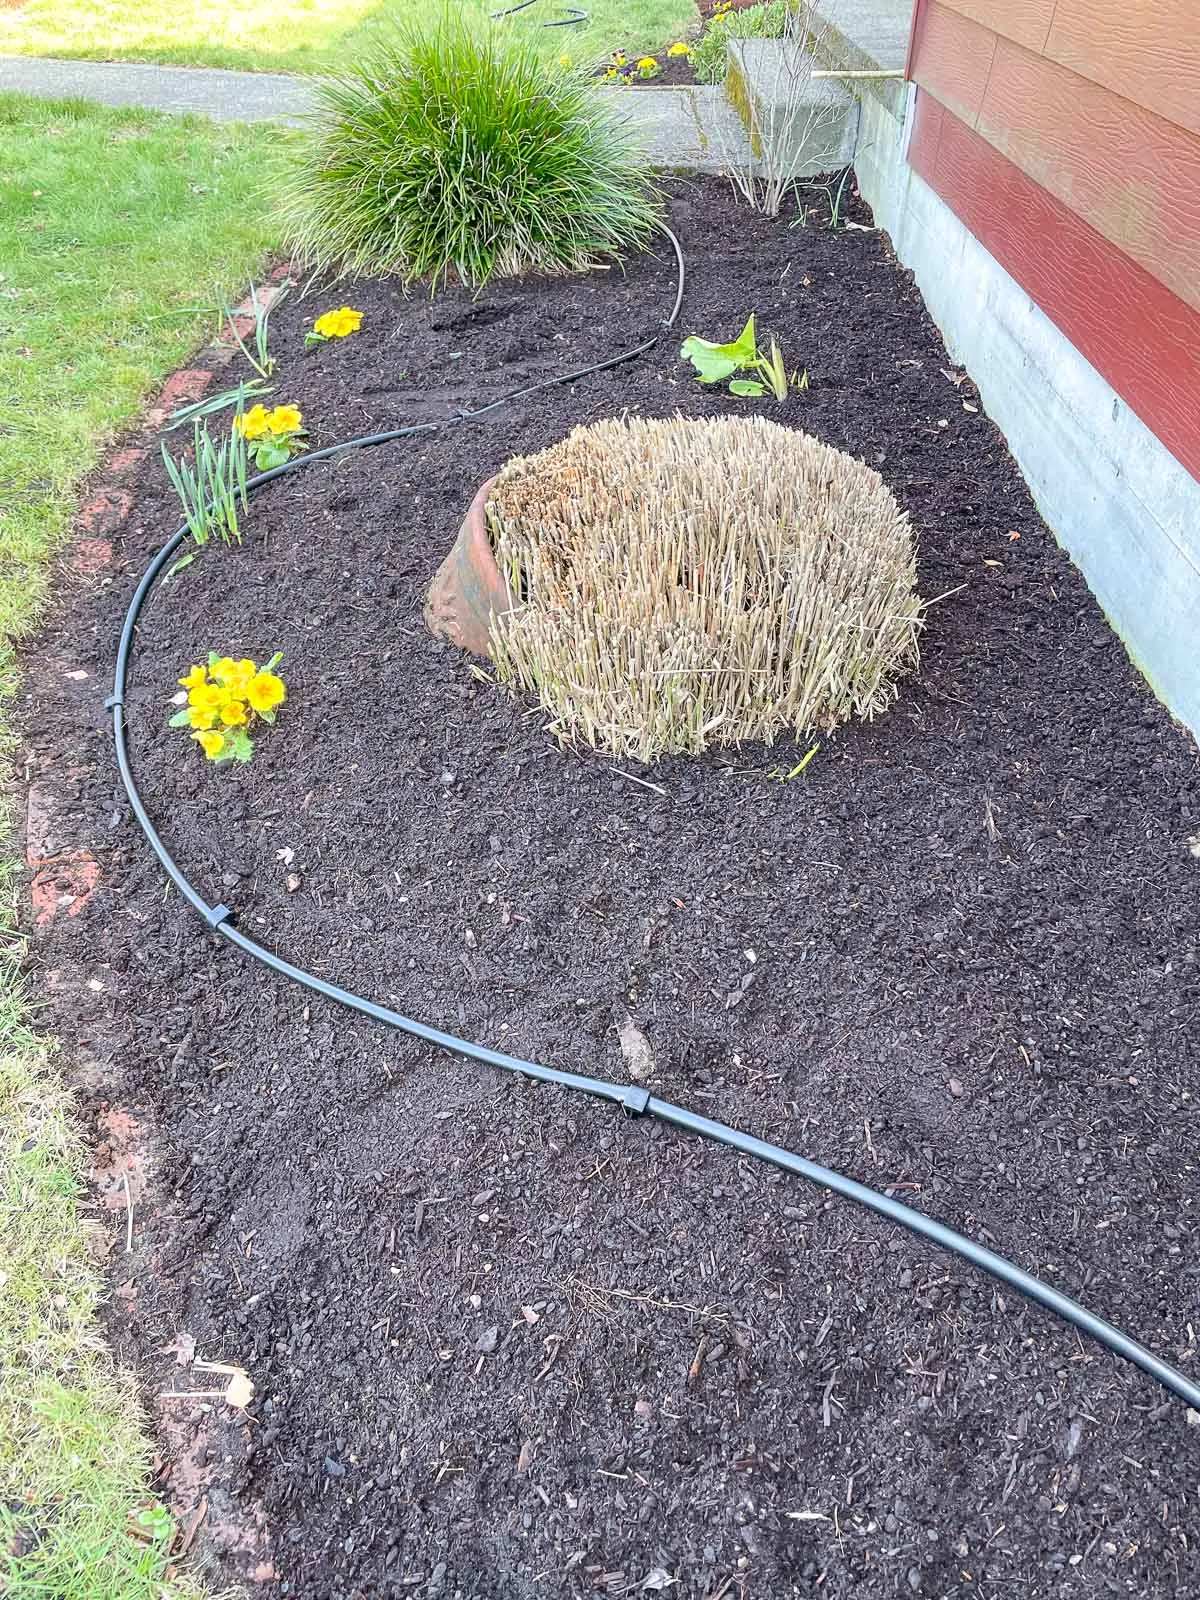
If you're not careful, you can sever this supply line with a shovel when digging a hole for a new plant! The plastic used for this flexible tubing is much softer than in-ground plumbing, and can be easily cut. While it's an easy fix, it's something to keep in mind.
Tubing or emitters can get clogged
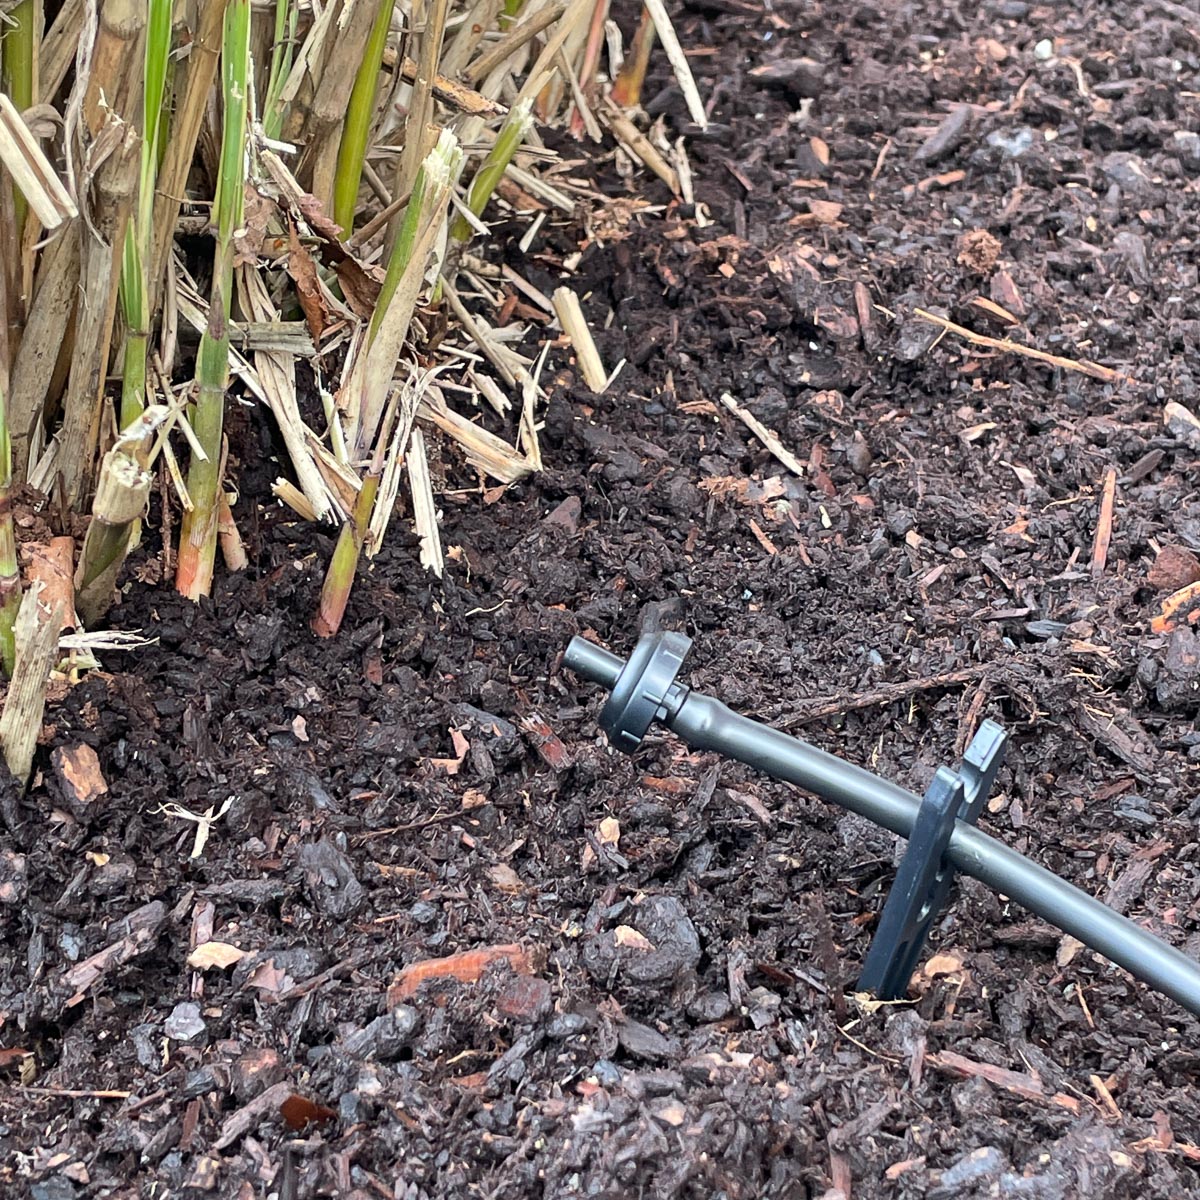
The bigger issue involves the smaller ¼" distribution tubing, especially the type that has emitter holes throughout its length. This is my preferred tubing for dense flower beds, because I can weave the line around all the plants in one area instead of running individual emitters.
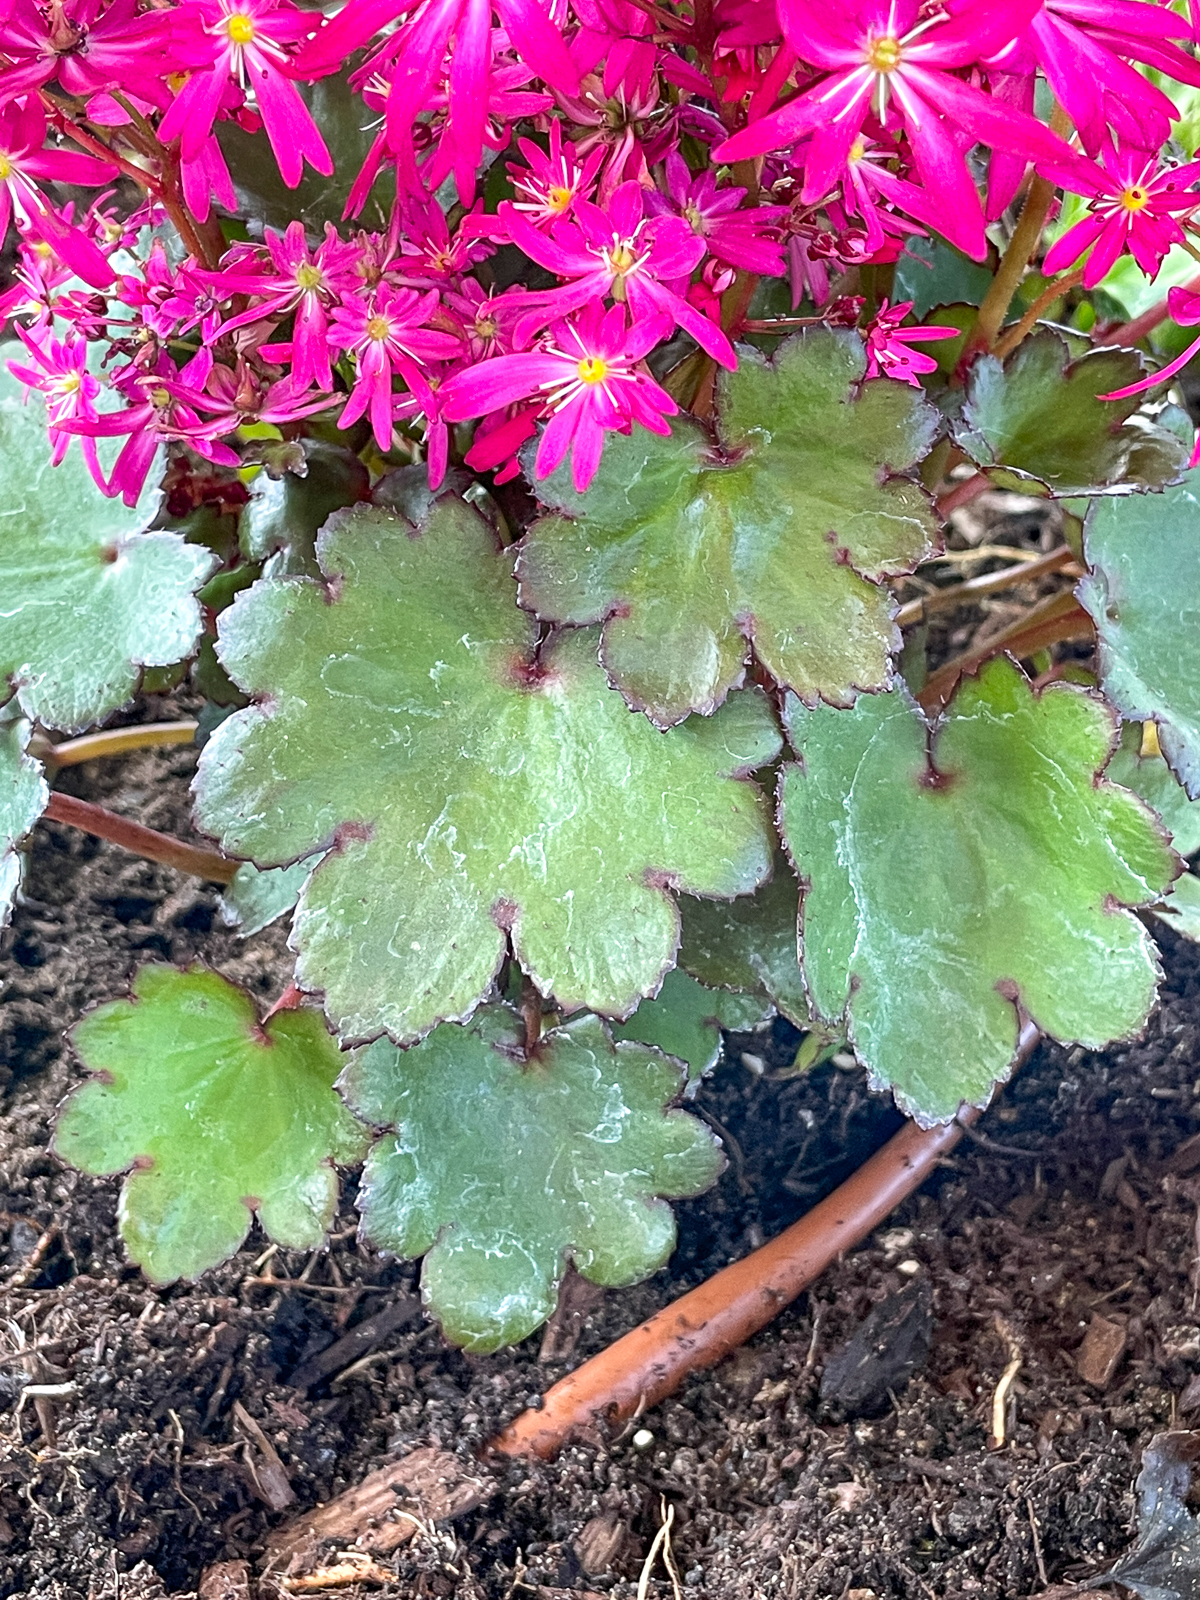

That bulge in the supply line that you see under the Saxifraga Dancing Pixies above is the emitter. Because it's buried under the mulch, sometimes it can get clogged with dirt. You probably wouldn't even notice the issue until the plant starts to wilt!
The best way to prevent clogging is to provide enough water pressure to the line so that it blows out any debris. Limit drip tape like this to ten feet or less, so you have enough water pressure to reach the end of the line and prevent blockage.
If you have hard water, you may find that the thin tubing or emitters become clogged with minerals over time. You'll need to replace these components if you notice that water is no longer reaching your plants, which can add to the cost of the system.
As you can see, there are a lot of drip irrigation pros and cons to consider! Personally, I found it extremely beneficial for my garden. I never have to worry about forgetting to water my plants, or finding someone to do it for me while I'm on vacation. Each plant gets personalized moisture right at the roots, whenever the timer goes off!
Check out these other gardening tips and tricks!