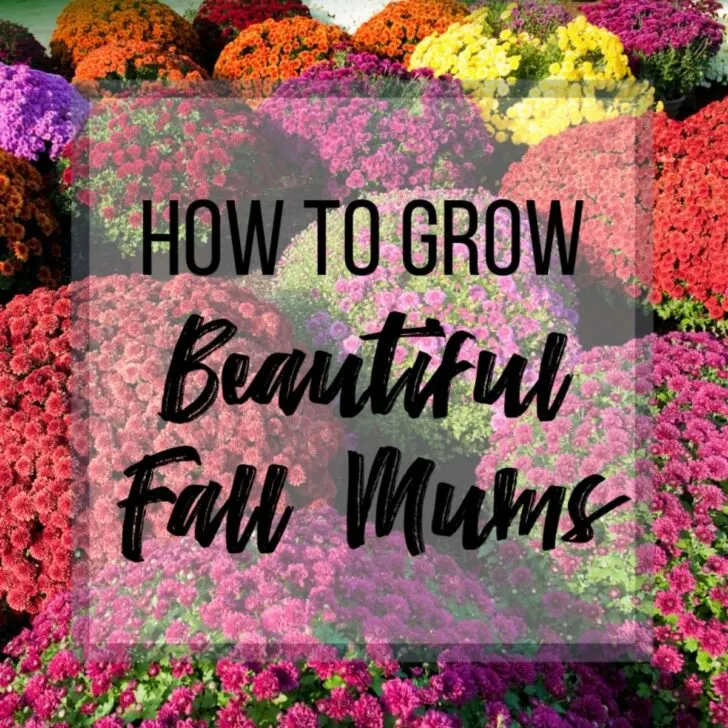
Wondering what to do with raised beds in the fall after your vegetables and flowers have faded? Here are my tips to prepare for next year!

This year was one of my best gardening seasons ever, and part of that success was due to the 14 raised beds I installed this spring. What was once an ugly strip of dead grass next to the street was transformed into a glorious riot of color all summer long!
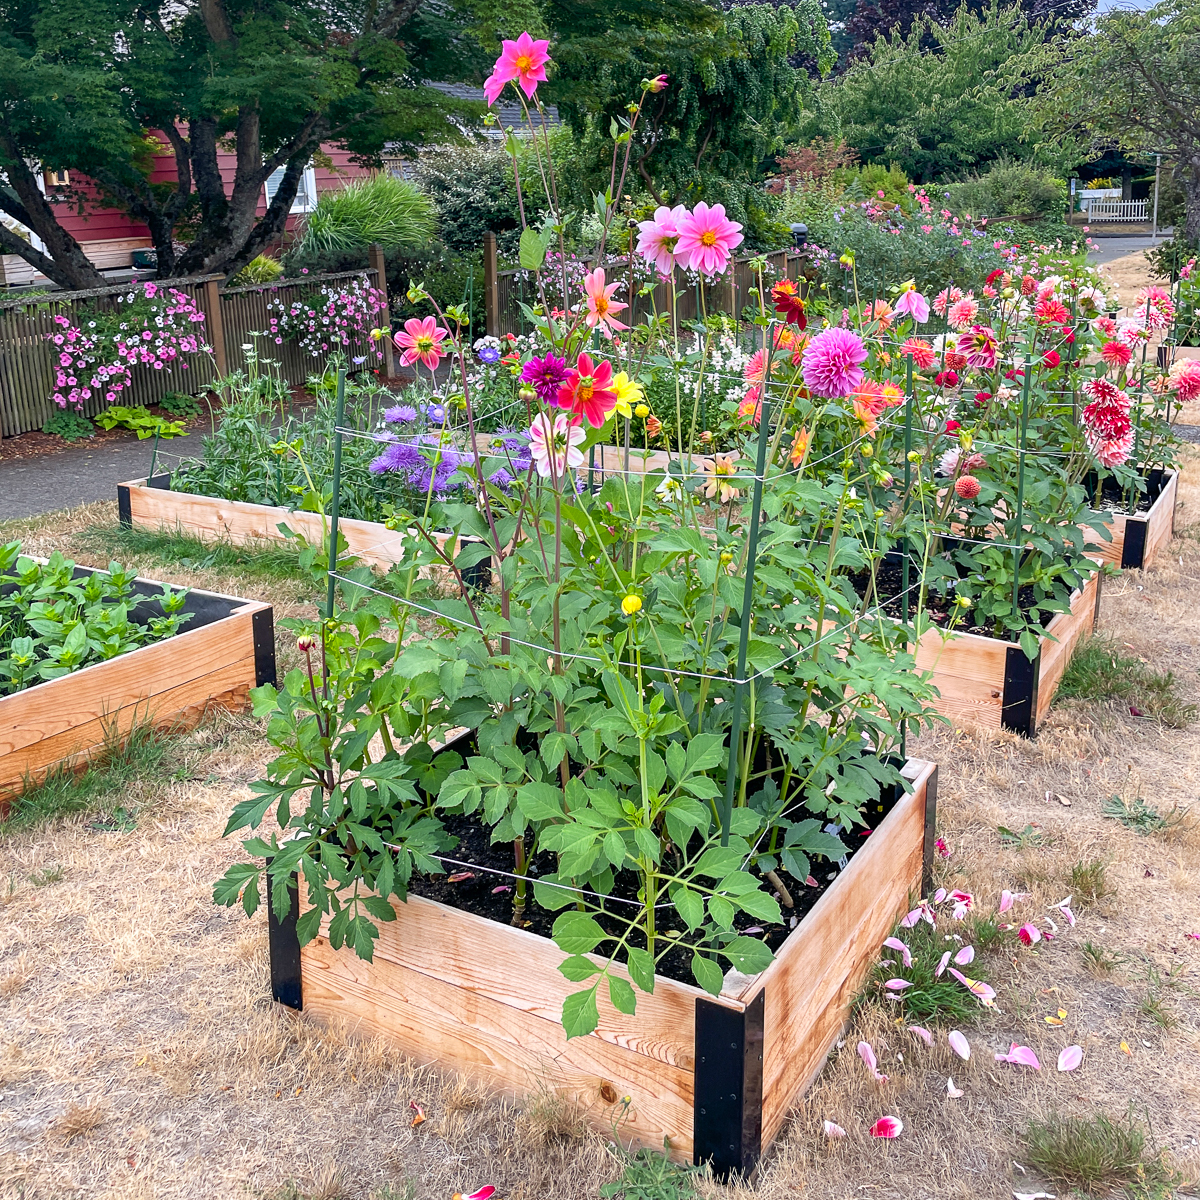

But as the leaves start to fall and temperatures drop, many of the annual flowers are looking less than prime. It's time to start cleaning up and putting the raised beds to bed. But that doesn't mean they'll just sit there until spring!
This article will walk you through everything from cleaning up your beds to enriching the soil and planting hardy annual seeds, so you're all set for a new growing season come spring.
This post contains affiliate links for your convenience. Purchases made through these links may earn me a small commission at no additional cost to you.
Cleaning up the beds
First things first, you've got to clean up. Start by removing all the spent plants from your raised beds. If they're not diseased, toss them into your compost pile. Diseased plants should be disposed of separately to avoid contaminating your compost.

Weeding is the next step. Some of these weeds were difficult to see when the beds were full of flowers, but now they're easy to spot!
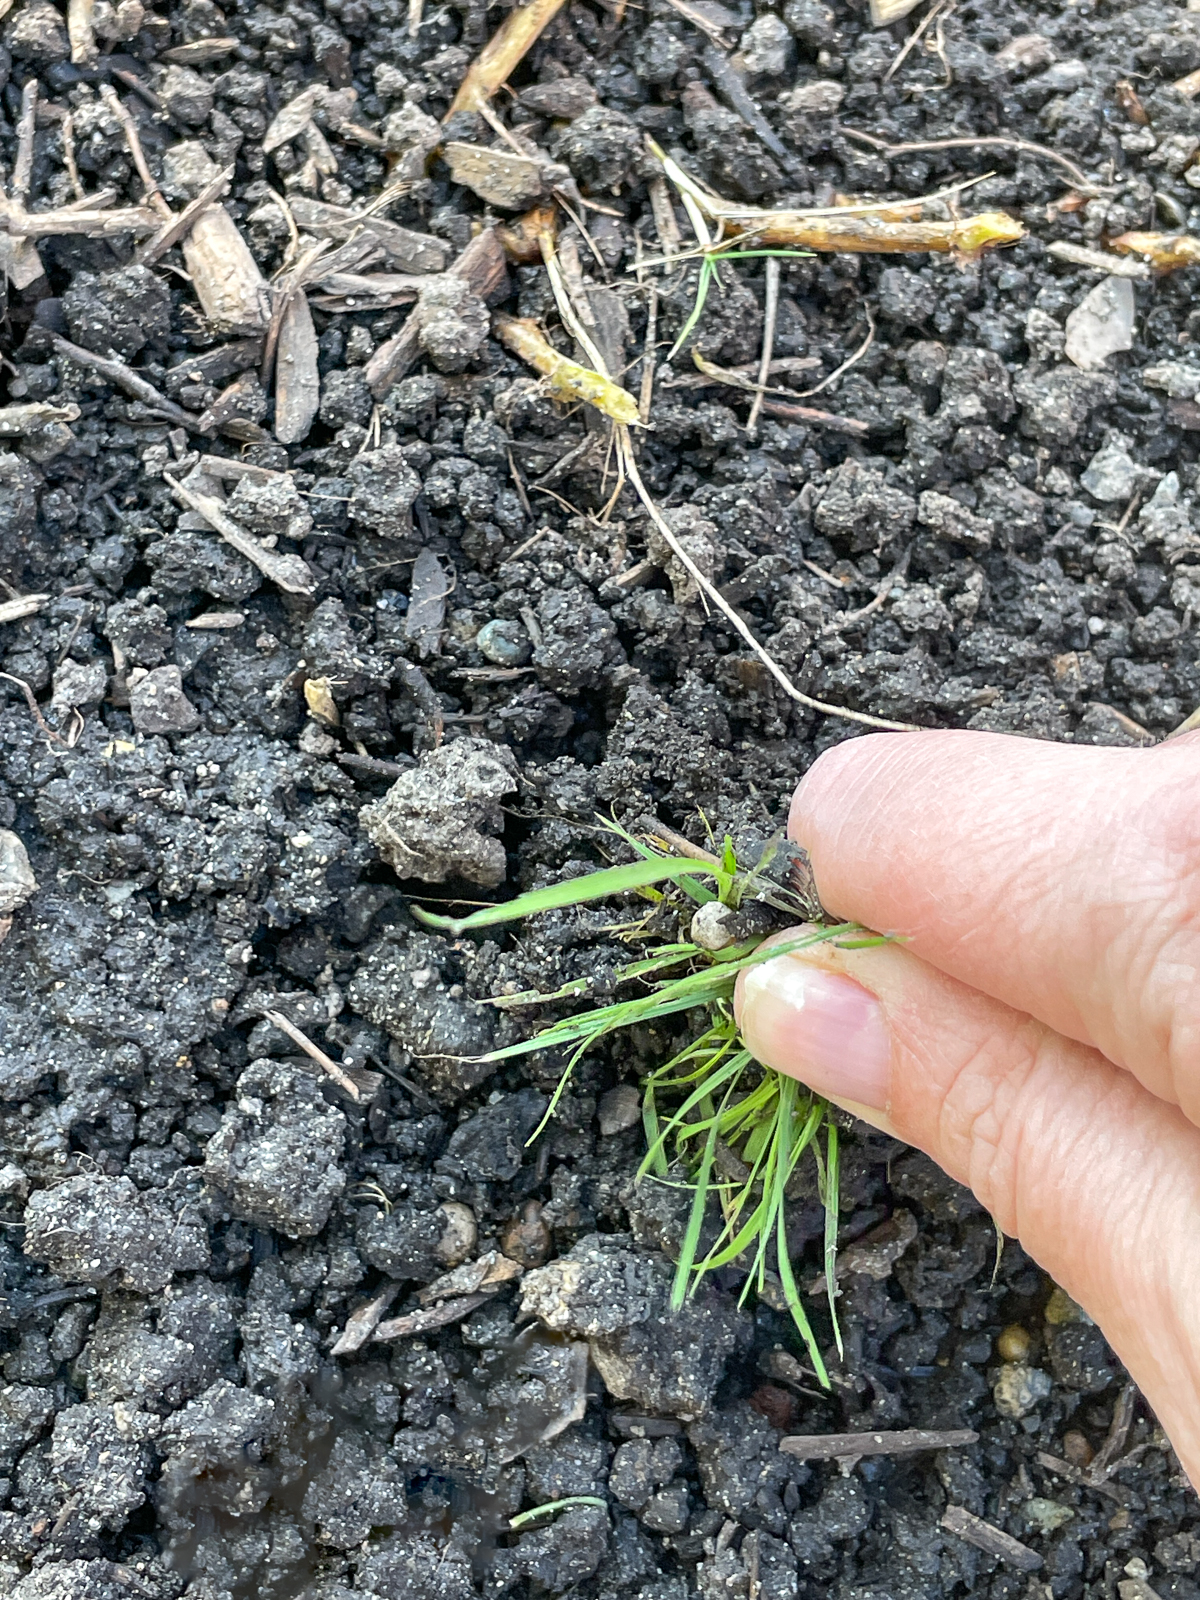
Pull them out by the roots to make sure they don't make a comeback. Do NOT use Round-Up or other herbicides, which can stay in the soil and affect your garden next year.
Get a soil test if your plants were struggling
If you had issues growing crops in your raised beds this year, now is a good time to have the soil tested. Knowing the condition of your soil now can help you figure out what you might need to add for next year.

To collect soil samples, dig a few small holes in different parts of your raised bed and mix the soil together. You can use a soil testing kit like this one or send the samples to a lab for more detailed analysis.
Once you have the results, you can take action. If your soil is too acidic or alkaline, you can adjust the pH by adding lime or sulfur. If it's lacking in certain nutrients, you can supplement with the appropriate amendments.
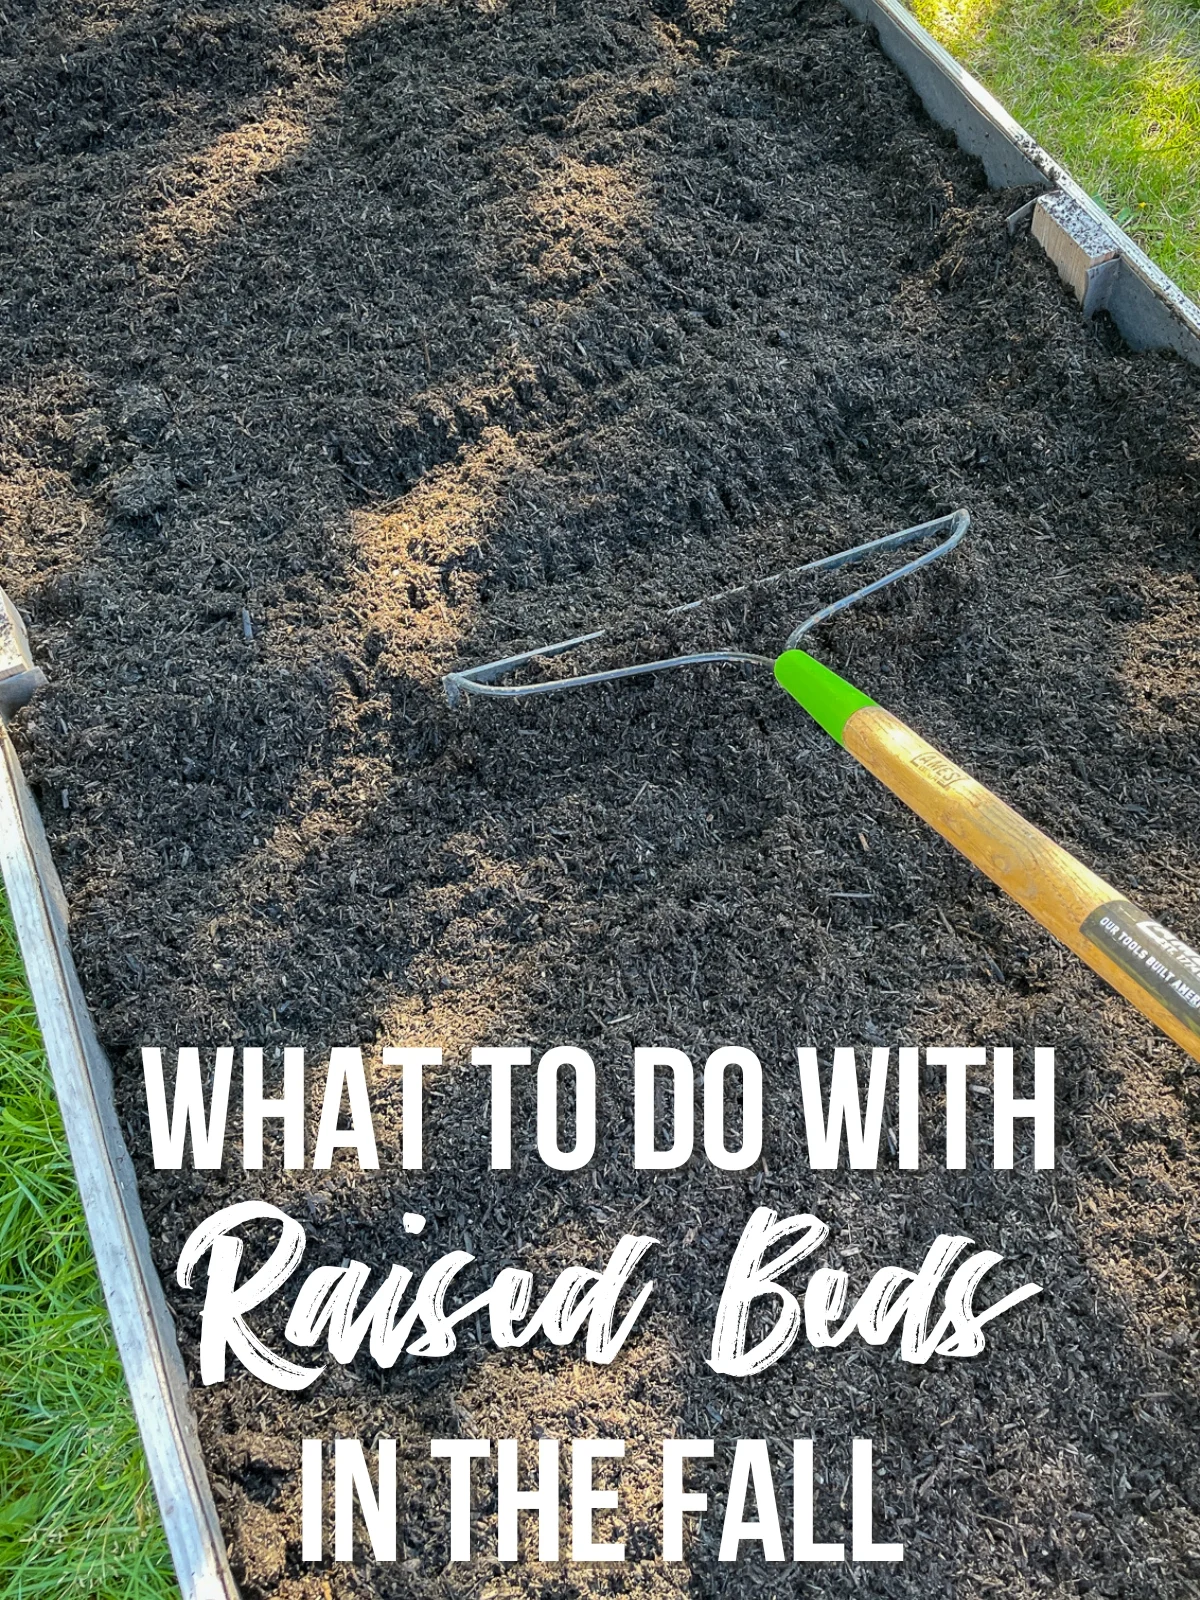
Adding organic matter
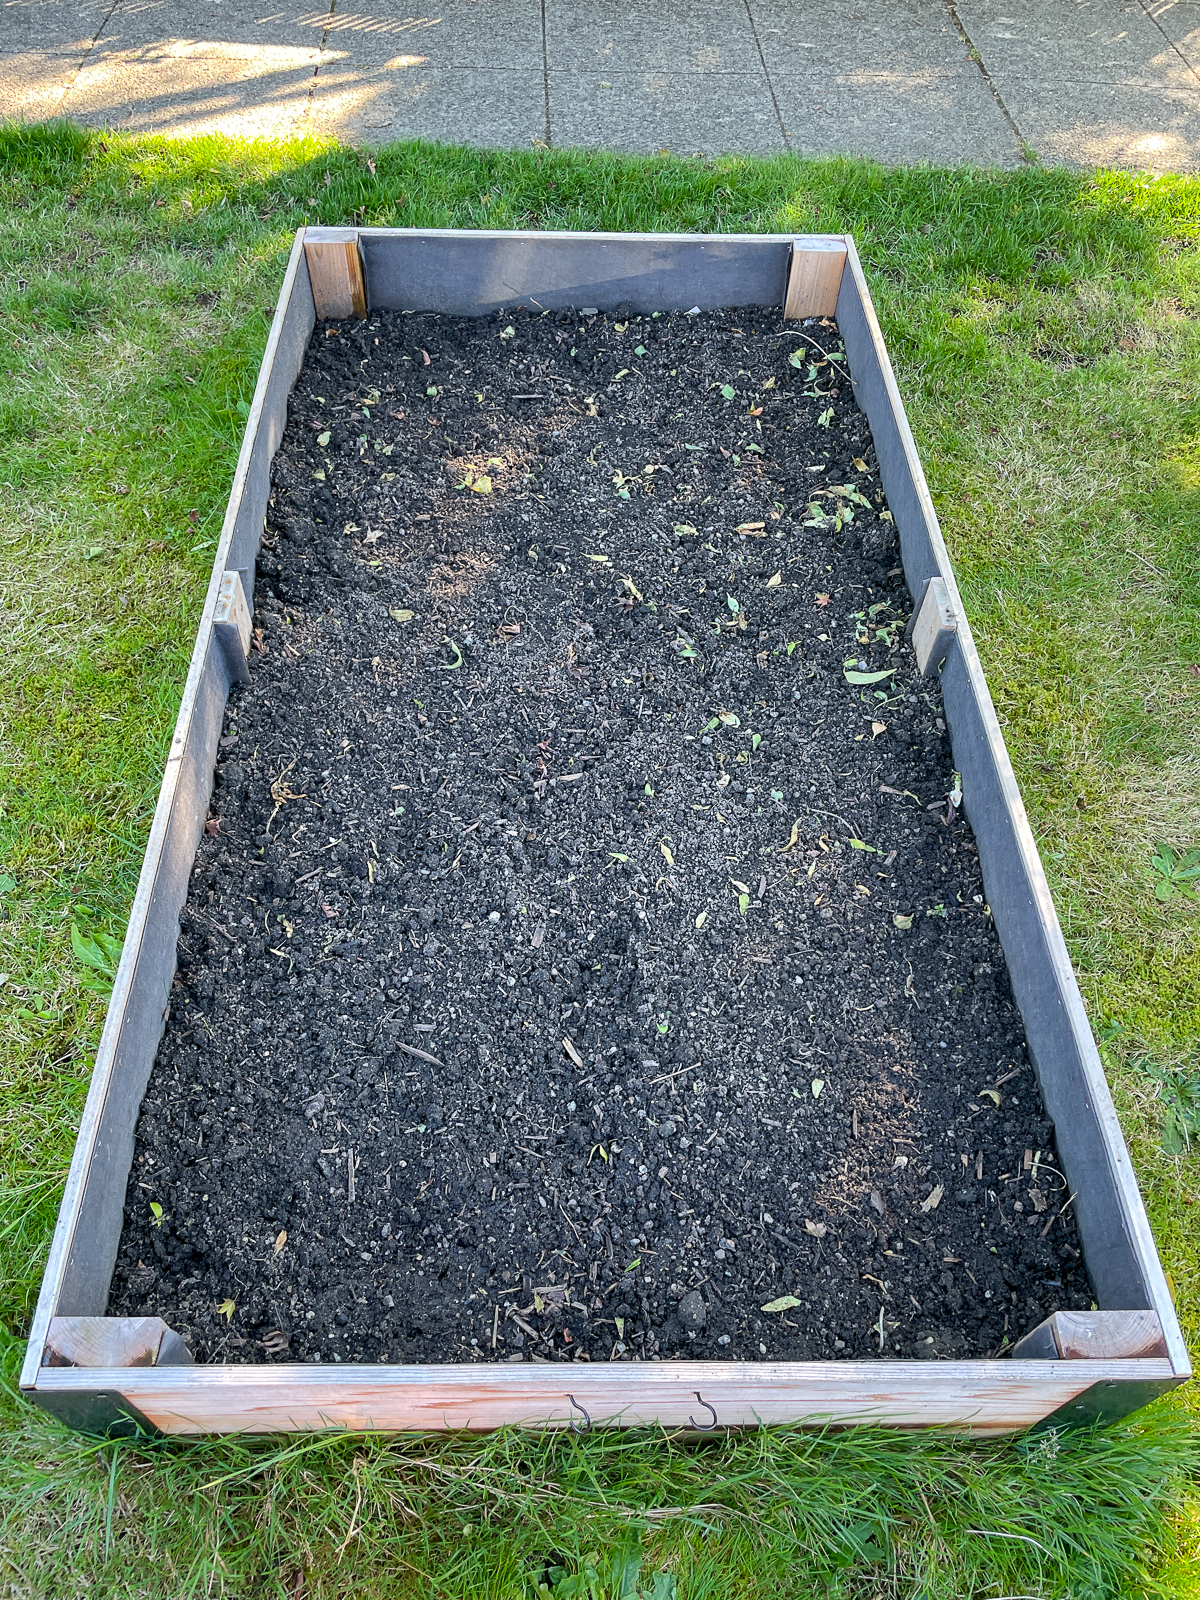
Even if you don't do a soil test, you'll need to enrich it with new organic matter. Over the growing season, all those plants took up nutrients and left the soil depleted.
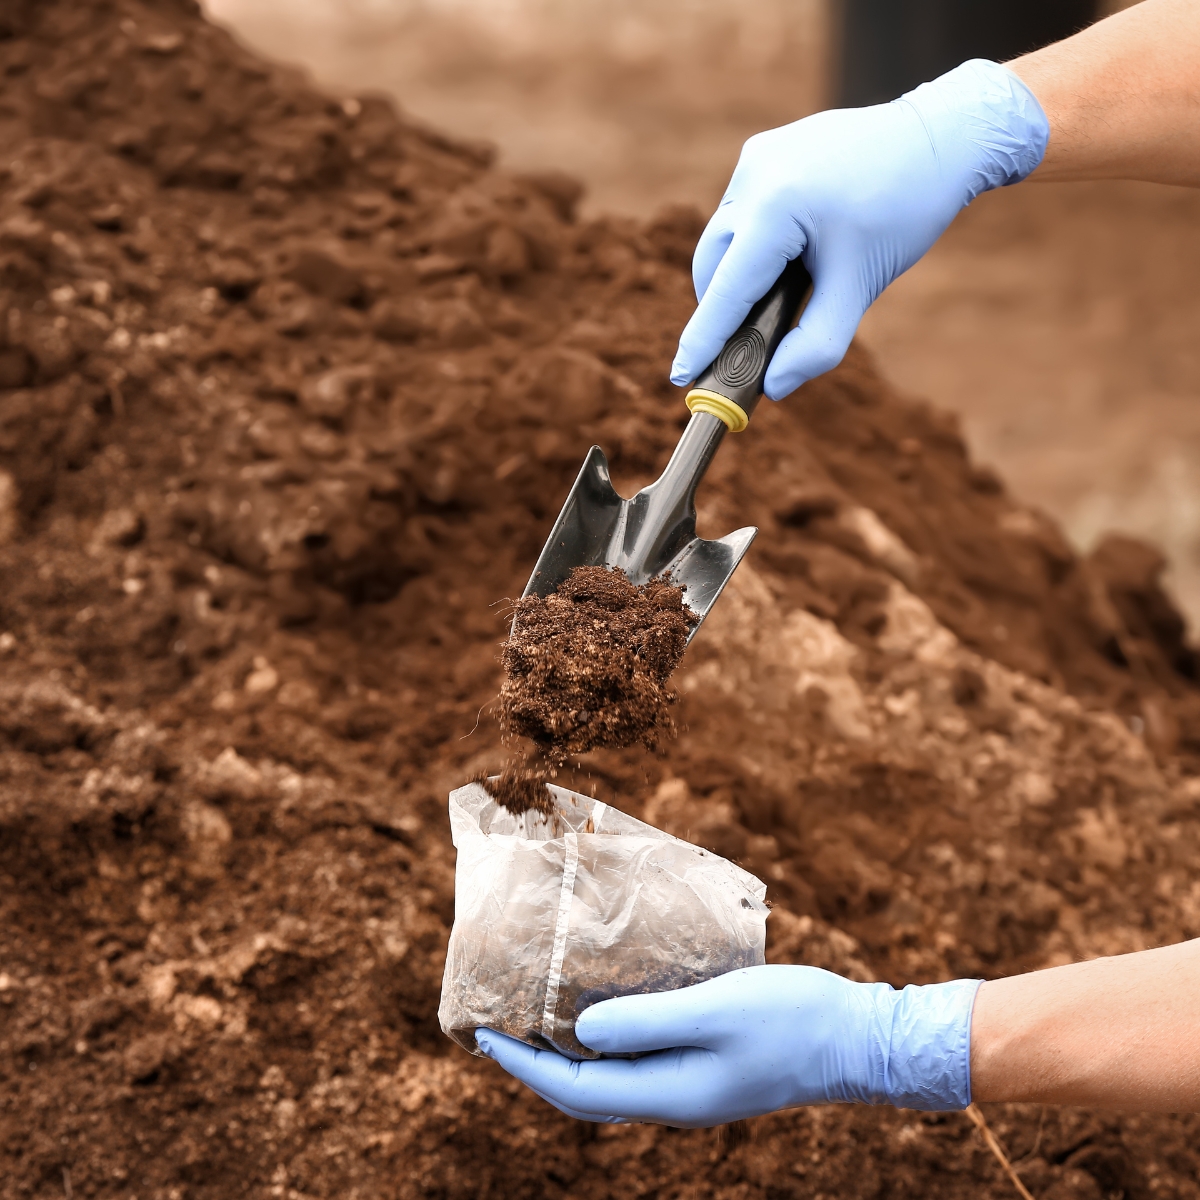
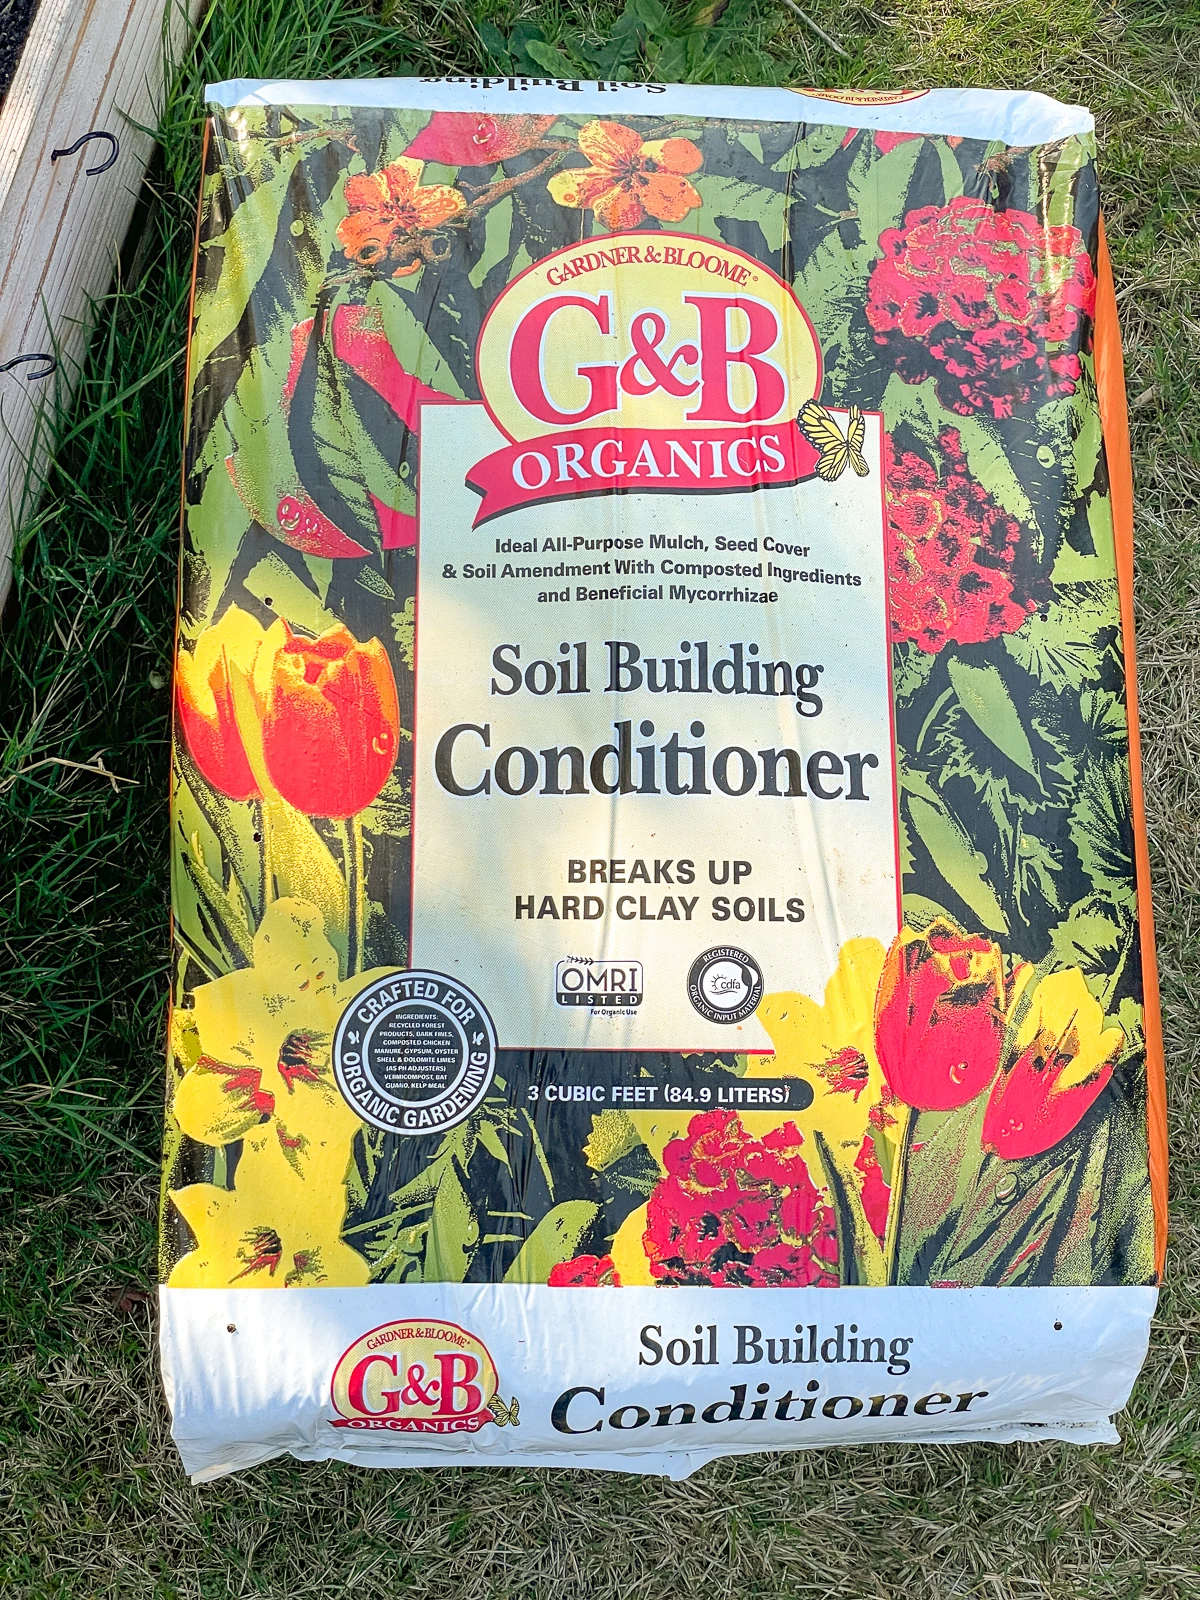
Adding compost, well-rotted manure, or leaf mold to all your raised beds will improve the soil for next year. I like to use G&B Soil Building Conditioner, which functions both as a mulch and feeds the soil.

Spread a 2- to 4-inch layer over the surface of your raised bed. Make sure to leave at least an inch at the top so water doesn't drain out the sides. The soil level in my beds was pretty low due to settling and compaction, so I used an entire 3 cubic foot bag on each 3'x6' bed.
Use a rake or a hoe to mix it in, going as deep as 6 to 8 inches. This ensures that the organic matter is well-integrated, providing a slow-release source of nutrients for your future plants.

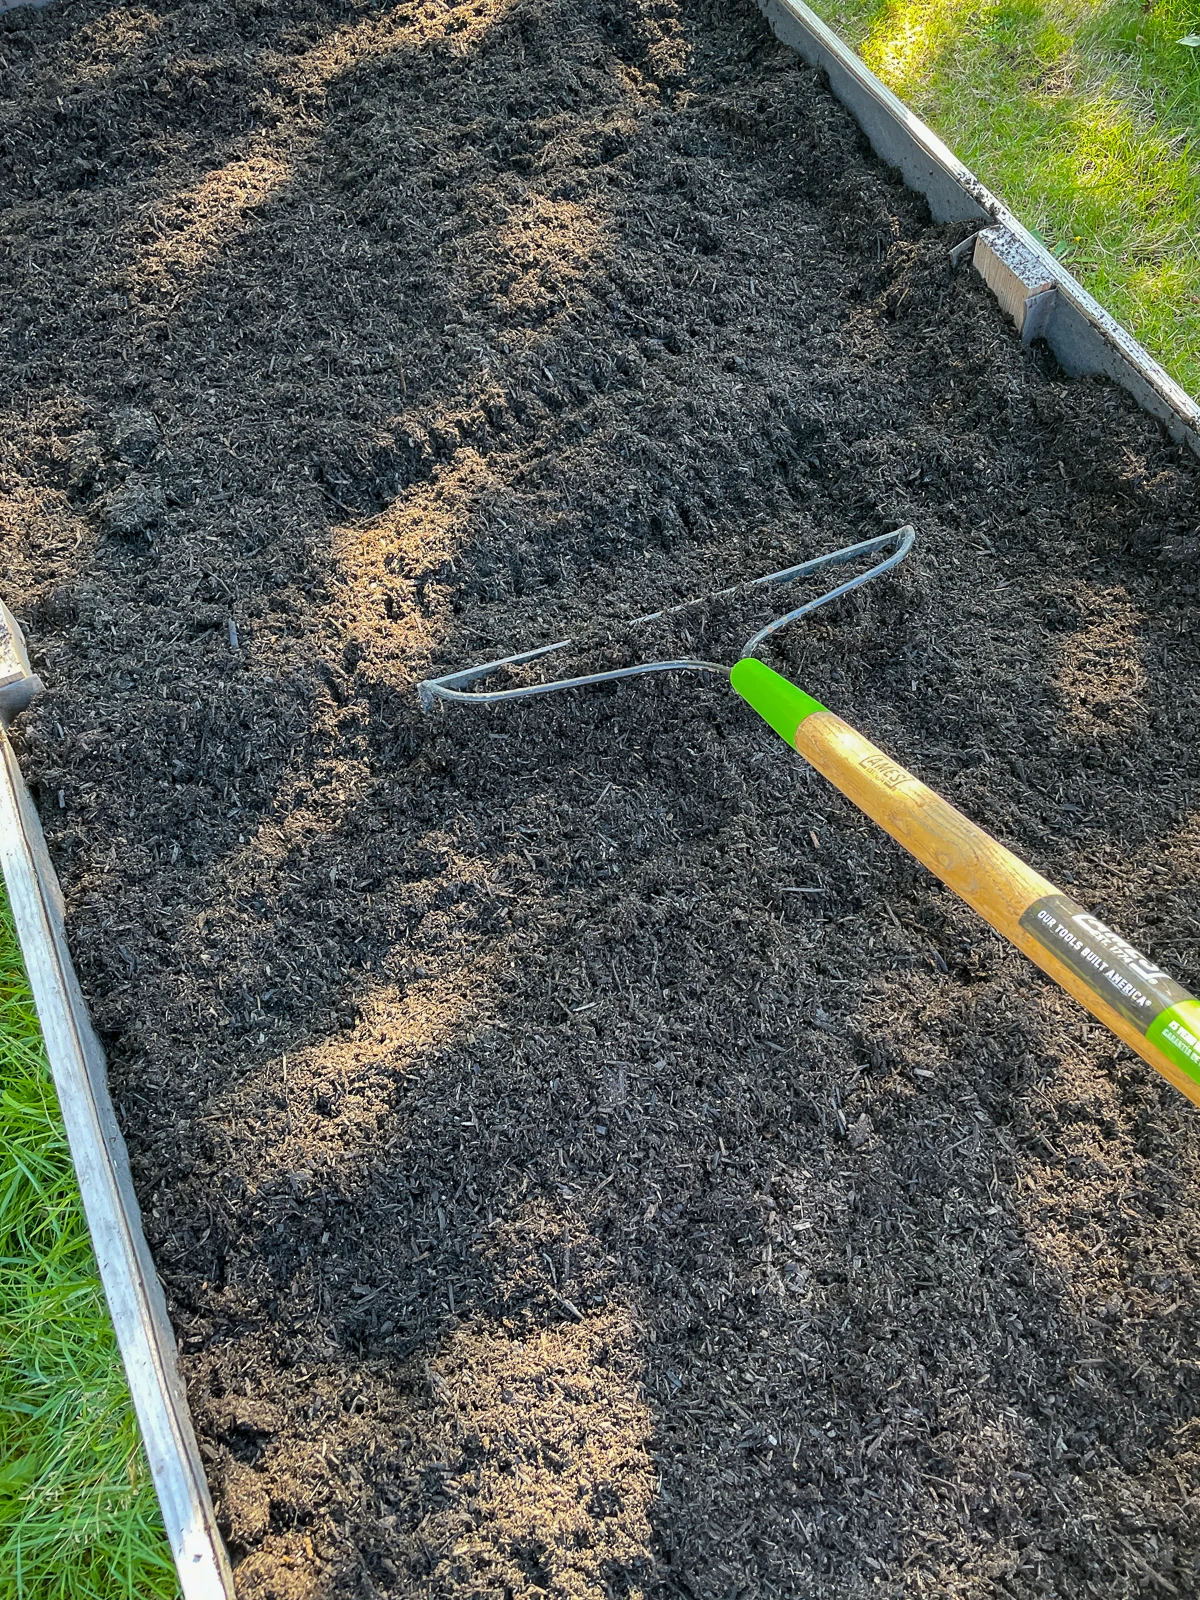
This raised bed is where I planted my sweet peas way back in early spring. They were still flowering well into September, but the vines were looking pretty sad after a big rain storm so I cut them all down and stored away the trellis for next year.
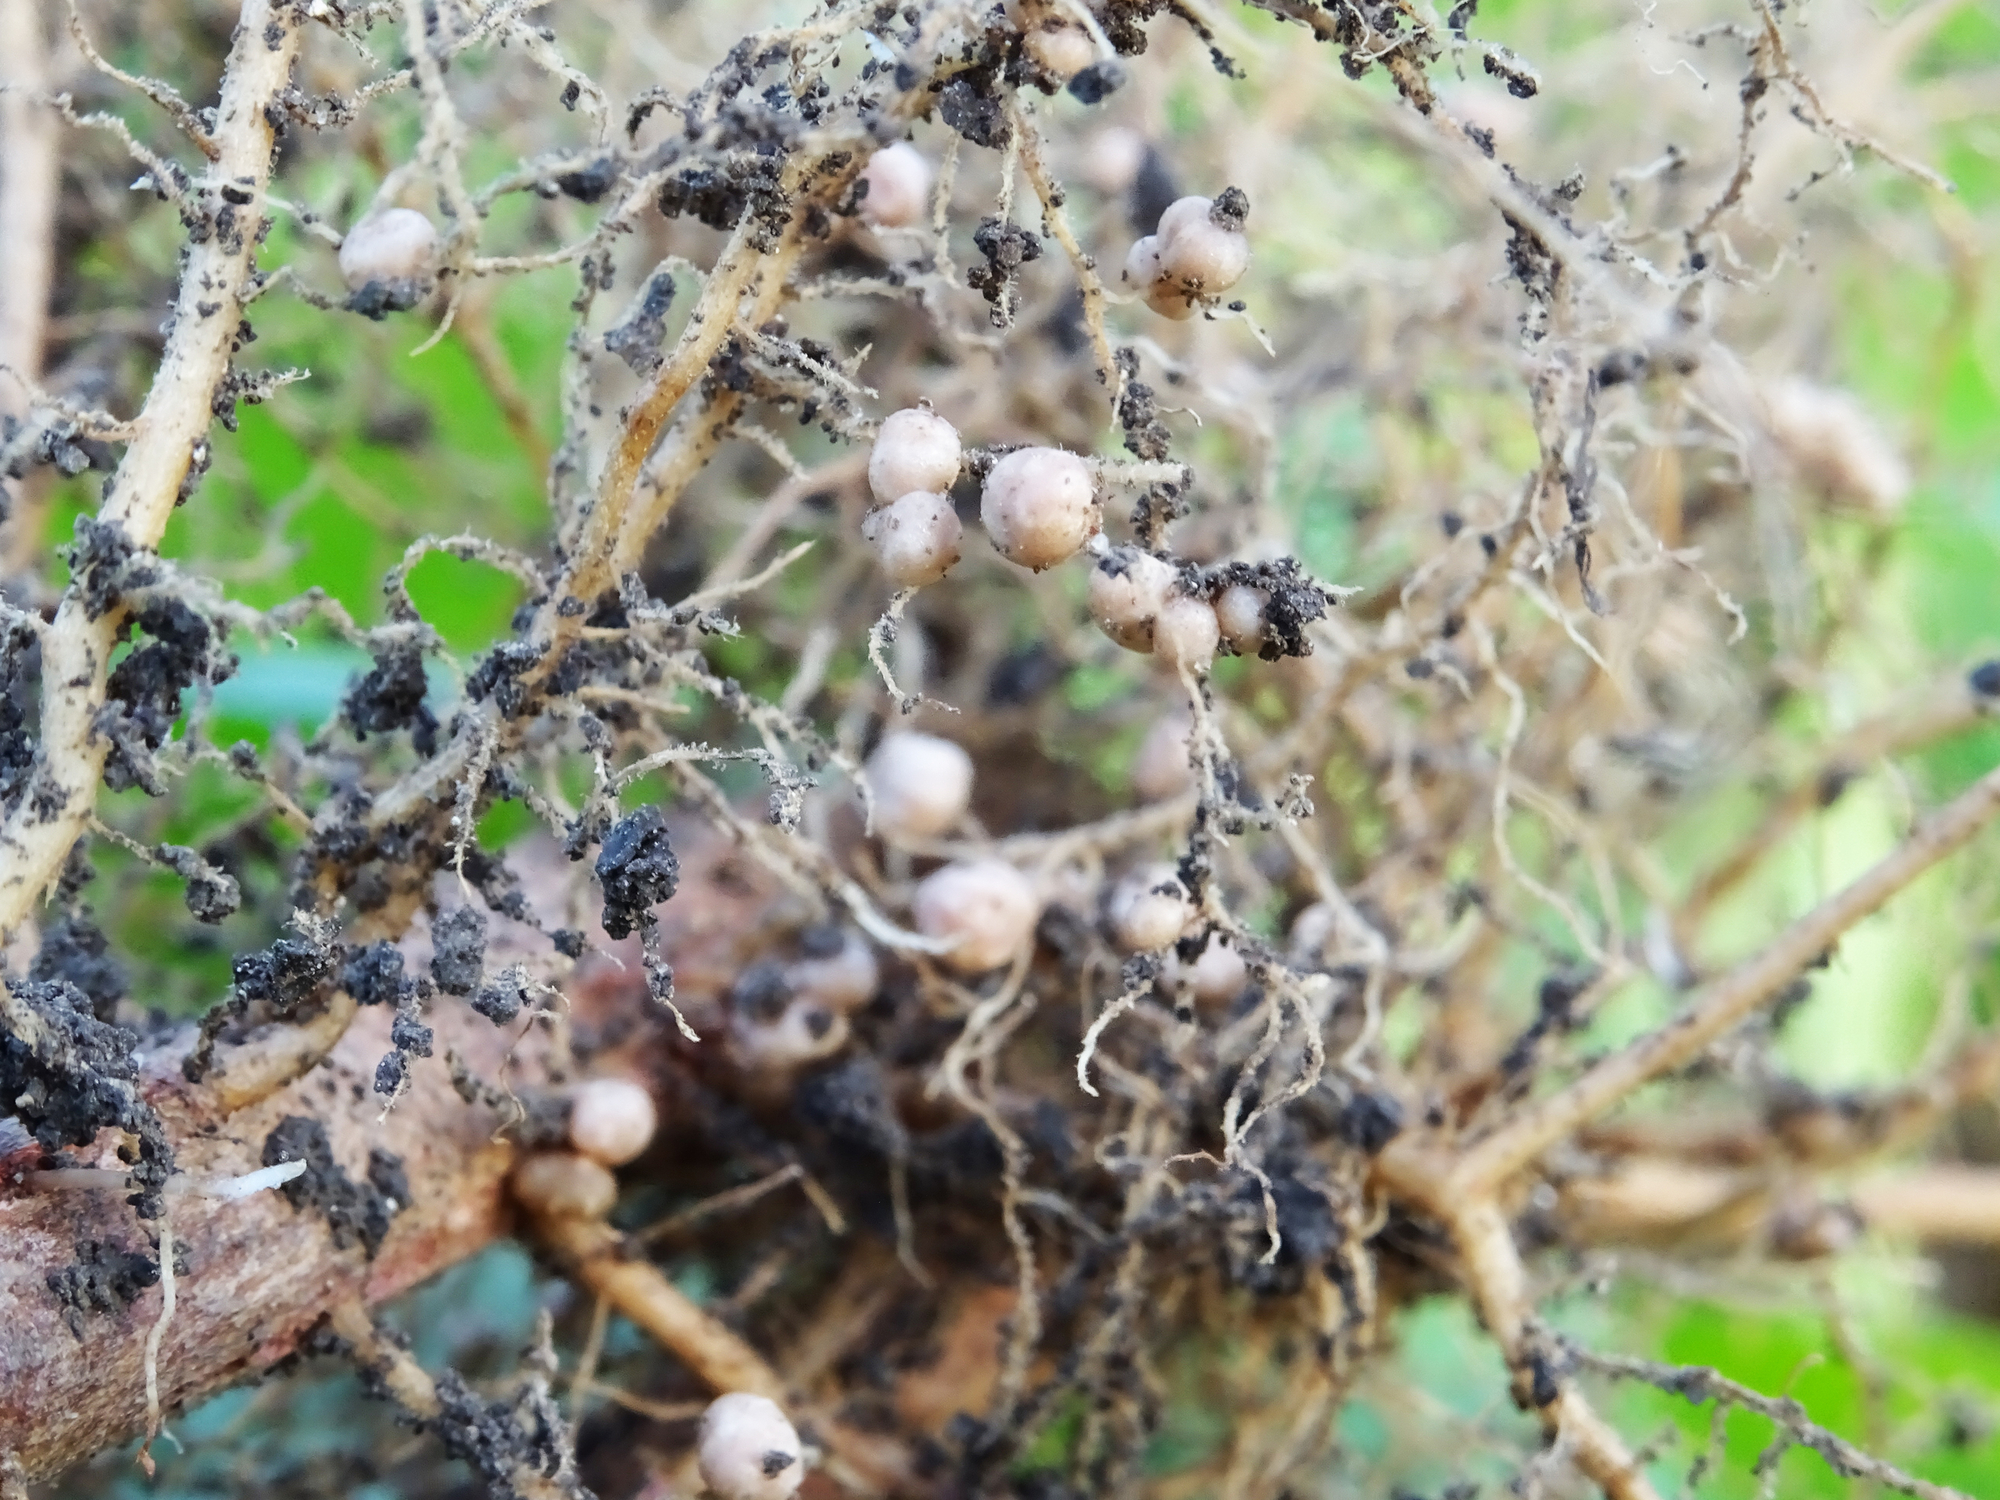
Sweet peas, like all legumes, are nitrogen fixers. This means that their roots are covered with little balls of nitrogen that help enrich the soil. Instead of yanking the plants out of the ground, I cut the stems at ground level and left the roots intact.

Instead of tilling the compost deep into the soil of this bed, I'll just rake it lightly on top. This allows the nitrogen in the decomposing roots to work its way into the soil over the winter.
Consider planting cover crops
After you've enriched your soil with organic matter, you might think you're done. But you don't need to leave your soil bare! Consider planting cover crops like clover, winter rye, or hairy vetch. These plants aren't just placeholders; they serve a purpose.


Cover crops help prevent soil erosion, which can be especially important if your raised beds are exposed to wind or heavy rain. They also suppress weeds, saving you some work in the spring. Plus, certain types of cover crops can fix nitrogen in the soil, giving you a natural fertility boost.
Planting cover crops is pretty straightforward. The video below shows you how! Come spring, you can either till these plants into the soil for added organic matter or remove them to make way for your main crops.
Plant hardy annual flower seeds
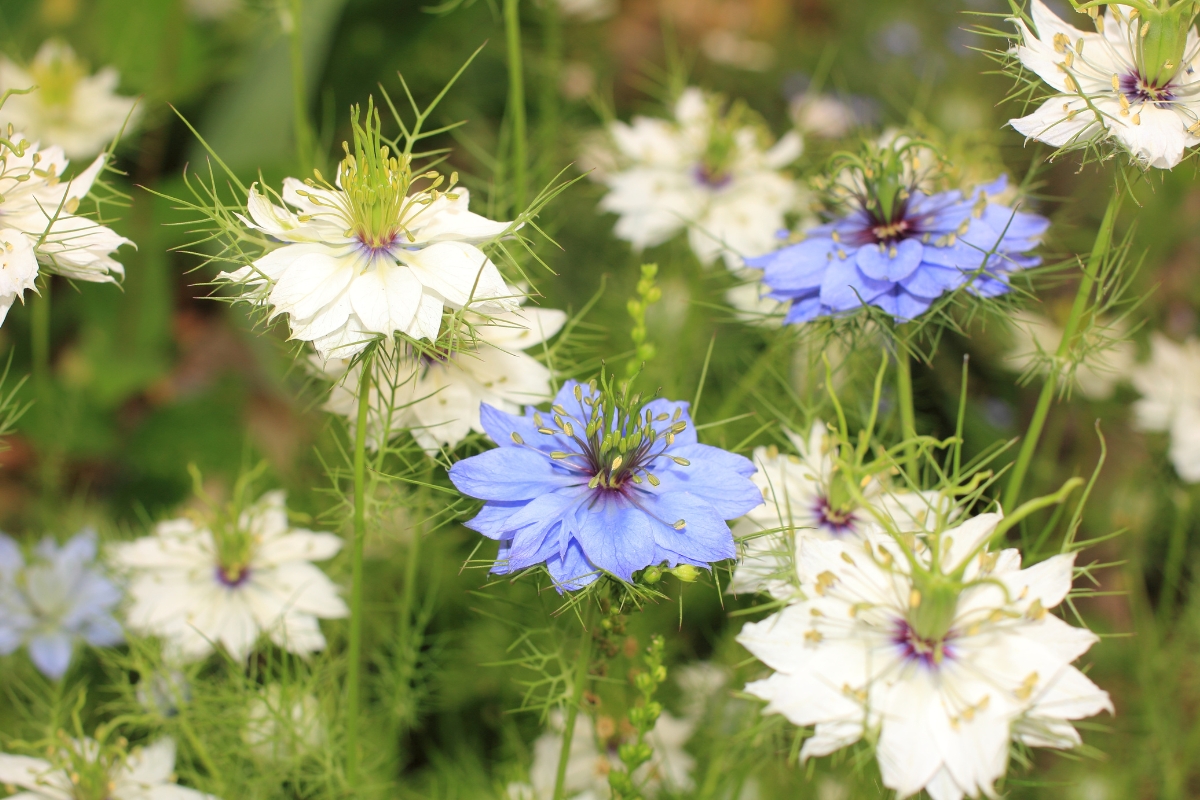
Believe it or not, fall is a fantastic time to plant hardy annual flower seeds in your raised beds. While most people are winding down their gardening activities, you can get a head start on a colorful and vibrant spring garden.
Hardy annuals like nigella, poppies, and larkspur can actually benefit from the chill of winter. Cold stratification helps to break the seed dormancy, leading to earlier and more robust blooms come spring. The book 'Cool Flowers' is a great resource for figuring out which types of flowers grow best with this method.

To plant these seeds, simply scatter them over the surface of your prepared soil and lightly press them in. You don't need to bury them deep; a light covering of soil or mulch is enough. Then, water the area gently to help the seeds settle.
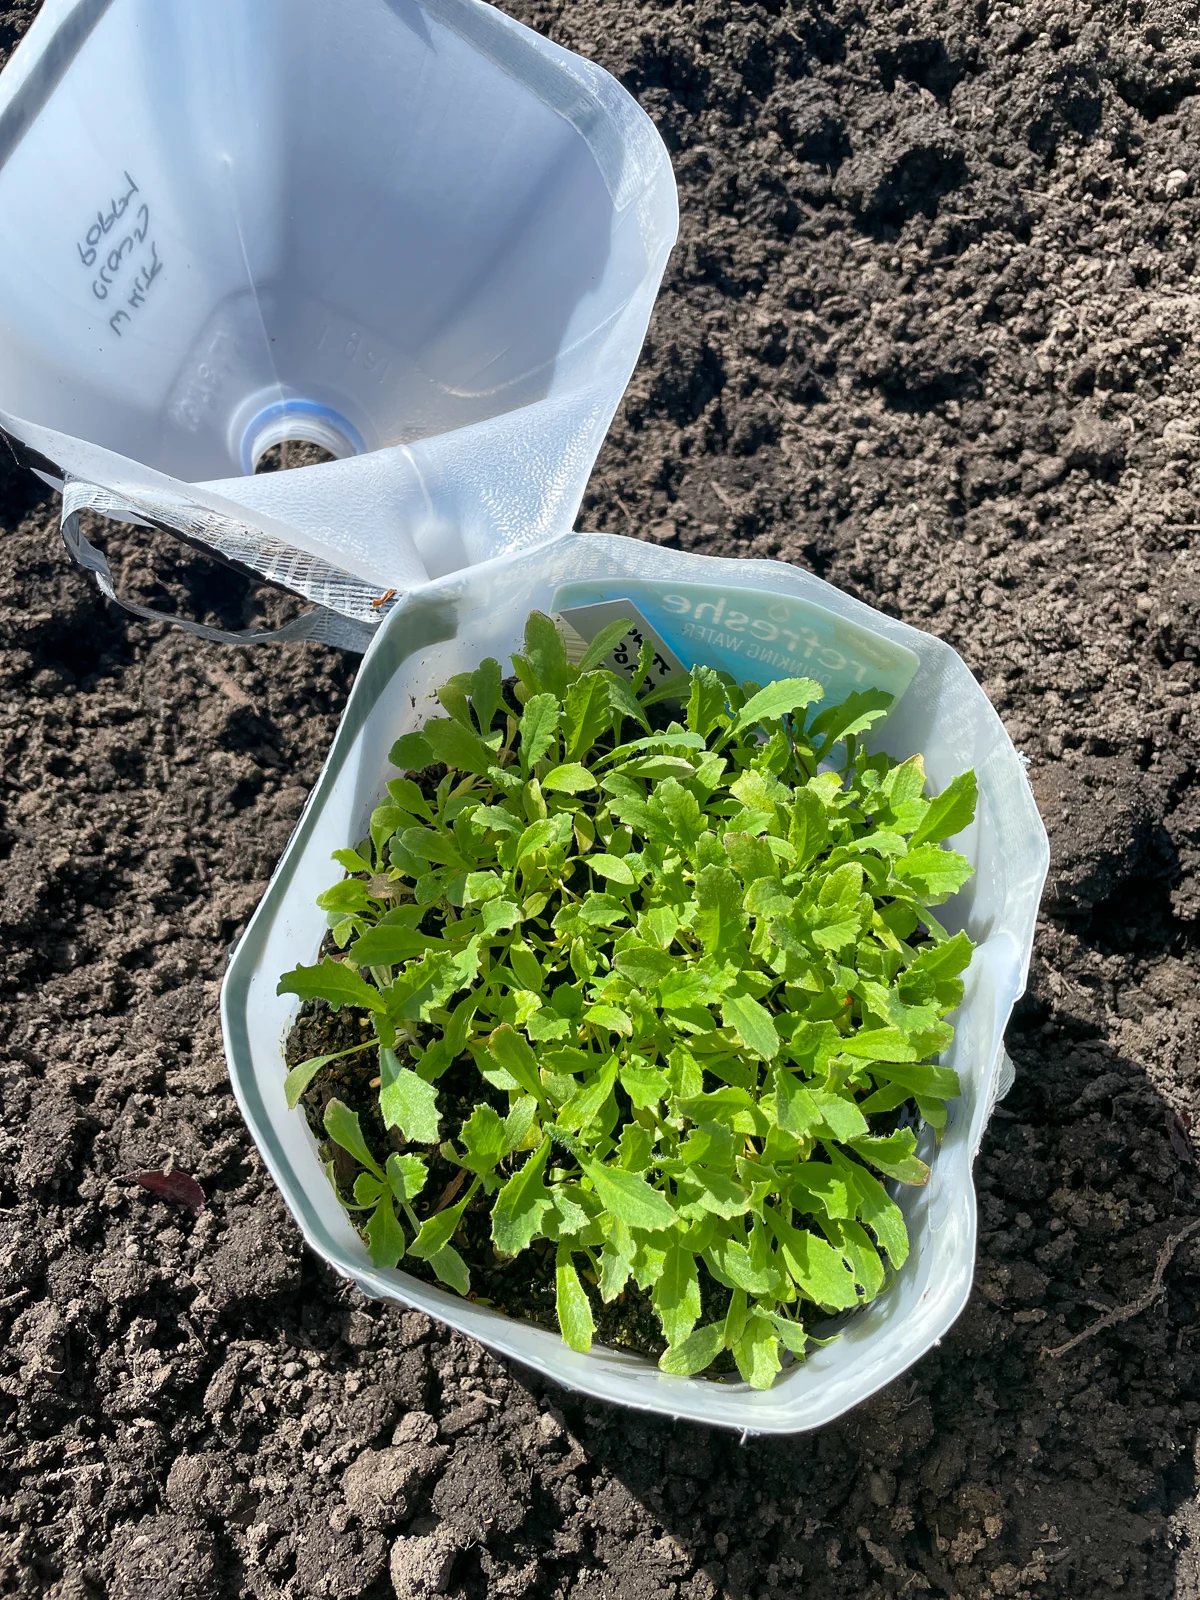
Last year, I winter sowed poppy seeds in milk jugs and they bloomed beautifully in late spring! Many of the seeds self-sowed in their raised bed before I could collect them, so they'll pop back up next year without any extra work.

Mulching raised beds
After you've cleaned, tested, and enriched your soil, and perhaps even planted some cover crops, it's a good idea to add a layer of mulch on top. Mulch serves as a protective blanket for your soil, helping to retain moisture and regulate temperature.
There are various types of mulch you can use for raised beds, like straw, wood chips, or even shredded leaves. Each has its own set of pros and cons, so choose the one that best suits your gardening needs.
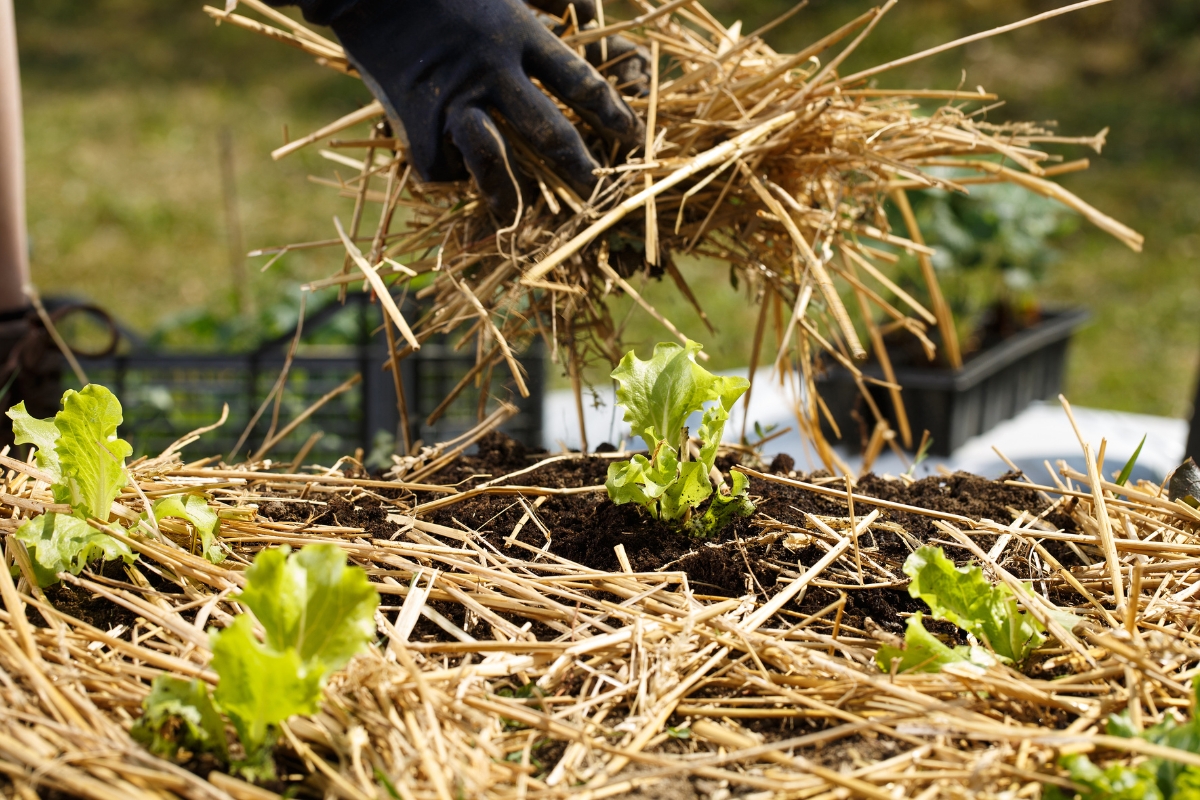

For instance, straw is lightweight and easy to apply but might contain weed seeds. Wood chips are more durable but can take longer to break down, so you may need to remove the larger chunks in spring. I plan to just gather up all the fallen leaves from our trees, chop them up and dump them in my raised beds for free mulch!
Extend your growing season
If you're not quite ready to say goodbye to gardening just because it's fall, you're in luck. You can extend your growing season with a little help from cold frames or hoop houses. These structures offer a protective environment that can keep cold-hardy crops like kale, spinach, and carrots growing even after a frost.
Cold frames are essentially mini-greenhouses that sit directly over your raised beds. They're usually made of a wooden frame with a transparent top, which allows sunlight in while keeping the cold air out. The video below shows you how to make one for under $50!
Hoop houses work similarly but are typically made of hoops with plastic sheeting or frost fabric over them. These are less durable, but are easily packed away as the weather warms up. The video below shows four different methods for installing hoops on your raised beds.
Taking care of your raised beds in the fall isn't just a chore. It's a way to ensure a successful growing season next year!
So go ahead, roll up those sleeves and give your raised beds the TLC they deserve. Feel free to share your own fall maintenance tips or successes in the comments below!