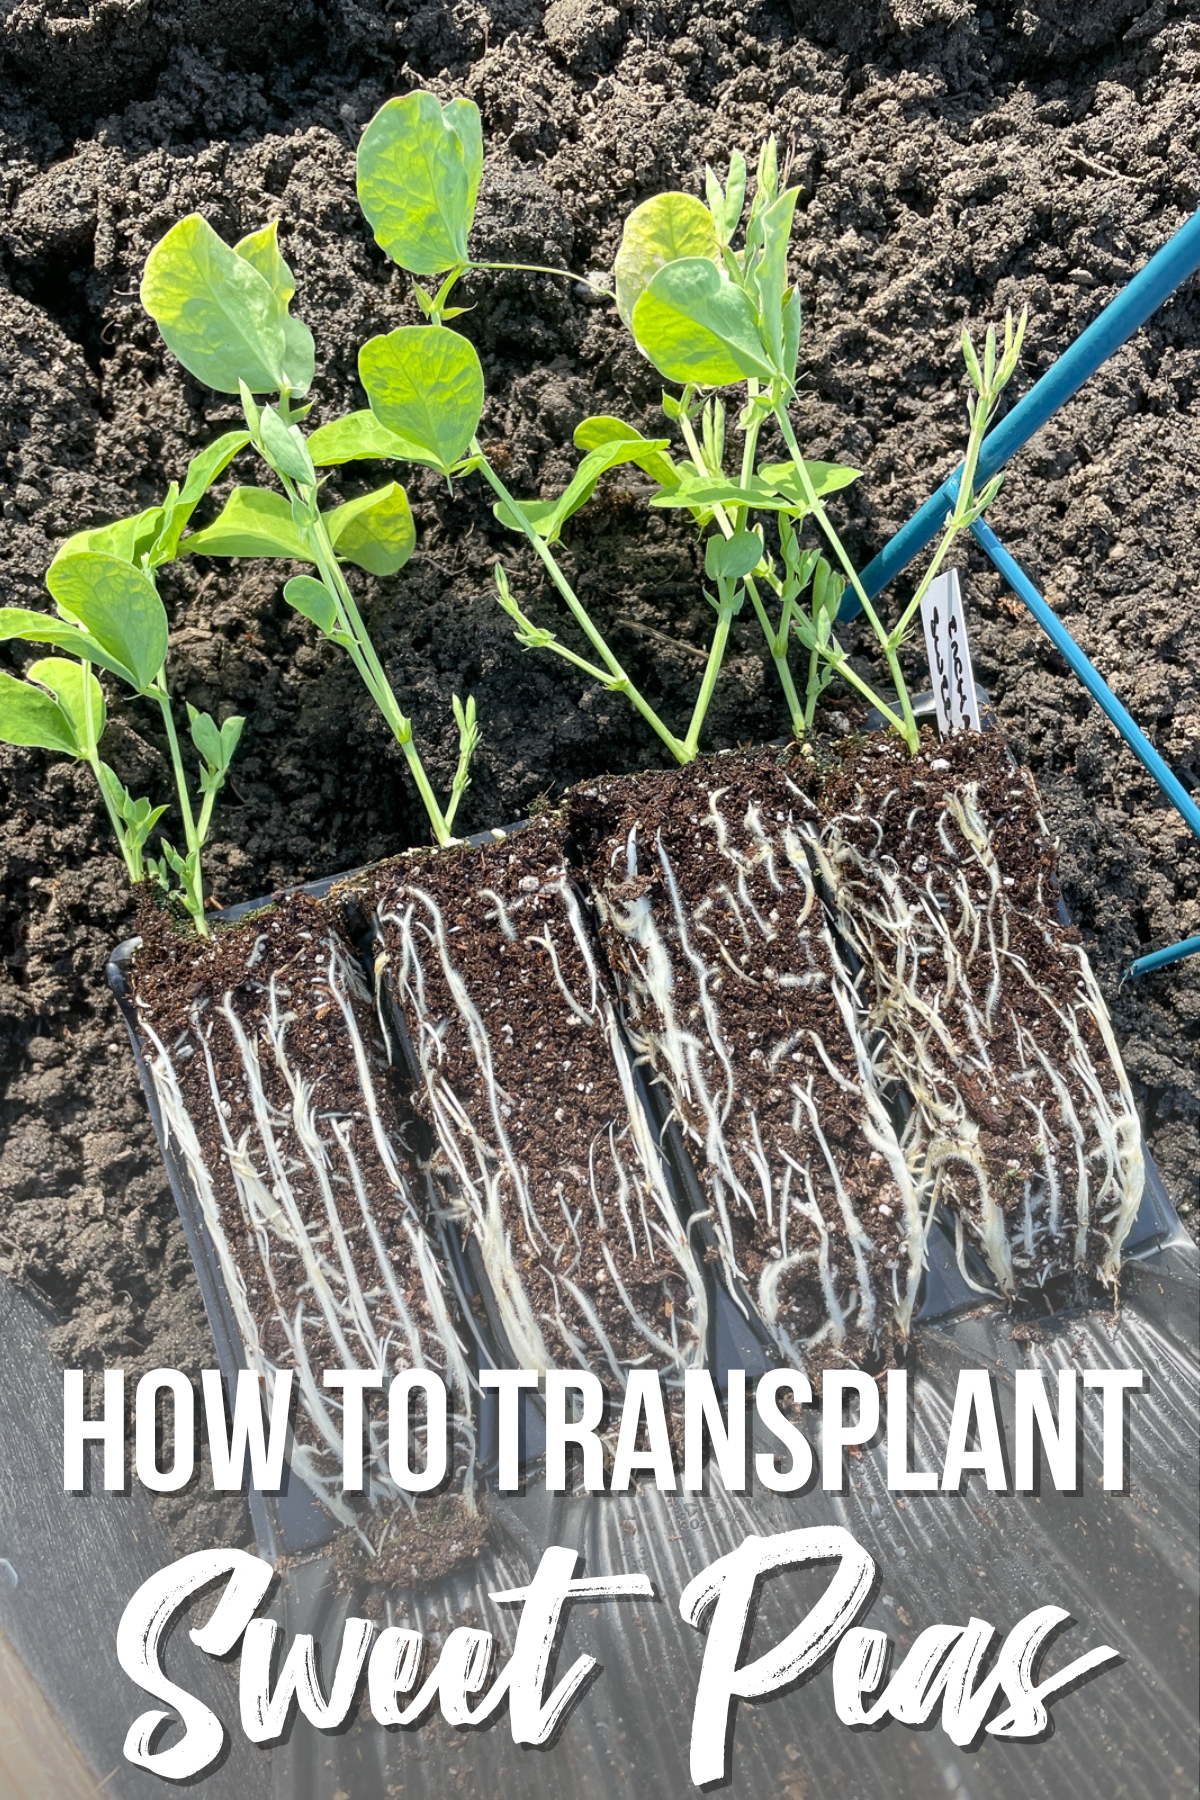
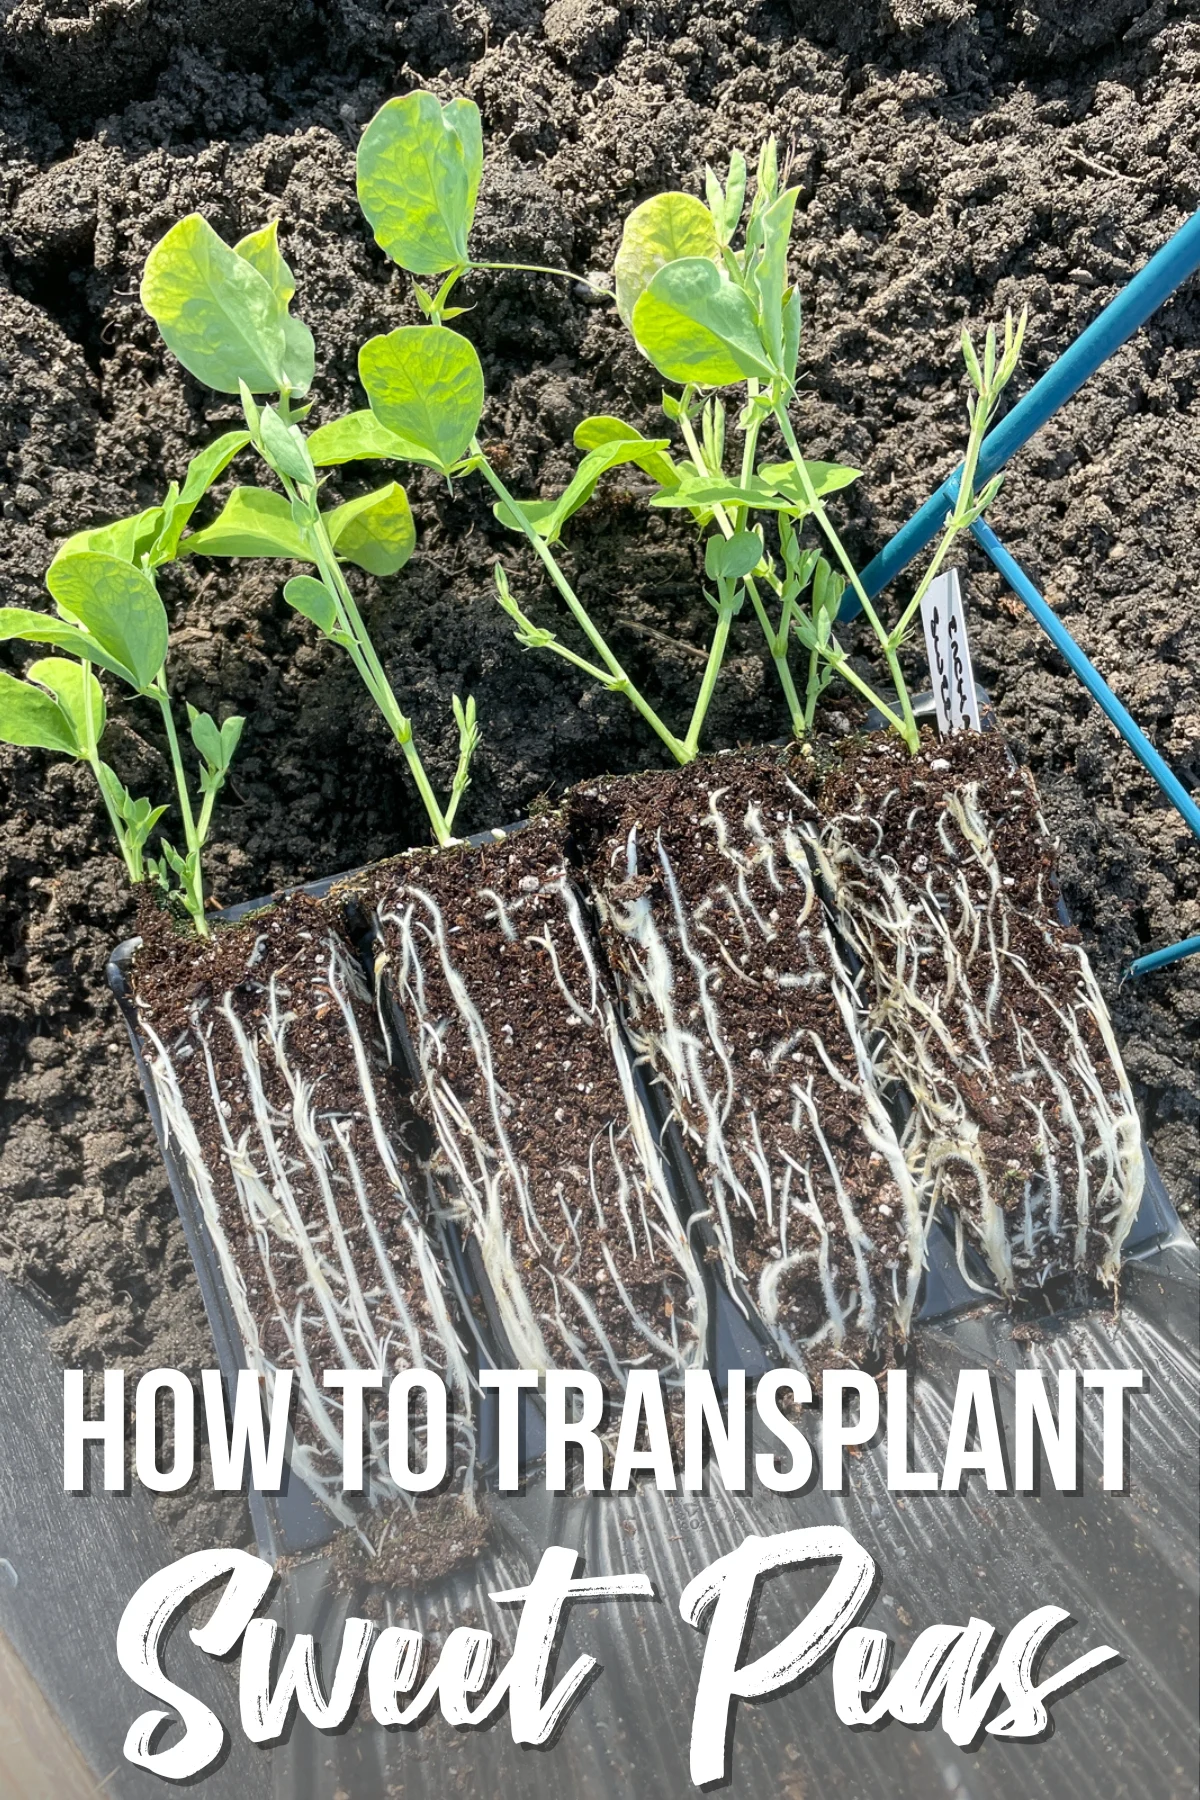
Learn my tips and tricks for how to transplant sweet peas from their pots or seed trays into the garden successfully!
There's a reason why you don't usually see sweet pea seedlings for sale at your local garden center...they're fussy about their roots. They don't always transplant successfully, especially after they've been yanked out of their pot!
Luckily, it's easy to grow sweet peas from seed at home and gently transplant them out into the garden. All it takes is a little pre-planning and preparation!
Let's get growing!
This post contains affiliate links for your convenience. Purchases made through these links may earn me a small commission at no additional cost to you.
Preparing your sweet pea seedlings for transplanting
Before we get to the actual transplanting, there are a couple of critical steps we need to cover. These steps will ensure your sweet peas are ready to make their move from the seed tray to your garden.
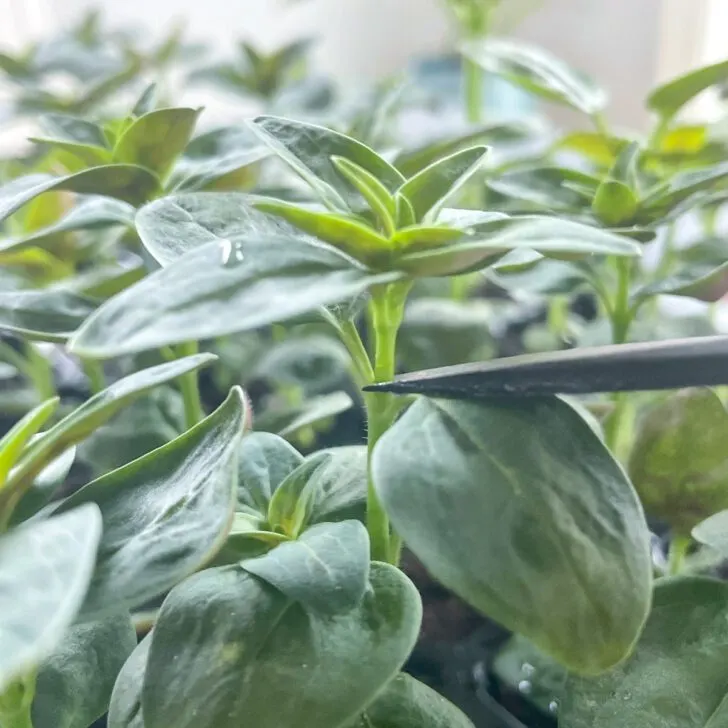
Pinching
Before you introduce your sweet peas to the great outdoors, you need to give them a little haircut! Pinching sweet peas encourages more shoots to form, giving you more flowers in the long run.
While it may feel a bit harsh to cut off all that growth, trust me, it's worth it! Once your seedlings have grown 4-6 inches tall, cut off the top just above a leaf node. Leave 2 or 3 sets of leaves below the cut.
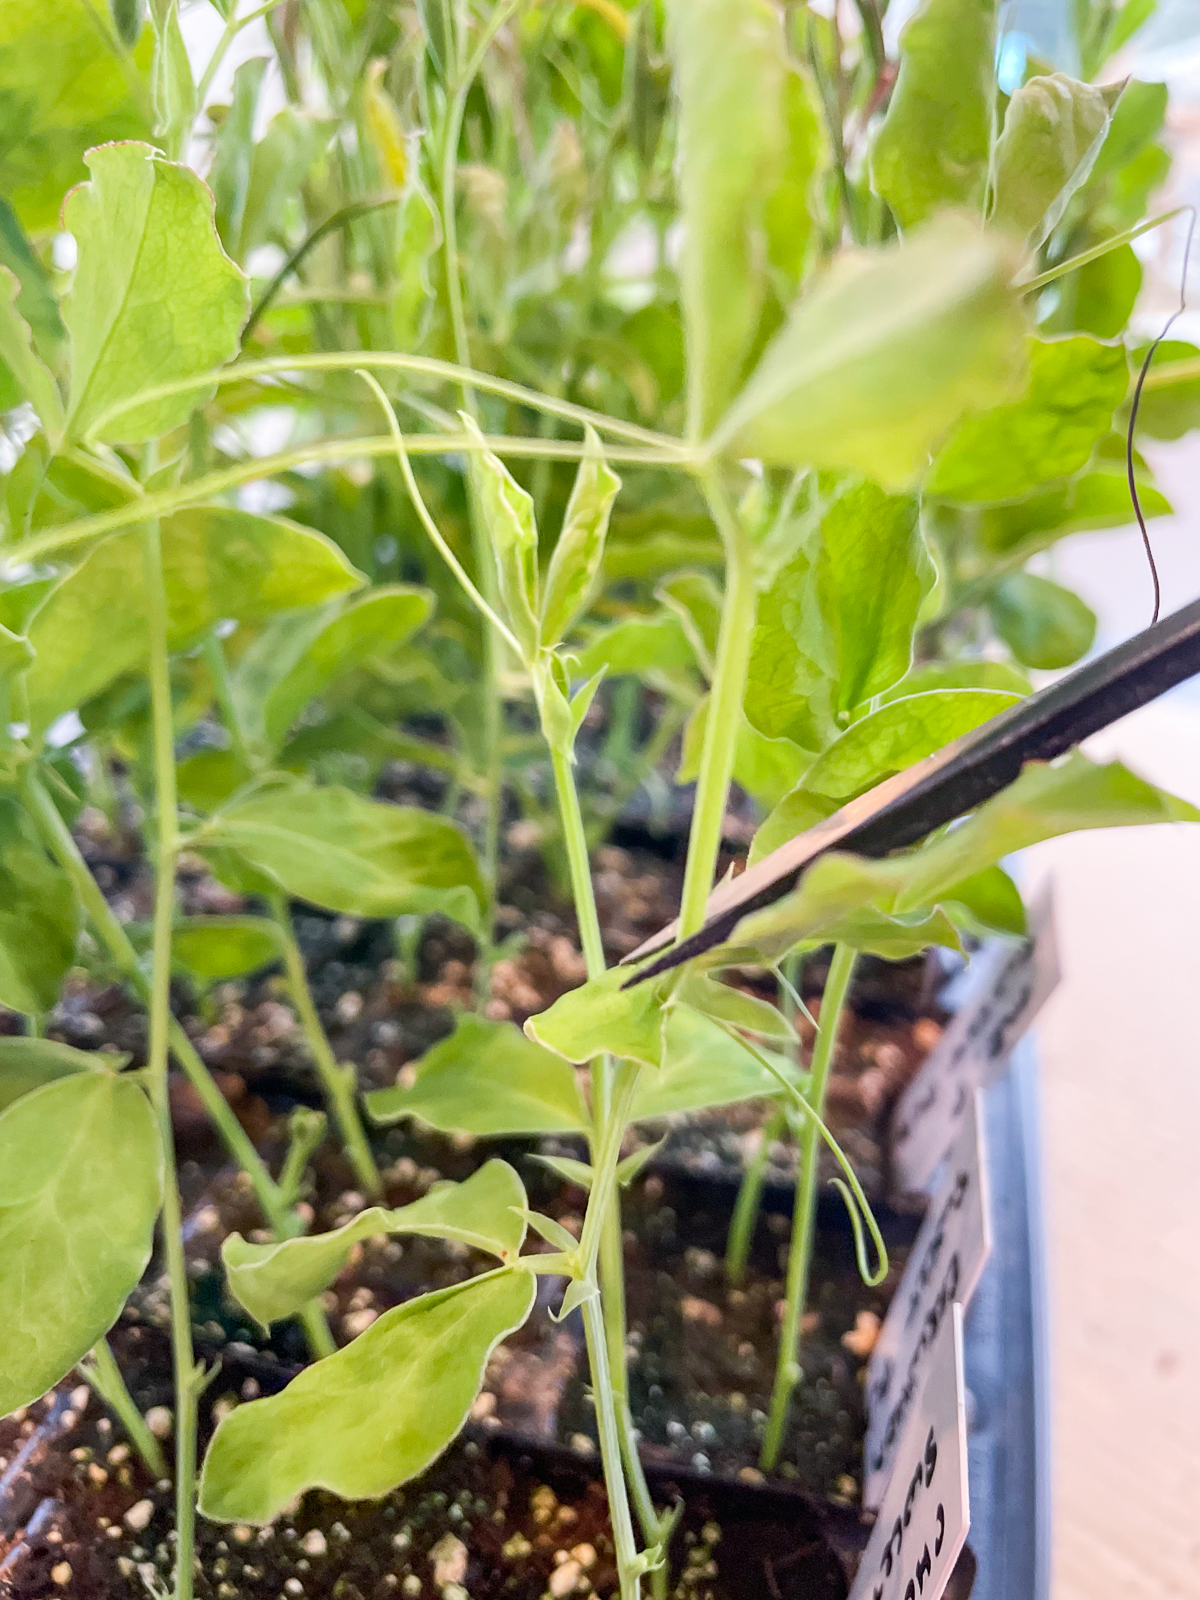

Within a few days, you should start to see new growth forming lower on the plant. Each shoot will turn into a long vine full of blooms!


Hardening off
After the stems have been pinched, it's time to prepare the seedlings for their new outdoor life. This is called 'hardening off'. Essentially, we're going to introduce the seedlings to the great outdoors, a little bit at a time, over a week or so. Sweet peas can handle a light frost, so you can start this process before your last frost date.
This gradual introduction helps to toughen them up and get them ready for the conditions they'll face in the garden. Start off slow by leaving them in a shady area for a couple hours before bringing the tray back inside. Increase the duration and sun levels every few days until the stems are stiff.
Prepare the soil
While our seedlings are getting acclimated to the outdoors, we can turn our attention to the soil in our garden. Sweet peas love fertile, well-draining soil. If your garden bed isn't quite up to snuff, don't worry, compost to the rescue!
By adding compost, you can enrich your soil with the nutrients your sweet peas will need to thrive. And, as an added benefit, compost also helps improve soil drainage.
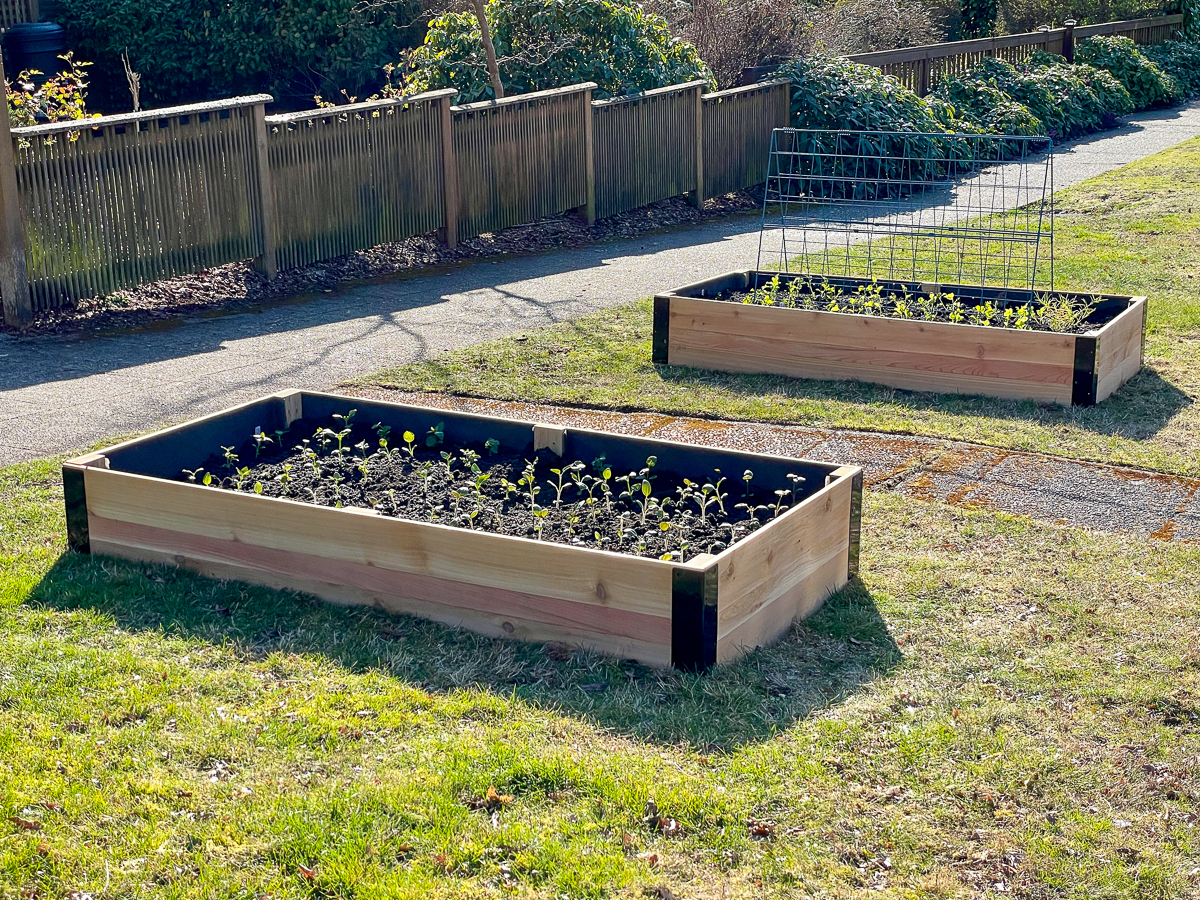
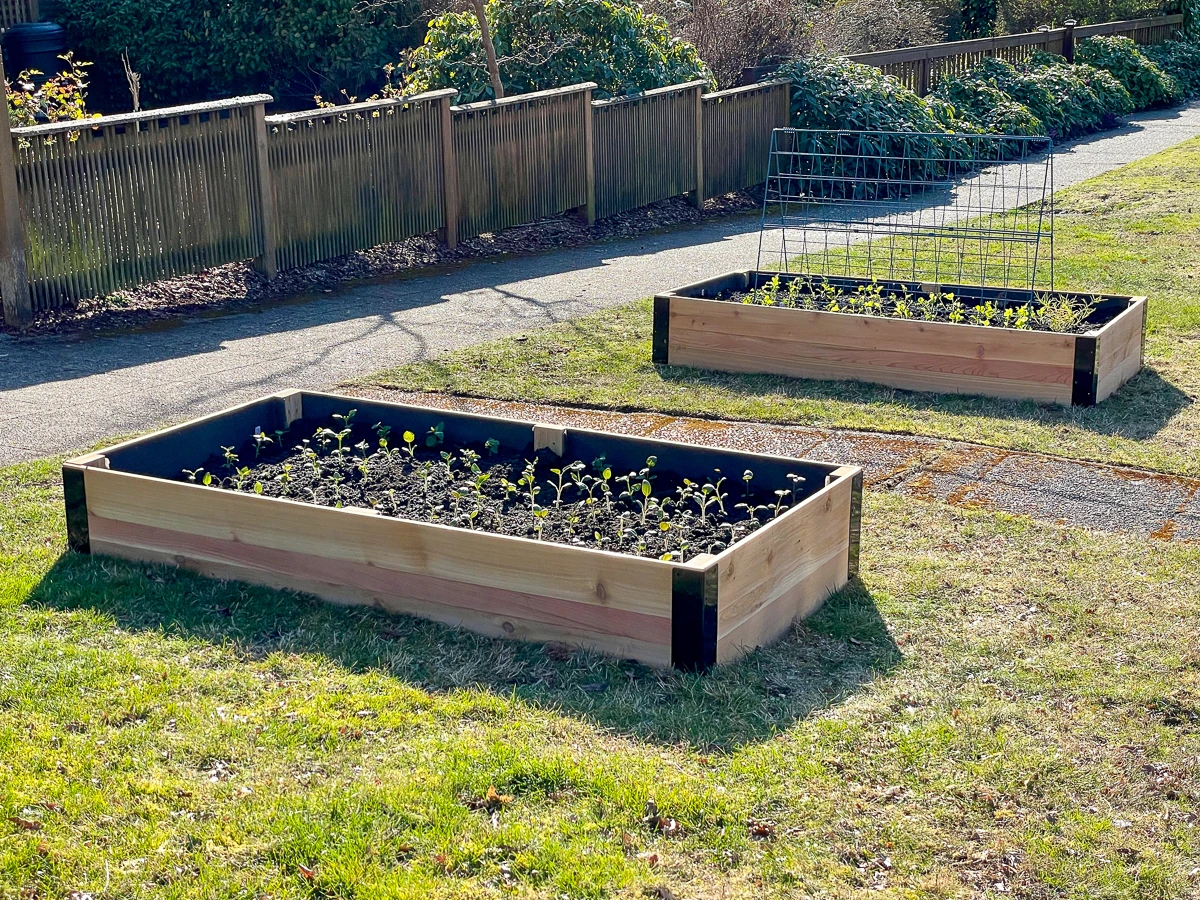
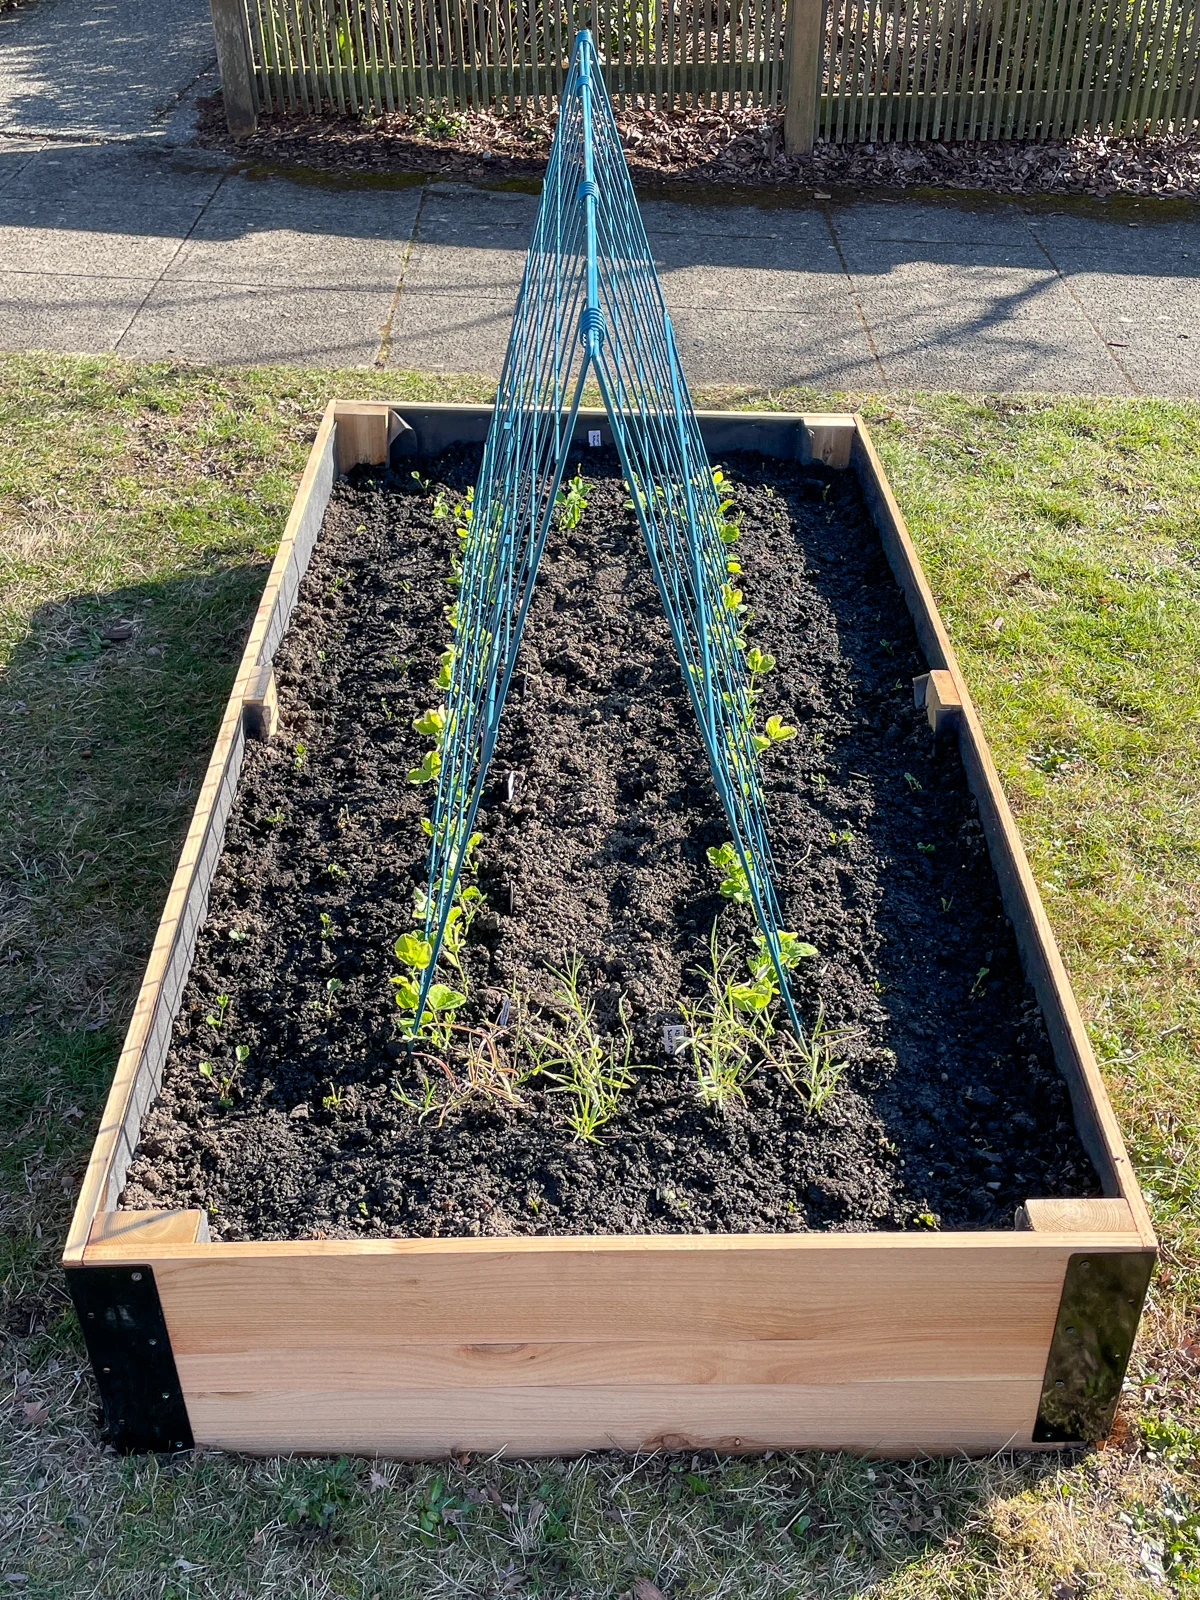
I'm transplanting these sweet peas into a new raised bed filled with a mix of 30% soil, 35% compost, 25% manure and 10% sand that I get delivered from a local service. They should be pretty happy in there!
Transplanting Sweet Peas
Alright, now that our seedlings are hardened off and the soil is prepped, it's time to get them in the ground!
Dig the hole
Dig a hole as deep as the root ball of your seedling, and twice as wide. This loosens up the soil around the roots and makes it easier for them to spread and grow.
To help my seedlings get off to a great start, I like to add a handful of Bio-Tone starter fertilizer to the hole. This gives the plant a much-needed nutrient boost and also introduces mycorrhizae to encourage root growth.
Carefully remove the seedling
With our hole ready, we can now turn our attention back to the seedlings. The key here is to avoid disturbing the roots as much as possible when removing the seedling from the tray.
I find root trainer trays incredibly handy for this, as they open like a book, allowing you to gently lift the root ball out. Just look at those beautiful root systems!
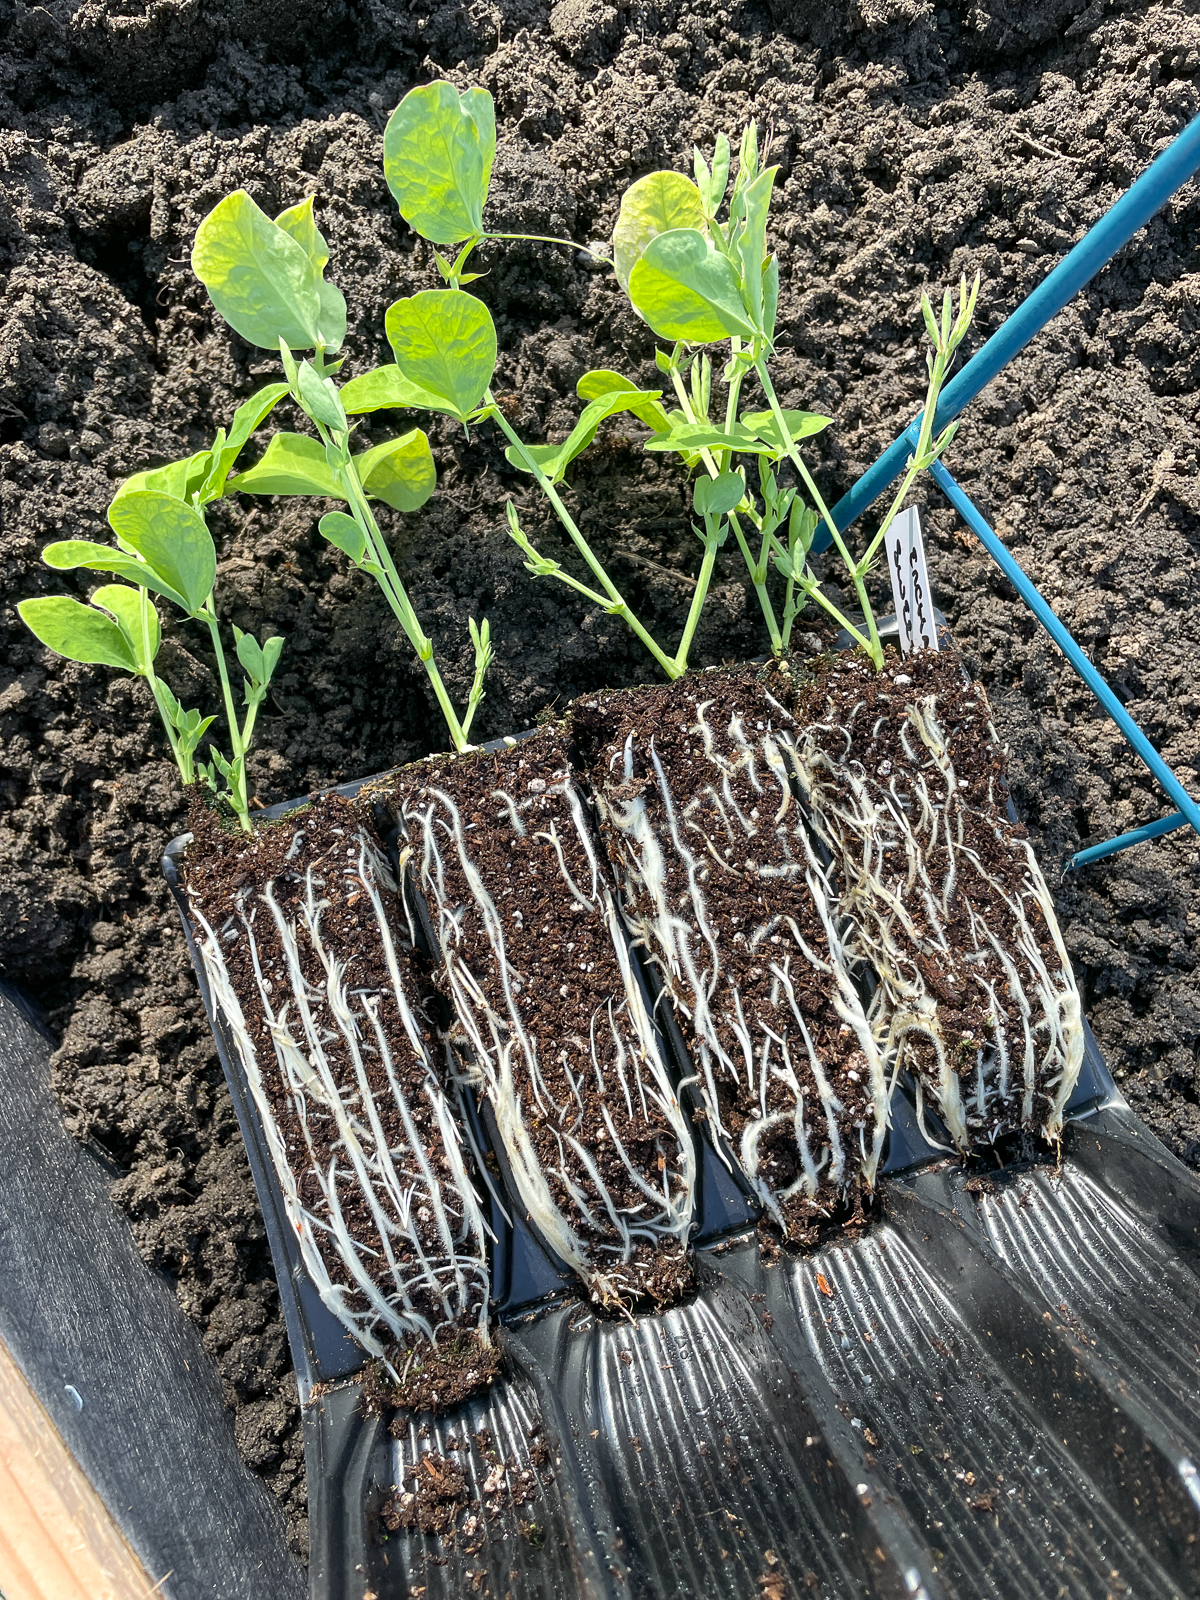

Don't rough up the roots, even if they appear root bound after being in their trays for a while. Sweet peas really don't like any root disturbance, so just leave them alone and the plant will figure it out!
Plant the seedling
Now, place your seedling in the hole and gently fill in the soil around the roots. It's important to make sure you plant it at the same depth it was in the seed tray. If you plant it too deep, the stem will rot. If you plant it too shallow, the roots may be exposed.
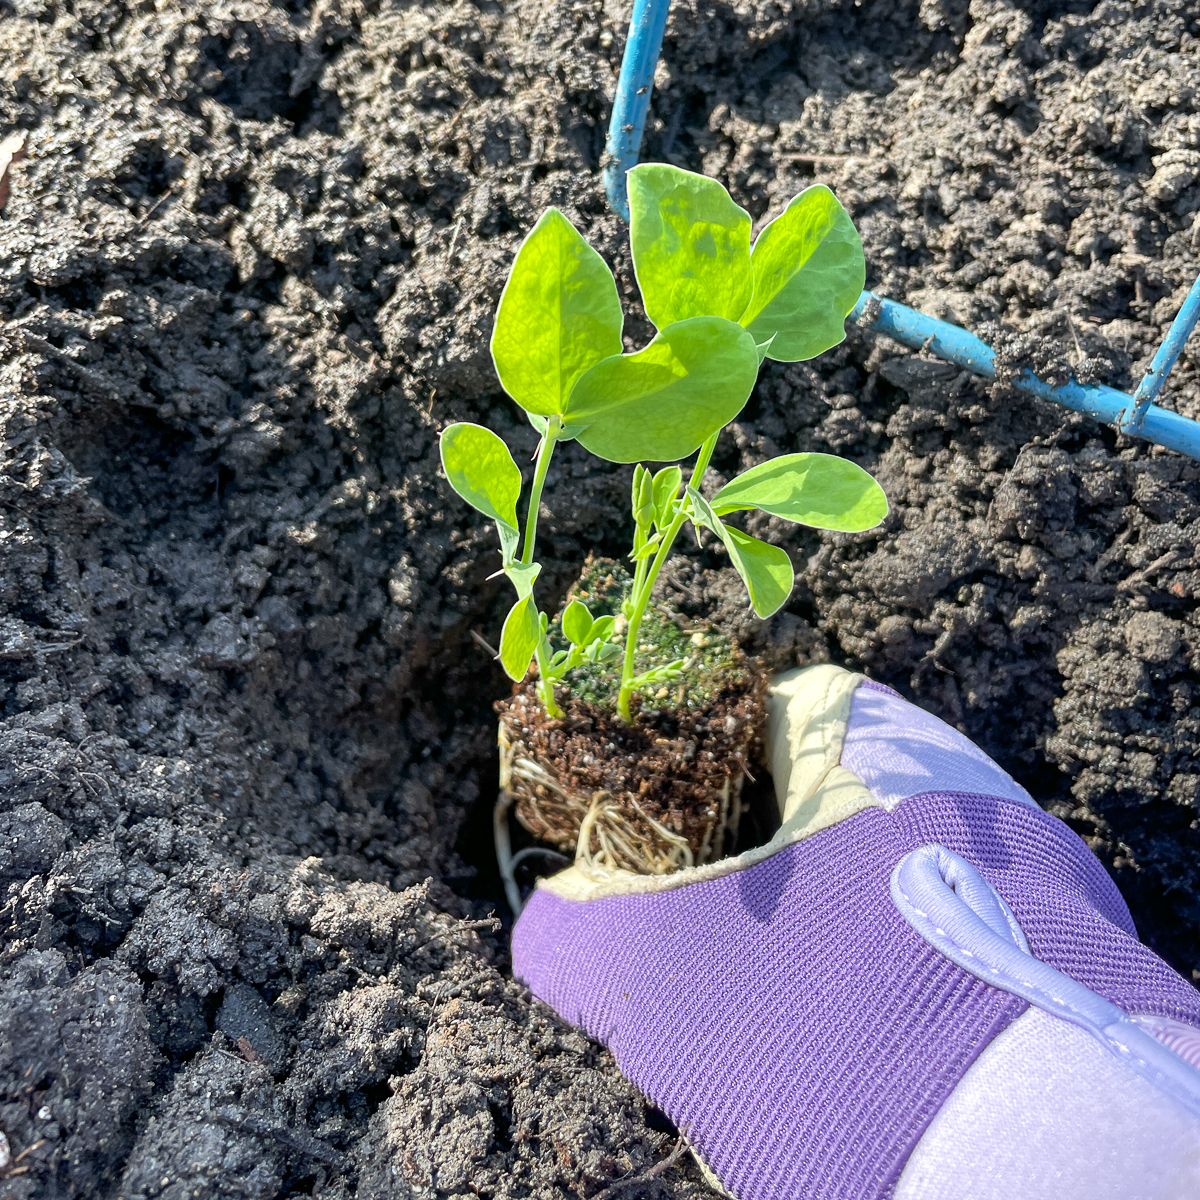

Finally, once your seedling is comfortably nestled in its new home, gently water it. This will help settle the soil around the seedling, eliminating any air pockets.
Caring for Sweet Peas after Transplanting
The work doesn't stop once the seedlings are in the ground. Here are a few things you can do to help your sweet peas establish and grow.
Provide support
Sweet peas are climbers by nature, and they're going to need a little bit of support in your garden. A trellis, netting, or some stakes and string can all work well for this purpose.
I'm using an A frame cucumber trellis from Gardener's Supply for my sweet peas. I assembled it sideways, so the long side runs down the middle of the raised bed. It's been working out perfectly!

Position your trellis or support system near your newly transplanted sweet pea, and encourage the vines to climb by gently tying the first few inches of the plant to the support. I like these soft plant ties that don't cut into the stems like wire might.
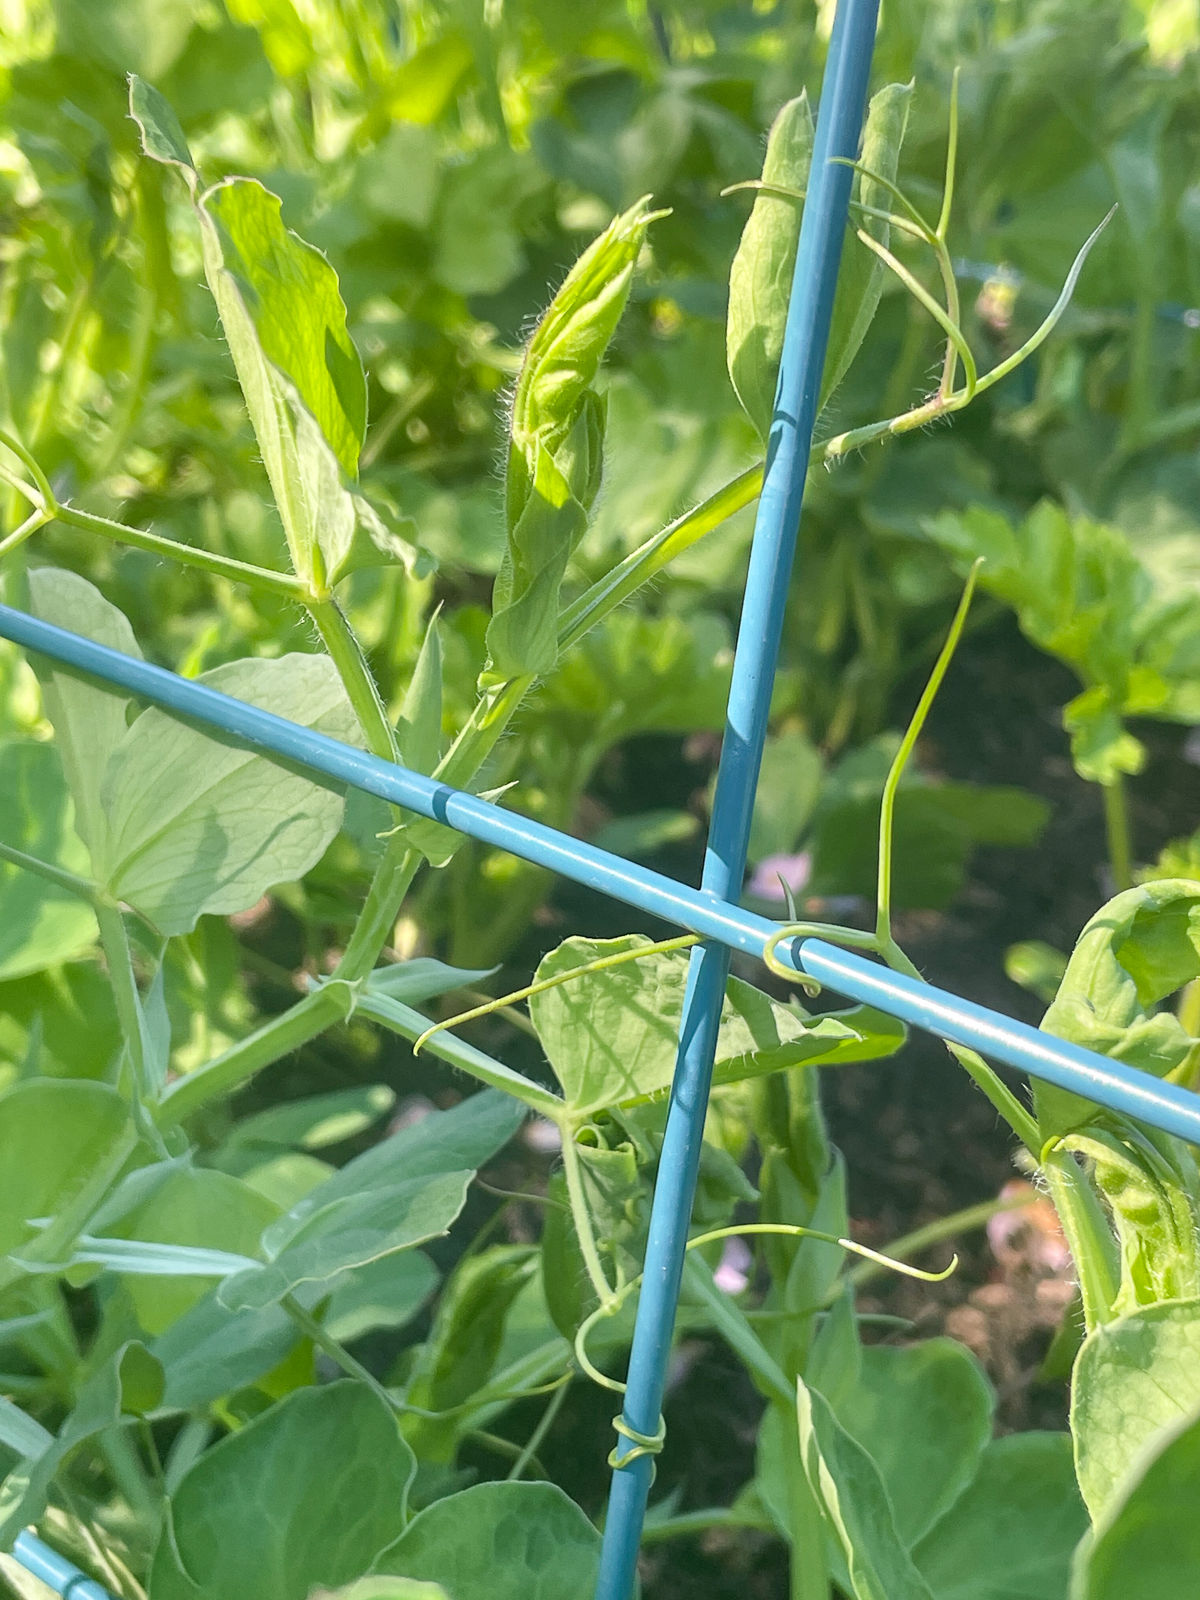
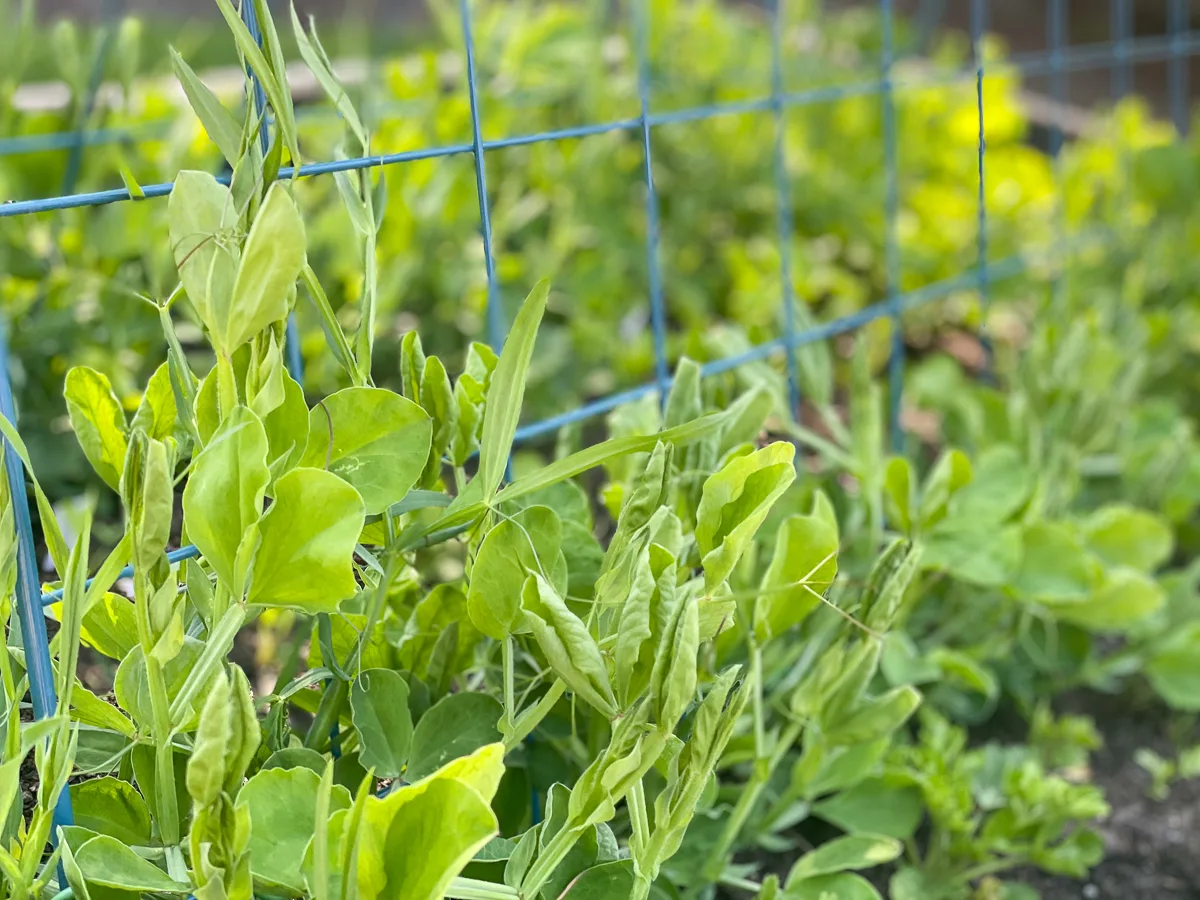
As the plant grows, it will naturally start to use the support, climbing upwards towards the sun. You can see the thin tendrils wrapped around the trellis frame in multiple places as it works its way up.

Fertilizing
After the plants are established, I recommend feeding them with a balanced, slow-release fertilizer every four to six weeks throughout the growing season. The slow-release formula ensures that the plants get a steady supply of nutrients over time, rather than all at once.
If the leaves start to yellow, or if the plants seem to be growing slowly or producing fewer flowers than expected, they may need more nutrients. At the same time, be careful not to over-fertilize, as this can cause its own set of problems.
Deadheading spent flowers
When a flower fades and dies, the plant's energy starts focusing on seed production. In late September, I allow all my sweet pea flowers to go to seed so I can collect them for next year.
But, if we remove these spent flowers during the growing season, we can redirect that energy back into creating new blooms.
The best way to stay on top of deadheading is to to pick small bouquets of sweet pea flowers frequently. While they only last a few days in the vase, you can just go out to the garden and pick more! Each cut acts as a pinch, creating more branching and more flowers.
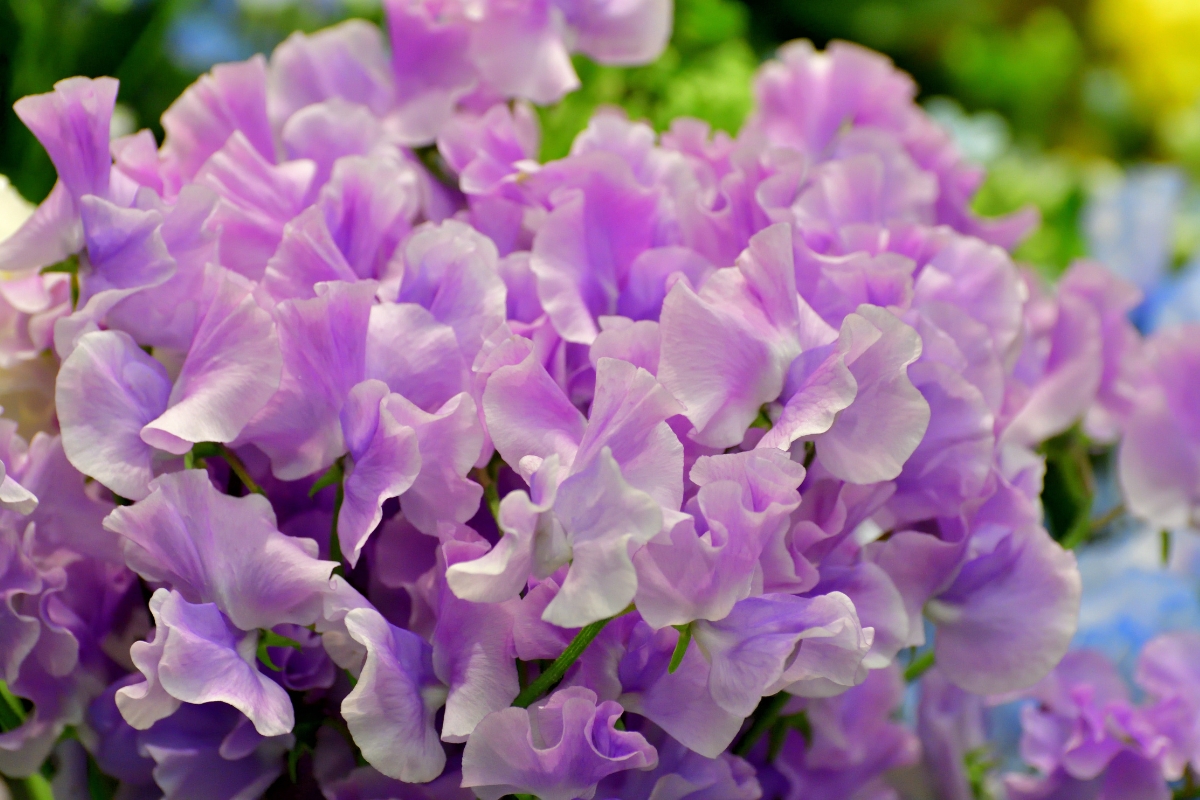
I can't wait to bring these beautiful bouquets into my home to enjoy! We're about to have a heat wave, and these sweet pea vines are ready to explode with growth!

Check out these other plant care articles!