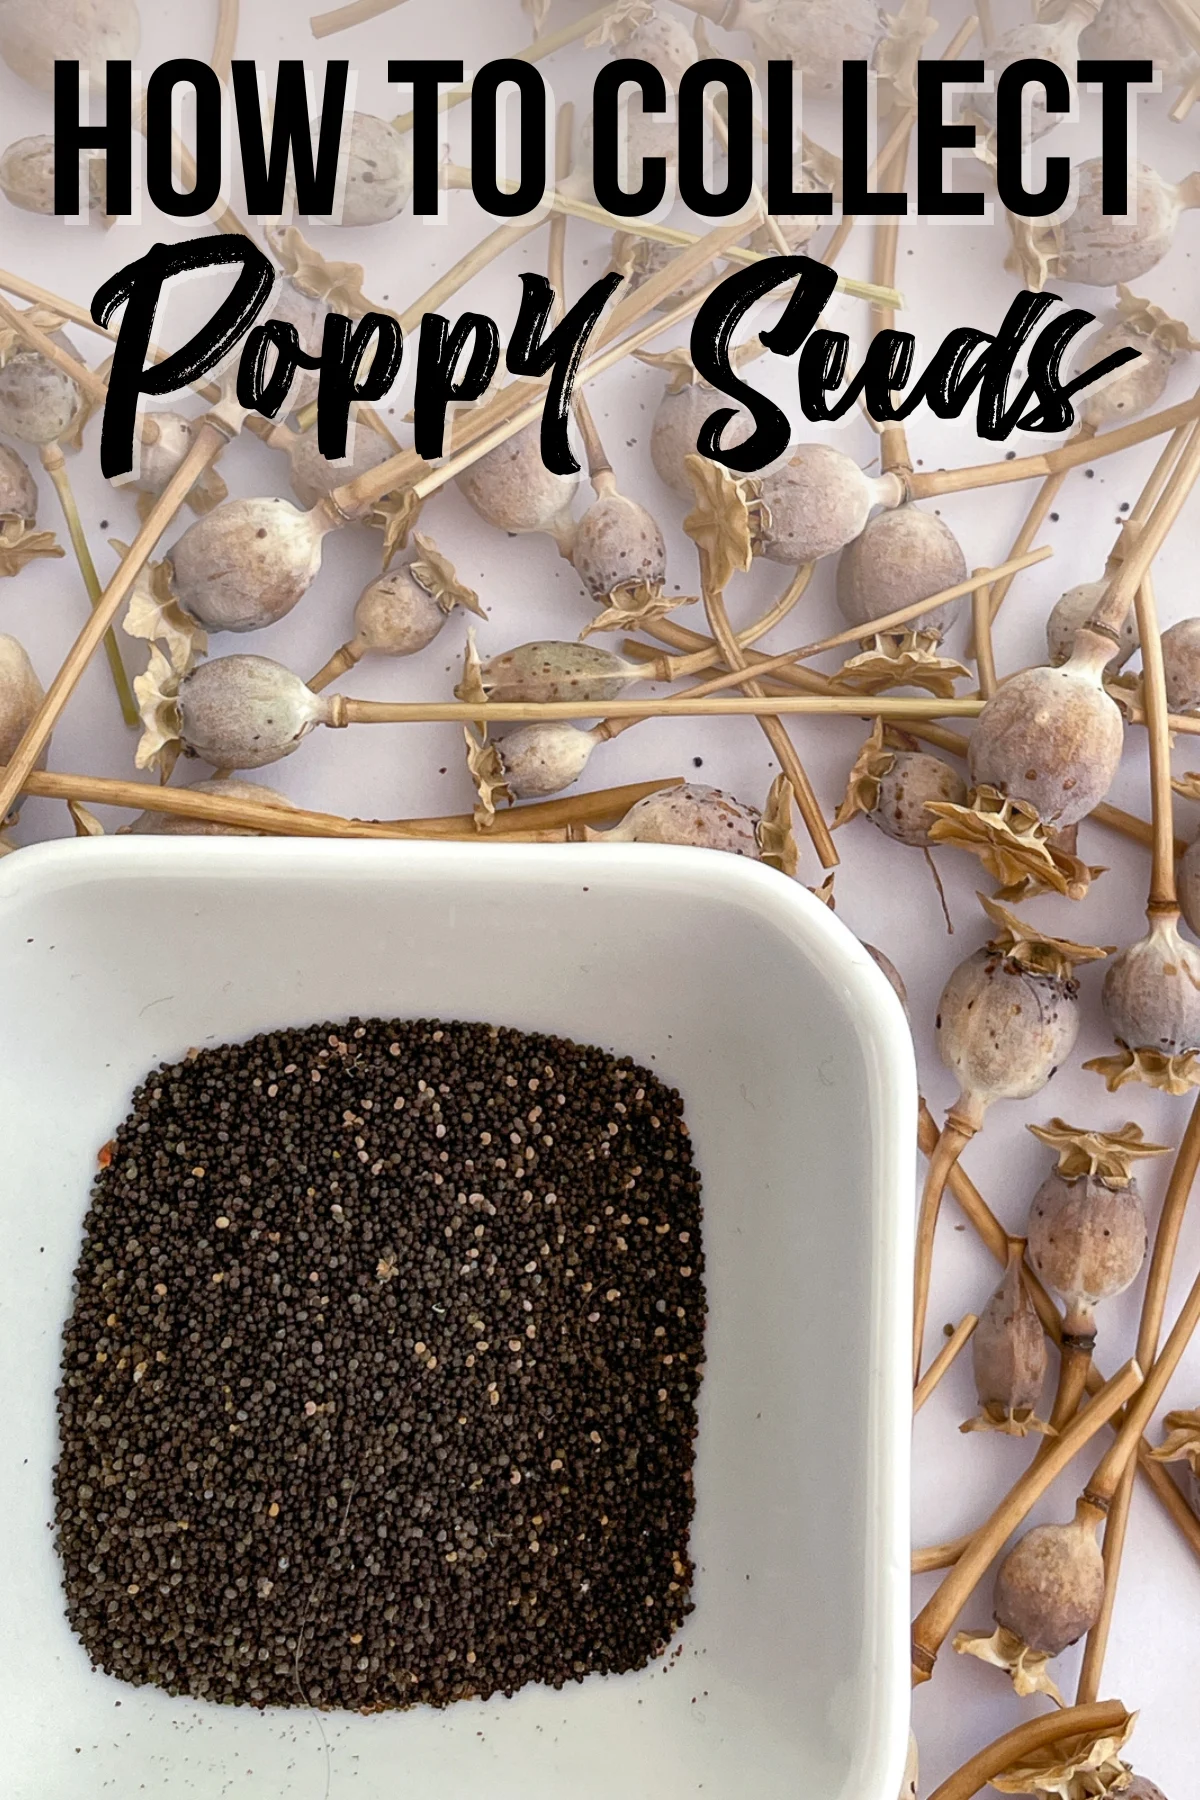
Enjoy your poppy flowers for years to come by harvesting the seeds! I'll show you how to collect poppy seeds from pods step by step.
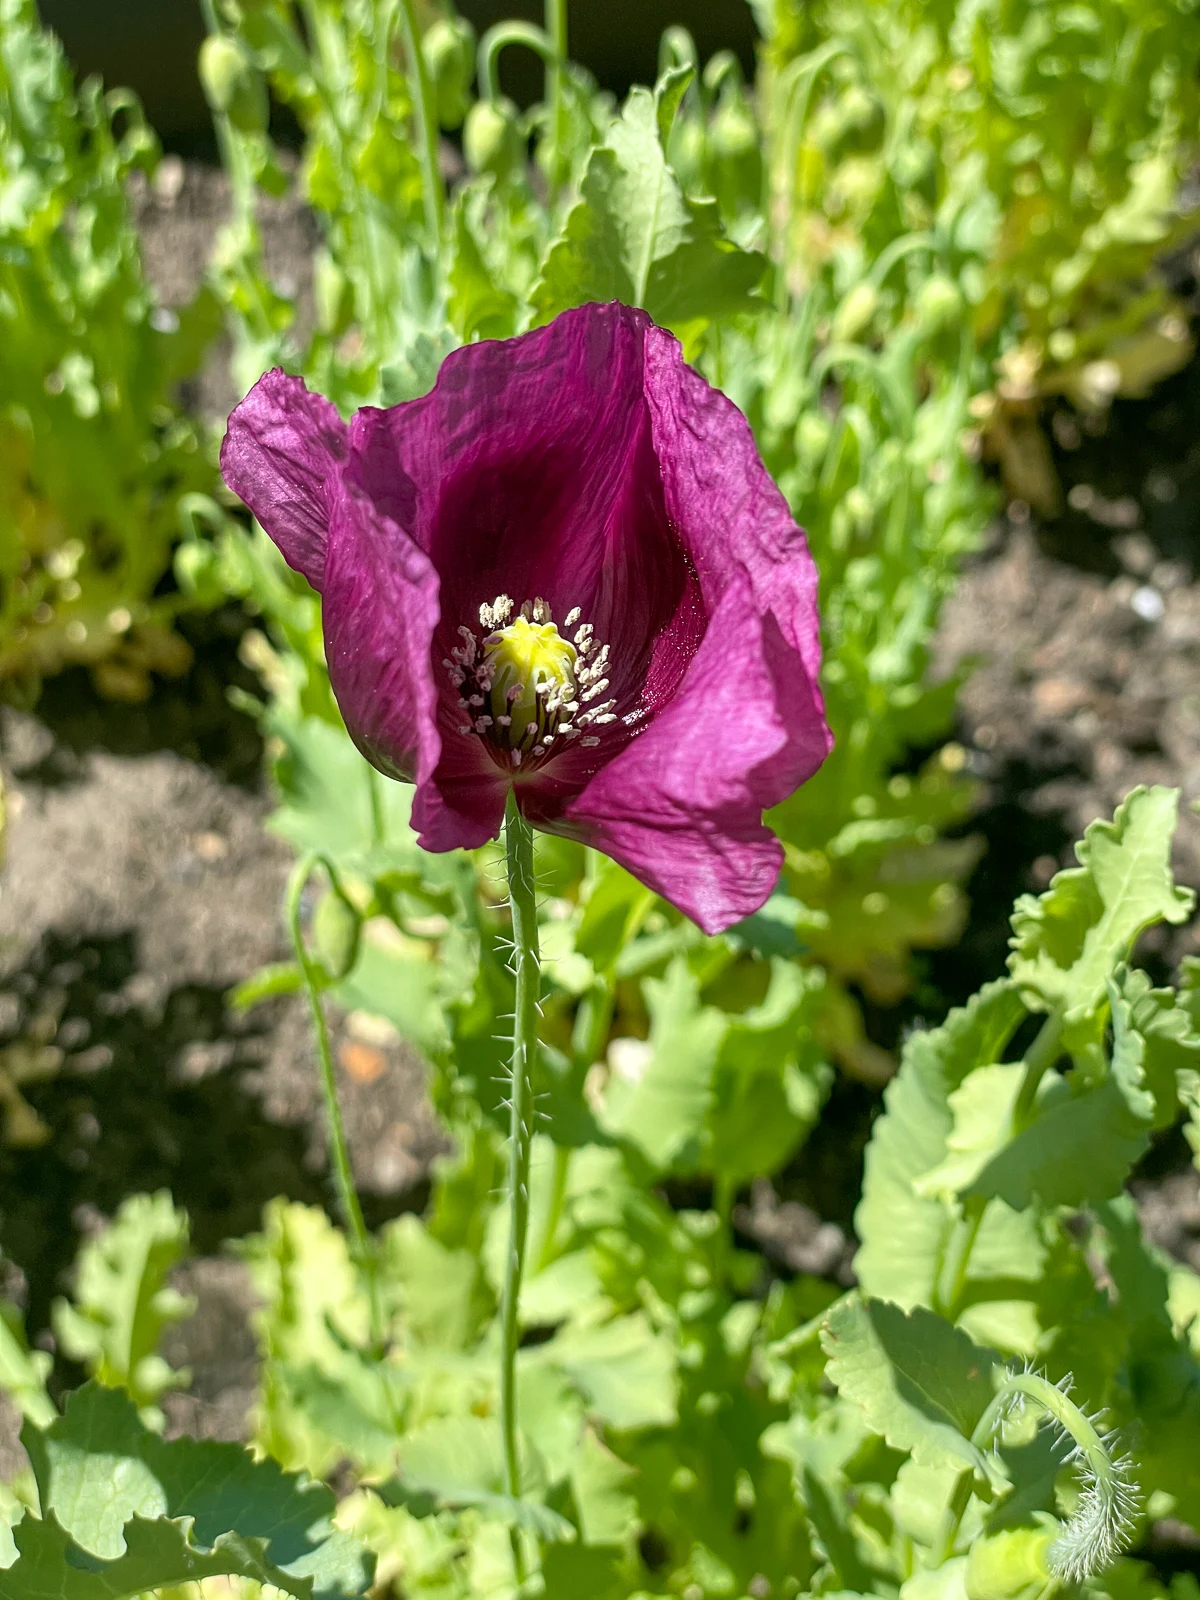
After spending months winter sowing poppy seeds and carefully transplanting them into the garden, I was so thrilled to finally see those beautiful flowers bloom!
They filled the bed with a riot of color for weeks! Then they dropped their petals and left a sea of cool looking seed pods behind.
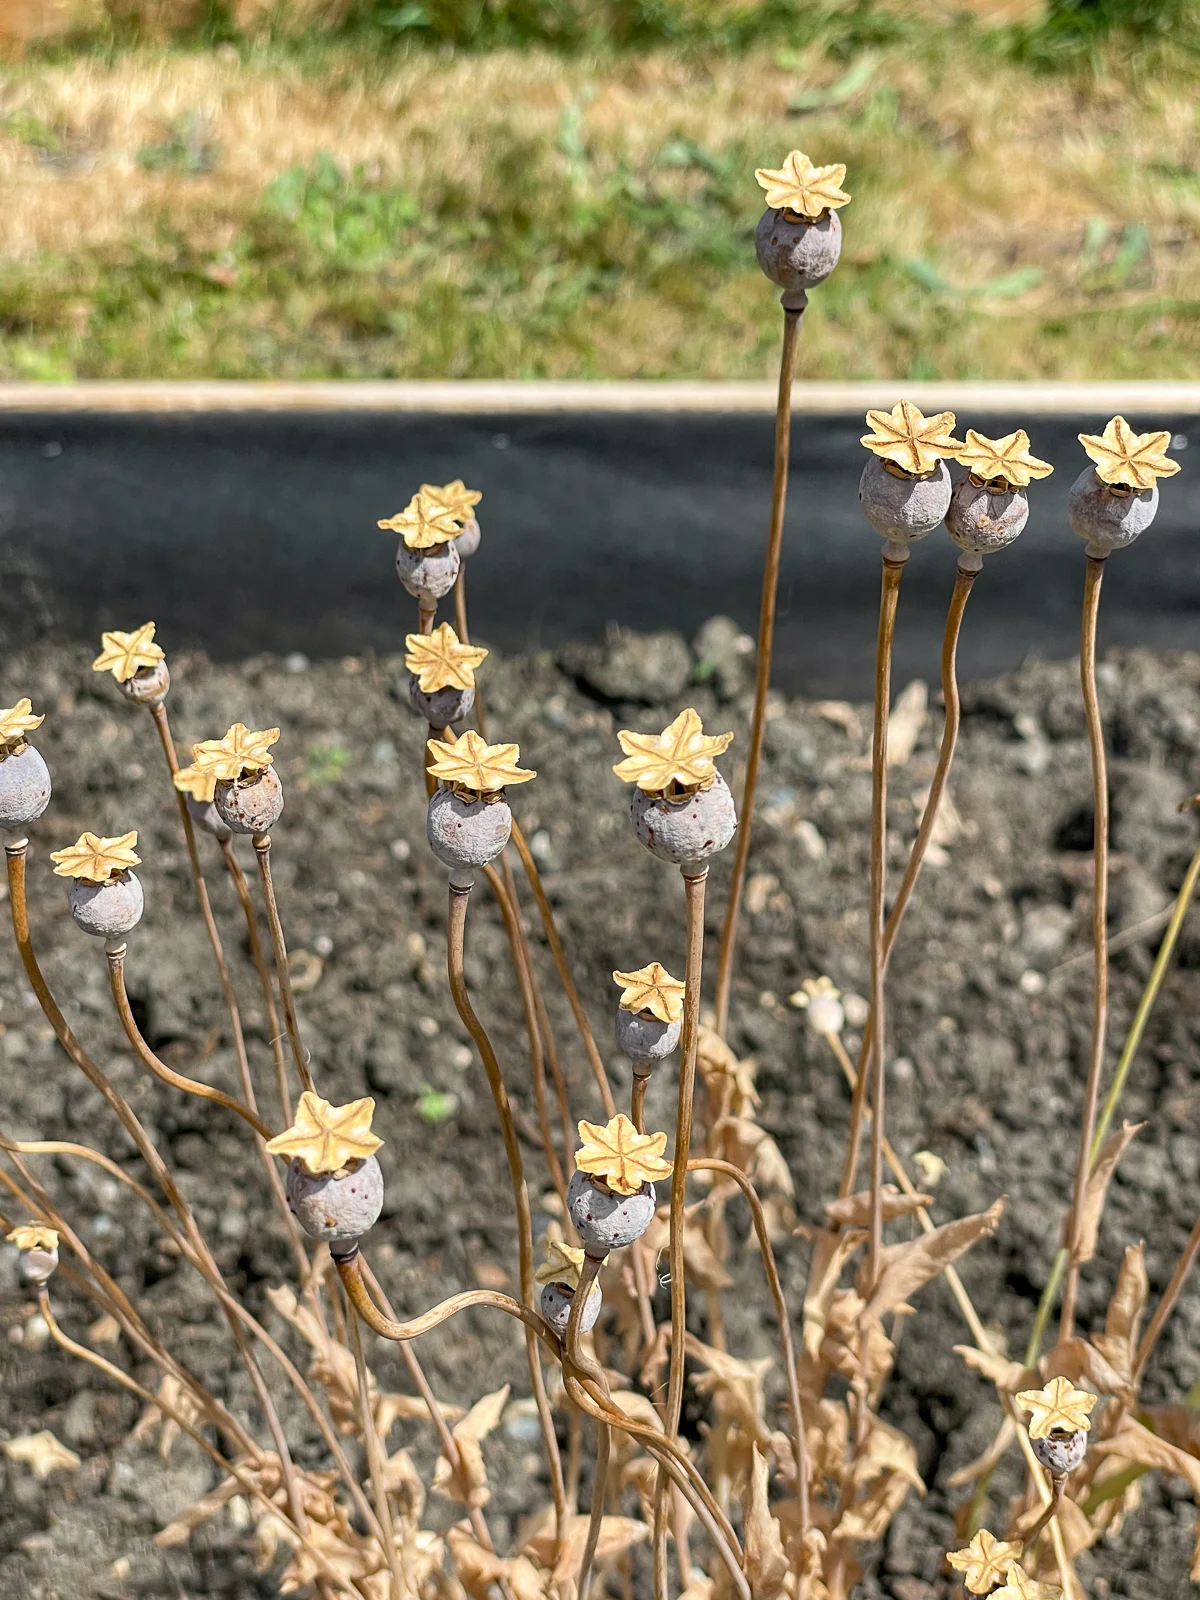
While it's tempting to clear away the dried foliage and start fresh with something new, wait! If you allow the seed pods to stay on the plant for the right amount of time, you can collect poppy seeds to eat or plant next year!
This post contains affiliate links for your convenience. Purchases made through these links may earn me a small commission at no additional cost to you.
Understanding the poppy plant
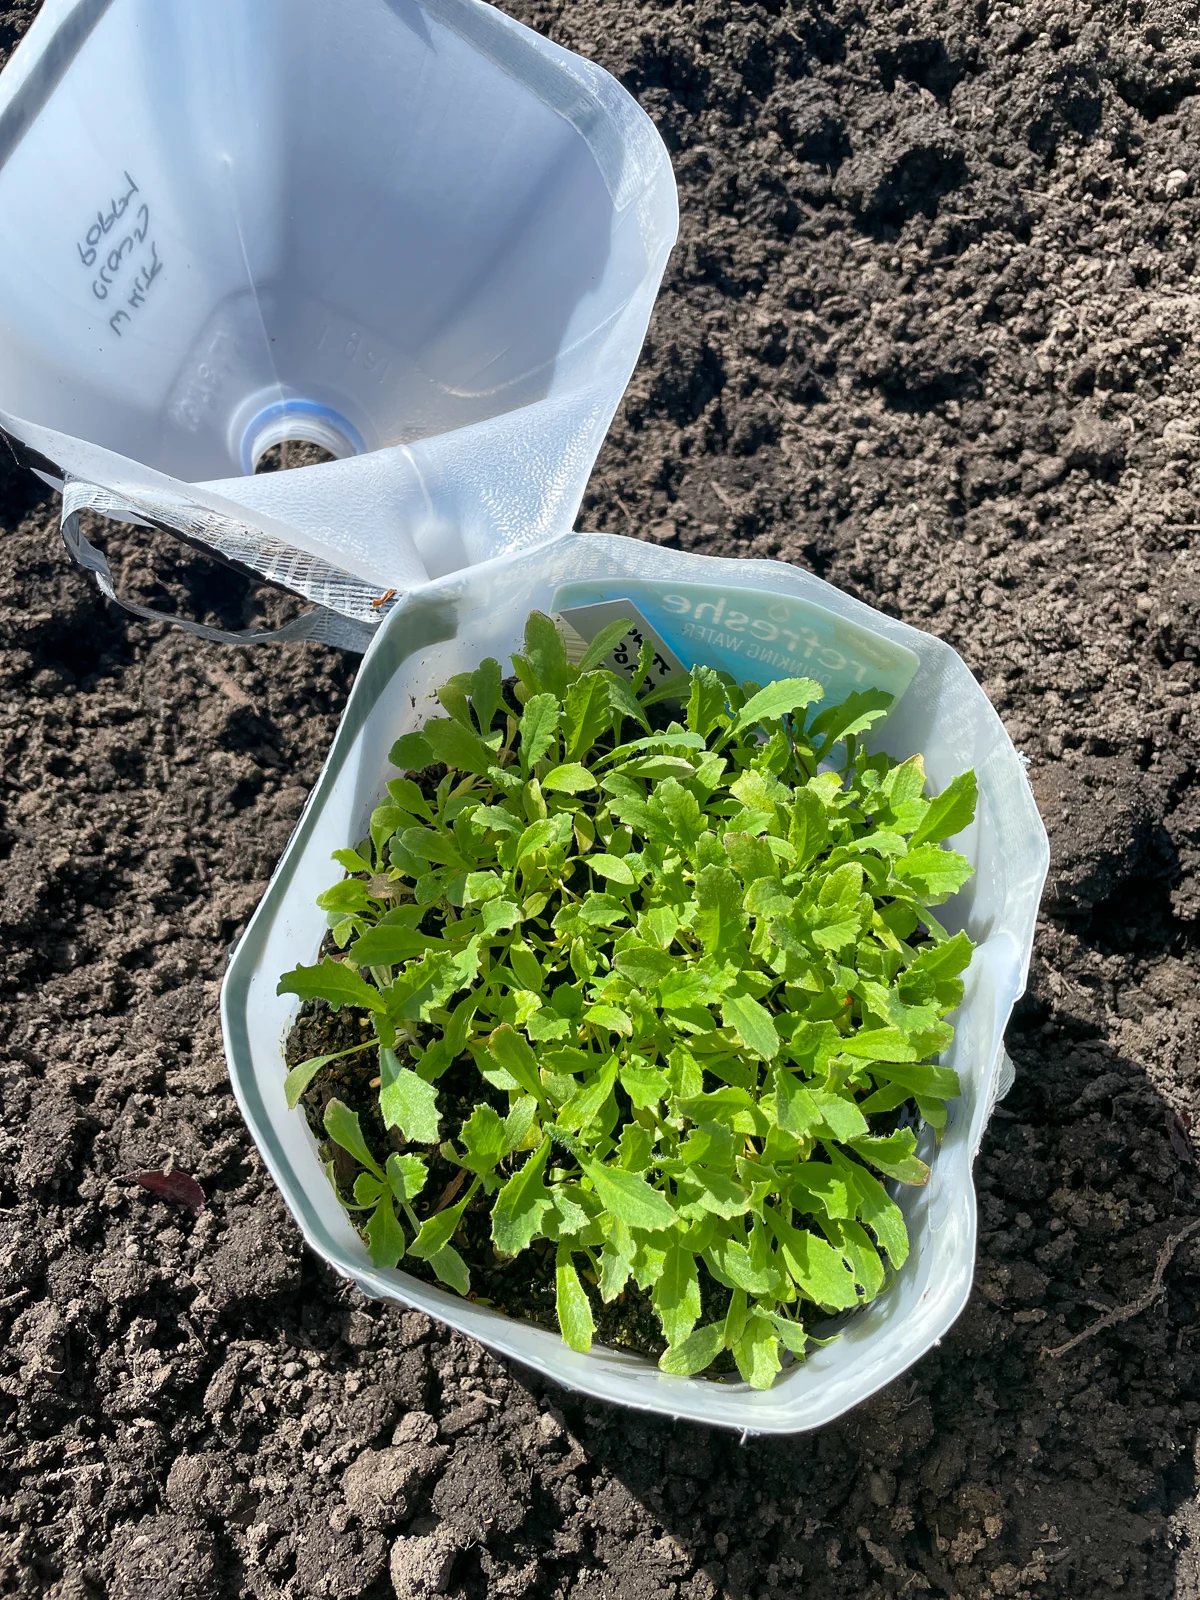
Poppies can be tricky to grow from seed indoors. They require cold stratification in order to germinate, and resent transplanting from seed trays. I planted my poppy seeds in milk jugs and left them outside all winter. When the weather warmed up, they all sprouted!
As the flowers bloom and eventually fade away, it leaves behind a green pod that matures over time. Recognizing the signs of this maturity is essential, as it indicates when the seeds inside are ripe and ready for collection.
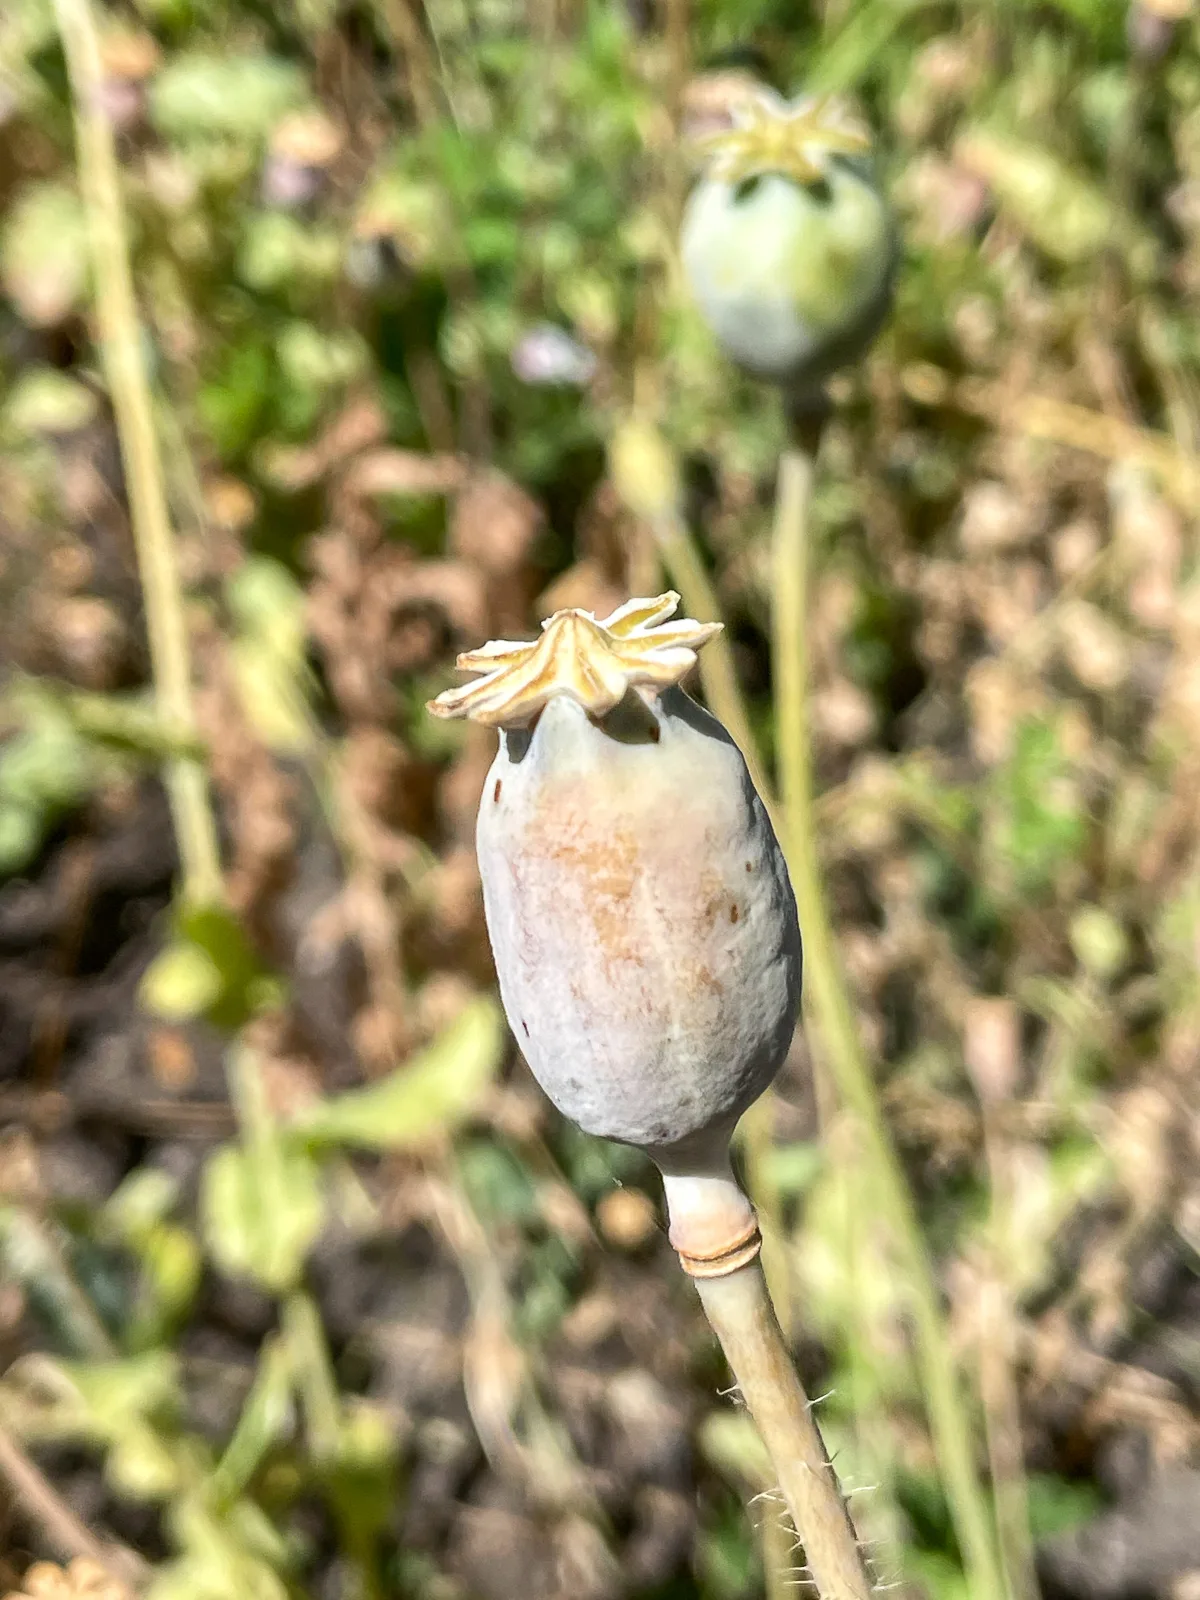
Be patient! Rushing this process can lead to collecting seeds that aren't fully developed. Luckily, it's really easy to tell when it's time to harvest poppy seeds! I'll show you how below.
When to harvest poppy seeds
Poppy pods will transition from a greenish-blue hue to brown as they mature. A mature pod is firm to the touch, with a papier-mâché like texture. They feel hollow and make a rattling sound when you shake the stem.
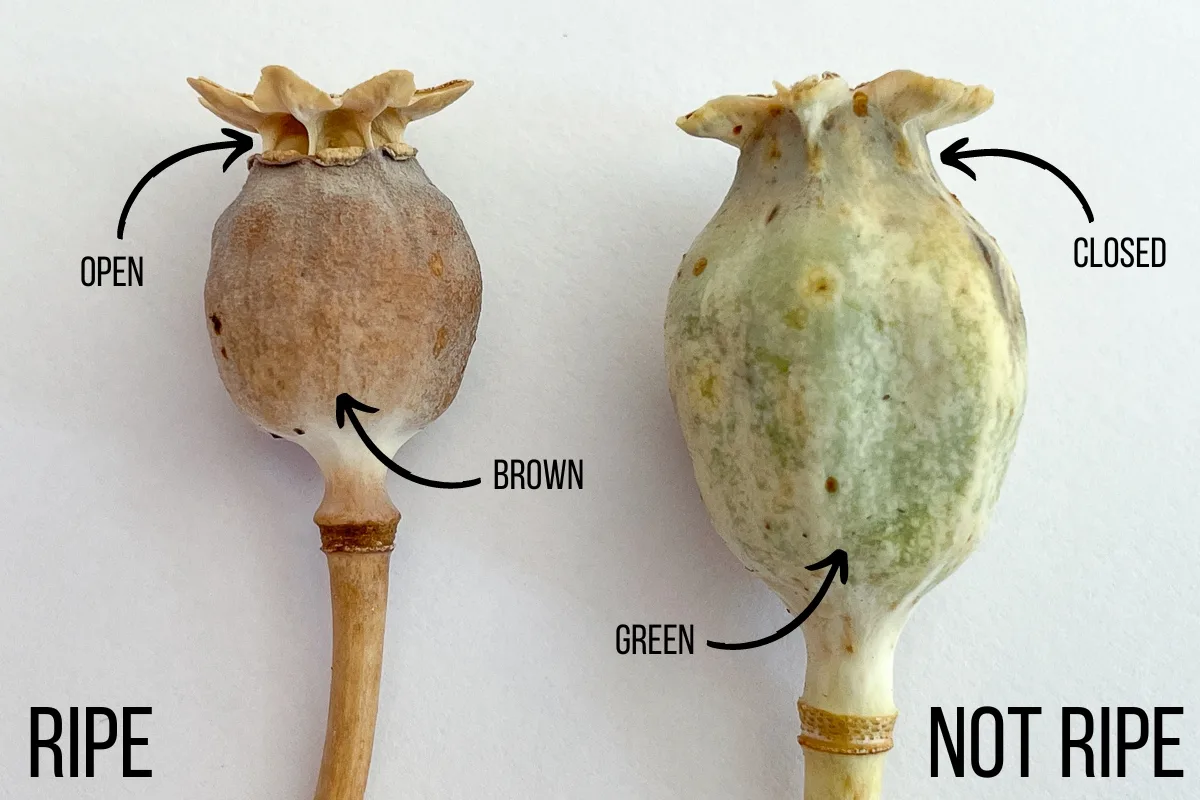
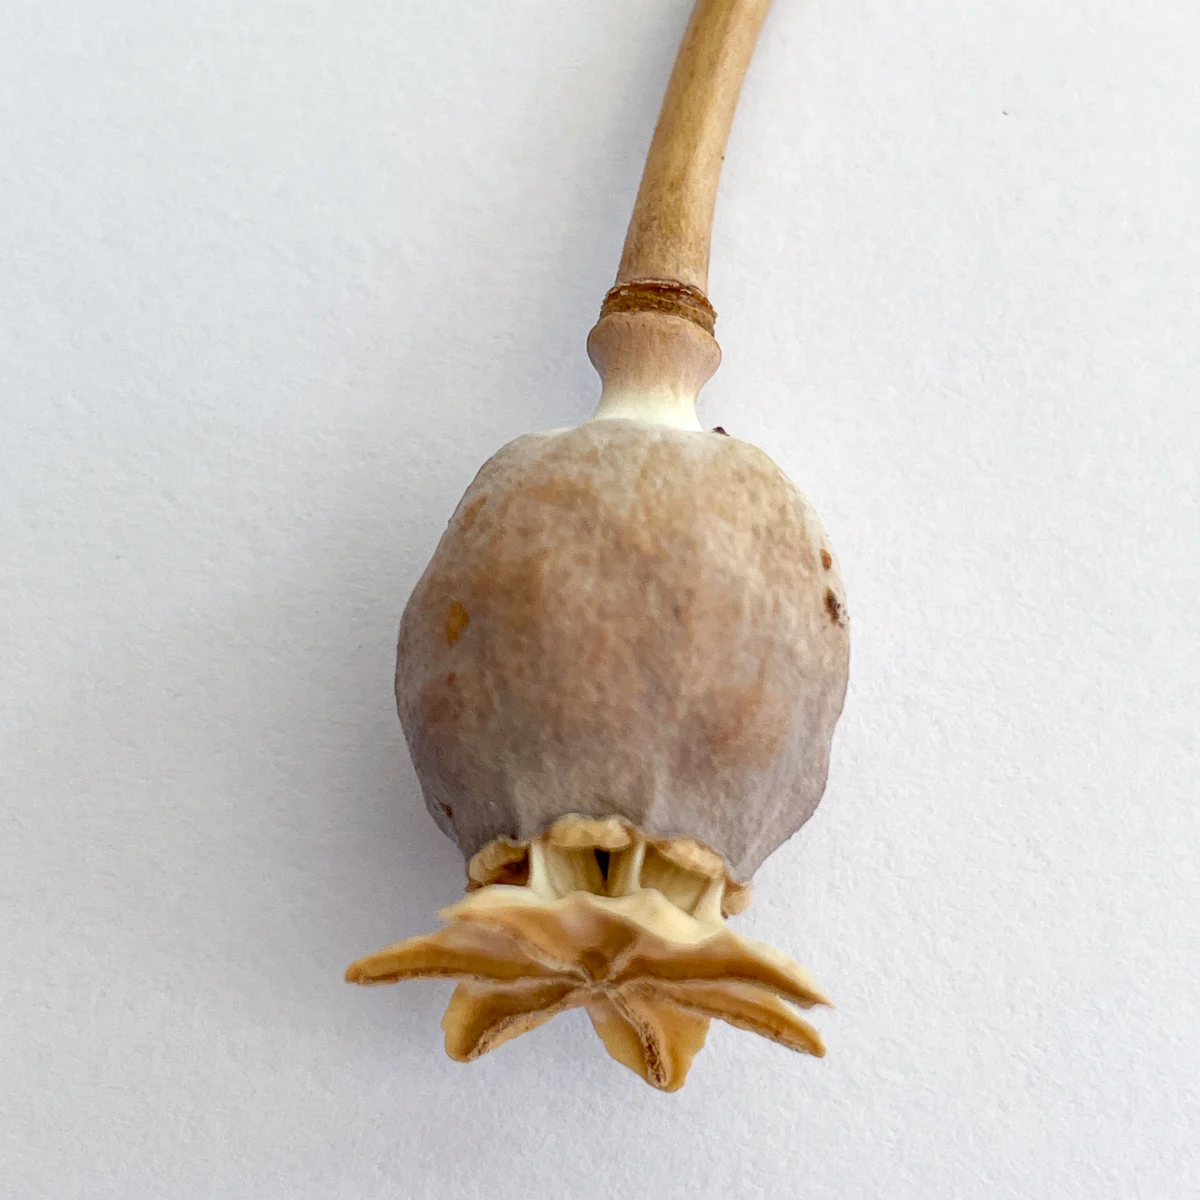
The biggest clue that your poppy pods are ready for harvest is at the top of the pod. Under the star shaped top, you'll see these little "windows" open up. This makes it super easy to get the seeds out!
How to harvest poppy seed pods
If you can, wait until you have a stretch of dry weather before harvesting your poppy seed pods. I stopped watering the poppies in this raised bed about a week before harvesting the seeds. We don't get any rain during the summer here in Seattle, so they were able to dry naturally in the sun.
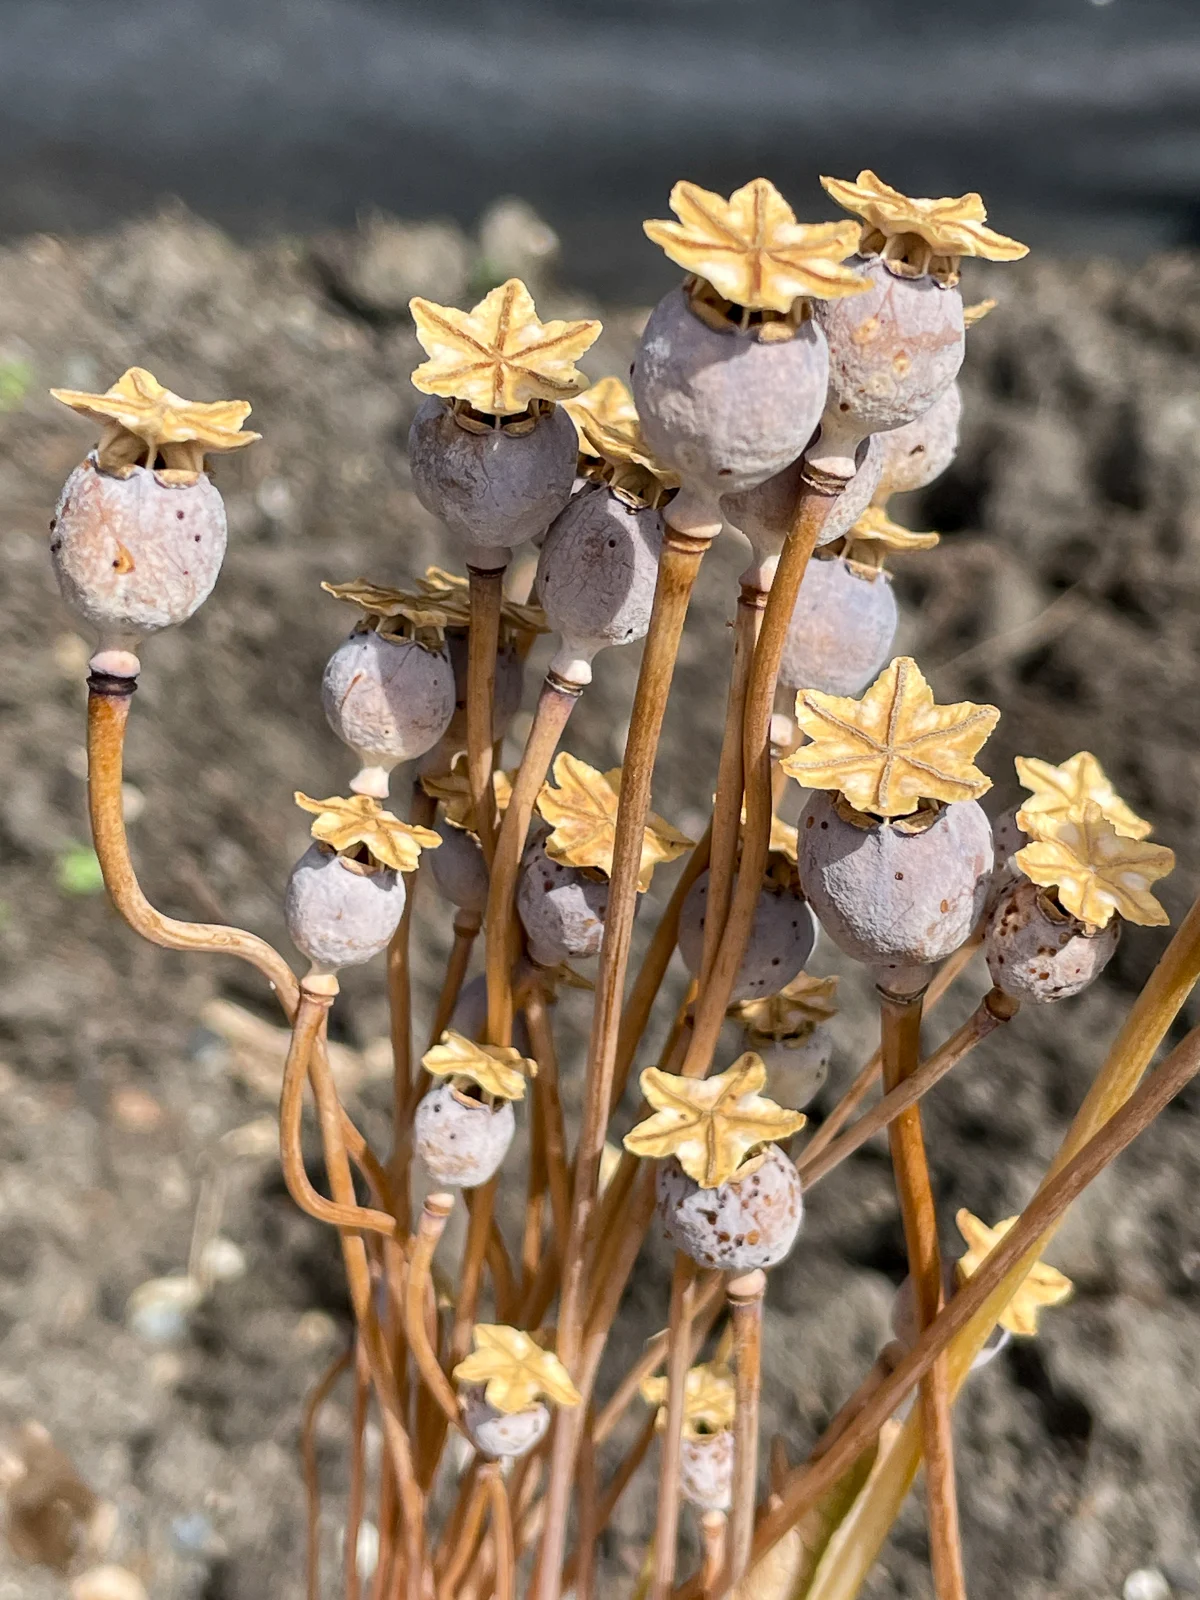
There were still some green poppy pods that weren't ready for harvest. I left those to dry a little longer and only picked the ones that were brown and open at the top.
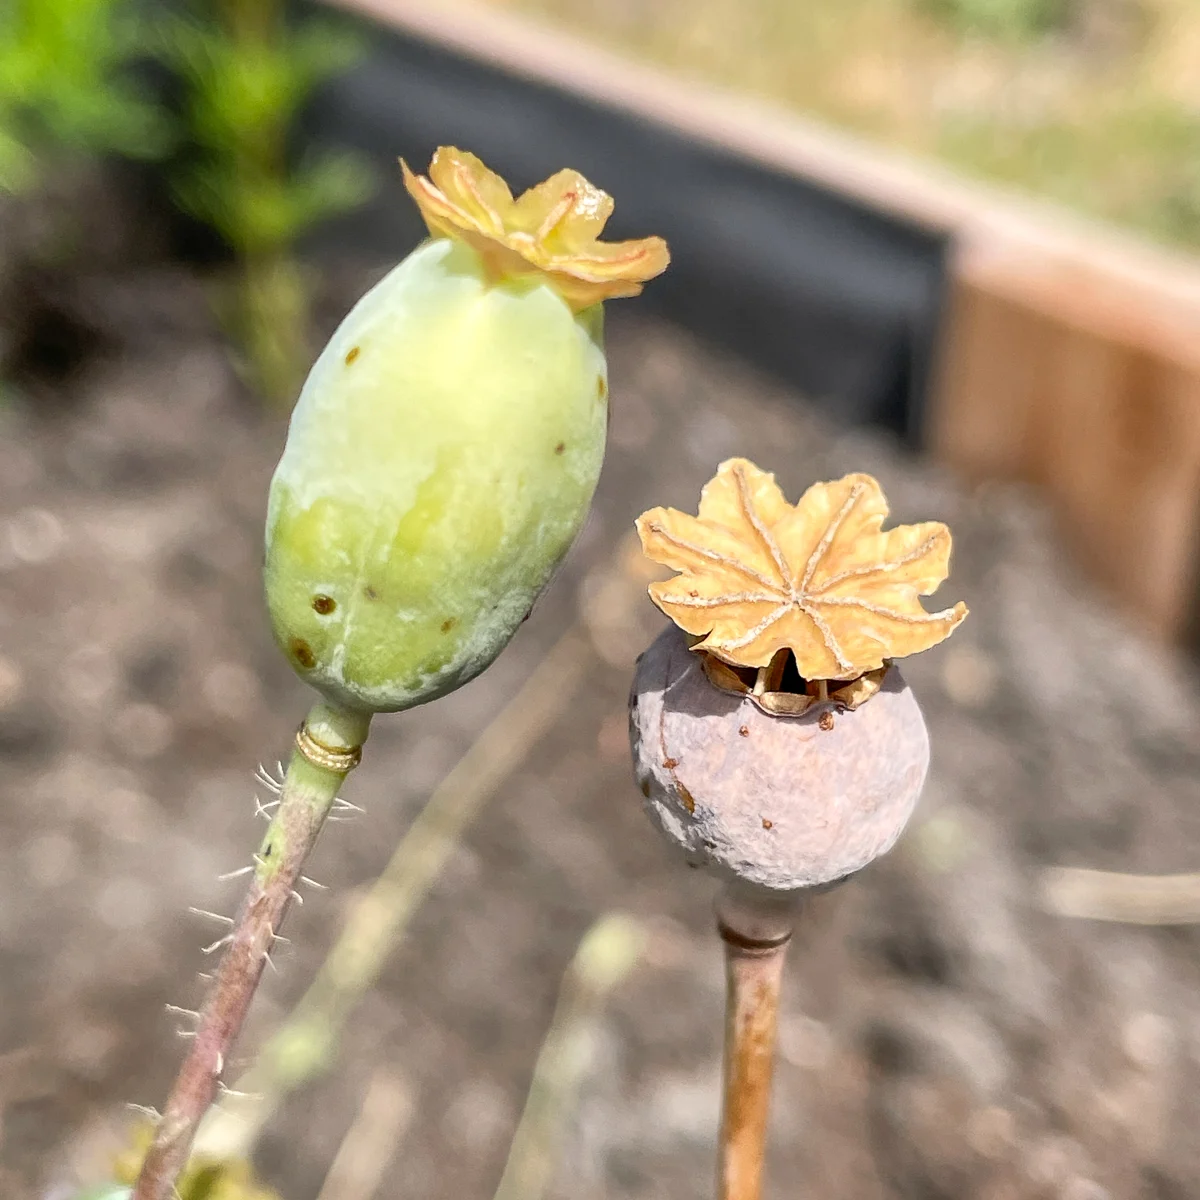
When picking the pods, use your pruners to cut the pod stem, leaving a small portion of it attached. This makes handling them easier. Gently place the pods into a container, being careful not to spill the seeds.
I didn't bother trying to sort the pods by flower color, so I'll have a mix next year. I just placed the stems in a plastic bowl and set them aside for a few days to dry out further.
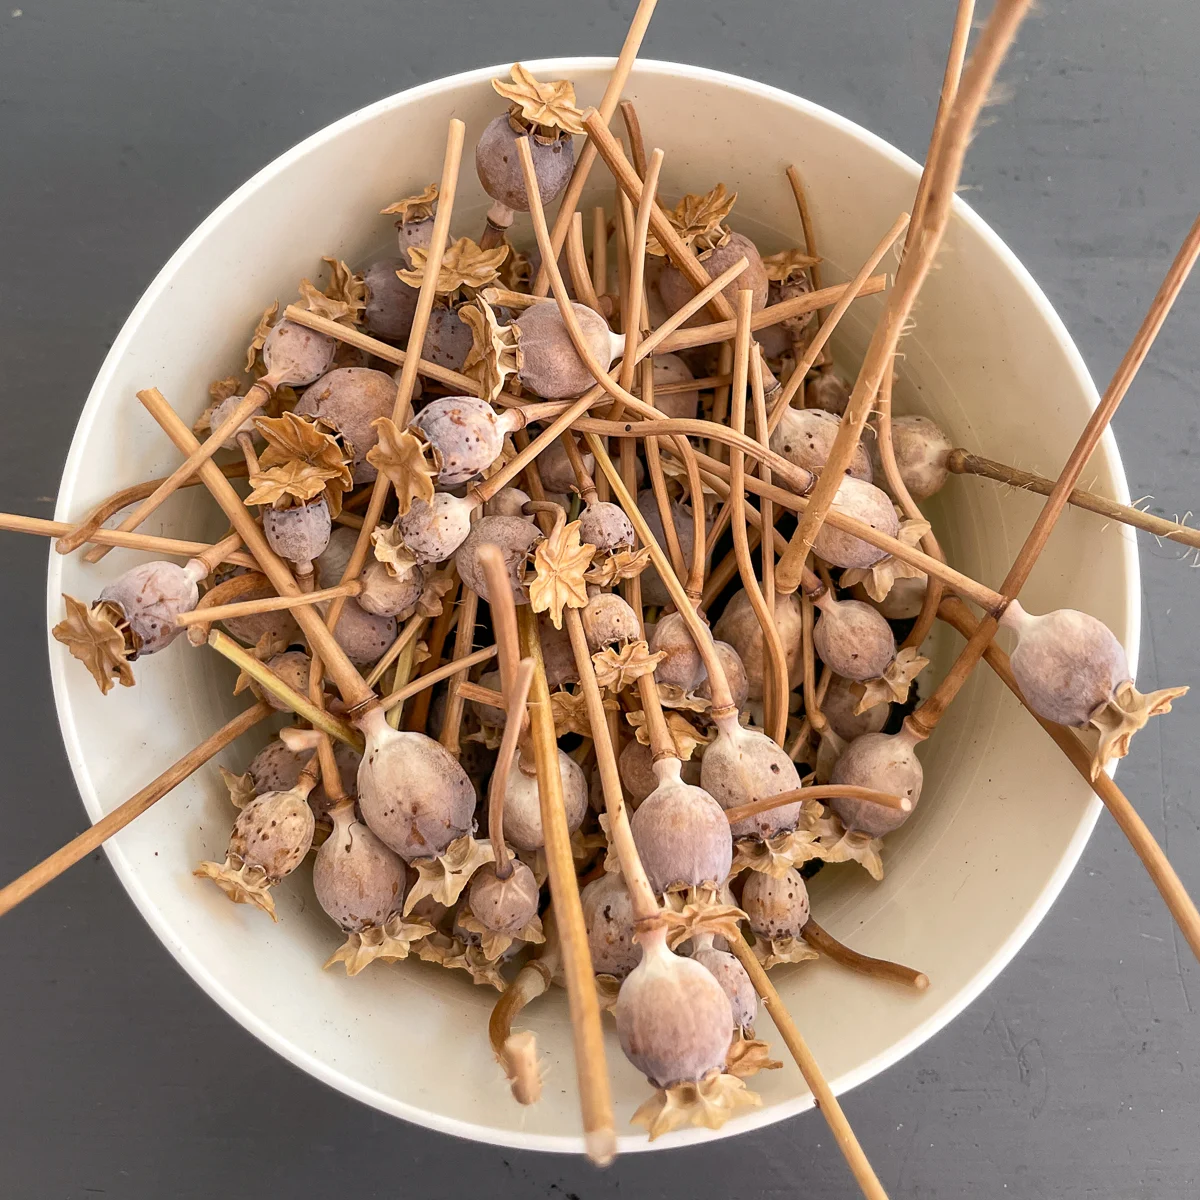
How to collect poppy seeds
Once the seed pods are fully dried and you can hear them rattling around inside, it's time to collect the seeds. It's really, really simple!
All you need to do is tip the pod upside down over a clean bowl. The seeds will just spill right out! Gently tap the pod to make sure you got them all.
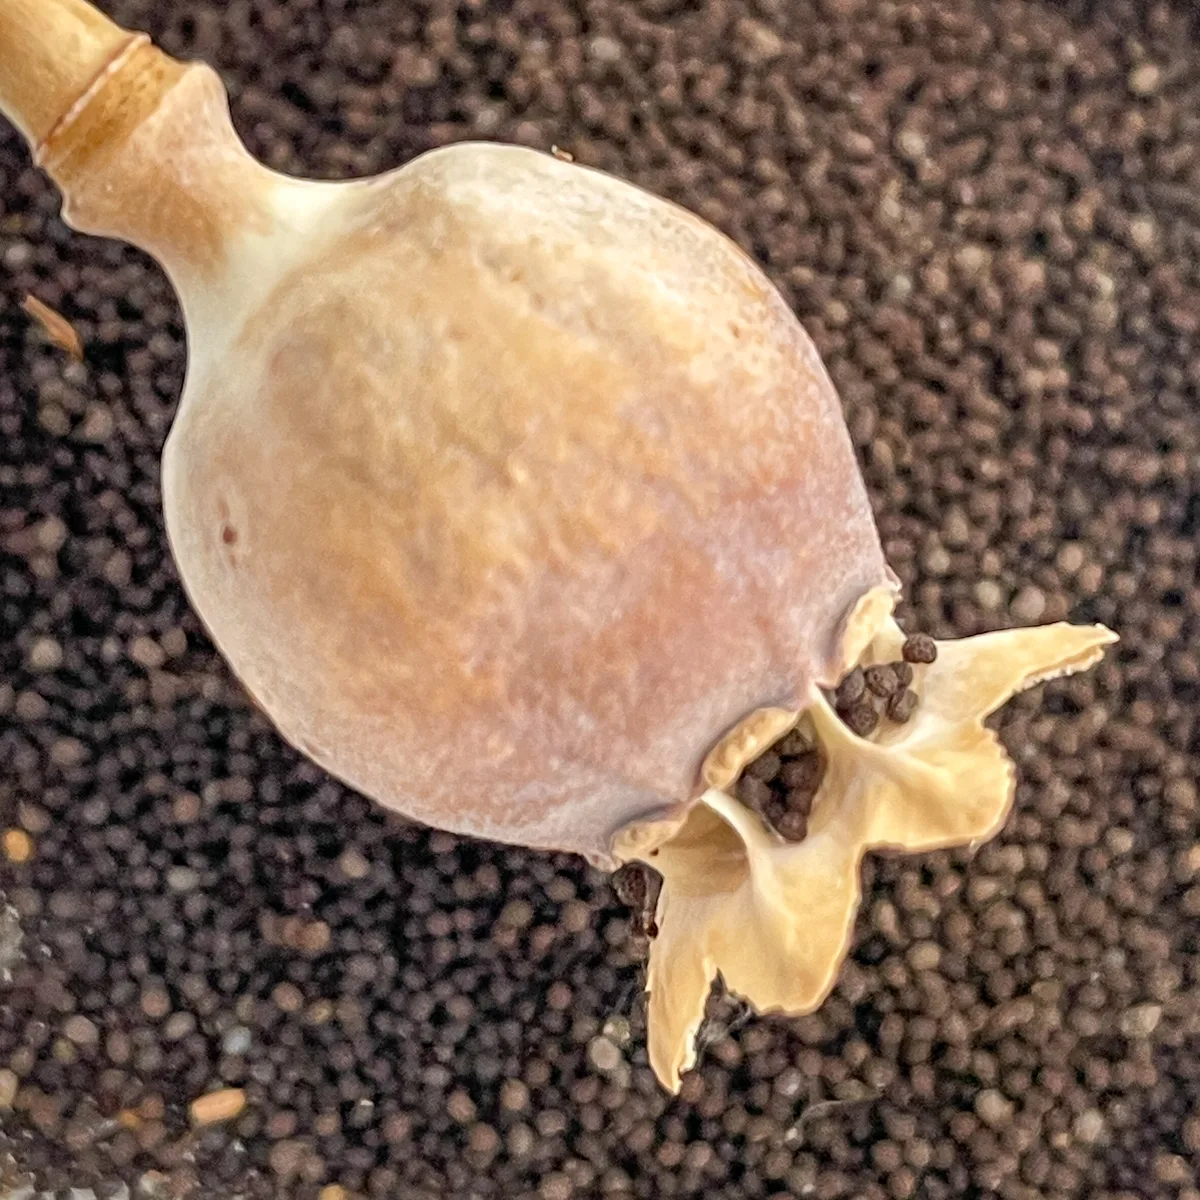
It's amazing how many poppy seeds you can get from a single pod! I harvested more than enough seeds for planting next year just from this batch.
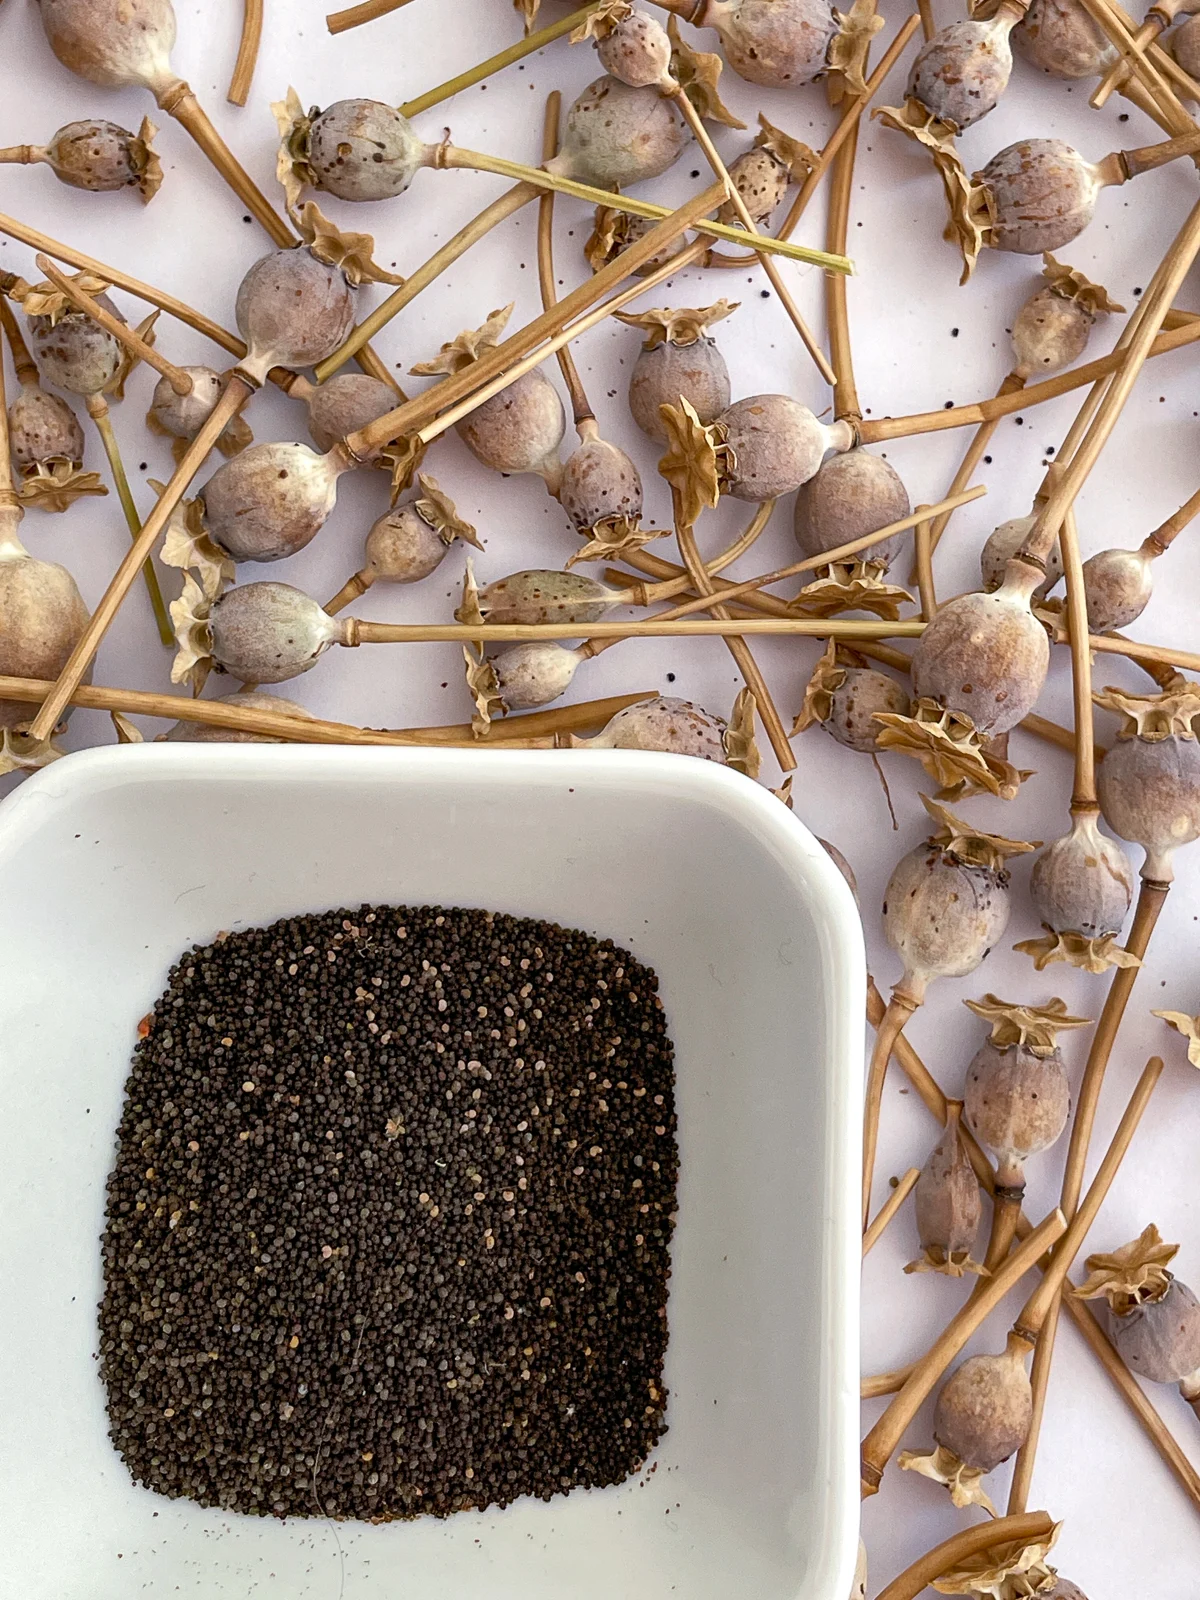
If you're planning to use your poppy seeds for eating, you'll want to sift them with a fine-mesh sieve first to remove any debris. There might be some tiny pod fragments mixed in with your seeds, and you don't want them in your food!
I'm saving these poppy seeds for planting next year, so I just dumped them all into one envelope. Make sure to write the variety name on the front so you know what they are in the future!
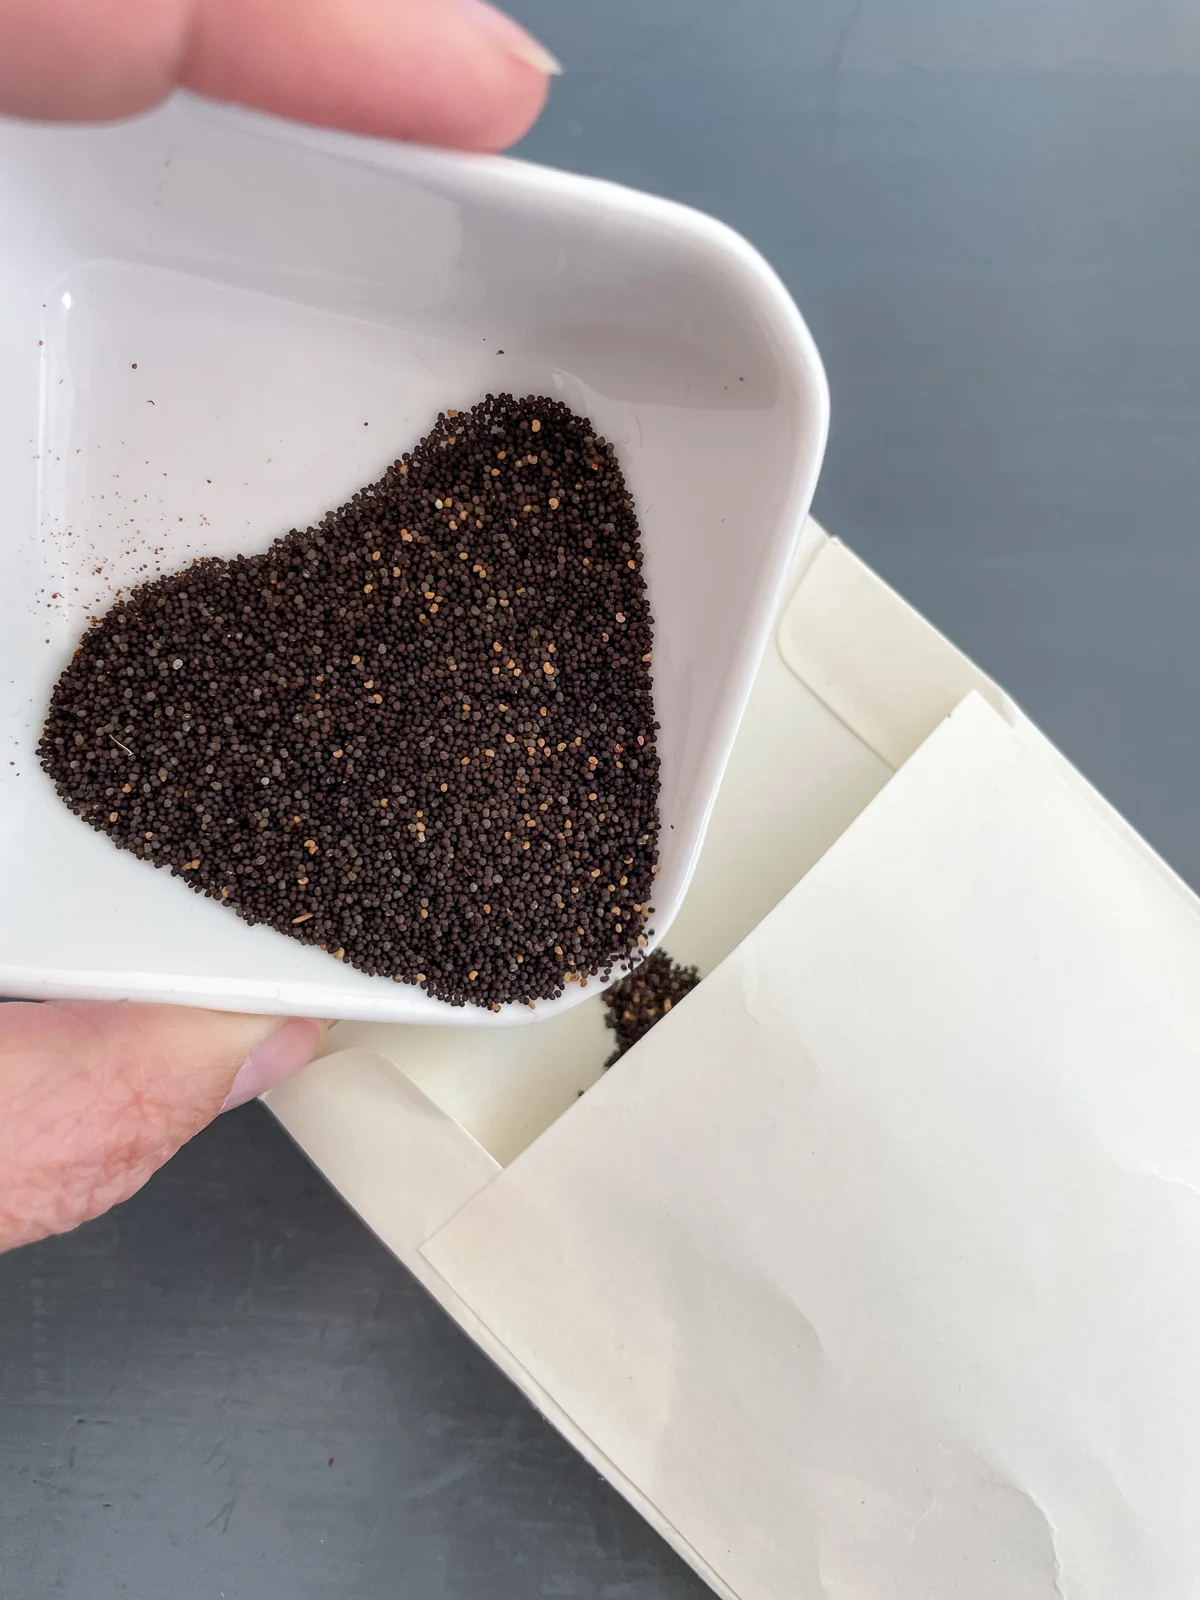
Stored correctly, your poppy seeds can remain viable for planting for up to 2 years, and for culinary uses, they can retain their flavor for about 6-12 months. So, whether you're sprinkling them on a bagel or planting them for next year's bloom, they're ready to shine!
Check out these other seed saving tutorials!

Betty
Sunday 23rd of June 2024
This is amazing, thank you!