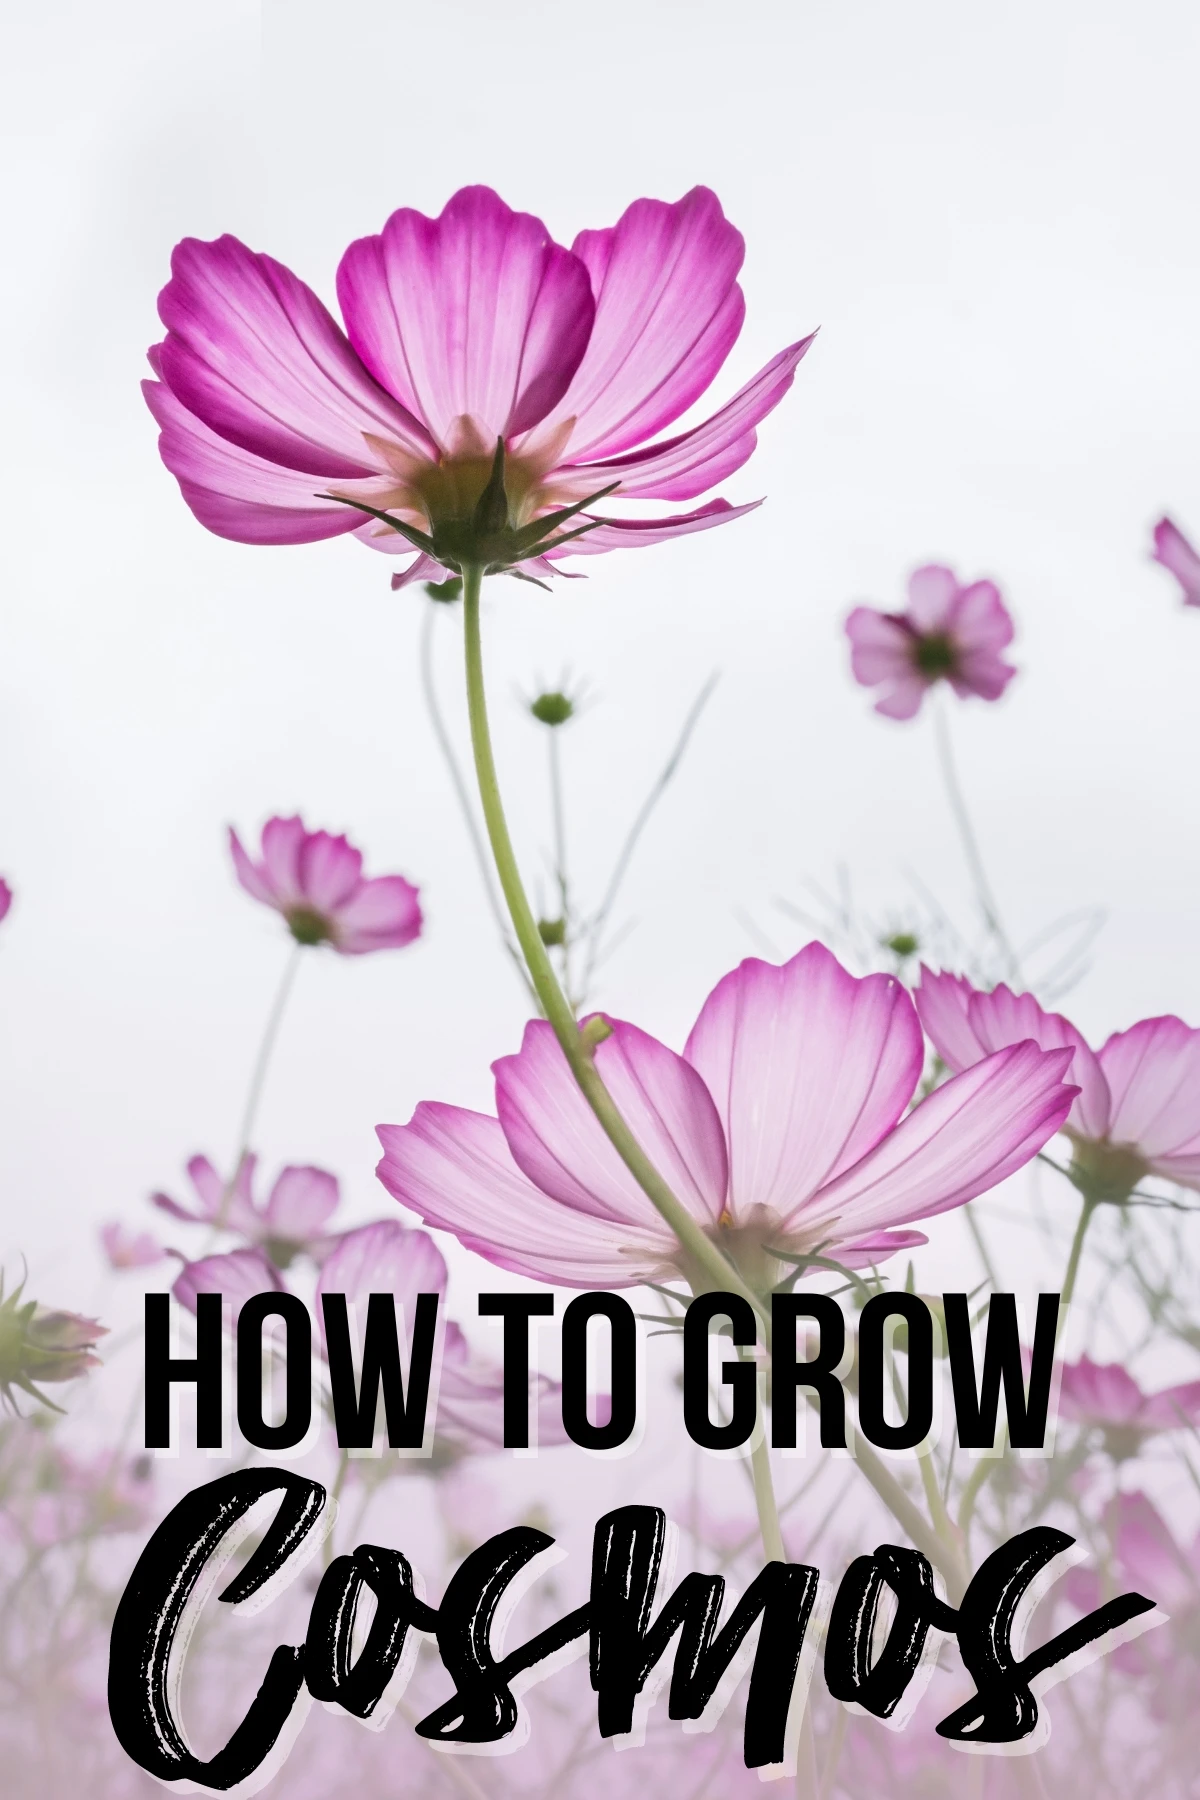
Discover how to grow cosmos from seed with our comprehensive guide, from sowing to blooming to saving the seeds for next year!

Cosmos is an easy to grow plant that sprouts readily from seeds and easily reseeds, reappearing on its own year after year. It grows well in marginal soil and needs little care. You can use it as a cut flower or a long-lasting backdrop in an annual flower bed.
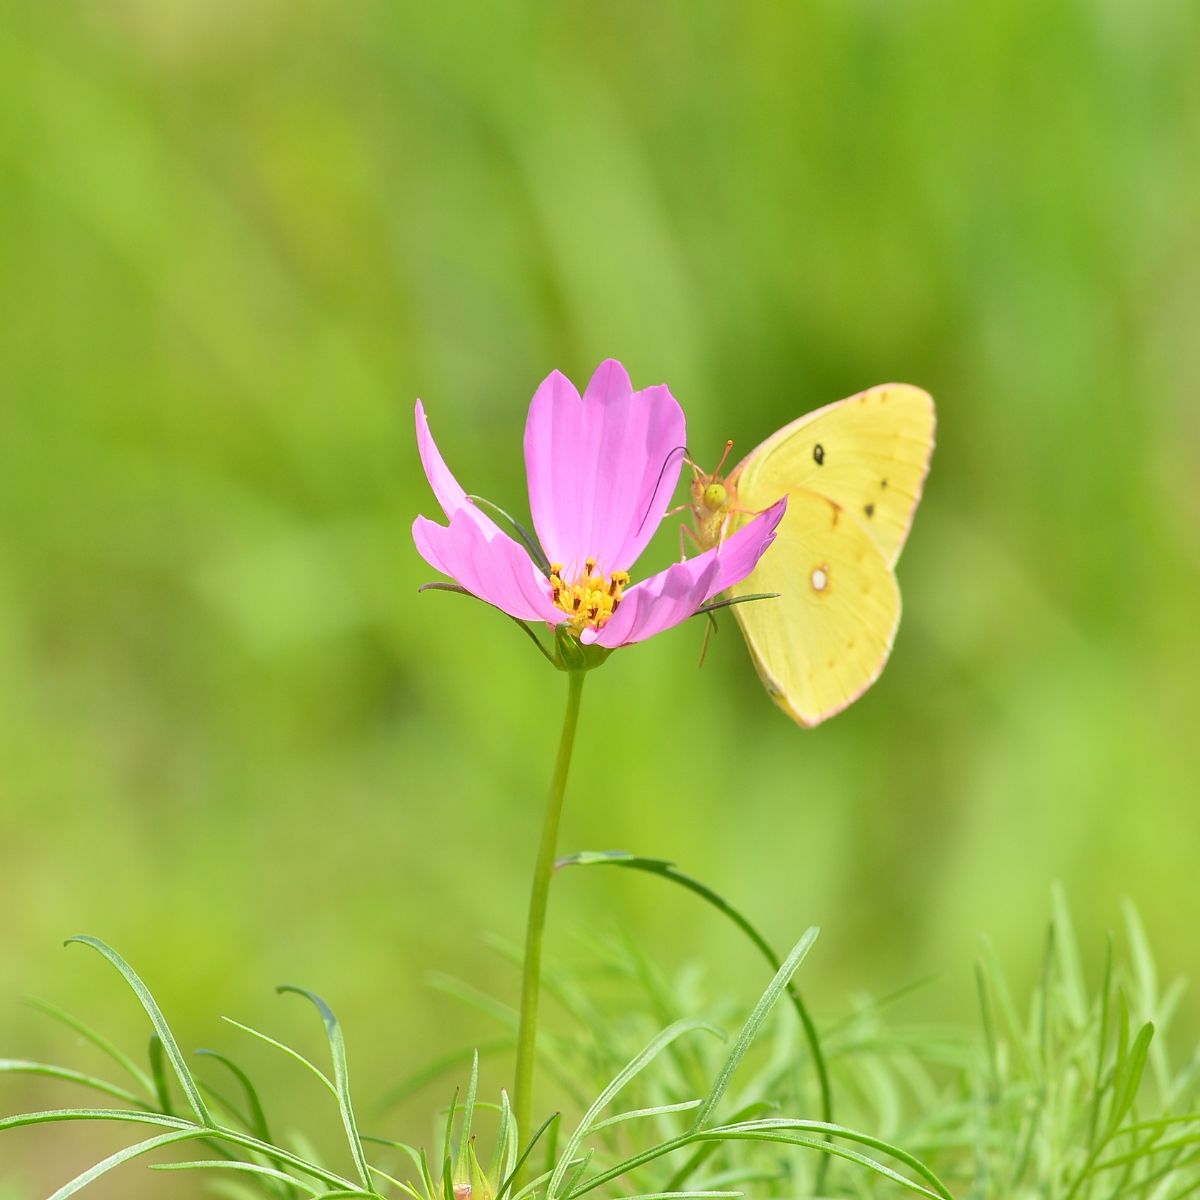
Besides attracting butterflies, the seeds provide food for finches, and the mild scent brings in hoverflies, tiny parasitic wasps, tachinid flies, and other beneficial insects that feed on many garden pests.

These delicate flowers are not just a treat for the eyes but also incredibly forgiving to novice gardeners. With just a handful of seeds and a bit of patience, you can transform your garden space into a riot of color and life.
Here's how to grow cosmos from seed in your garden!
This post contains affiliate links for your convenience. Purchases made through these links may earn me a small commission at no additional cost to you.
Cosmos at a glance
| Soil Type | Well-drained, not too rich, pH 6.0-7.0 |
| Climate | Temperate, can tolerate some heat |
| Sunlight | Full sun, at least 6-8 hours/day |
| Seeding Depth | ¼-inch deep |
| Plant Spacing | Thin to 18-24 inches apart |
| Row Spacing | 2-3 feet between rows |
| Watering | Water regularly until established, then drought-tolerant |
| Fertilization | Minimal; too much can reduce flowering |
Cosmos Varieties
From the classic, delicate petals of the Cosmos bipinnatus to the chocolate-scented blooms of the Cosmos atrosanguineus, there's a type of cosmo to suit every gardener. Before you get your hands dirty, it's wise to familiarize yourself with the different species and their unique characteristics.

Remember, when choosing your variety, consider not just the color and height, but also the growing conditions and the overall feel you want in your garden. Whether you aim for a playful burst of colors or a calm and monochromatic palette, cosmos have got you covered.
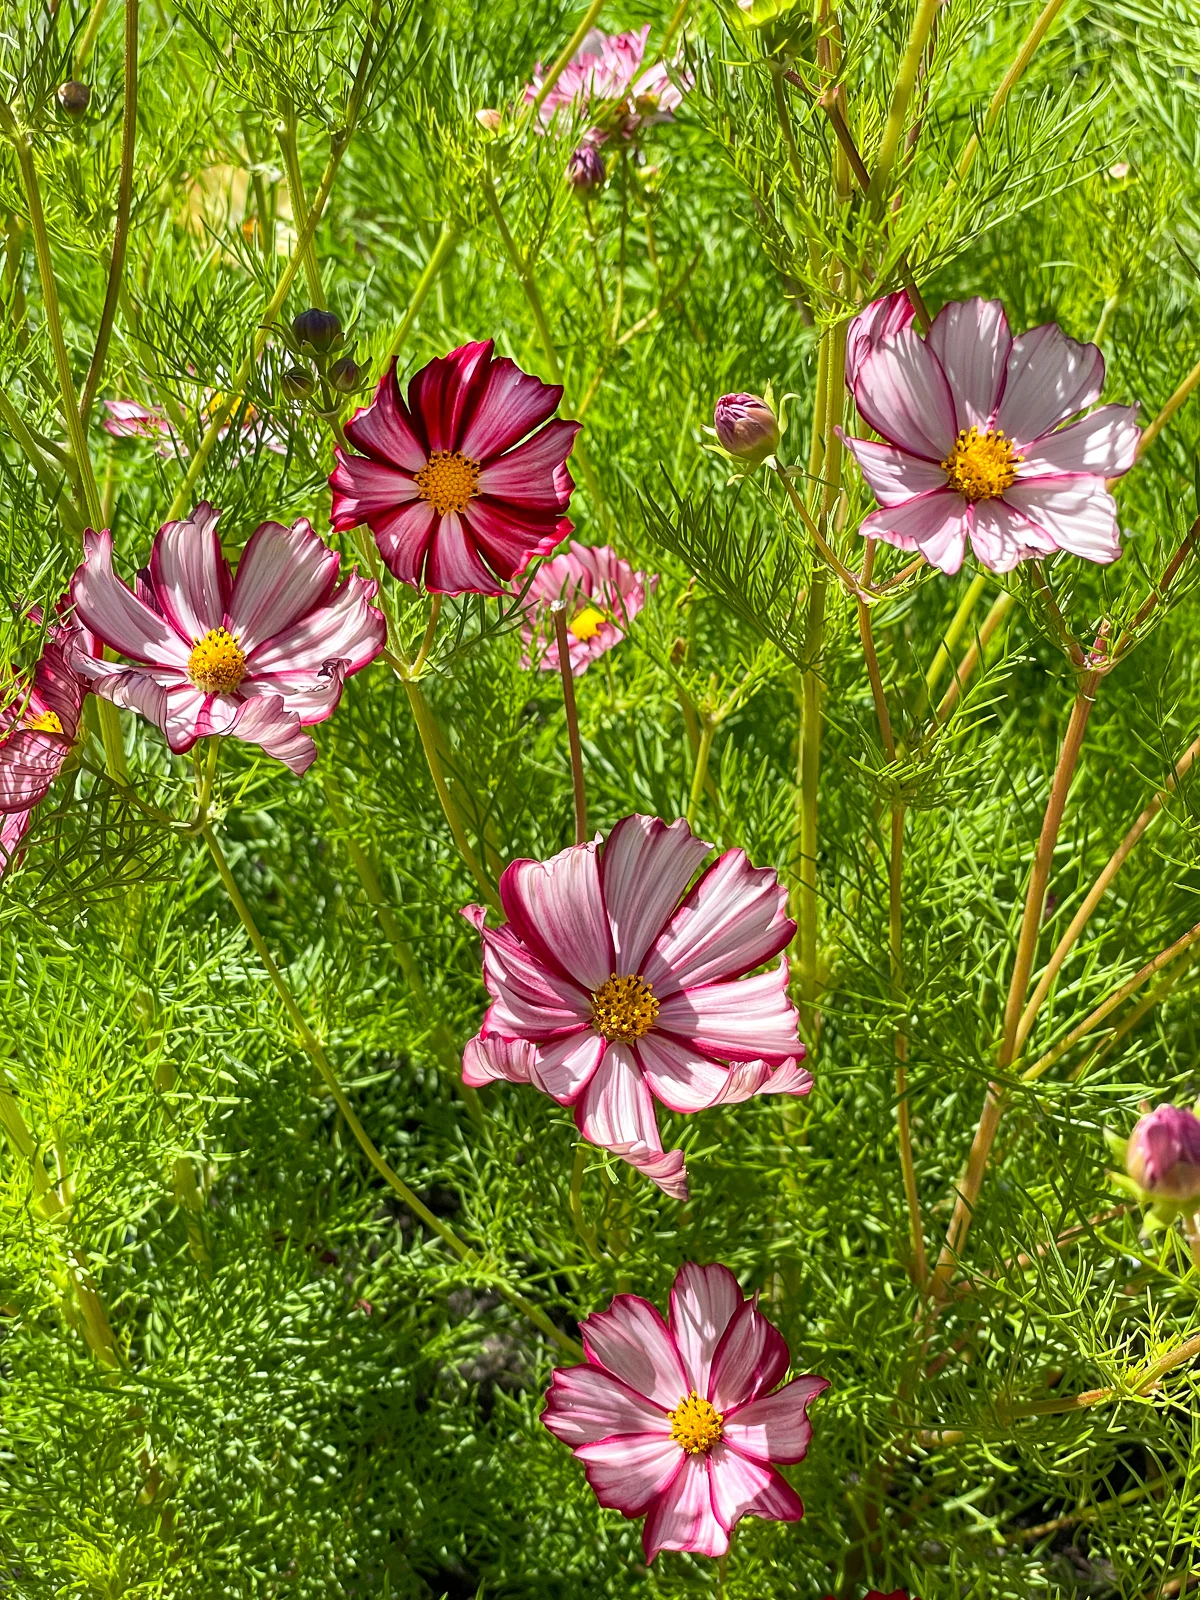
Cosmos bipinnatus
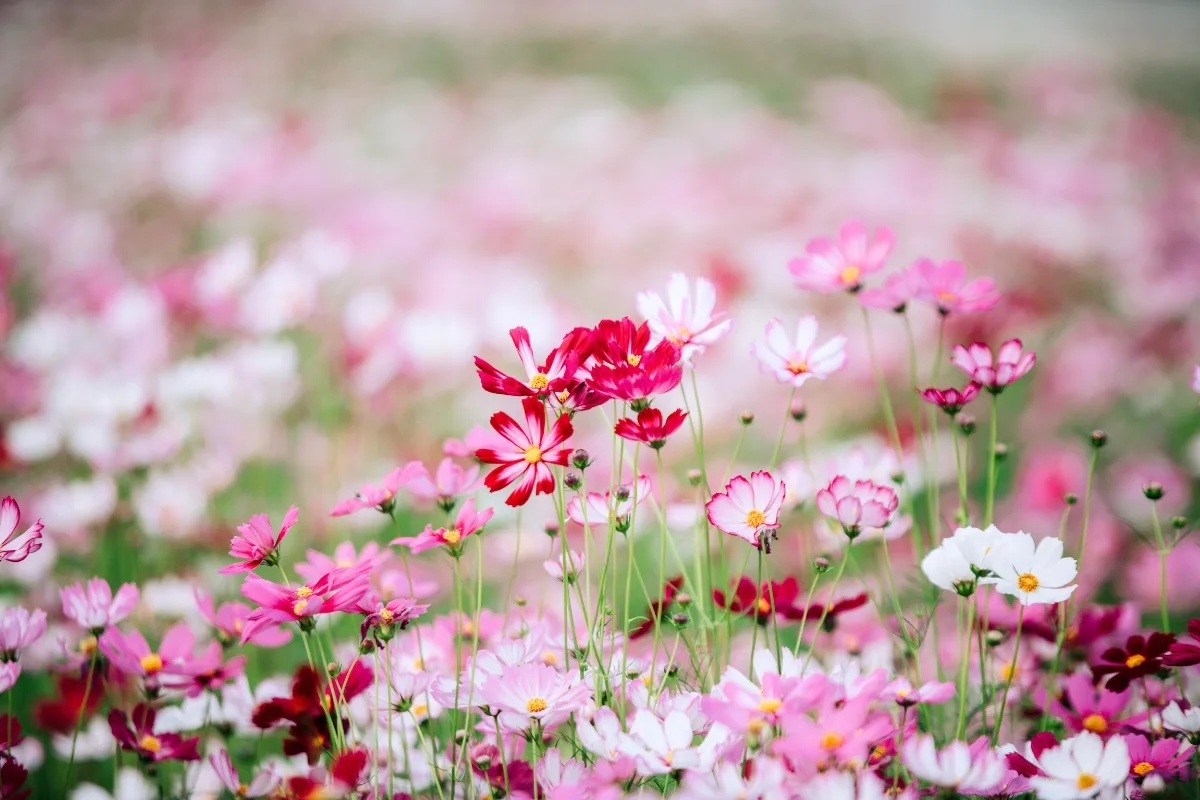
This is probably the most well-known cosmos. With delicate fern-like foliage and daisy-shaped flowers, they come in shades of pink, white, and maroon. They can reach up to 6 feet in height, making them perfect backdrops in garden beds.
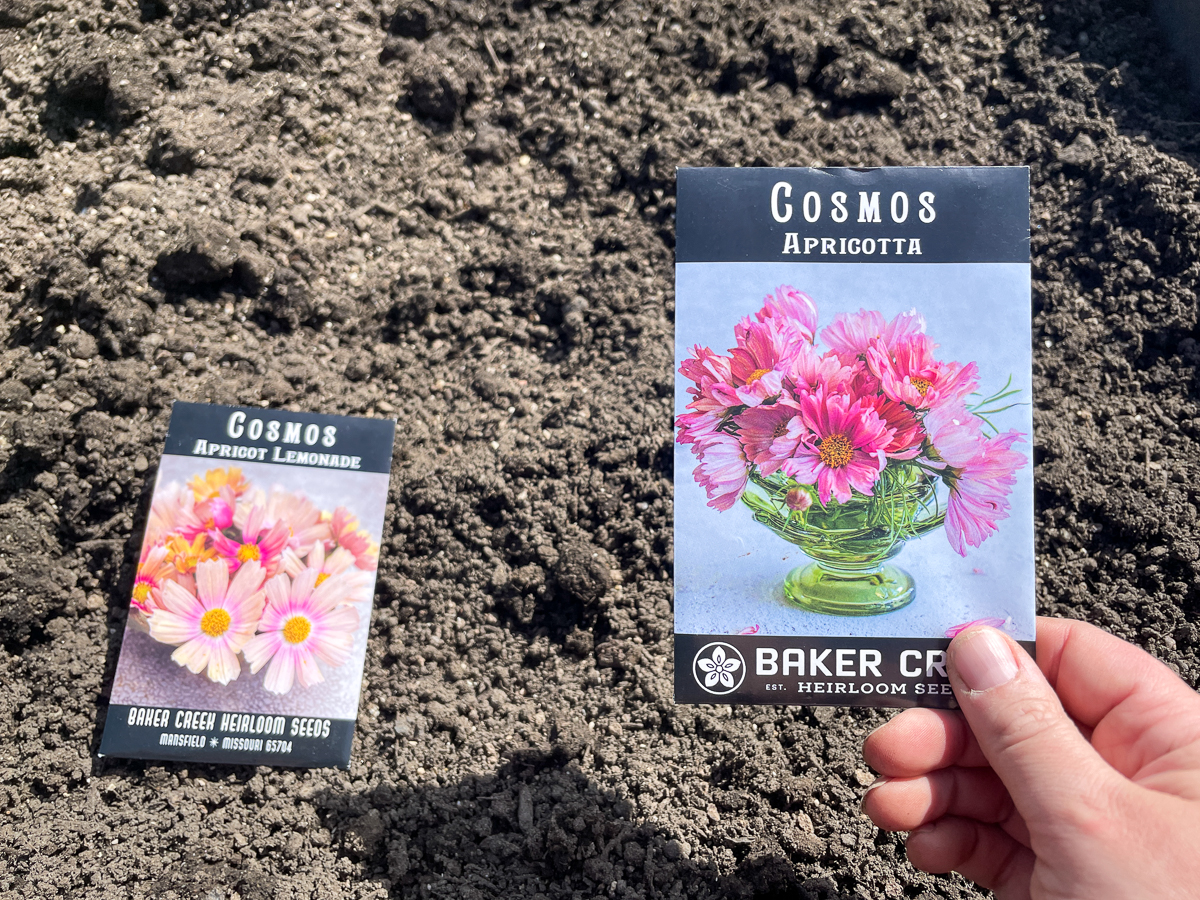
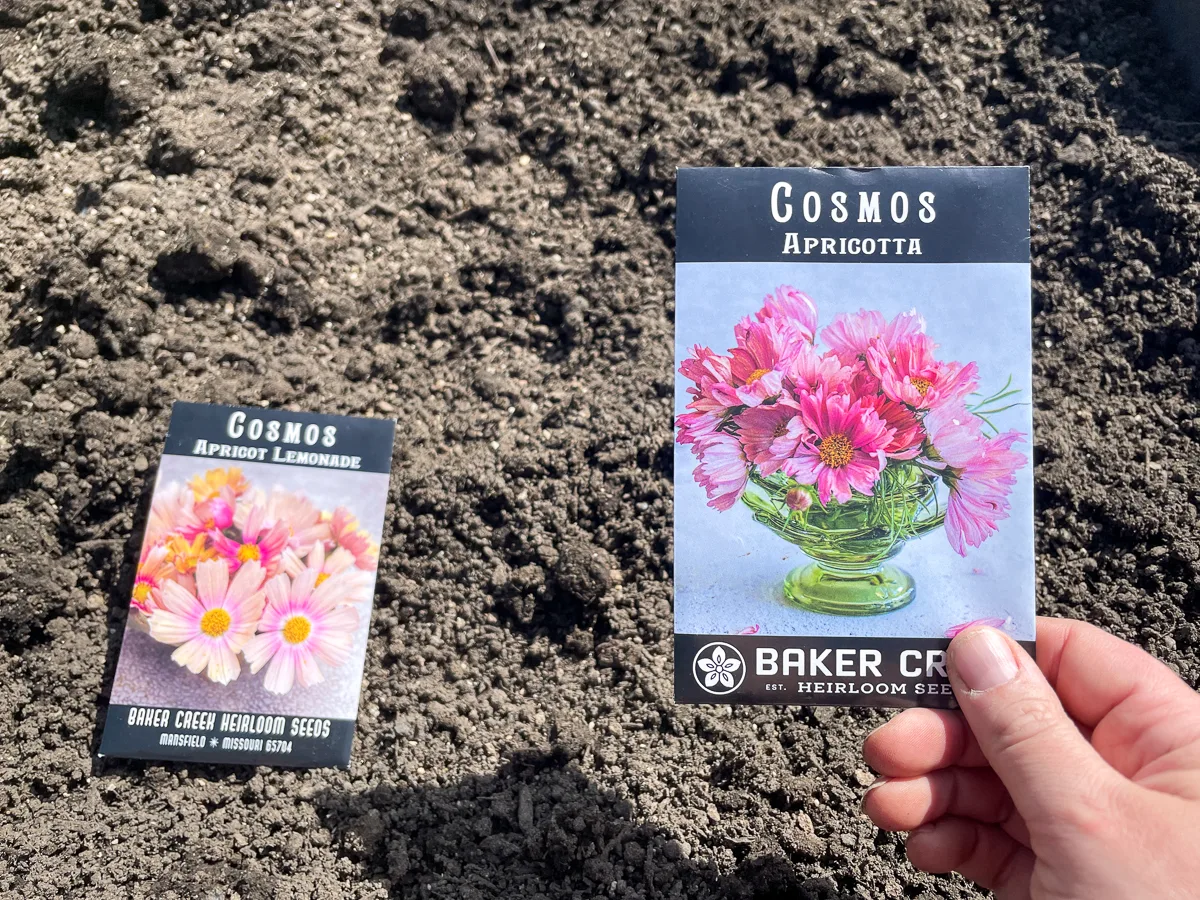
I'm growing three types of cosmos bipinnatus, Apricotta, Apricot Lemonade and Velouette, in a raised bed together with my poppies. Both of these flowers self-seed, so by keeping them in the same bed, I can enjoy their blooms for years while also preventing them from scattering elsewhere in the garden.
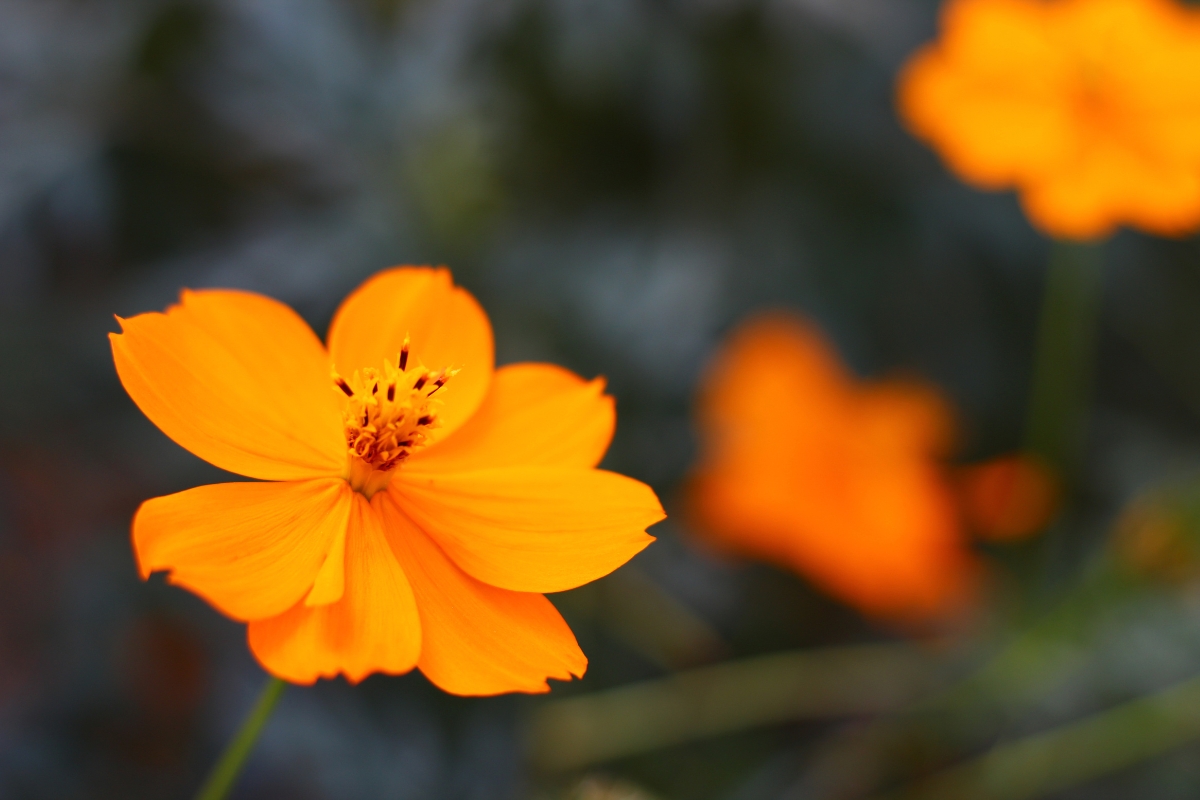
Cosmos sulphureus
This fiery variant brings warm colors like yellow, gold, and orange to the garden. Their blooms are a bit more compact than Cosmos bipinnatus, and they love the heat. Fun fact: they also attract butterflies!

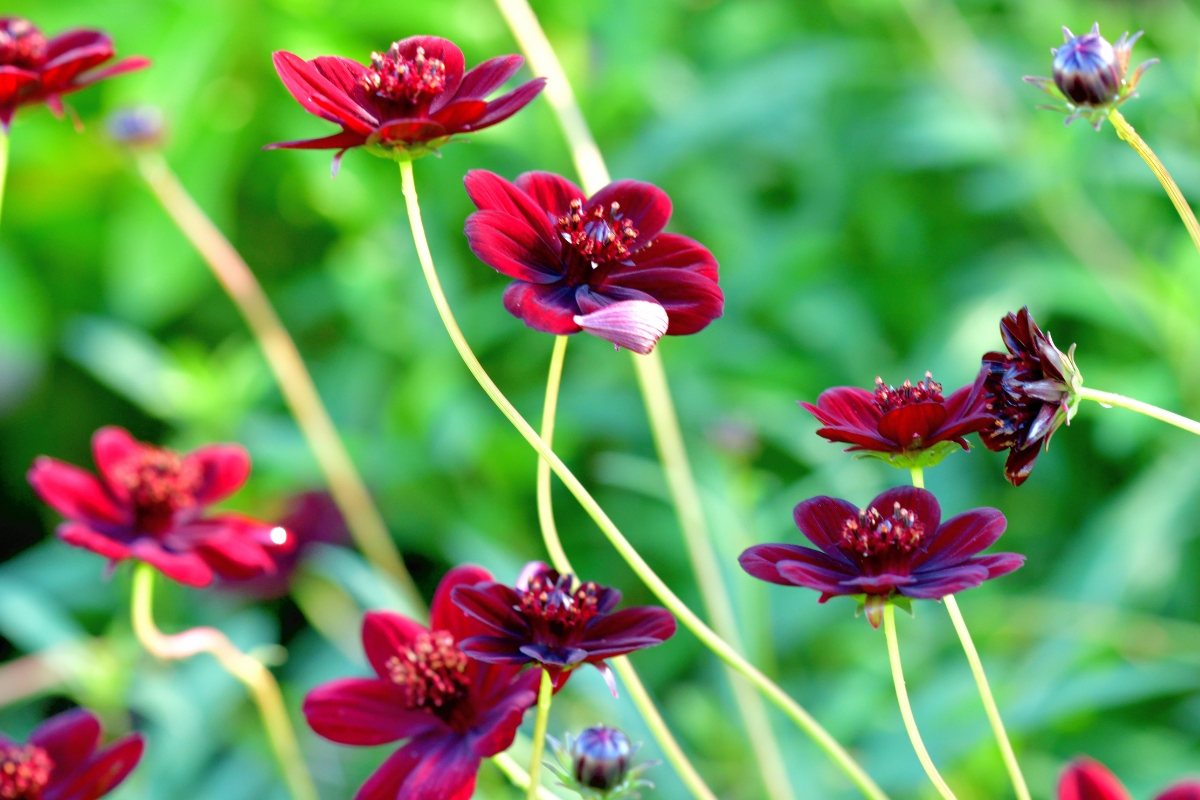
Cosmos atrosanguineus
A favorite among many gardeners for its rich, velvety maroon flowers that emit a subtle chocolate fragrance. It's a perennial variety but might need protection in colder climates.

When to Plant Cosmos
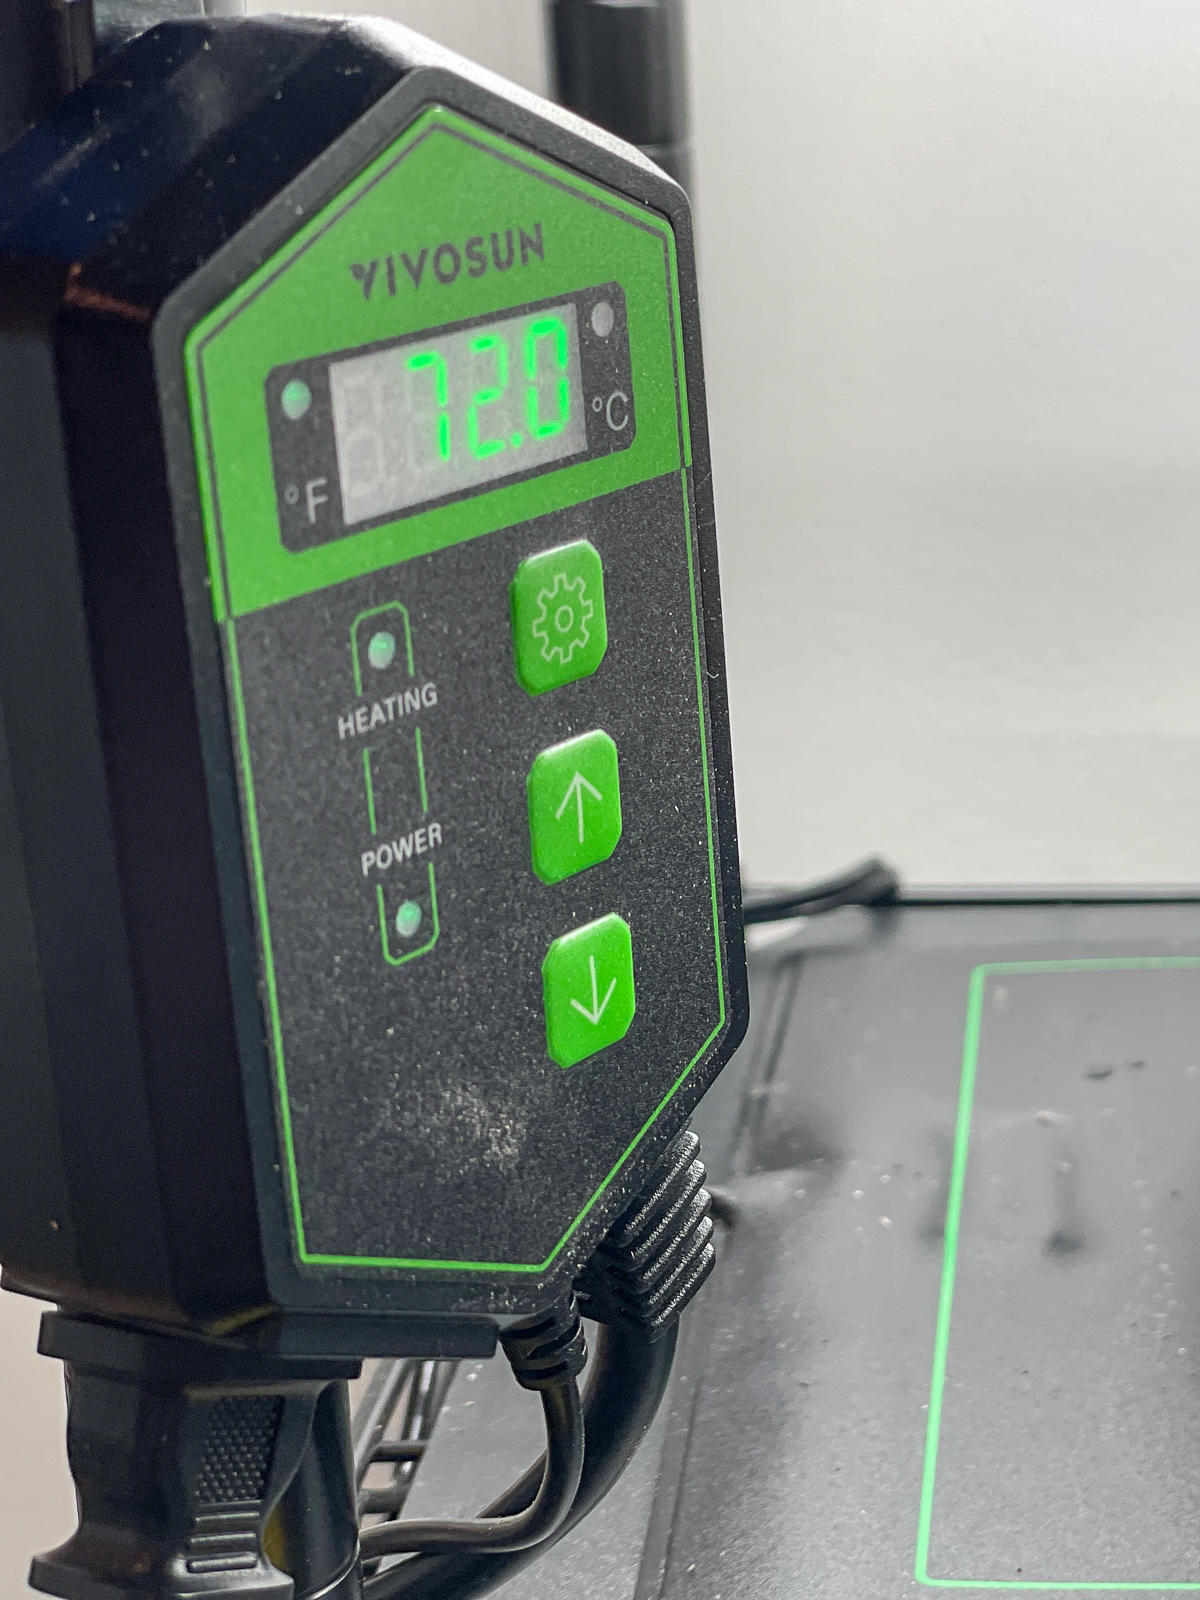
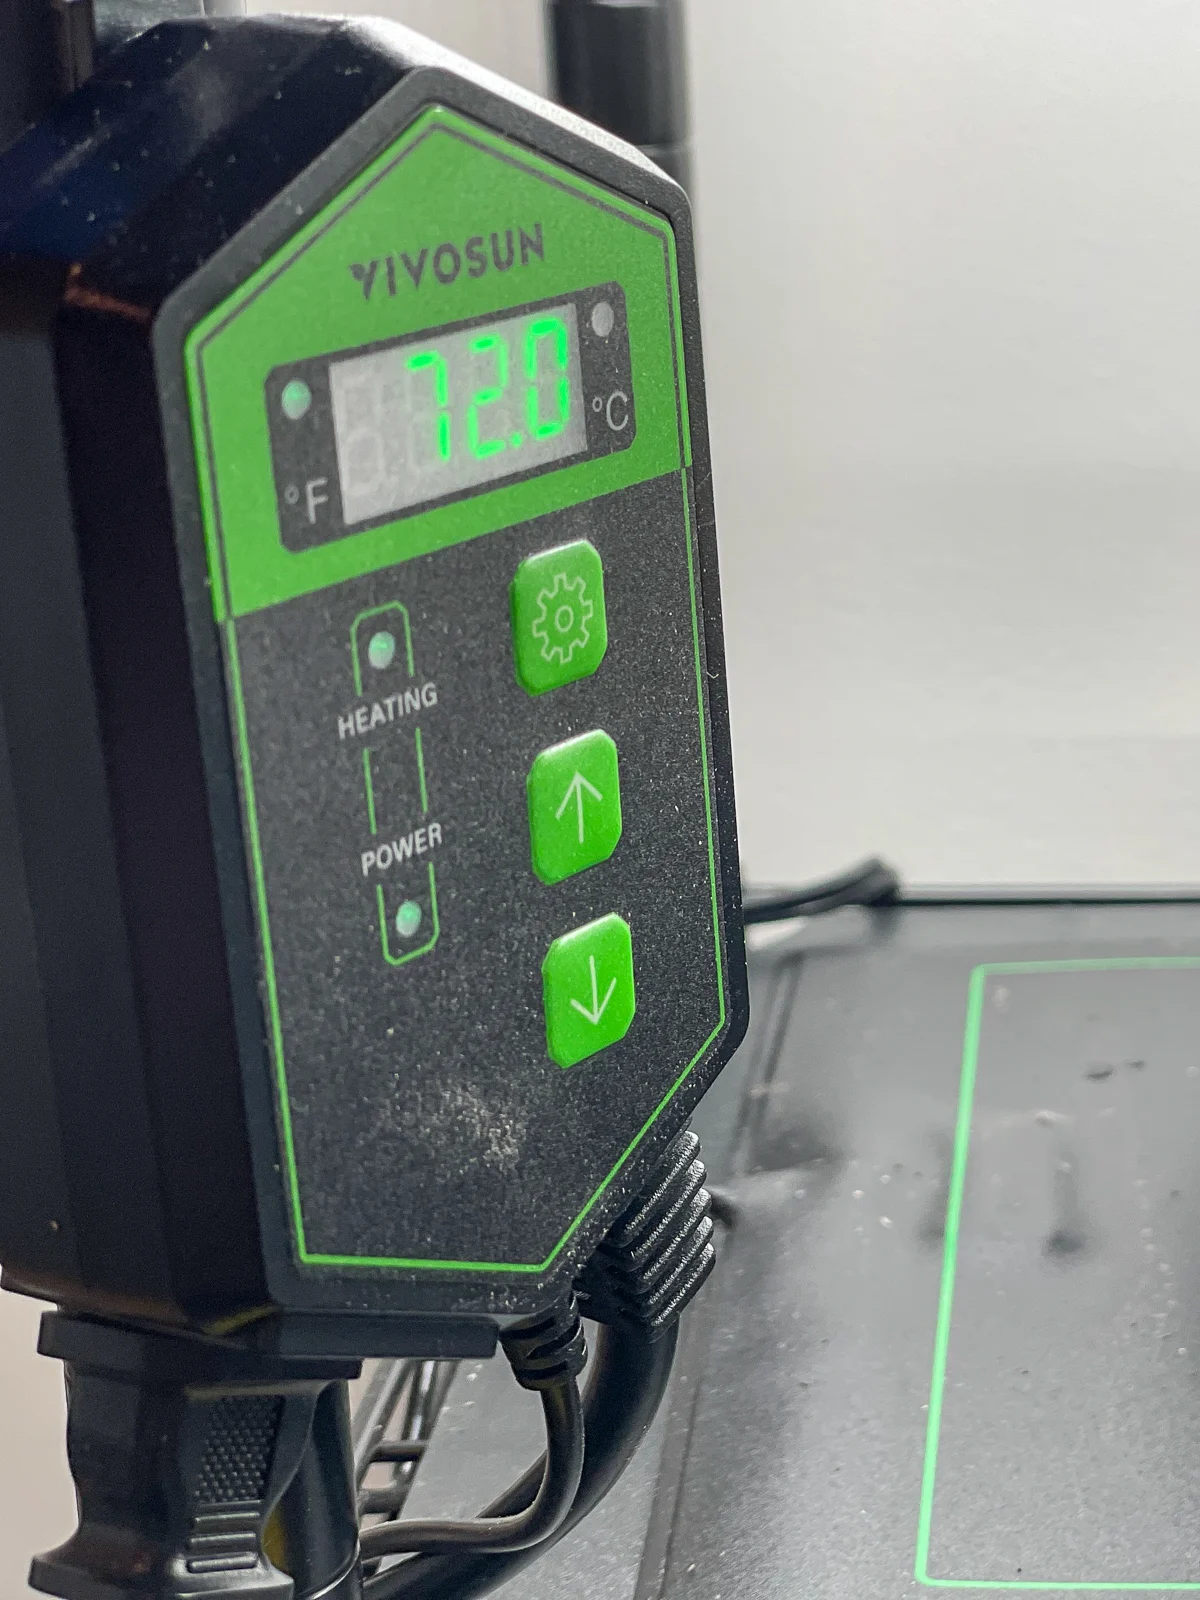
If you're starting indoors, plant the seeds about 4 weeks before the last expected frost. They germinate better in warm soil, so consider placing a seedling heat mat under your tray to speed up the process.
Direct sowing cosmo seeds after your last frost is the easier way to grow. Cosmos germinate best in mild daytime air temperatures above 60°F and below 80°F.
Where to Plant Cosmos
Choosing the right location for your cosmos is crucial. They prefer areas with full sunlight, so select a spot that gets direct light for the majority of the day.
Cosmos prefer well-draining soil. To achieve this, ensure the soil is loose, and consider incorporating organic compost. This will not only improve drainage but also add necessary nutrients to the soil.


However, it's essential to note that cosmos don't require overly fertile soil. If the soil is too rich in nutrients, the plants may produce more foliage and fewer flowers. Aim for balanced soil conditions for optimal growth.
How to Plant Cosmos Seeds
Cosmos seeds are versatile, allowing gardeners the choice to start them indoors or sow them directly outside.
Indoors
If you're starting your cosmo seeds indoors, fill a tray or pot with seed starting mix. Plant the seeds about ¼ inch deep, and keep the soil moist but not soggy.
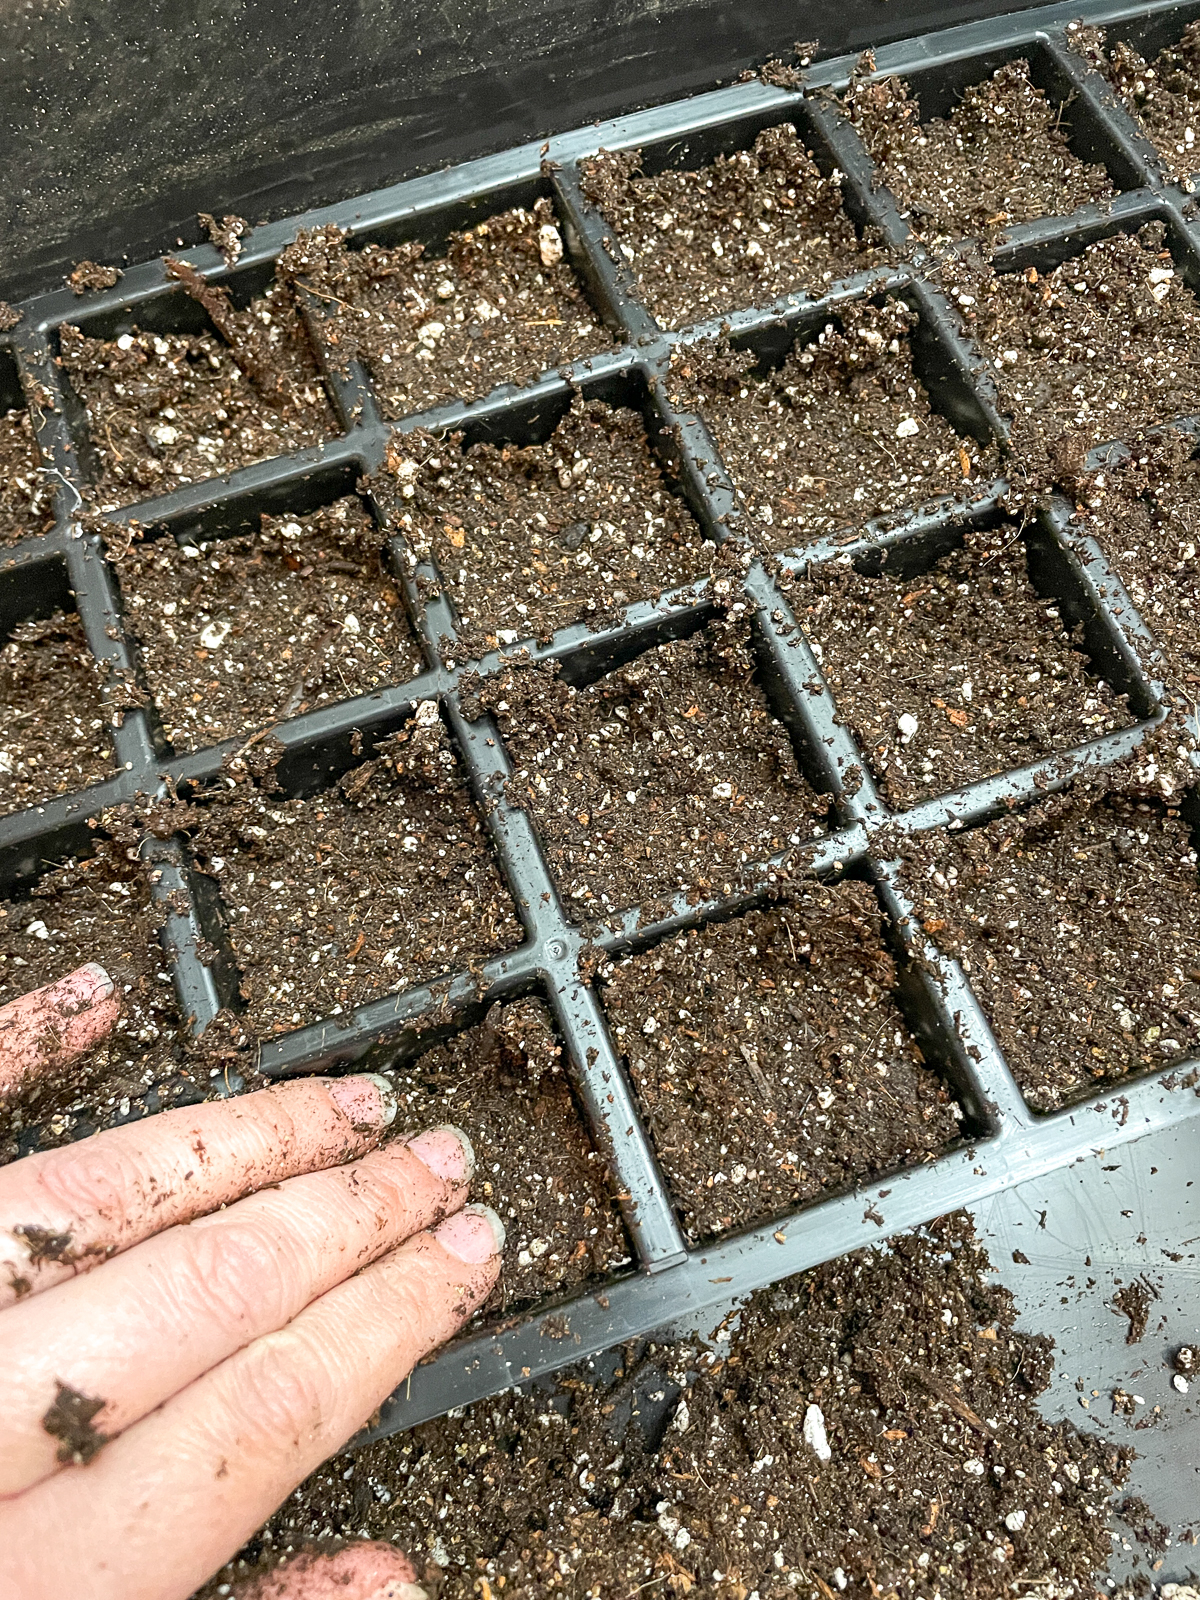
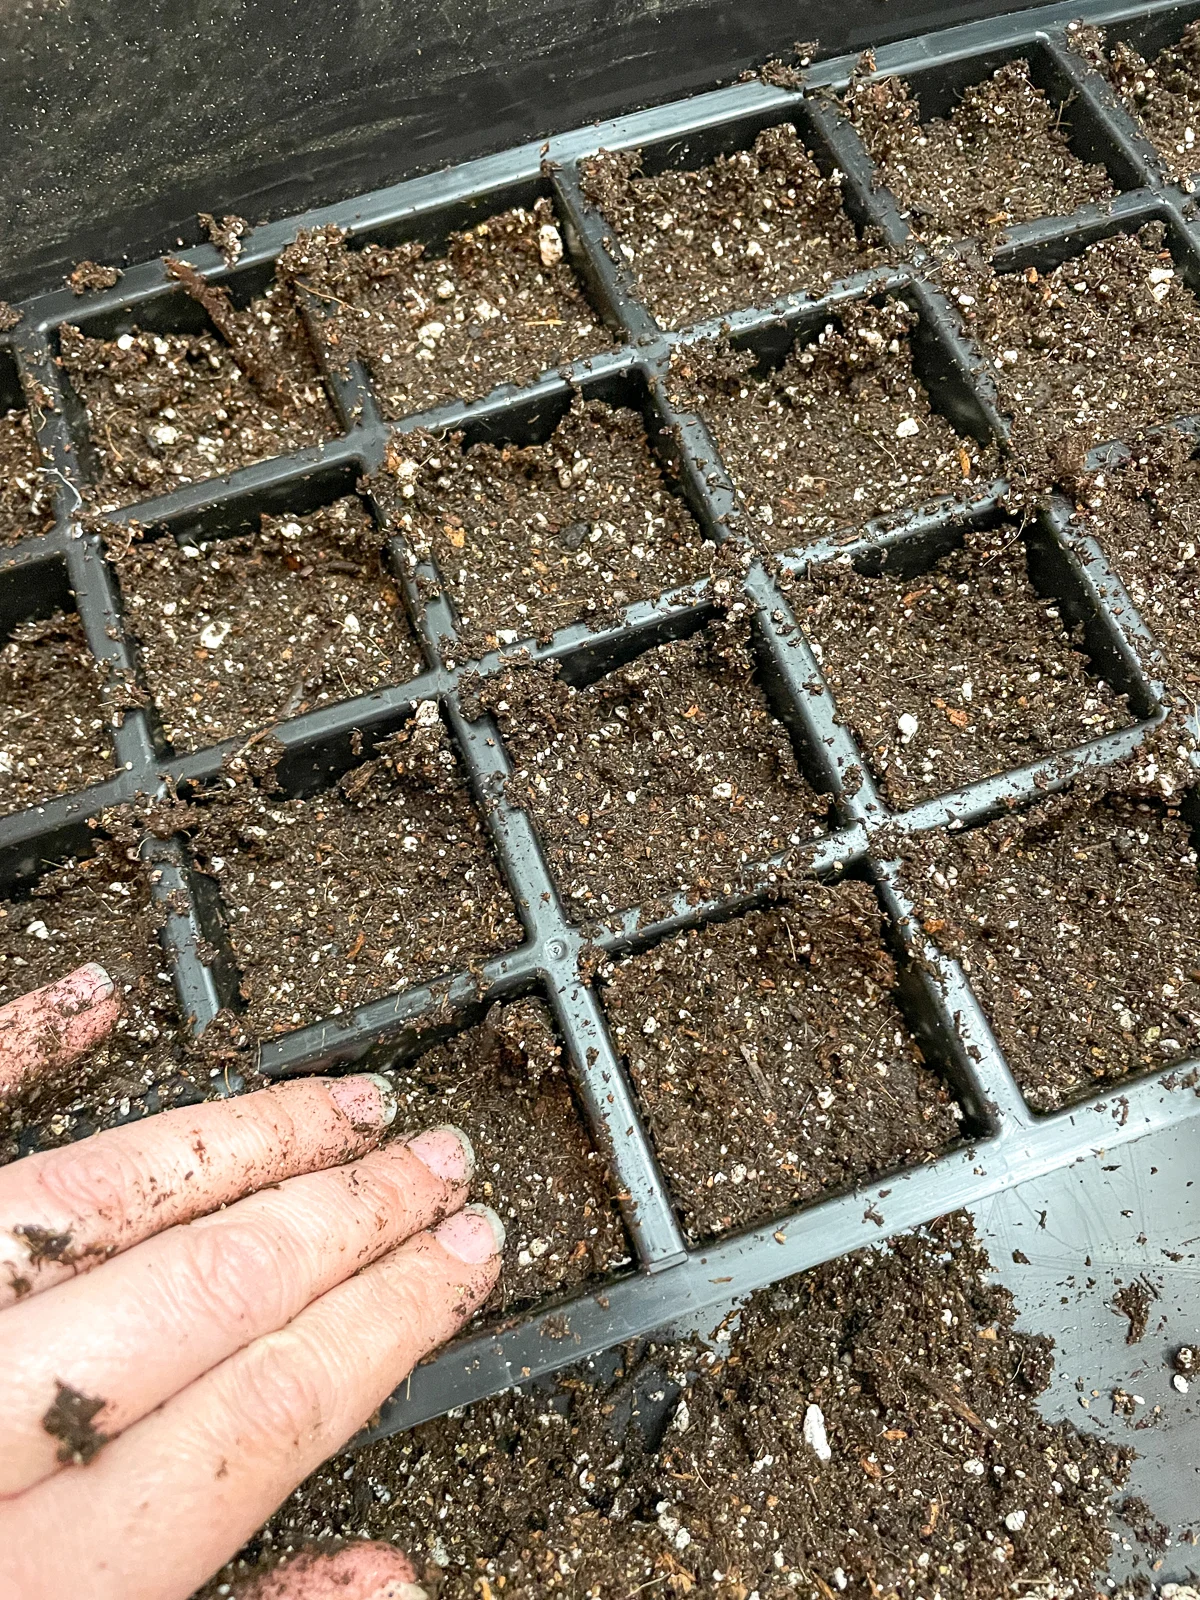
Once they sprout, make sure the seedlings receive ample light, either from a sunny window or grow lights. When they're a few inches tall and the weather has warmed up, you can start hardening off your seedlings for a week before planting them in the garden.
Outdoors
Soil preparation takes only pulling up weeds and raking the soil to loosen the surface. Direct sow seeds when the midday soil temperature reaches 65°F. Scatter the seeds lightly on the ground, then cover them with about ⅛ inch of soil.
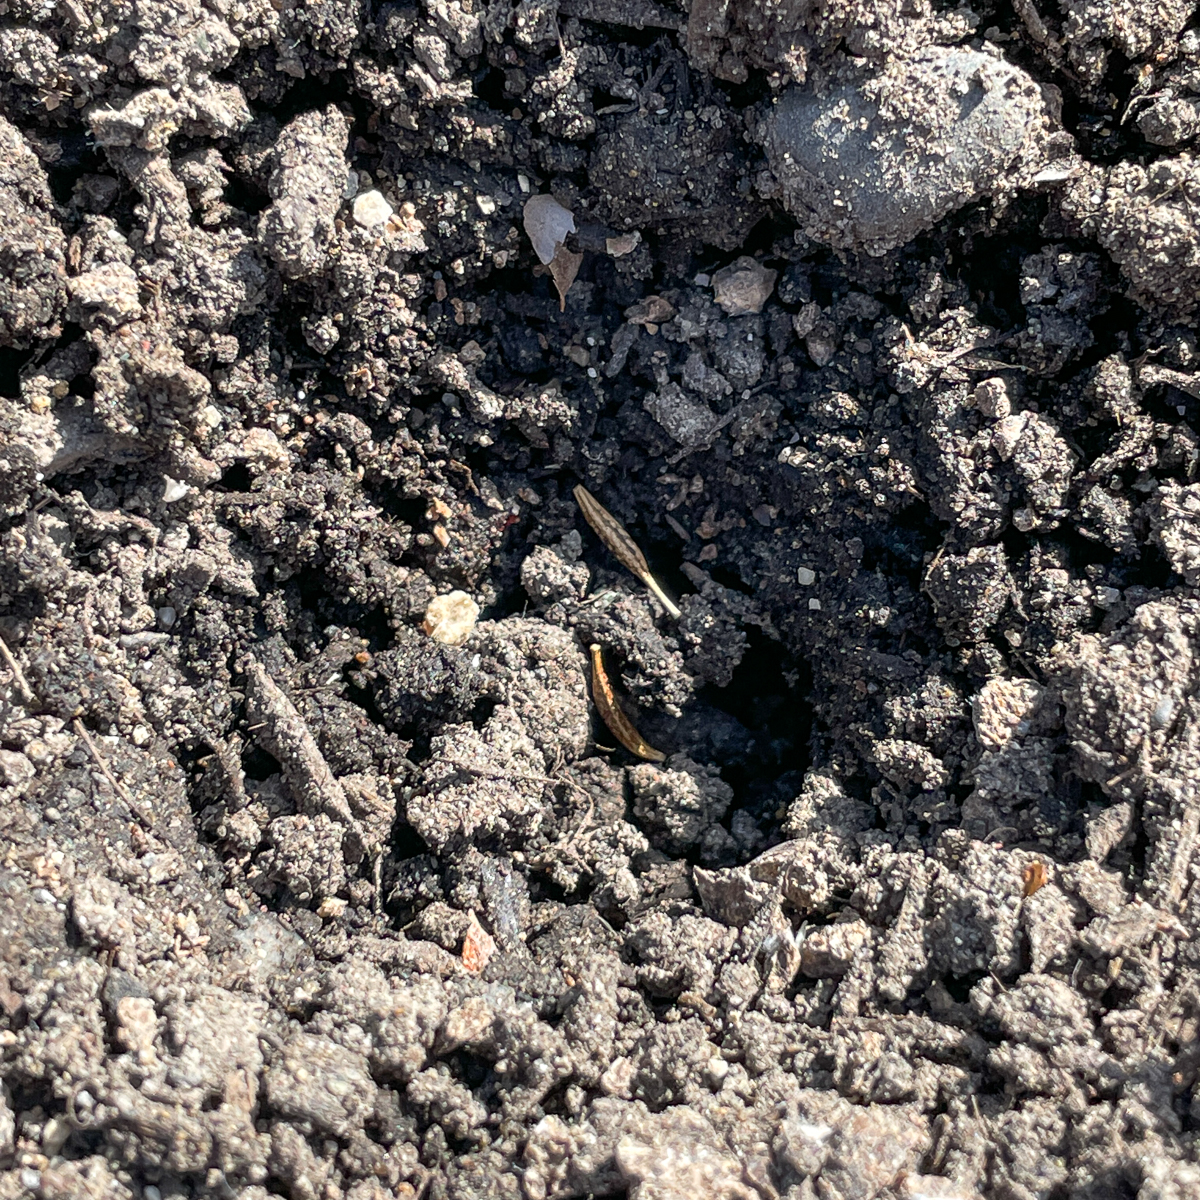

Keep the soil moist until germination, which can take up to three weeks. You can thin the plants to one or two per square foot when the seedlings are a few inches tall or let them grow in a tight cluster for a backdrop of color.
How to Care for Cosmos
After sprouting, it's all about maintenance and ensuring your cosmos plants are set up for success. Here's how you can offer them the best care.
Watering
In the beginning, while they're still establishing, water your cosmos regularly. Once they're settled and growing, these plants prove to be quite drought-tolerant. In fact, overwatering can decrease flowering!

Fertilizing
Cosmos aren't heavy feeders. In fact, if you provide them with too much fertilizer, you might end up with more foliage and fewer blooms. If your soil is already decent, you might skip fertilizing altogether. If you do choose to feed them, a light application of a balanced, all-purpose fertilizer should do the trick.
Pruning
While not strictly necessary, trimming or pinching young cosmos plants can encourage bushier growth and more blooms. When the stems are about a foot tall, cut just above a set of leaves further down on the plant. This will encourage more side shoots to form, leading to more blooms!
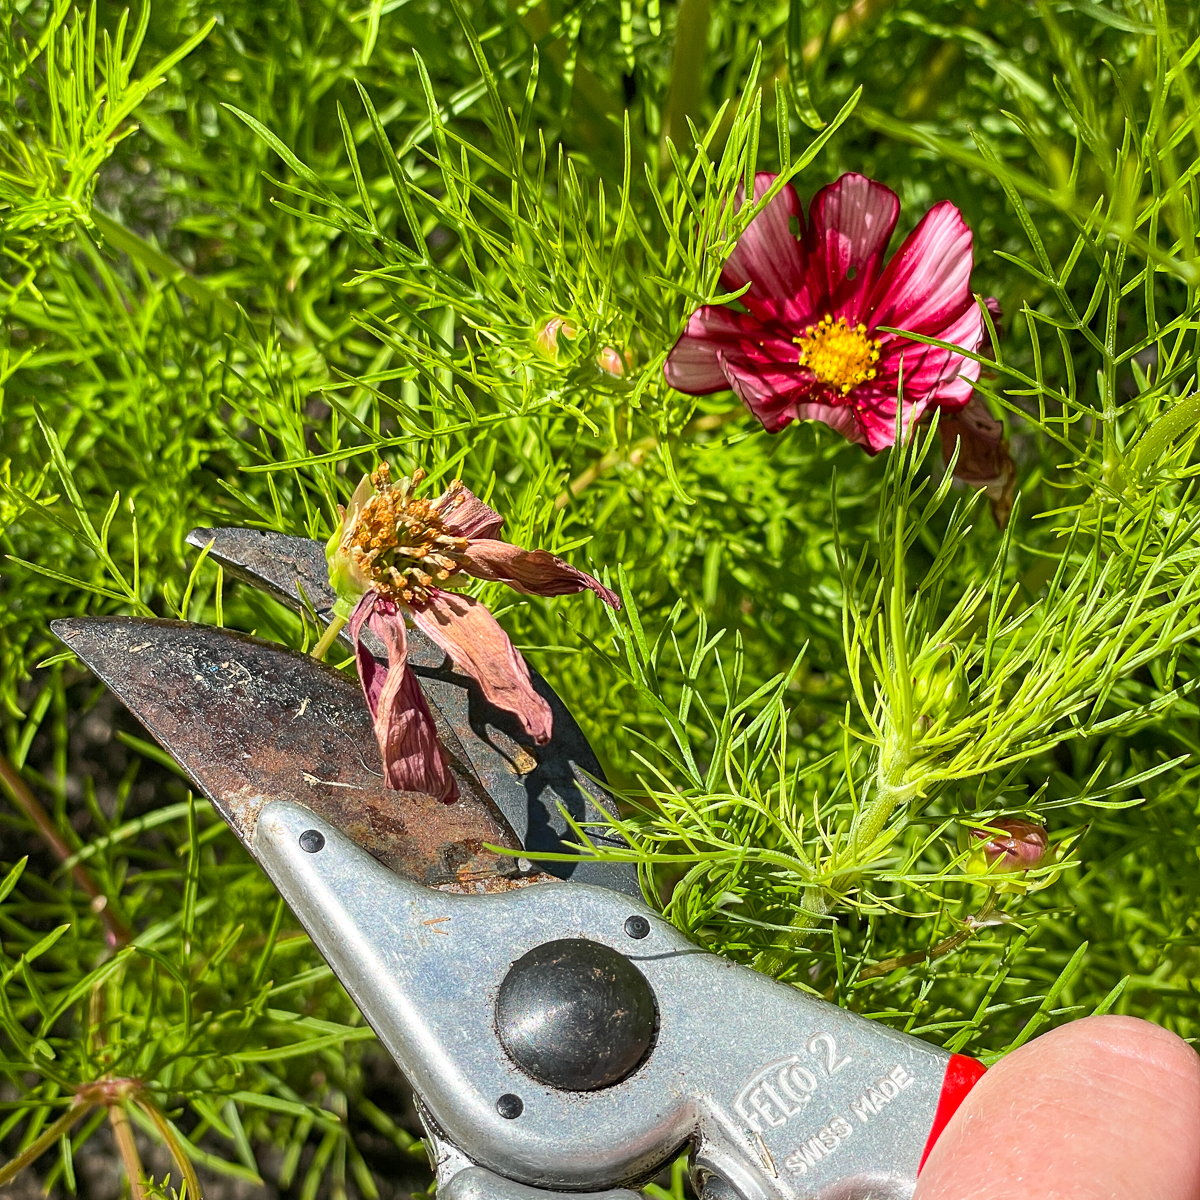

Also, consider deadheading, which means removing faded flowers, to prolong the blooming period. This also prevents the spent blooms from reseeding, which can spread the plants where you don't want them.
Pests and Diseases
Like all plants, cosmos can sometimes attract unwanted guests or fall victim to certain diseases. But don't fret; with a little vigilance and care, you can manage these issues.
Regularly inspect your cosmos plants, keeping an eye out for signs of pests or disease. Remove affected parts promptly and ensure proper sanitation, like not leaving plant debris around, which can harbor pests or disease.
Harvesting and Saving Seeds
While cosmos will naturally self-seed in the area you planted them, you can enjoy cosmos in other parts of the garden next year by saving the seeds.
- When to Harvest: Wait for the cosmos flowers to fully bloom and then fade. As the petals drop off, you'll notice seed pods forming at the base. Allow these pods to dry completely on the plant.
- Harvesting the Seeds: Once dried, the seed pods will turn brown and become brittle. Gently pluck them from the plant and break them open to reveal the seeds inside.
- Cleaning: Separate the seeds from any chaff or plant material. This ensures you're storing pure seeds and prevents mold or rot during storage.
- Drying: Even after separating, give your seeds a little more drying time. Spread them out on a paper towel or cloth in a cool, dry place for a few days.
- Storage: Store your dried cosmos seeds in a paper envelope, labeling it with the variety and date. To ensure they remain dry, you can place them in an airtight container with some silica gel or rice. Store in a cool, dark place until you're ready to plant them next season.