Discover how to grow asters from seed in your garden with our step-by-step guide, from sowing the seeds to harvesting the blooms!
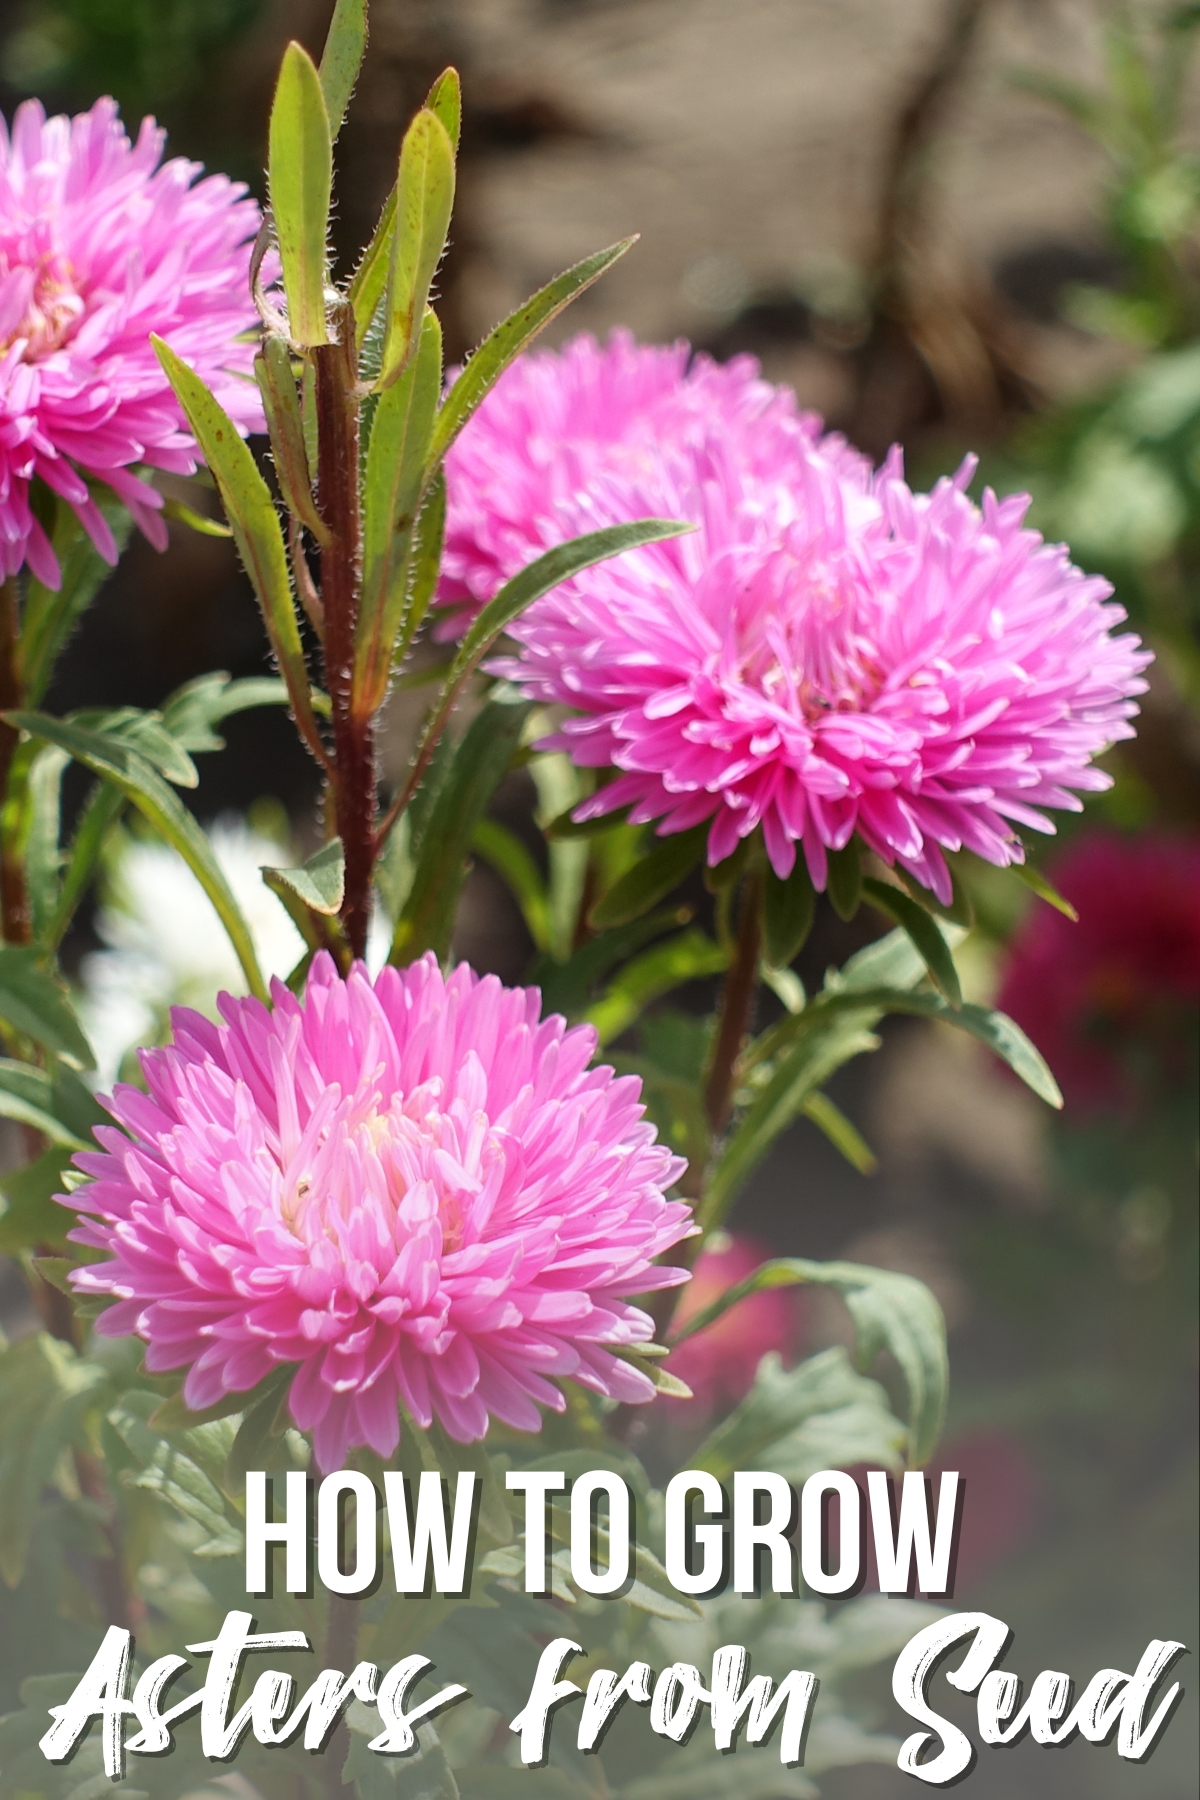

Asters, also known as China Asters or Callistephus chinensis, are a gorgeous annual flower that starts blooming when the rest of the garden is just finishing up. There is also a perennial wildflower aster that is much shorter, but with the same bloom time.
I'll be walking you through the whole process, from the basic requirements to sowing, transplanting, and maintaining your asters. By the end, you'll have all the information you need to fill your garden with these stunning flowers, whether you prefer the delicate pom pom, the lush peony, or the striking quill type blooms.
This post contains affiliate links for your convenience. Purchases made through these links may earn me a small commission at no additional cost to you.
Things to know about growing asters
Annual vs perennial asters
Asters come in both annual and perennial varieties. Both bloom in late summer or early fall, but with different flowers.
Annual asters, also known as China asters, make fantastic cut flowers. They are often used in bouquets and arrangements thanks to their lasting freshness when cut and the bright splash of color they add to any display.
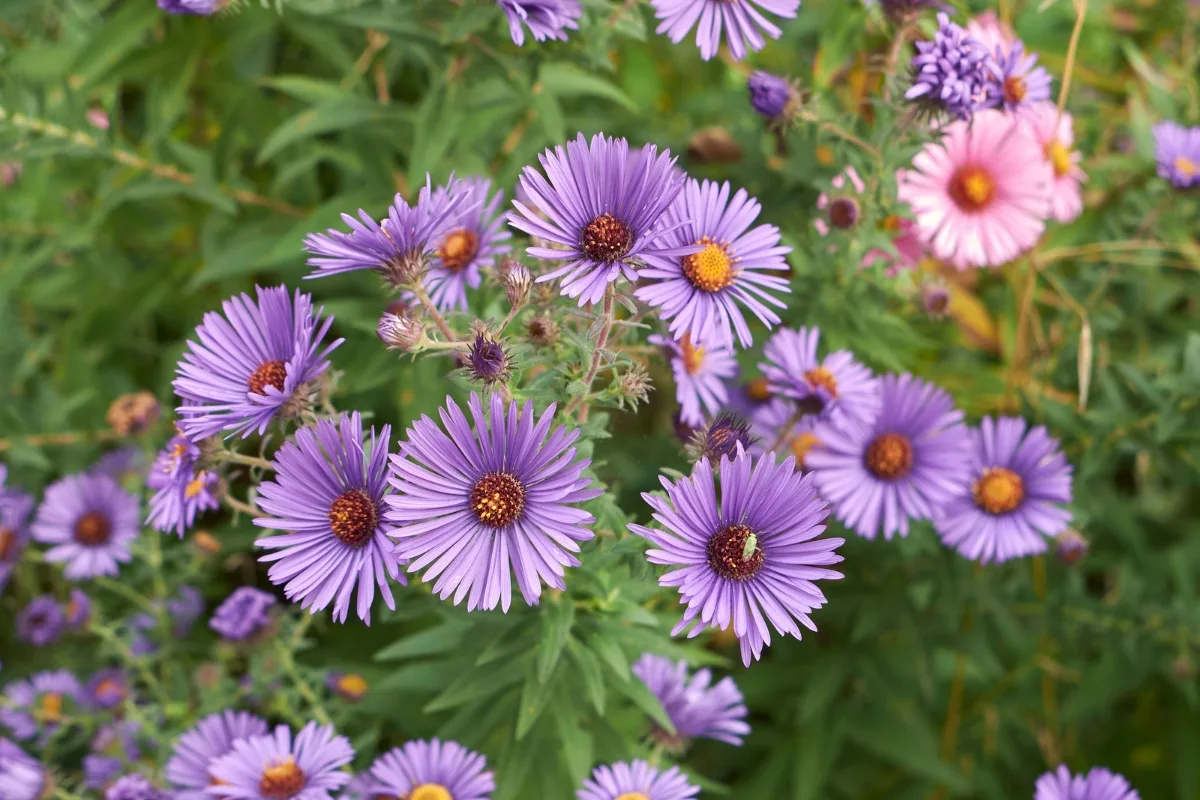
On the other hand, perennial asters return year after year. These hardy plants are a wildflower in New England, and typically have pink or purple daisy-like flowers.

Bloom types
China asters come in a variety of different bloom styles. The three most popular types of annual aster blooms are the Pom Pom, Peony, and Quill. Each type boasts a unique form that can add a different aesthetic to your garden.
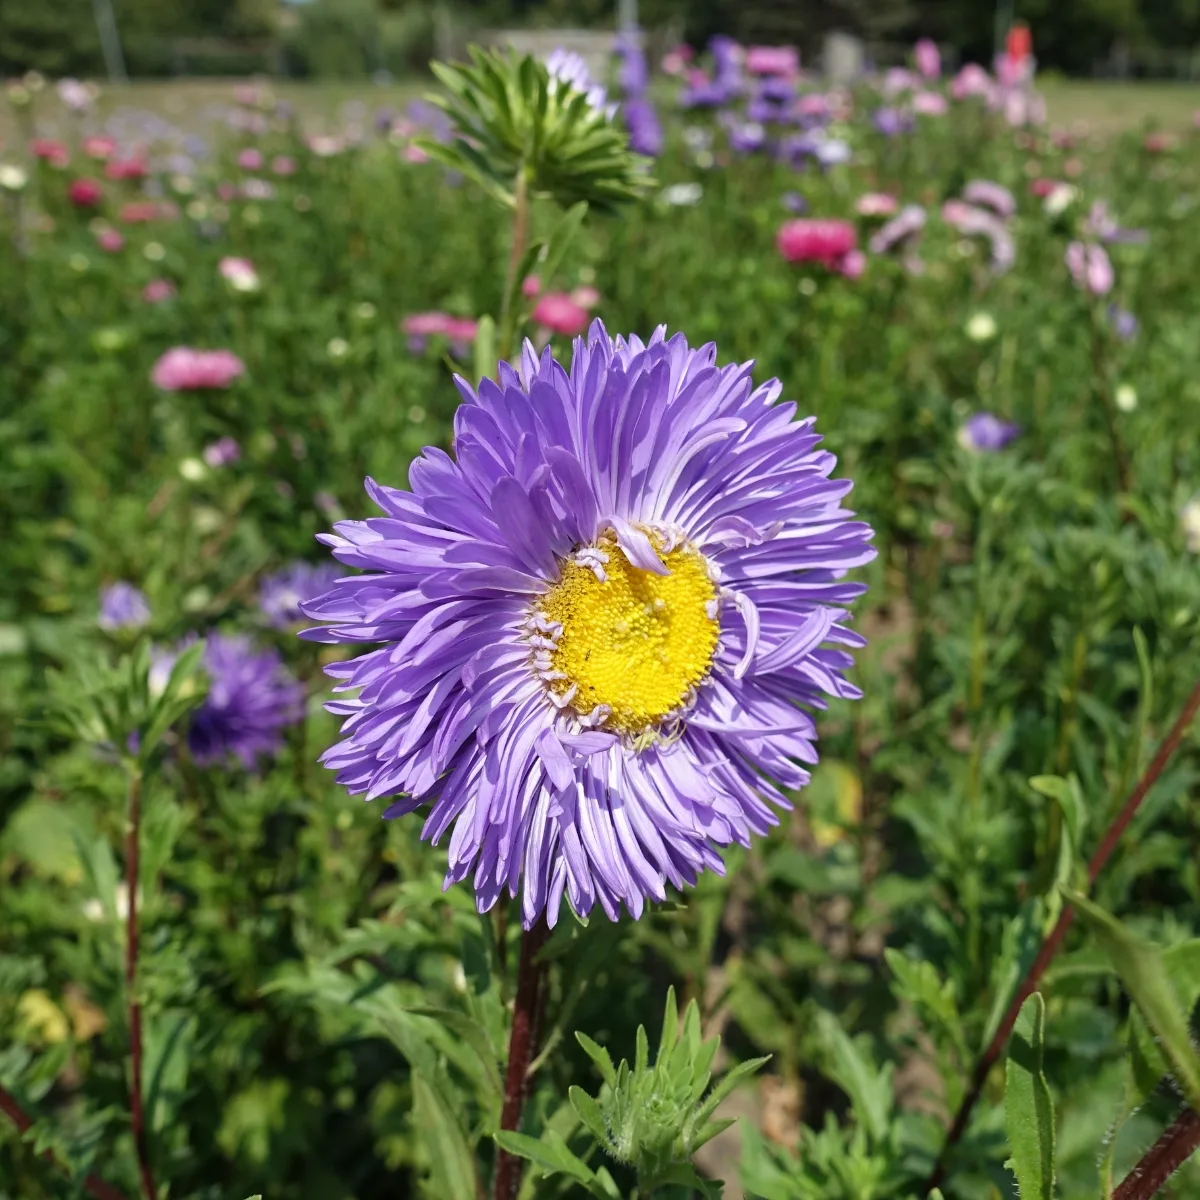
First up, we have the Pom Pom asters. The most common varieties of this bloom type are Matsumoto and Bonita. This style is flatter than the other two, with an open yellow center. They come in a variety of colors, from pure whites to various shades of pinks, purples, and blues.

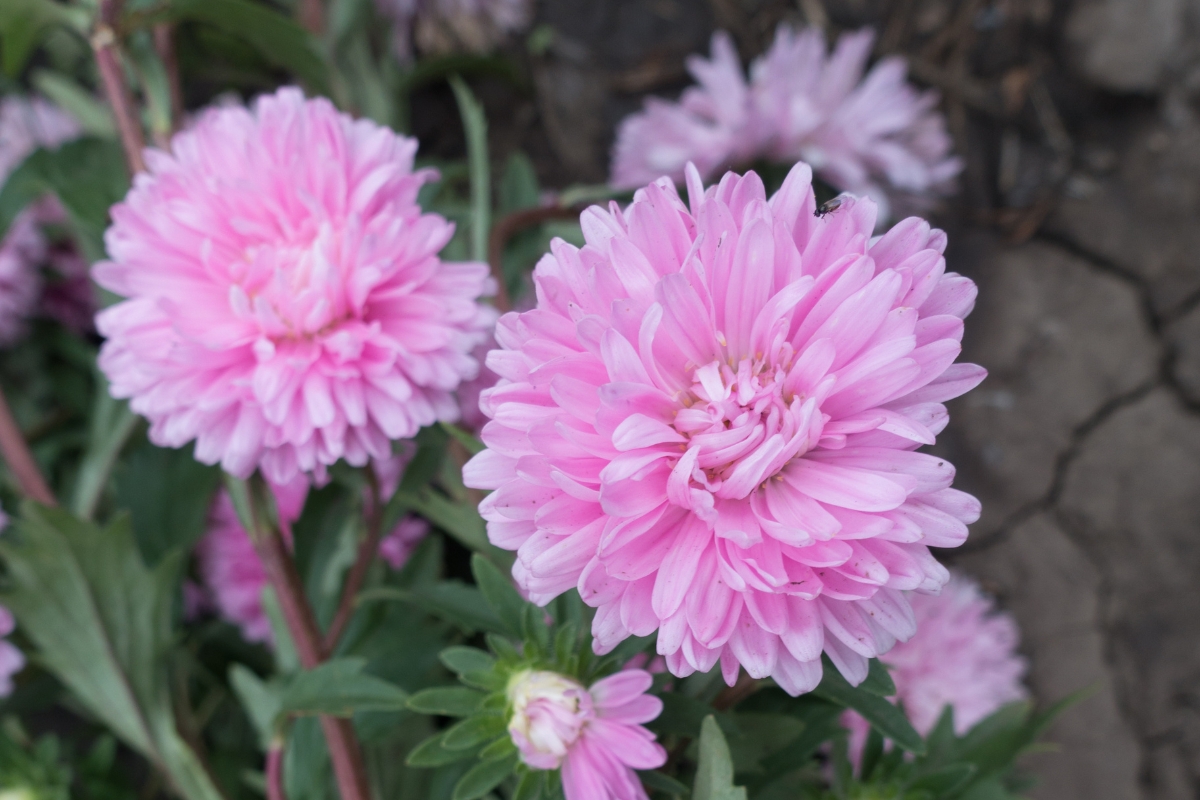
Next are the Peony asters. If you're a fan of the classic peony flower, you can enjoy similar blooms in fall! The most common variety is the Tower series, which has lush, fluffy petals on long stems.

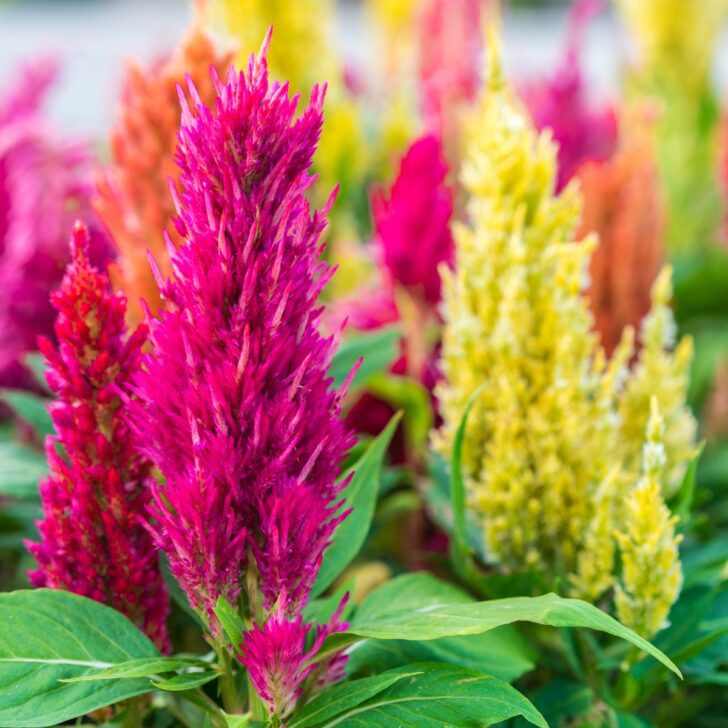
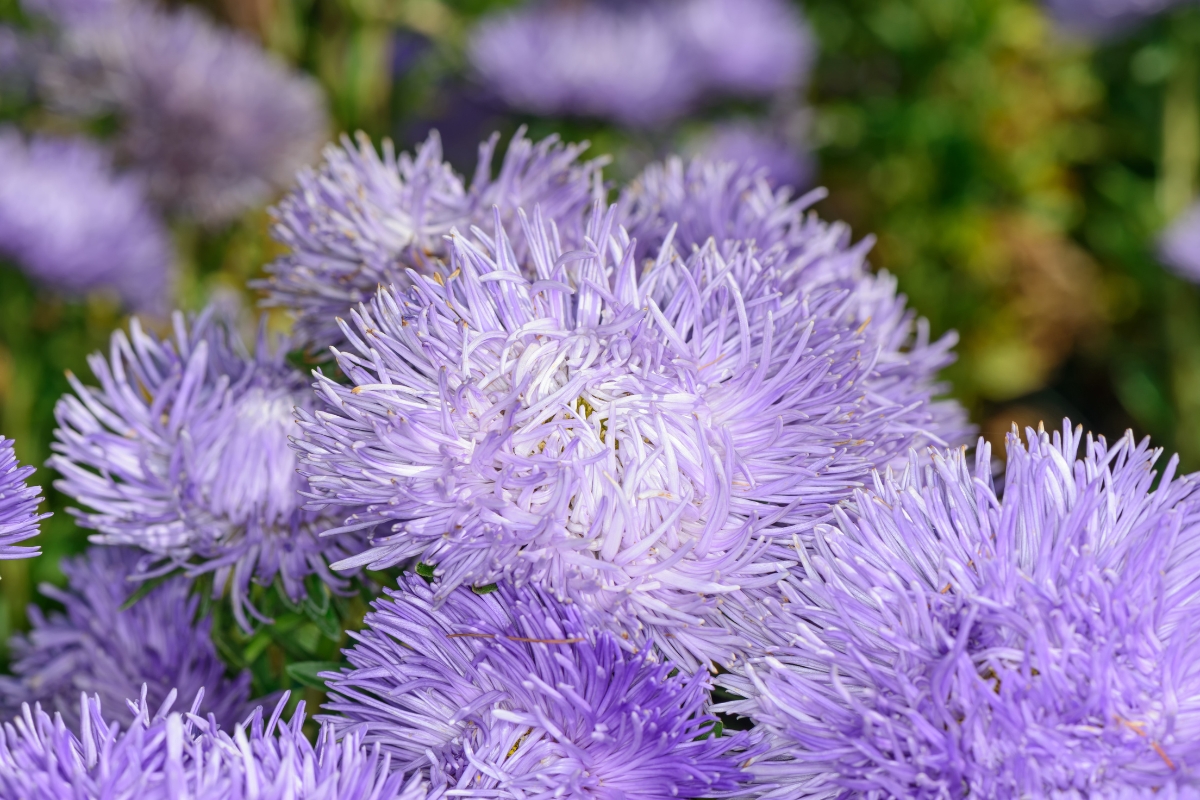
Lastly, we have the Quill asters (my favorite!) These asters are named for their distinctive petals that look like colorful needles that spray out like a firework. I'm a sucker for unique blooms like these, and I'm growing both the Valkyrie Mix and the Hazaster Hagan light blue varieties this season.

How to Plant Aster Seeds
While you can sow aster seeds directly outdoors when the soil temperature is optimal (between 65 and 70 degrees), starting them indoors gives you a bit of a head start and more control over their growing conditions. Plan to plant your aster seeds indoors 6-8 weeks before your last frost date.
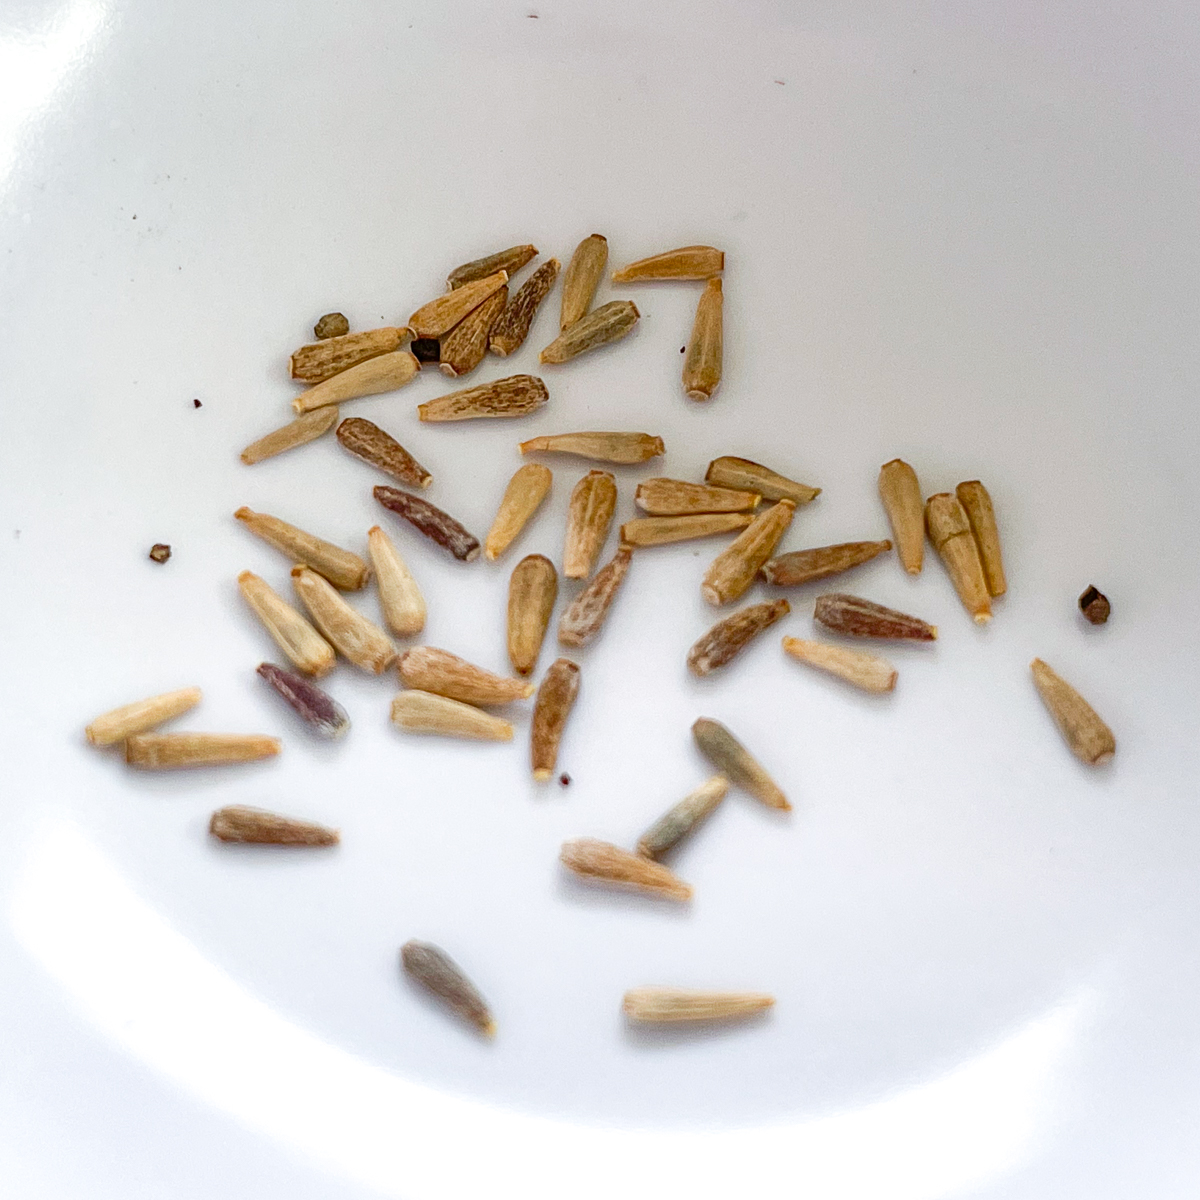
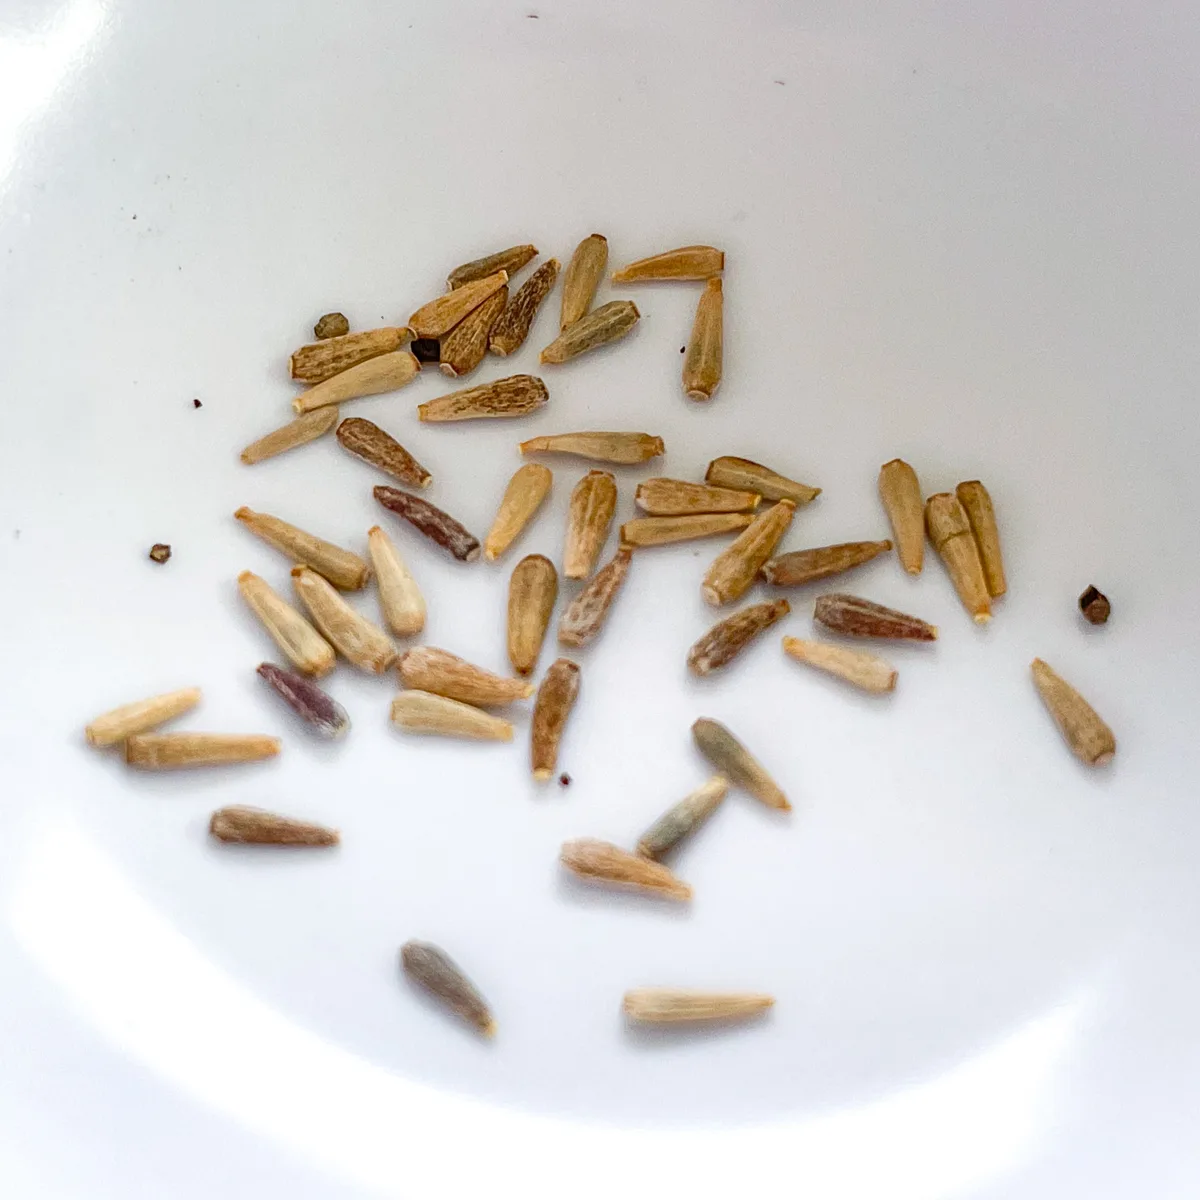
What do aster seeds look like?
Aster seeds range from light to dark brown, and are long with a pointed end. They're fairly large and easy to handle.
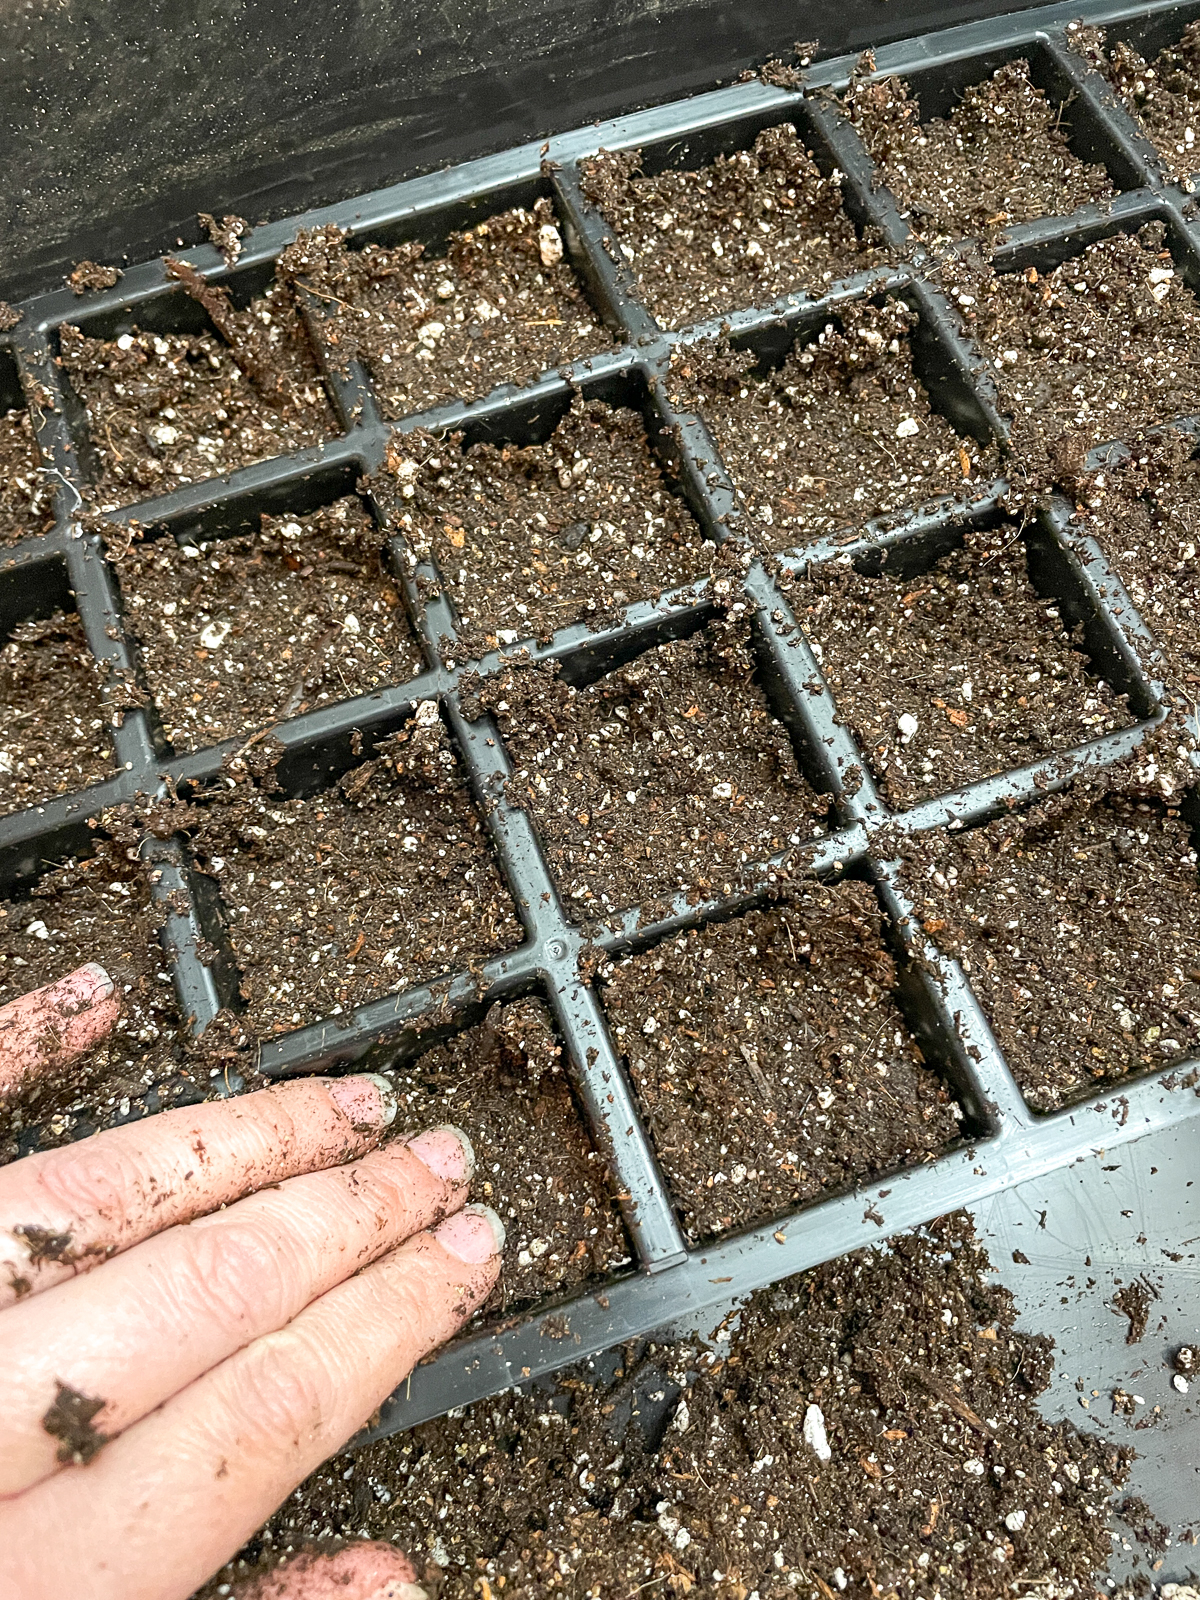
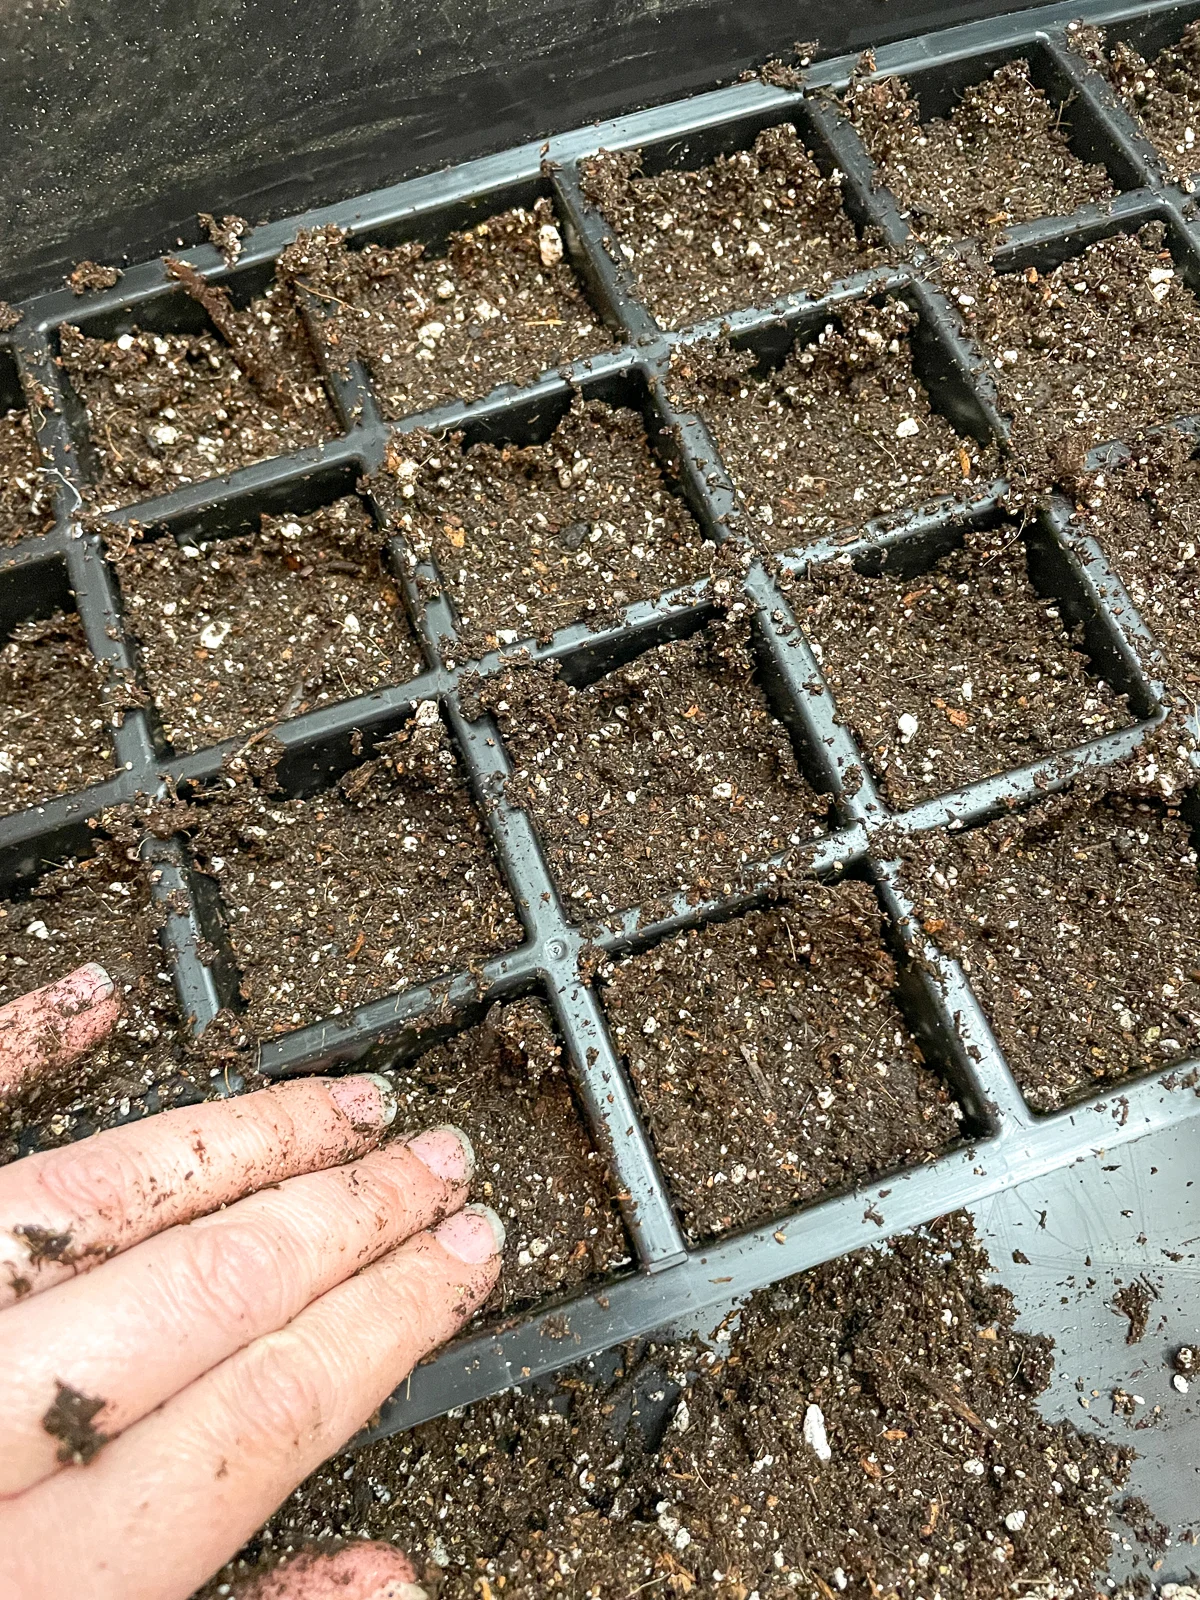
Prepare Your Seedling Container
Asters aren't too picky about their first home, but make sure the container you choose has good drainage to prevent waterlogging, which can cause the seeds to rot.
Fill each cell of a clean, sanitized seed tray with pre-moistened seed starting mix. Press down on the soil surface to eliminate any air pockets.
Sow the Seeds
Place one or two seeds into each cell or section of your container, then sprinkle some loose soil on top. The seeds should be buried about ⅛" deep.
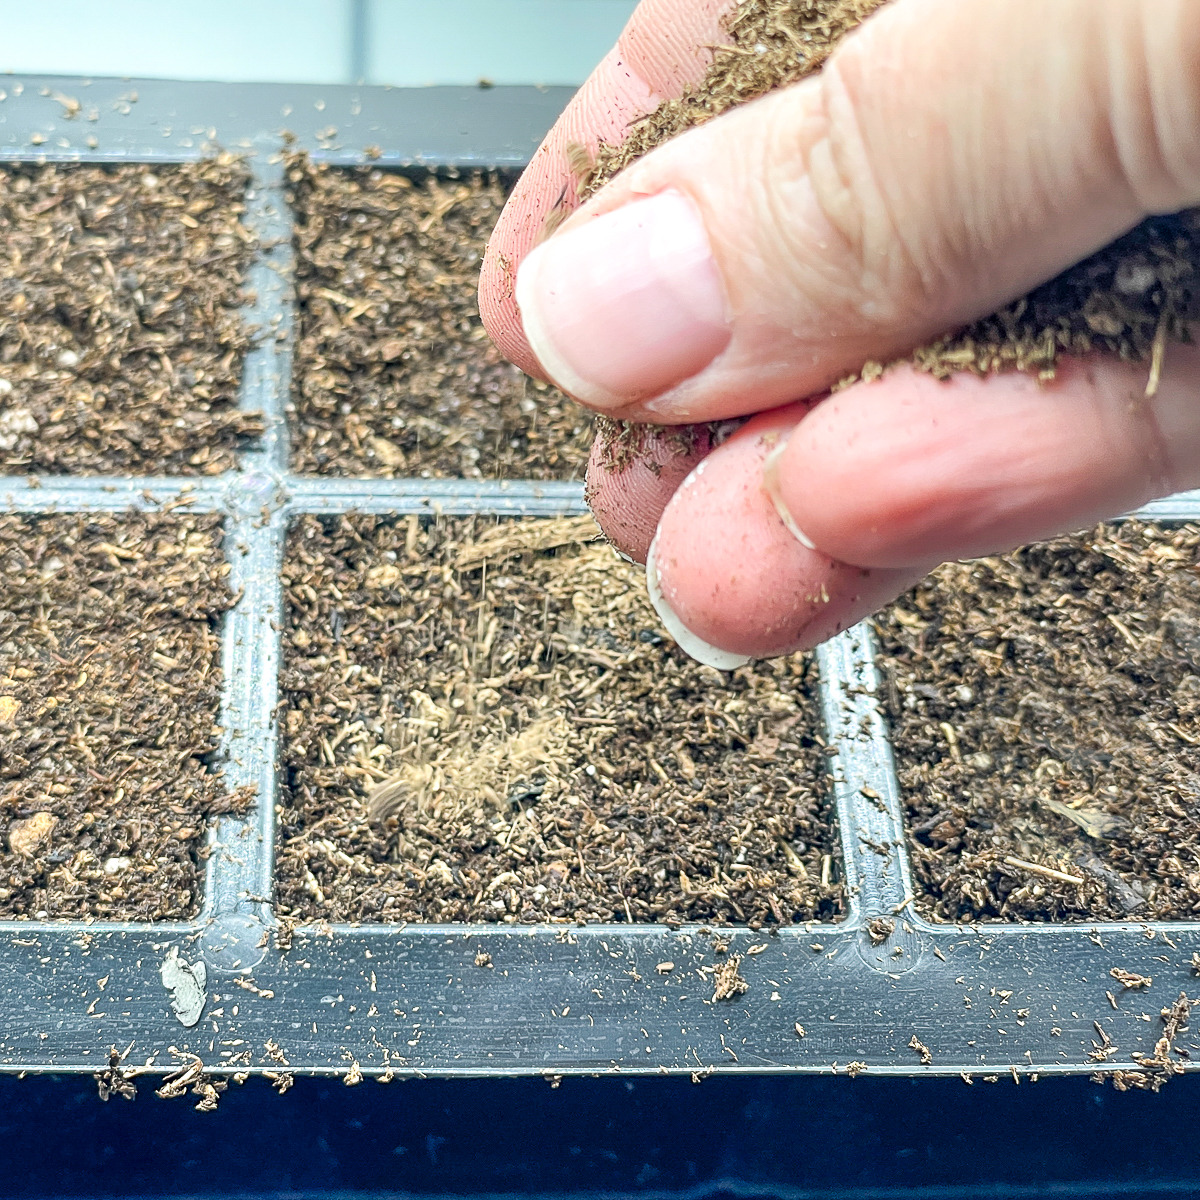
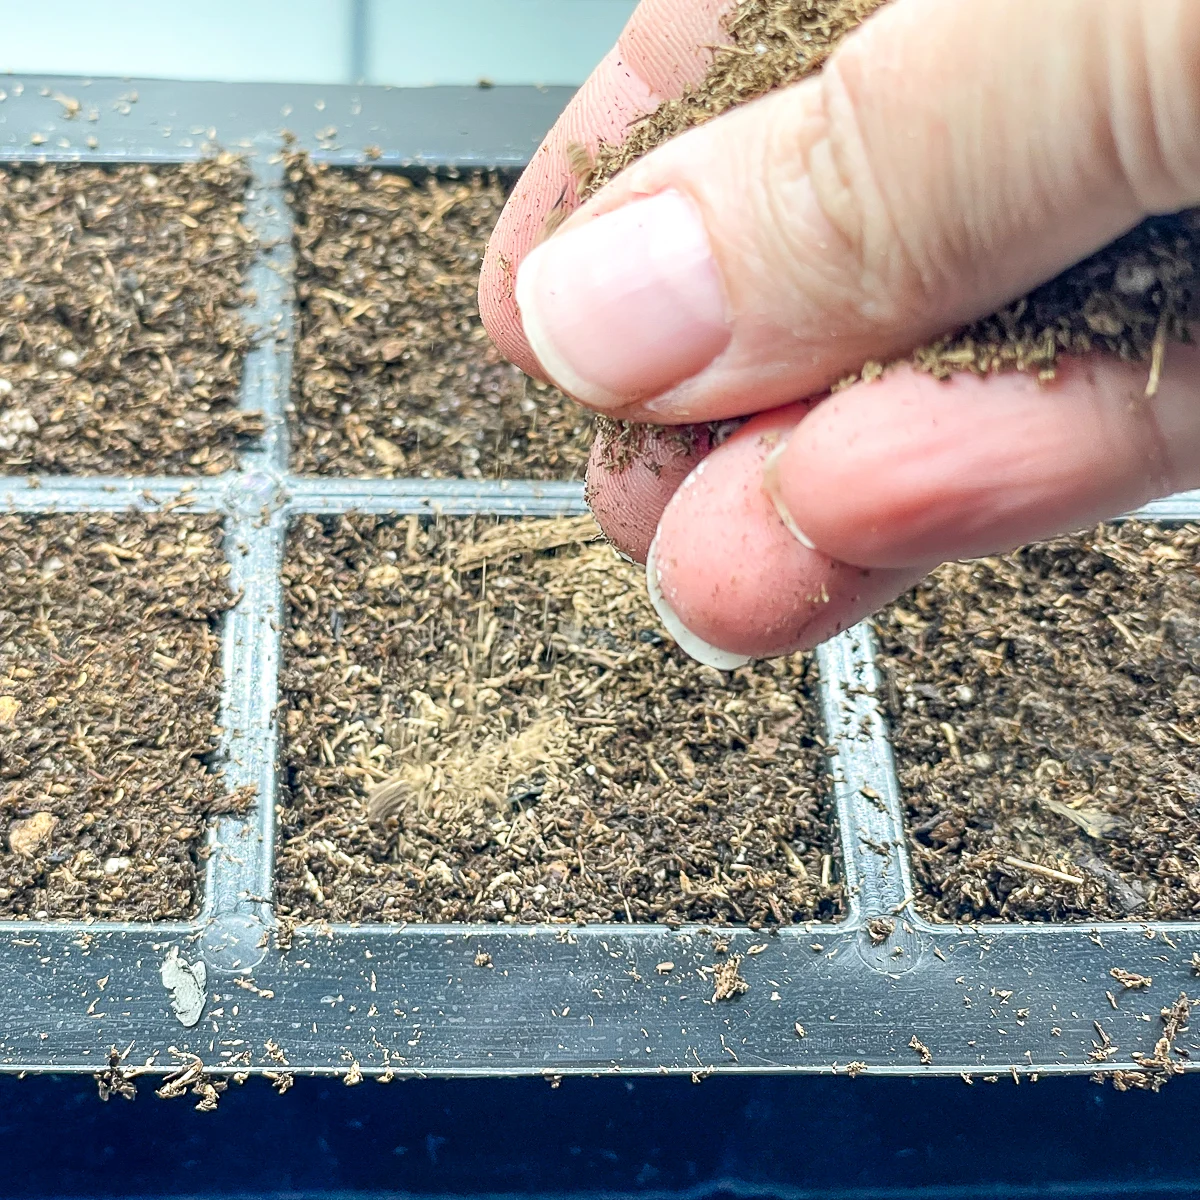
Water your newly planted seeds with a fine mist to avoid dislodging them from the soil. Place a humidity dome over the tray until the seeds have sprouted, which should take 10-14 days. Aster seeds need light to germinate, so keep them under grow lights or in a sunny window.


Transplanting Asters
Once your aster seedlings have sprouted and are starting to grow, it's time to think about transplanting them outdoors. You should wait until after your last frost date to plant them in the garden, but you can start preparing the area as soon as the ground can be worked.
Prepare Your Garden
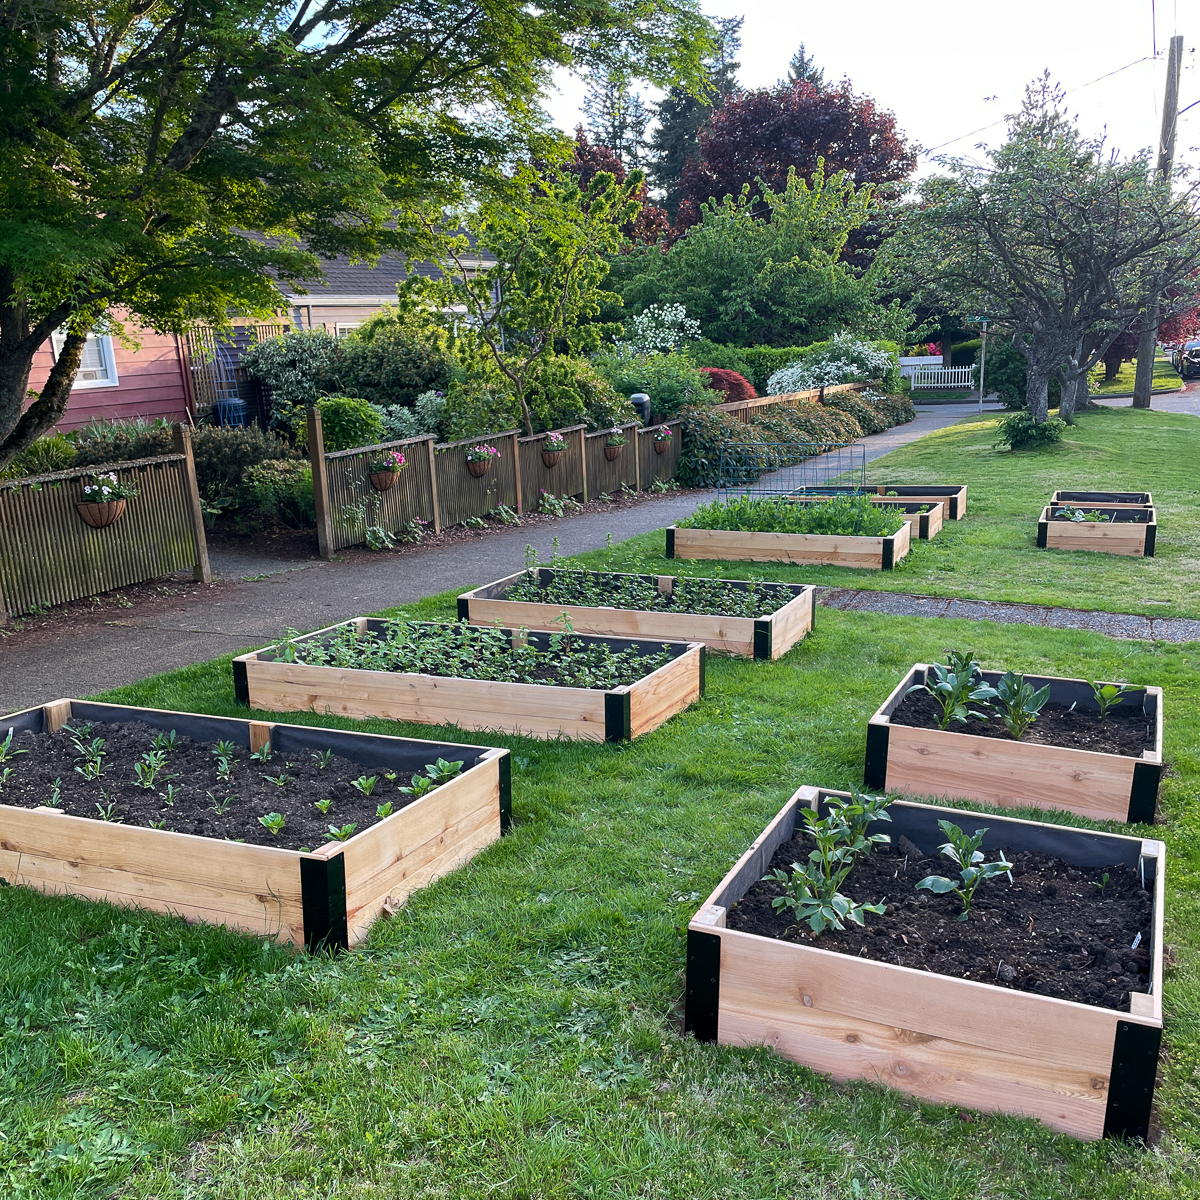
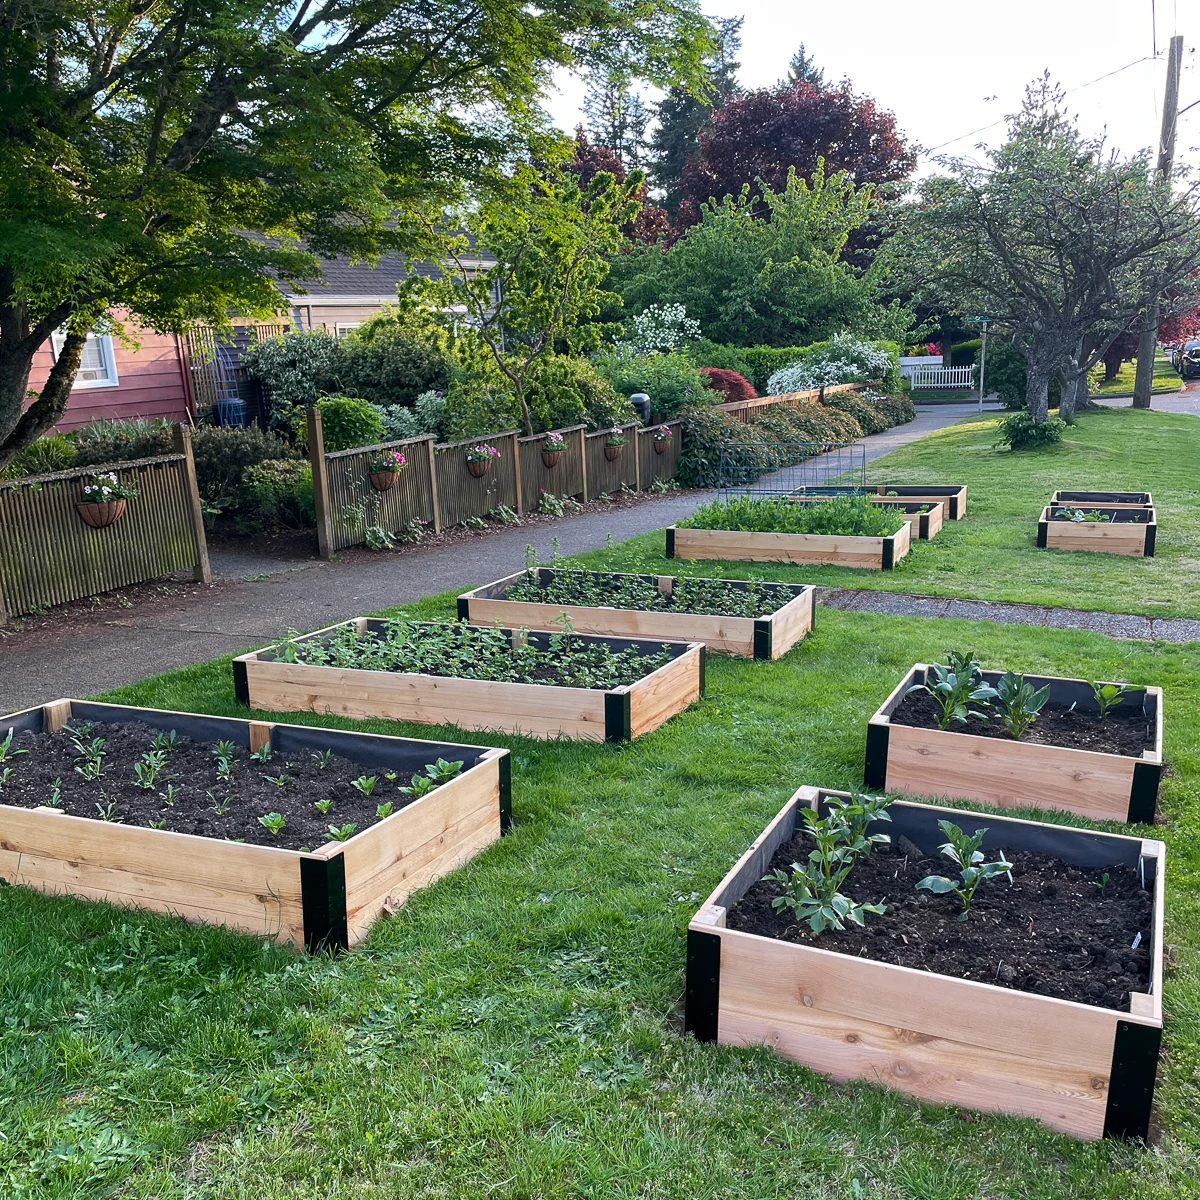
Choose a spot in your garden that gets plenty of sun and has good drainage. Amend the soil with organic matter if needed to improve its texture and reduce water retention. I grow all my cut flowers in raised beds that get full sun in front of my house.
While asters aren't overly picky about pH, they tend to do best in slightly acidic to neutral soils (pH 5.8-7.0). If you're not sure about your soil's pH, you can easily check it with a soil test kit.
When it comes to temperature, asters can tolerate a range, but they're most at home in moderate climates. Too much heat can stress them out, so if you live in a particularly hot area, consider providing some afternoon shade.
Harden Off Your Seedlings
Before moving your seedlings outdoors permanently, it's a good idea to acclimate them to outdoor conditions through a process known as "hardening off." This involves gradually exposing your seedlings to outdoor conditions over the course of a week.
Start by putting them outside in a shaded, sheltered location for a few hours a day, gradually increasing the time and exposure to sunlight each day.
Transplant Your Asters
After hardening off your seedlings, they're ready to be transplanted. Dig holes 6-12" apart in your prepared garden bed. I like to toss a handful of Bio-Tone starter fertilizer in each hole to encourage root growth.
Gently remove each seedling from its cell or pot, being careful not to damage the roots, and place it in the hole. Backfill the hole with soil, firm it gently around the base of the plant, and water it well.

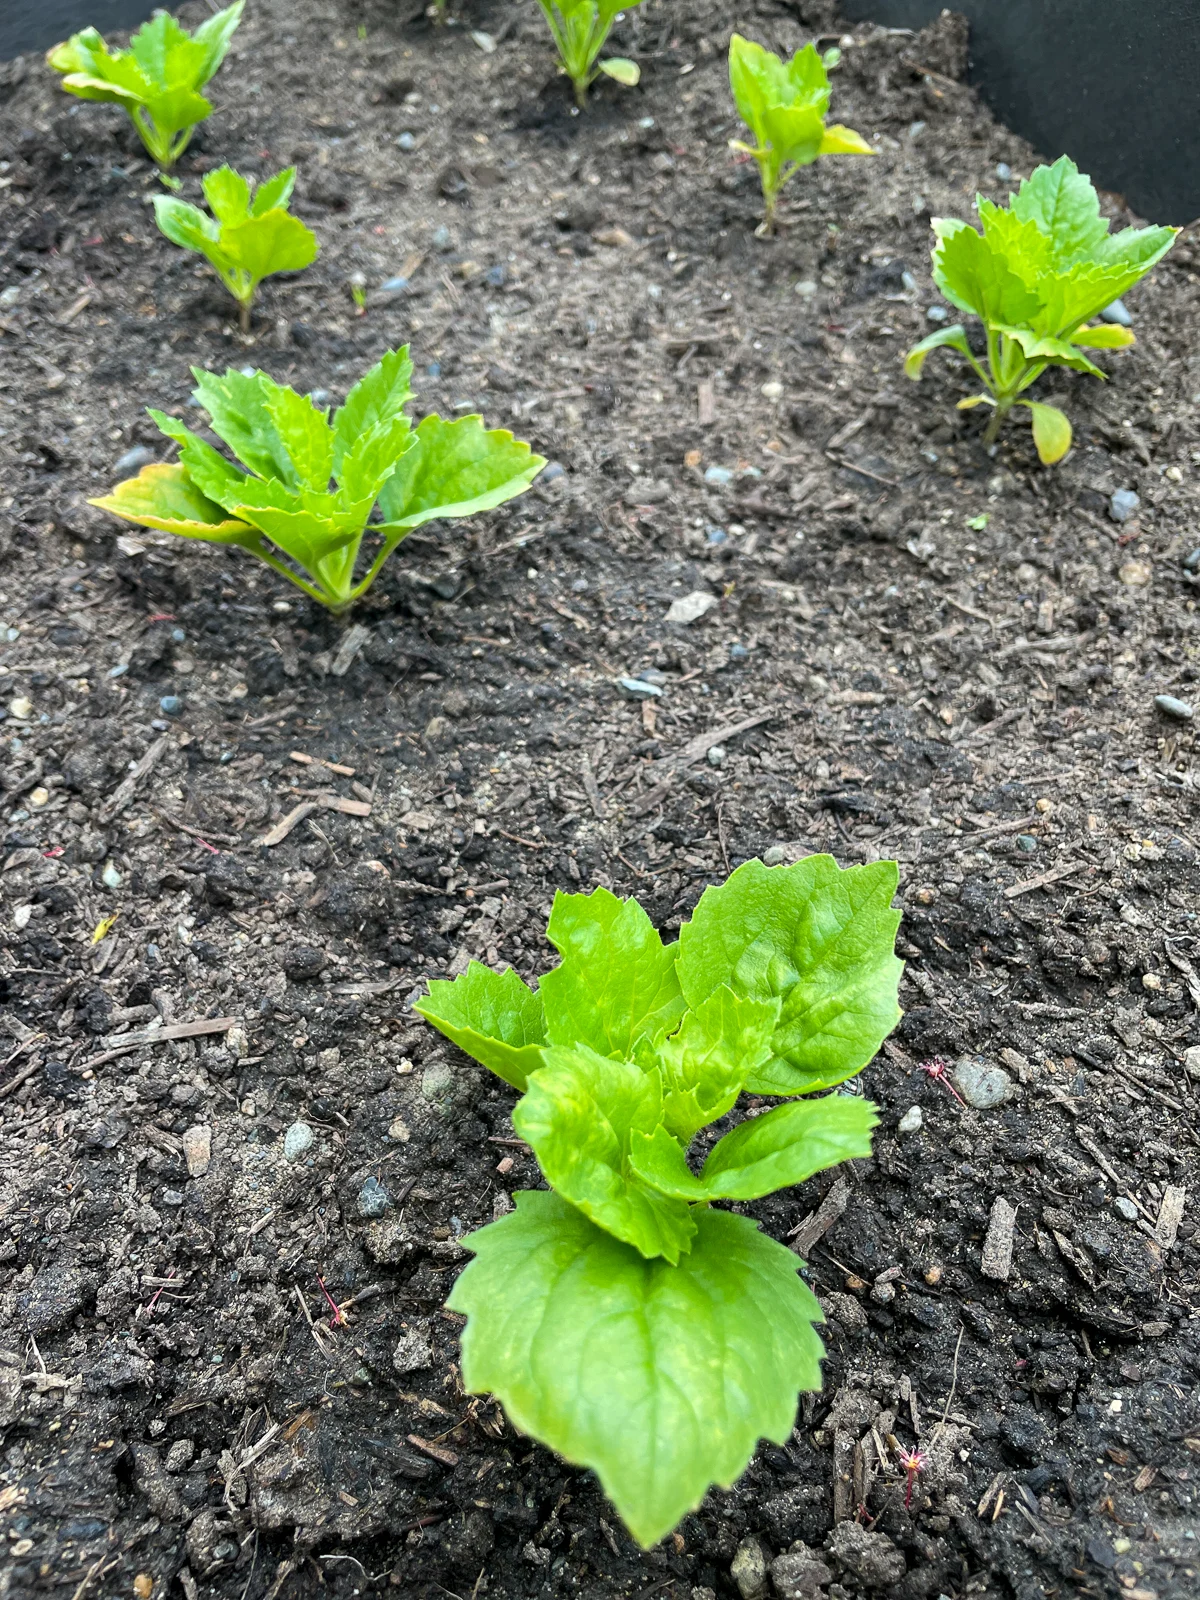
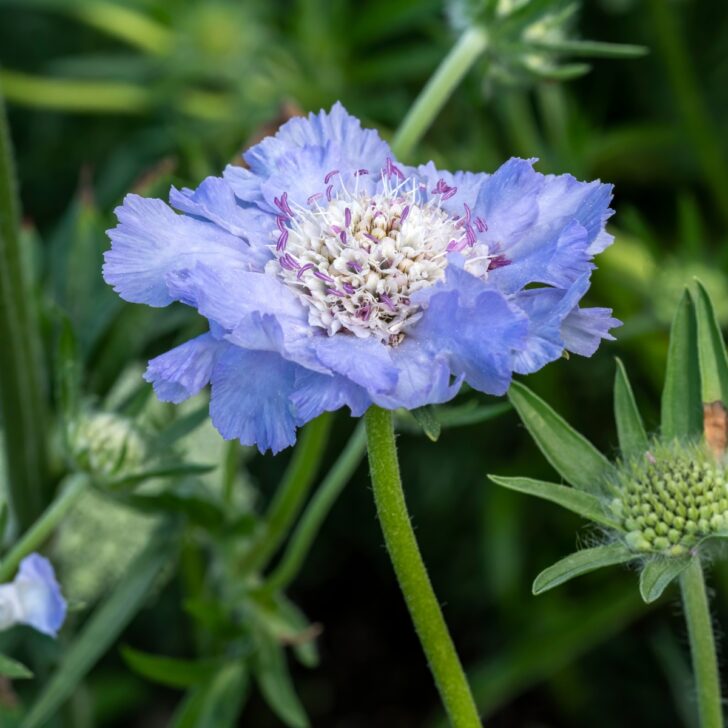
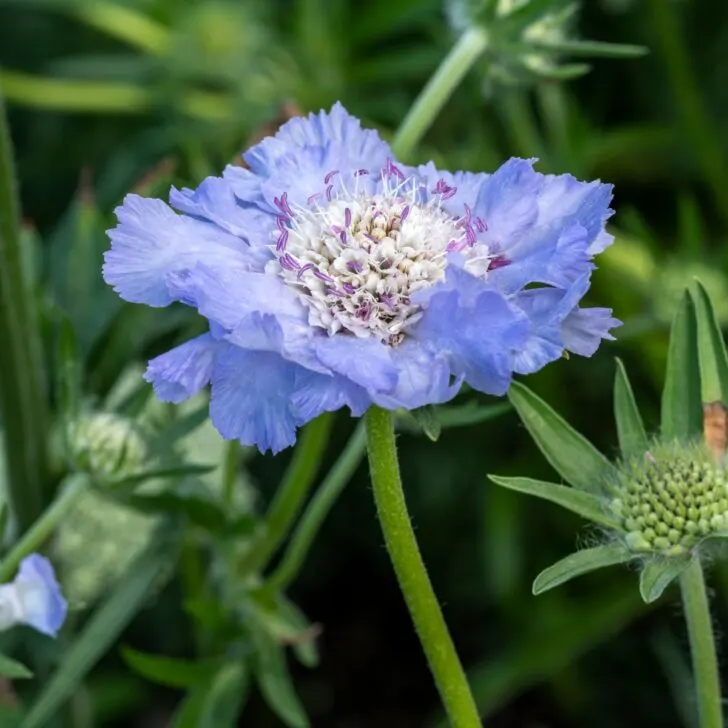
These light blue China asters get two to three feet tall, so I planted them on the north side of the same raised bed as my Fama blue scabiosa, which is a little shorter. I can't wait to see them in bloom together!
Maintaining Your Asters
Here's what you need to know to get your asters blooming and enjoy them longer!
Use Row Covers or Netting
Asters can be susceptible to the Aster Yellows Virus, which is spread by leafhoppers. To protect your plants, consider using row covers for insect netting. These can help prevent insects from damaging your crop if you're growing asters for cut flower arrangements.
Horizontal netting can be used to support your tall plants and prevent them from flopping over when the blooms get too heavy. I plan to place stakes at the corners of the raised bed with twine around the outside to keep the stems upright.
Watering and Feeding
Asters don't like to sit in damp soil, so I tend to let them dry out a bit in between waterings. Setting up your garden on drip irrigation can help provide the right amount of moisture right at the roots. Once they're established, they can become more drought tolerant.
Also, feed your asters with a balanced flower fertilizer to provide them with the nutrients they need to produce their beautiful blooms. I try to feed all my flowers every other week with water soluble fertilizer.
Pinching Not Required
One of the great things about asters is that they don't require pinching. Some plants need their tips pinched back to encourage bushier growth, but asters will grow just fine without this extra step.
Harvesting
If you want to bring your beautiful blooms indoors to enjoy on your kitchen table, cut the stems long and place them directly into water. You'll get the longest vase life if you harvest them just as the outside petals are starting to open.


With the right care and attention, your asters will provide you with beautiful blooms to enjoy in the landscape or in a vase. Whether you've chosen the pom pom, peony, or quill variety, your garden is going to be a stunning display once they start flowering!