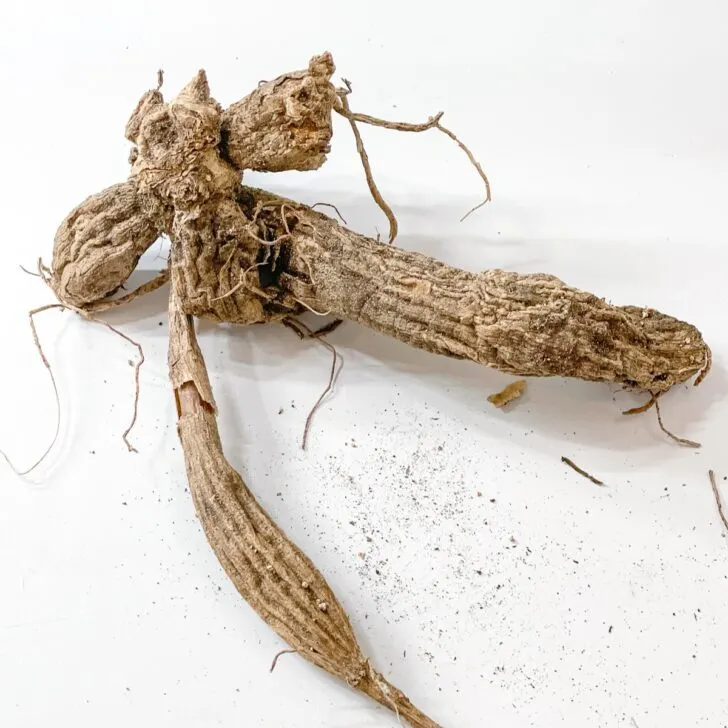
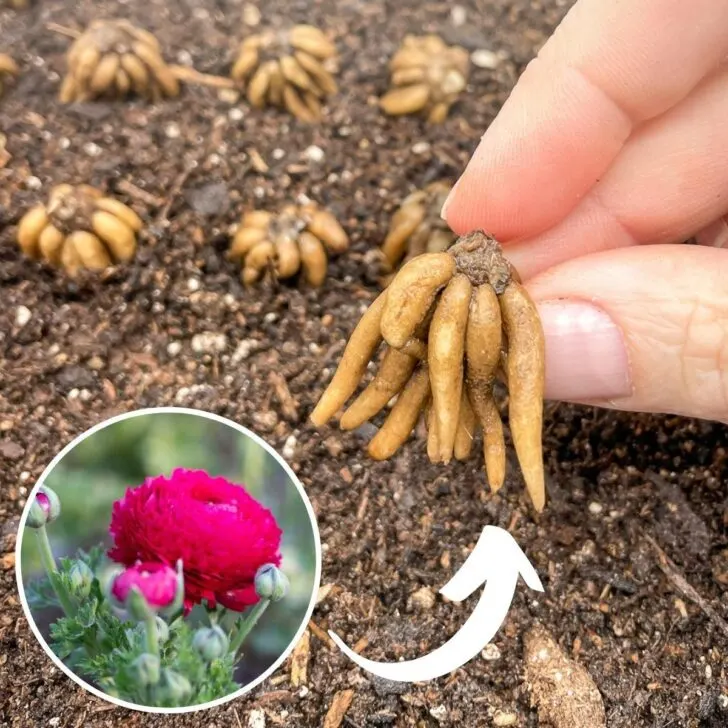
Learn how to save and store ranunculus corms for next season! I'll show you how to dig them up, clean them and store them so they don't rot!
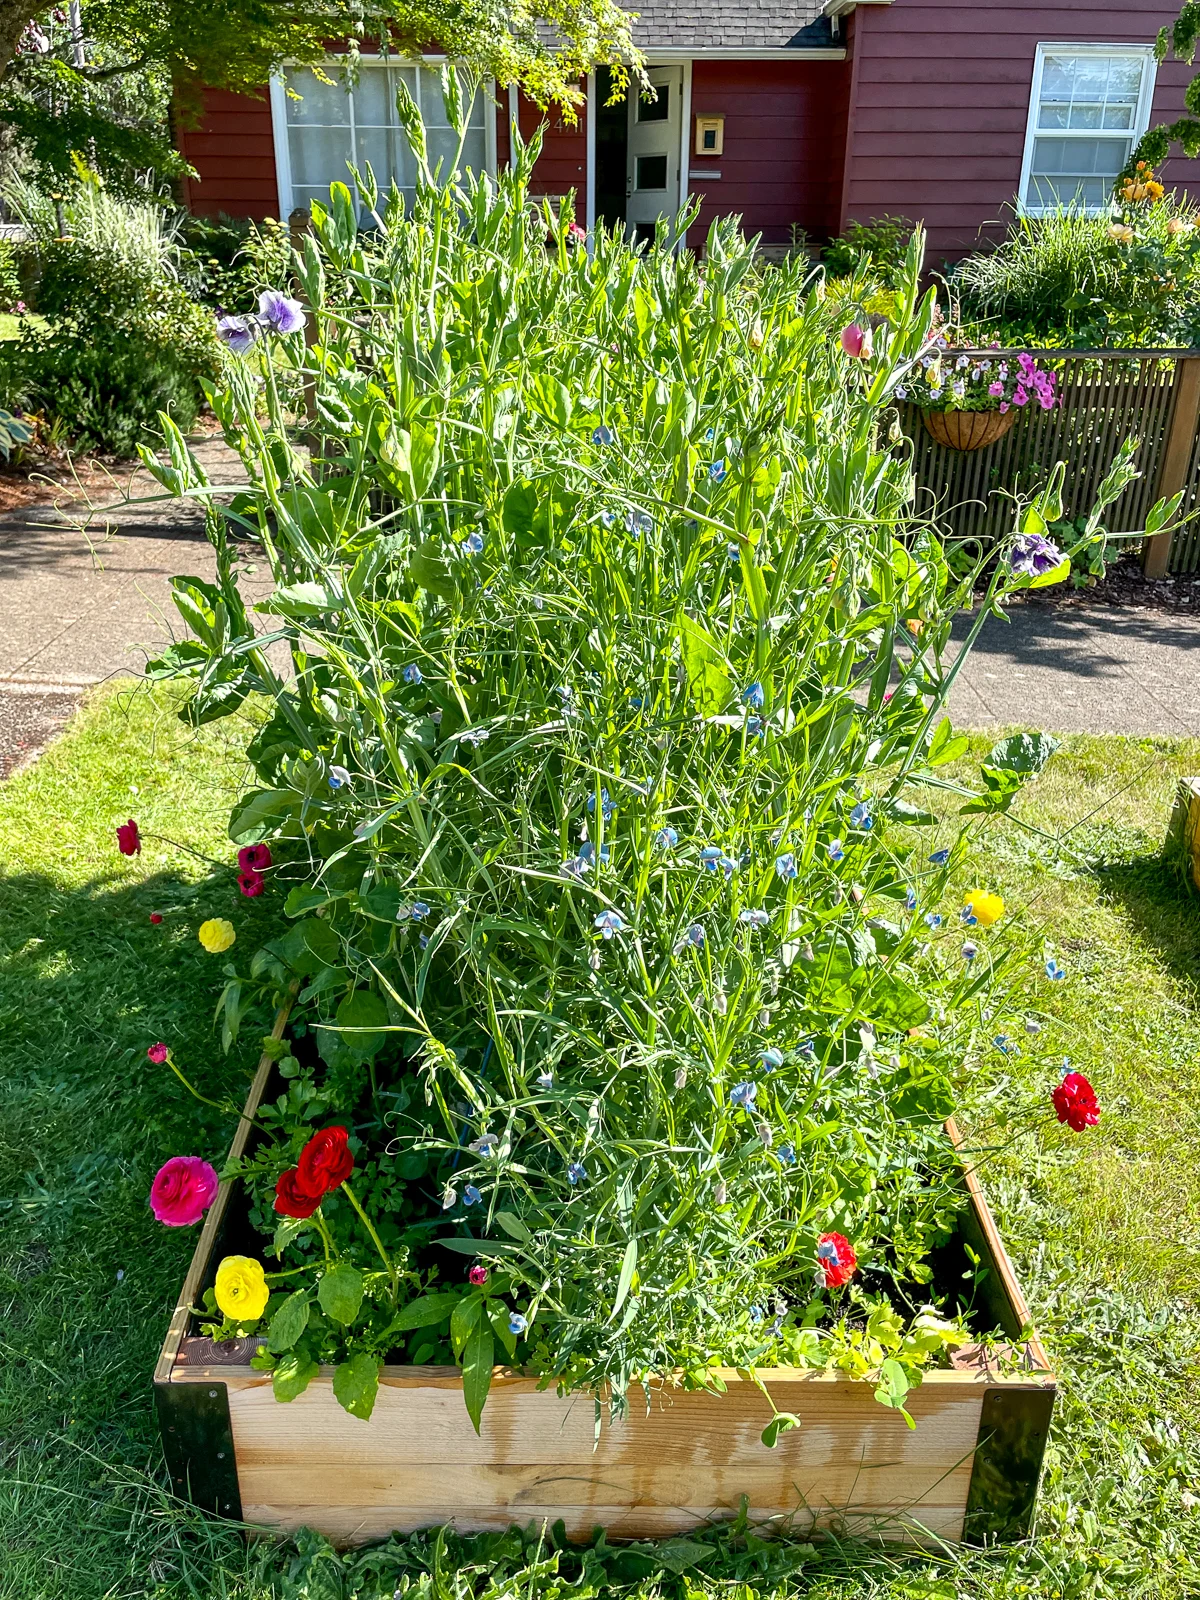
Ranunculus are quite the showstoppers. Their delicate petals and striking colors make them a favorite in my garden. This year, I grew ranunculus around my sweet pea trellis where they could fill in the bottom of my raised beds with lots of bright color.
I presprouted my ranunculus corms early in the growing season to give them a head start. Now that they're done blooming, I can reverse the process and reuse the corms next year. Here's how!
This post contains affiliate links for your convenience. Purchases made through these links may earn me a small commission at no additional cost to you.
Let the foliage die back
Ranunculus are springtime flowers, and they'll stop blooming once the weather heats up. But just like with daffodils and tulips, the foliage will continue to photosynthesize for a few weeks to store energy in the corm for next year.
While it may be tempting to clean up your flower beds as soon as the blooms fade, wait! If you pull out your ranunculus corms while the foliage is still green, you could be sacrificing next year's blooms!
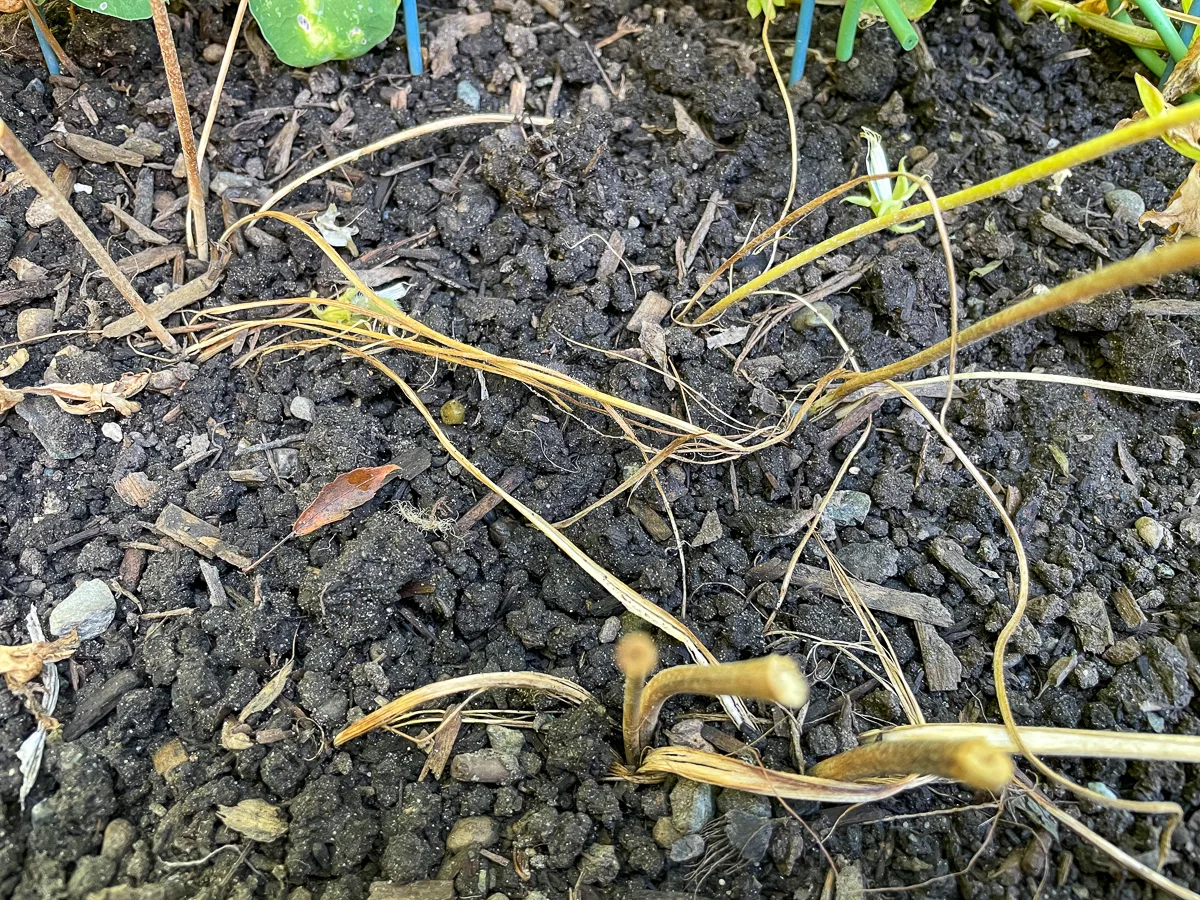
It's best to wait until they have completely died back and the leaves and stems are dry and brittle. Luckily, it doesn't look as bad as yellowing tulip leaves! They just look a little stringy.
Dig up the corms
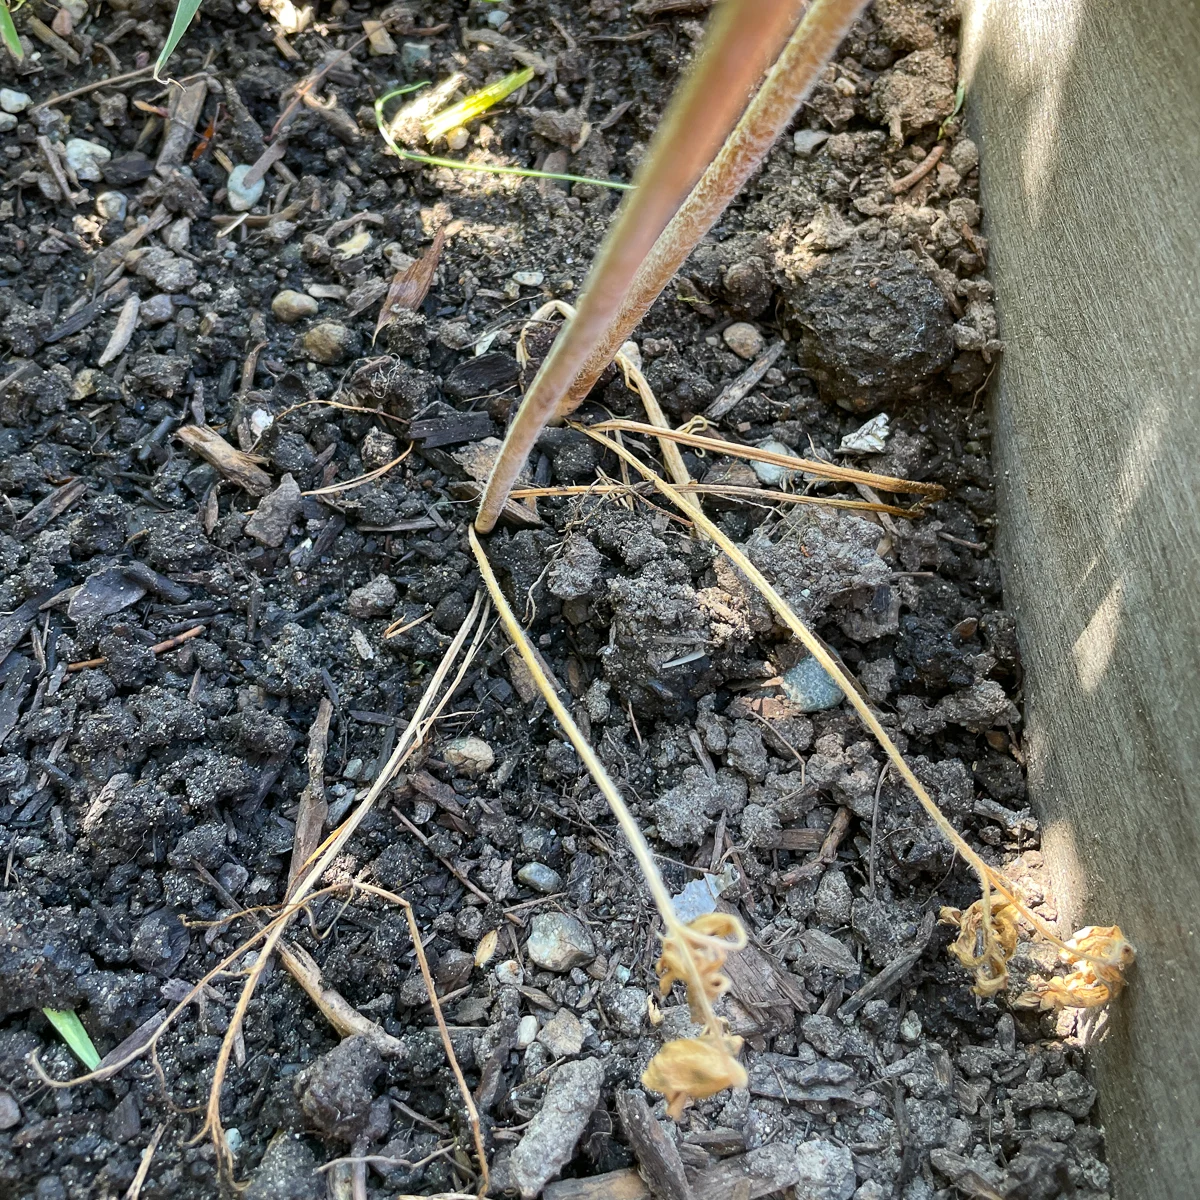
Ranunculus corms aren't planted very deep, so it's fairly easy to dig them up. I recommend using a small garden fork rather than a shovel so you don't accidentally cut through them.
Place the tines of the garden fork a few inches away from the dried stem of the ranunculus plant. This should avoid puncturing the corms and allow you to pop them up from underneath.
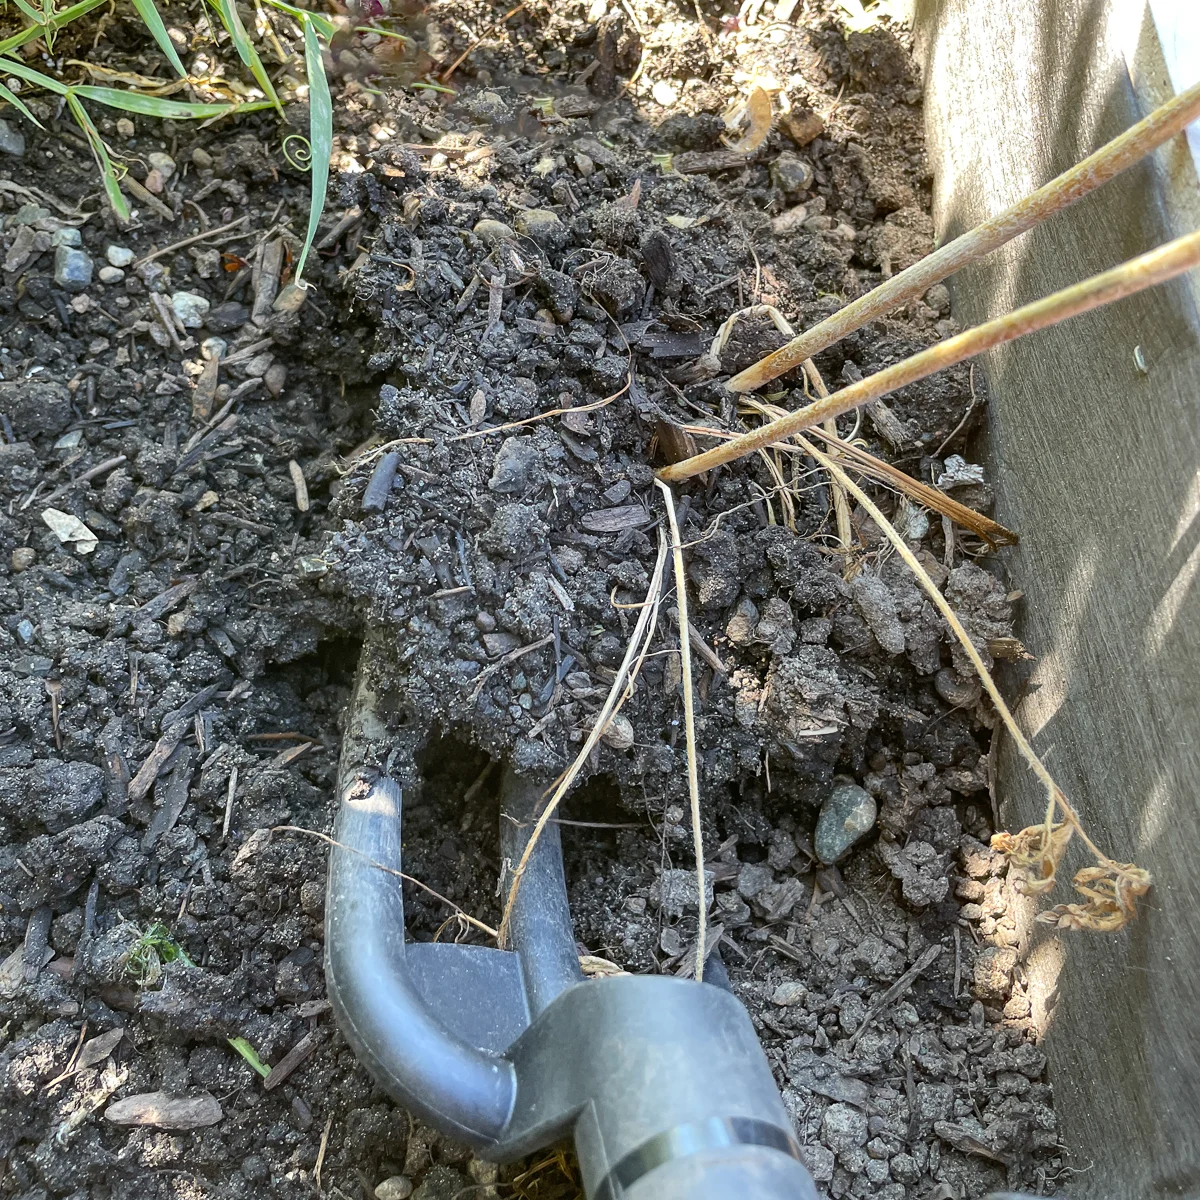
If the stem is still intact, you can use it to shake the corm loose from the soil. Some of mine were so dried out that the stem broke off in my hand, but that's ok. You'll be trimming them later anyway.
Dry and clean the corms
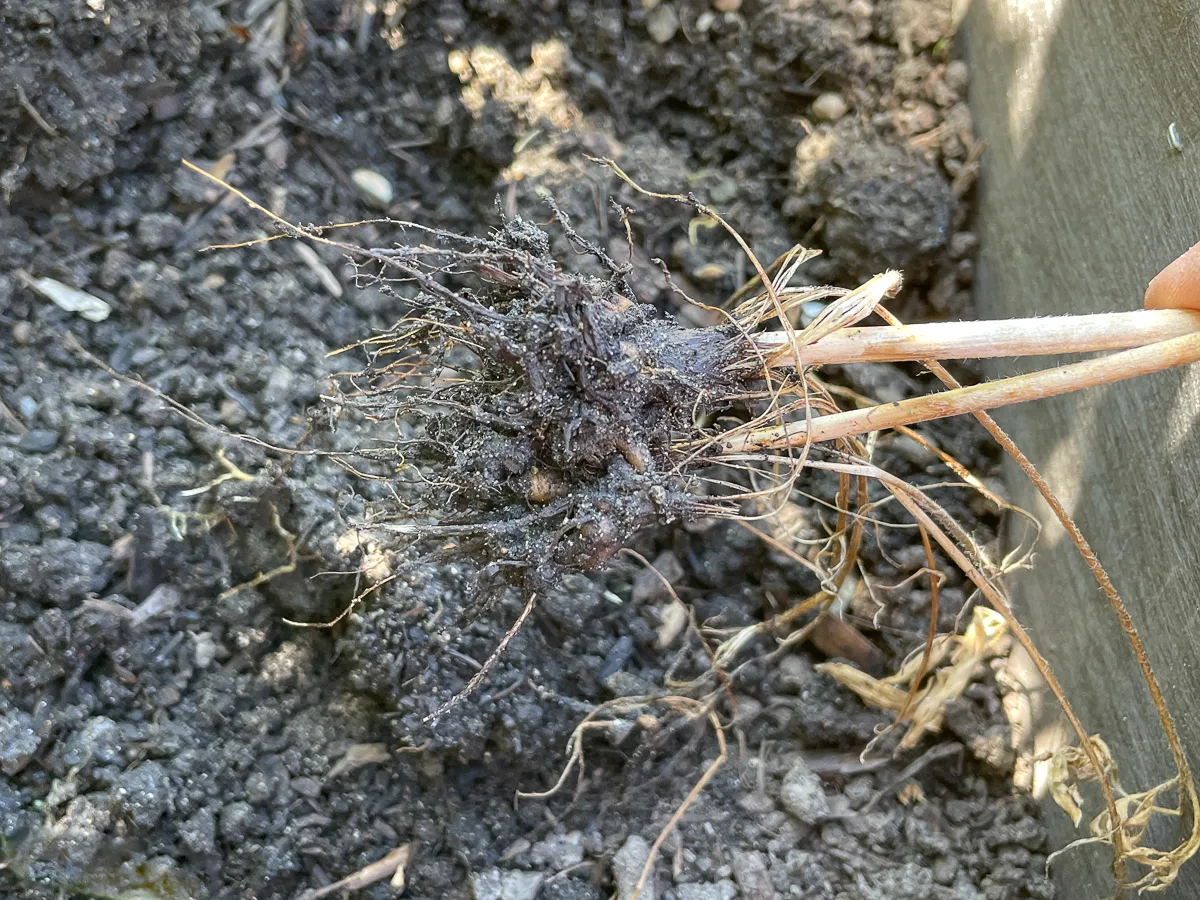
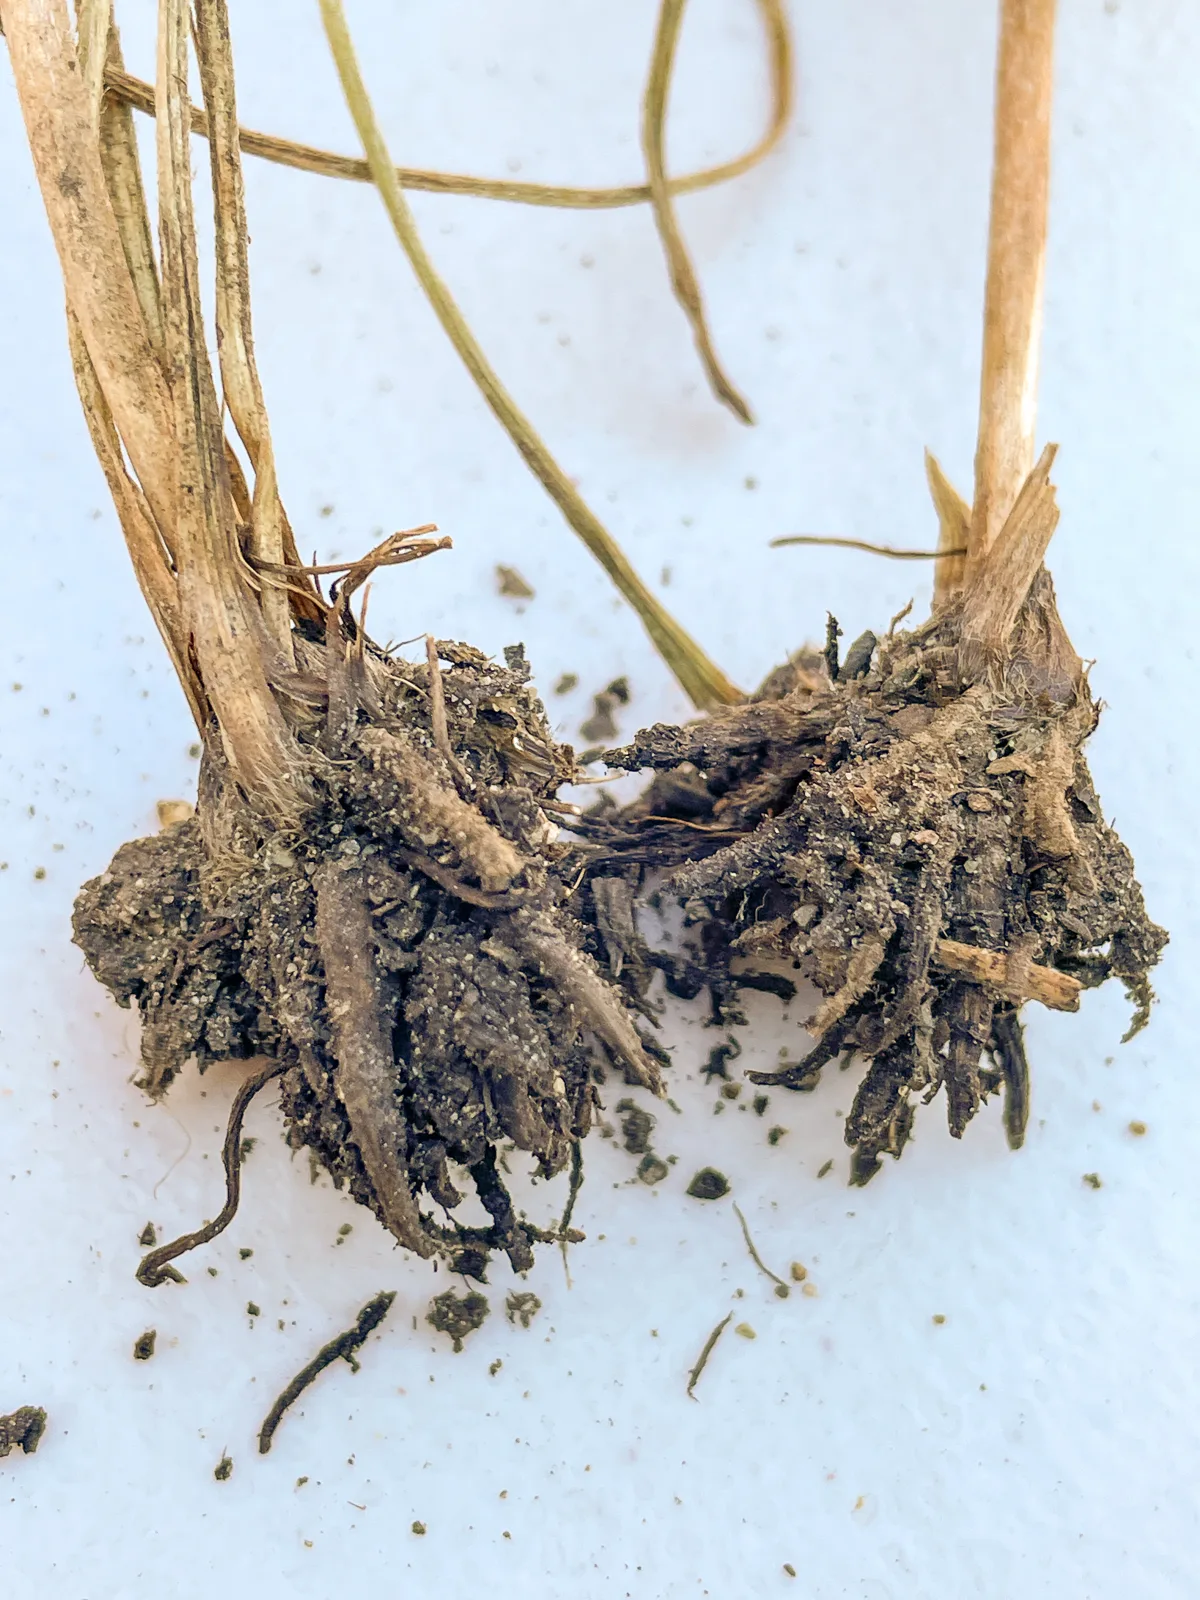
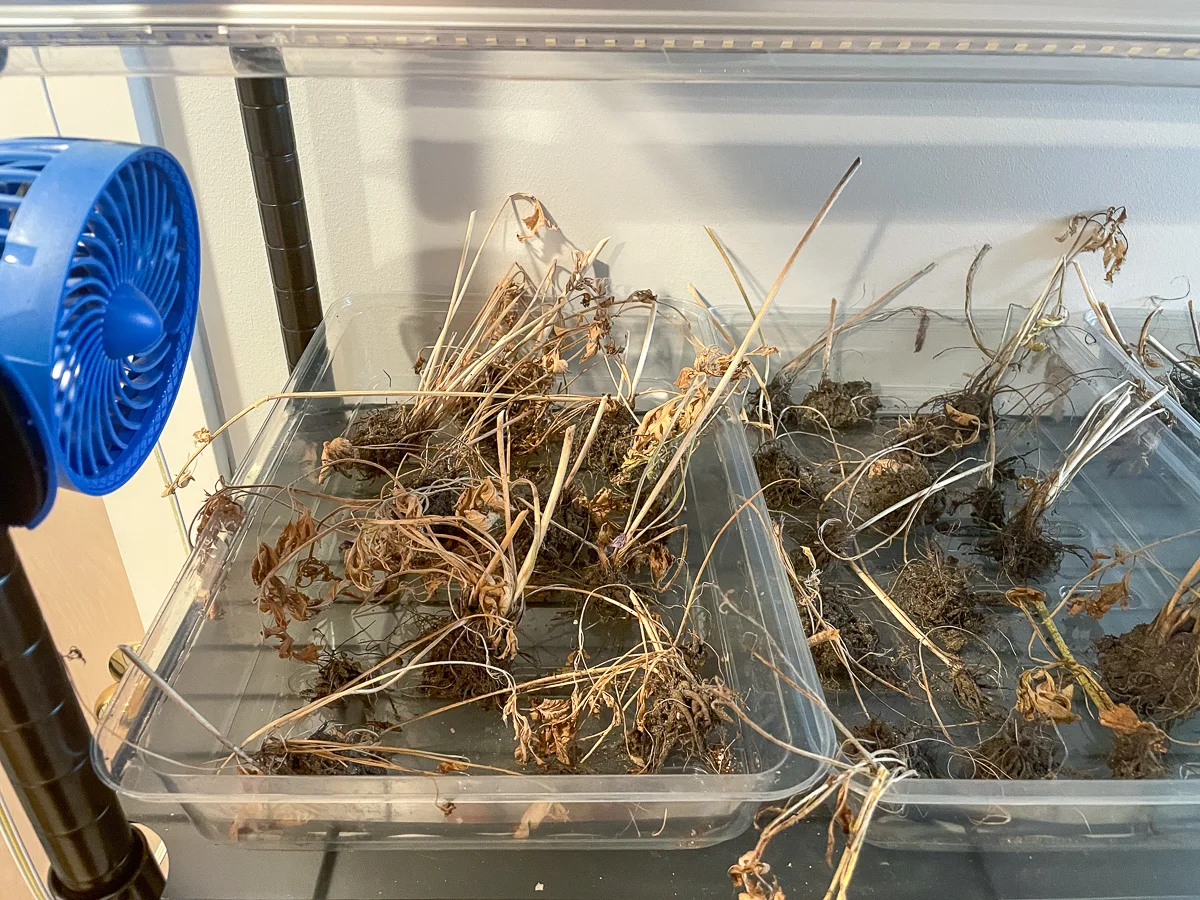
After you harvest your ranunculus corms, allow them to dry out for a few days before cleaning and storing. Some people like to wash off the soil first, but I just shake it off when it's dry. The corms rot easily, and I prefer not to add any more moisture at this stage.
I place the corms in plastic trays in front of a small fan on my seedling shelves. Leave enough space between each bunch so the air can circulate around them. When you can easily shake the soil off the corms, they're ready to be prepared for storage.
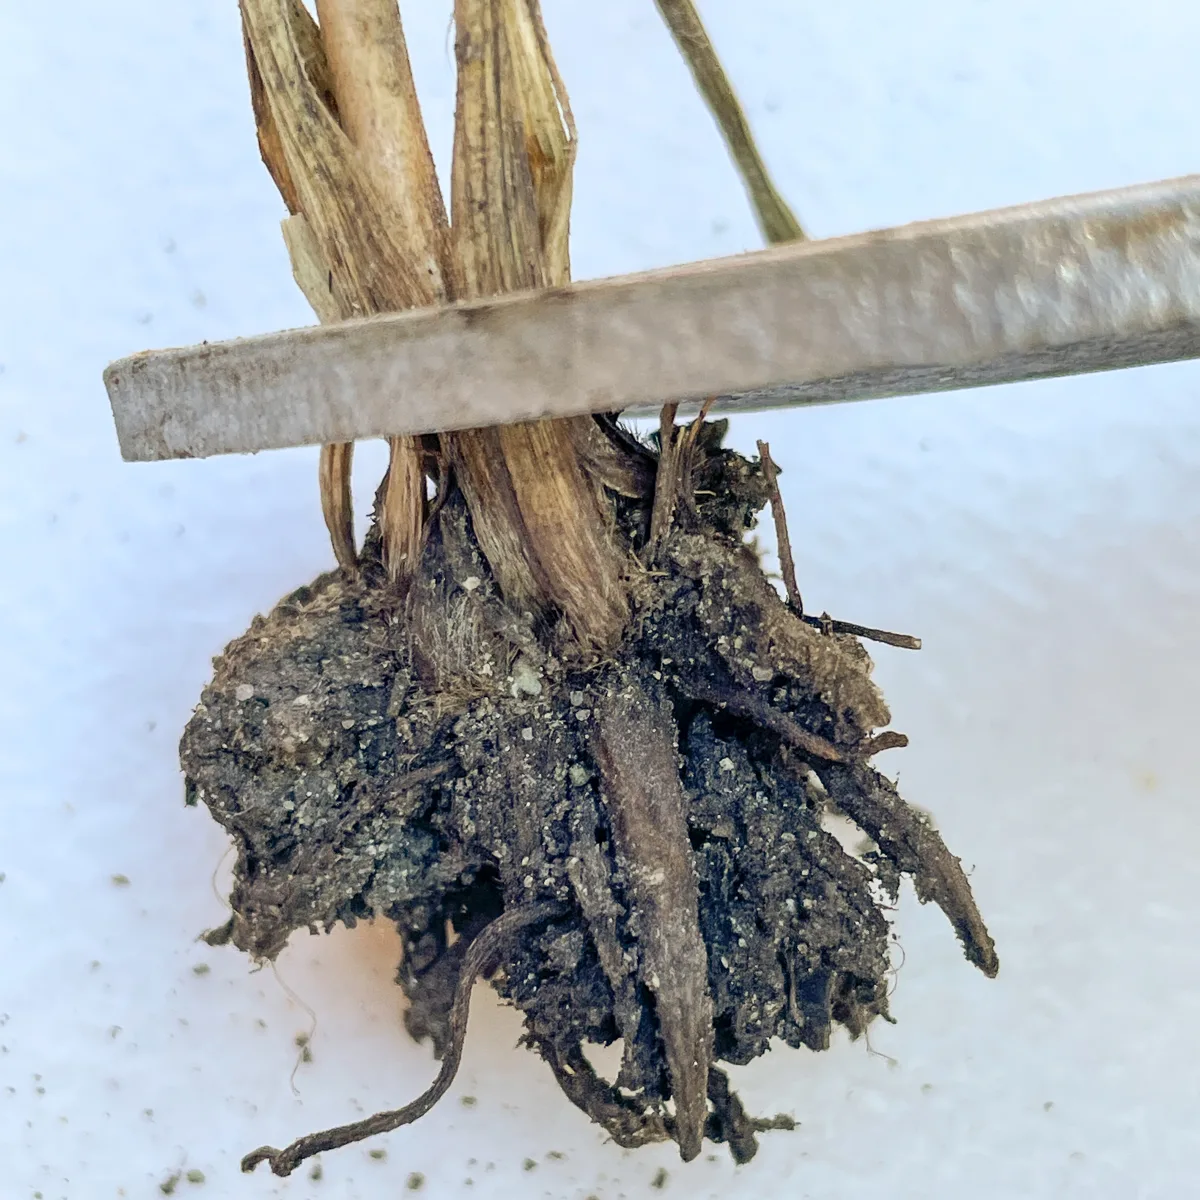
Trim off the dead foliage just above the top of the clump. You can also trim away any stringy roots that are poking out from the bottom.
Then brush off any dirt with an old toothbrush. This will make it easier to see and separate the corms.
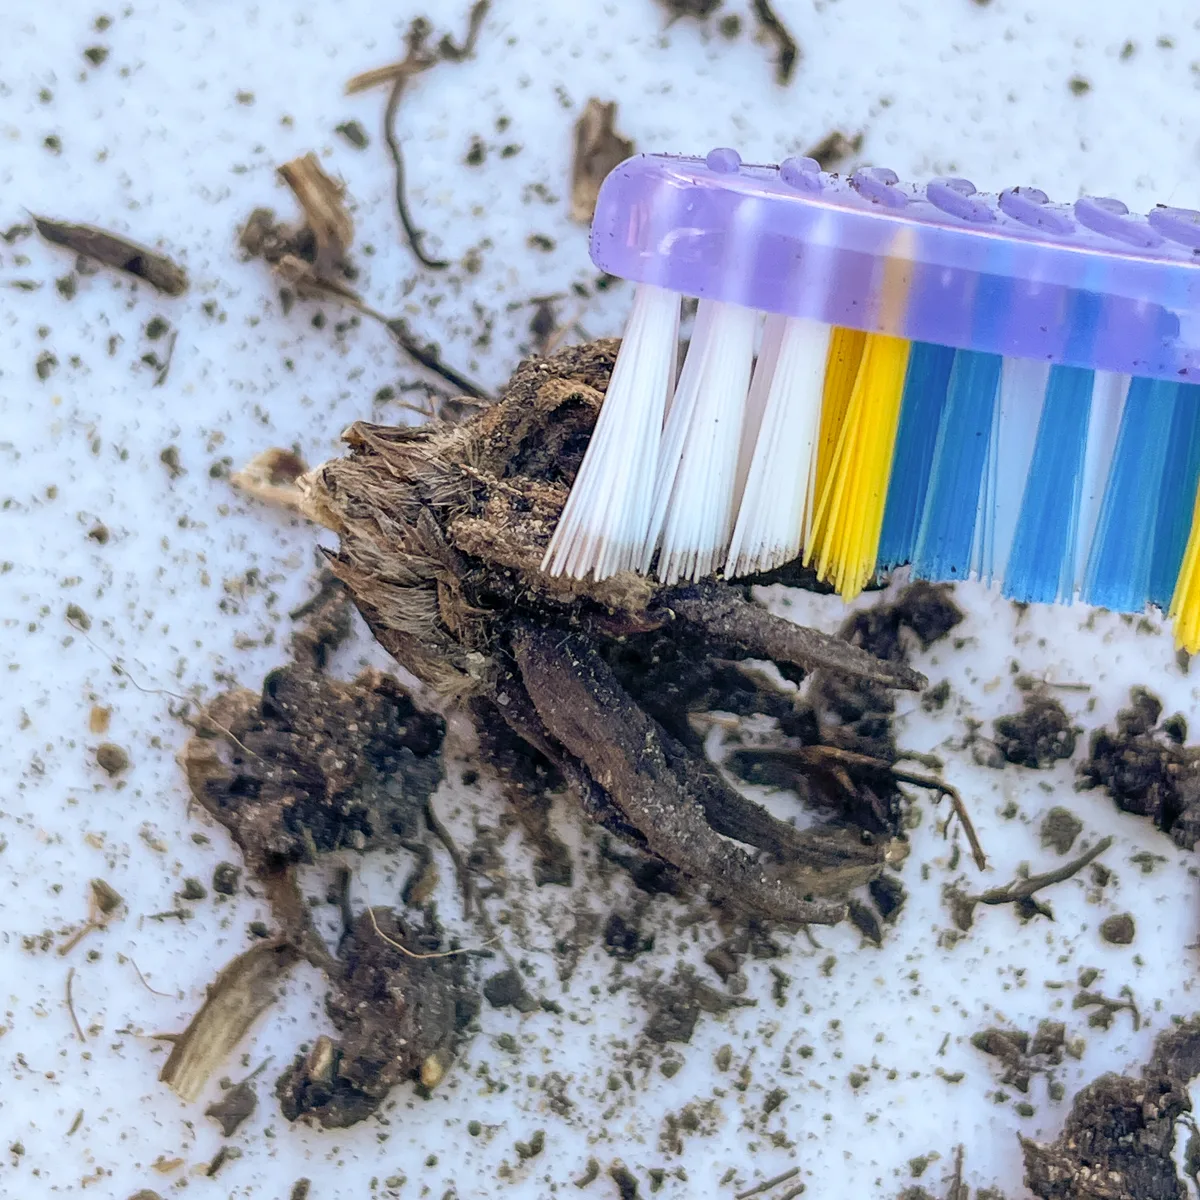
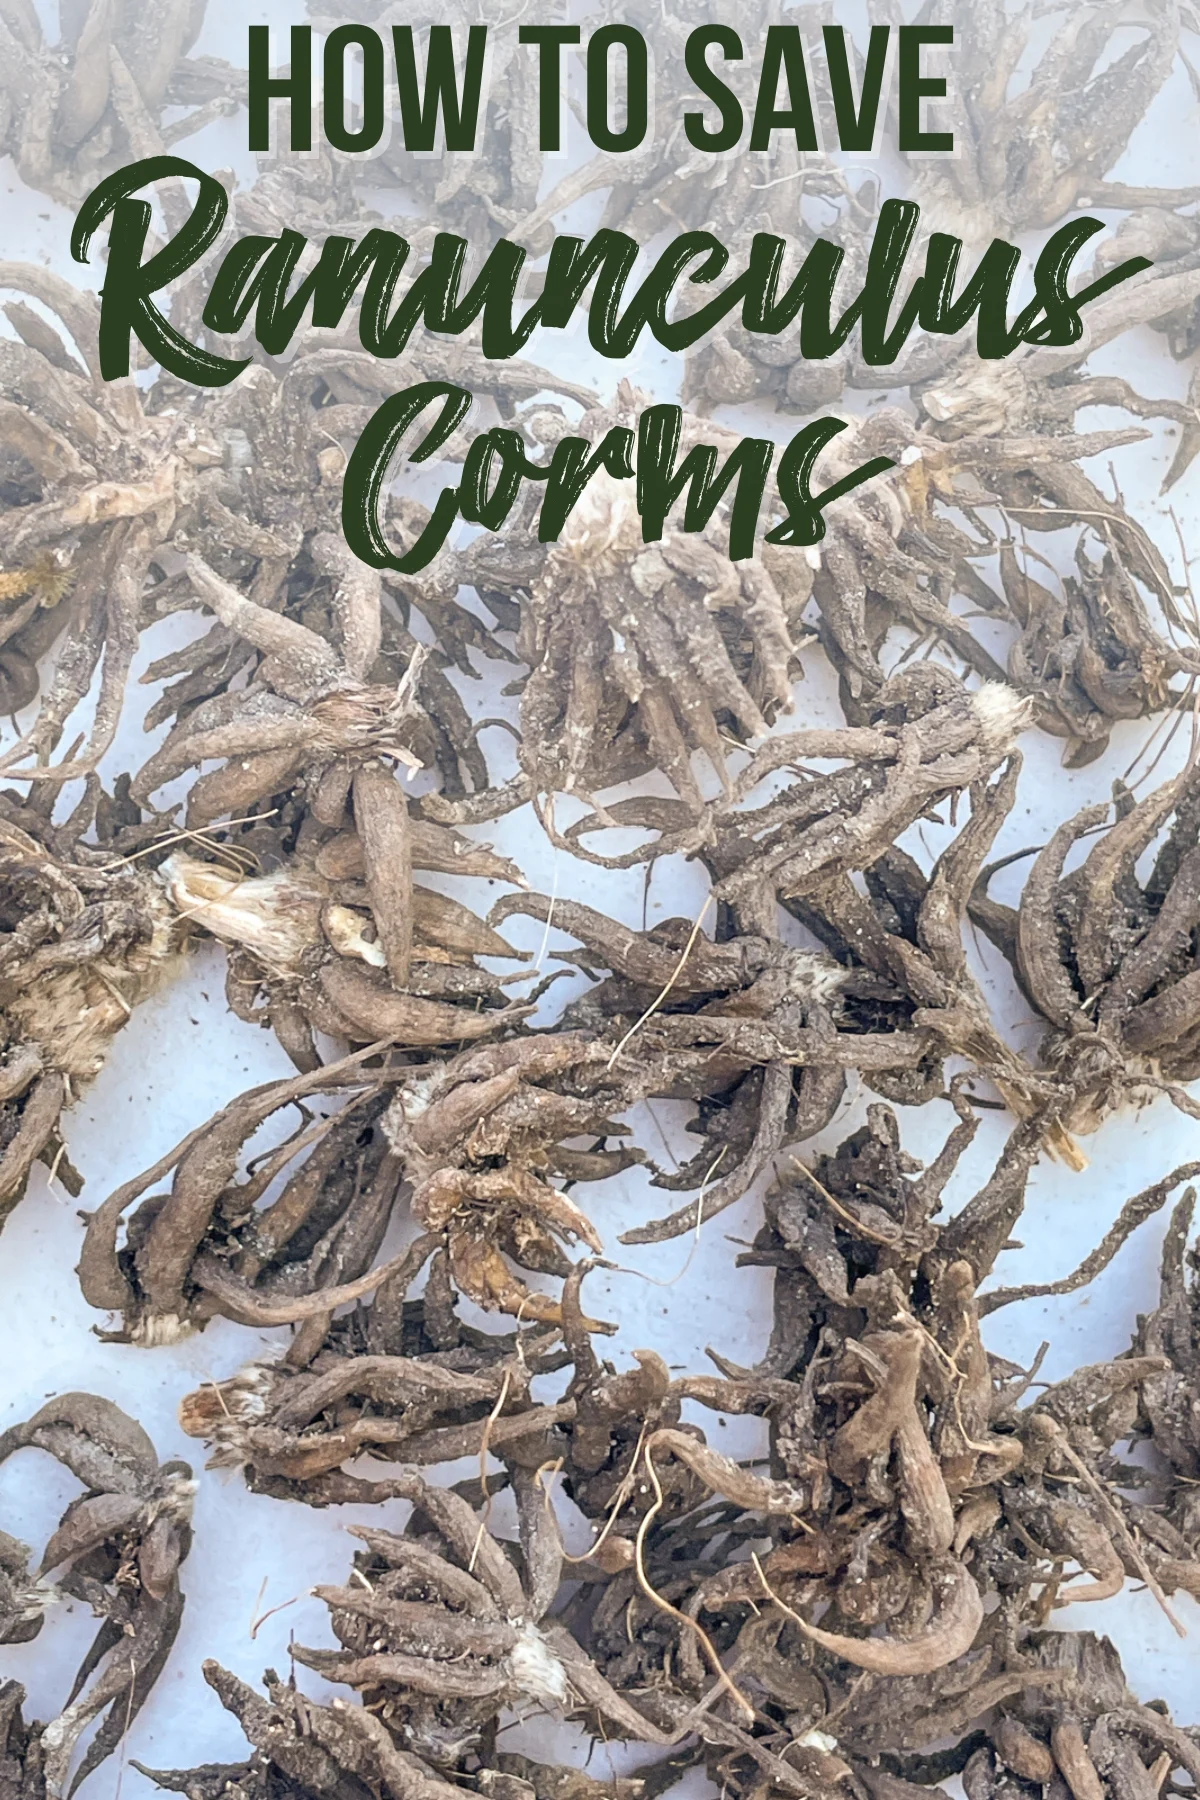
You'll be left with these ugly little dried octopus-looking things!
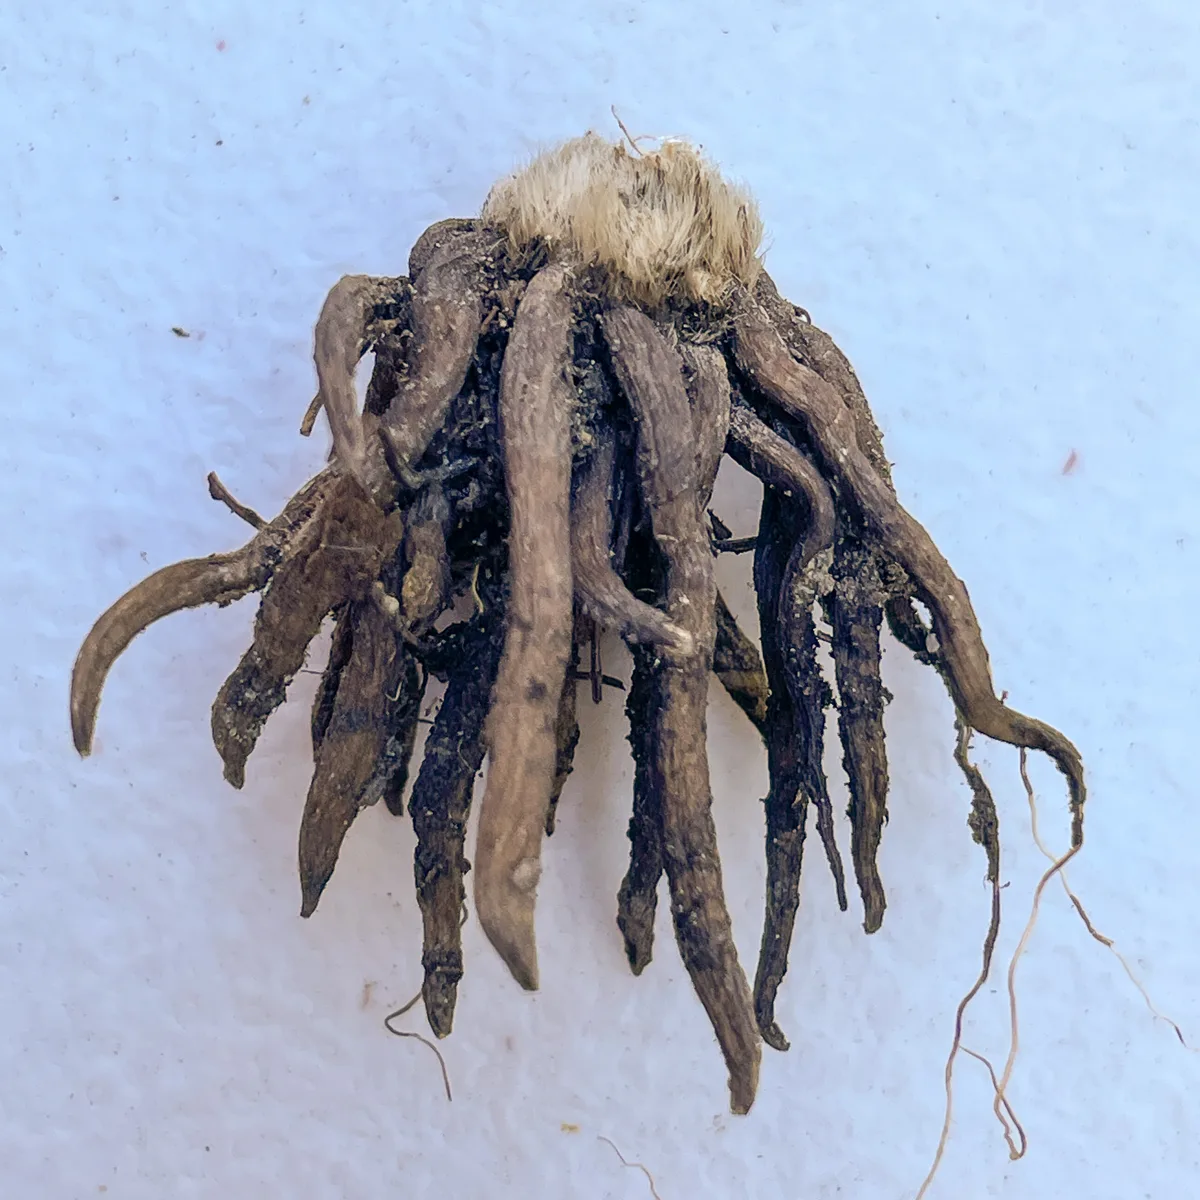
Now you can carefully separate any corms that have multiplied. Each fuzzy top indicates an individual plant. The roots can grow together pretty tight, but you should be able to wiggle them apart without breaking too many arms of the "octopus."
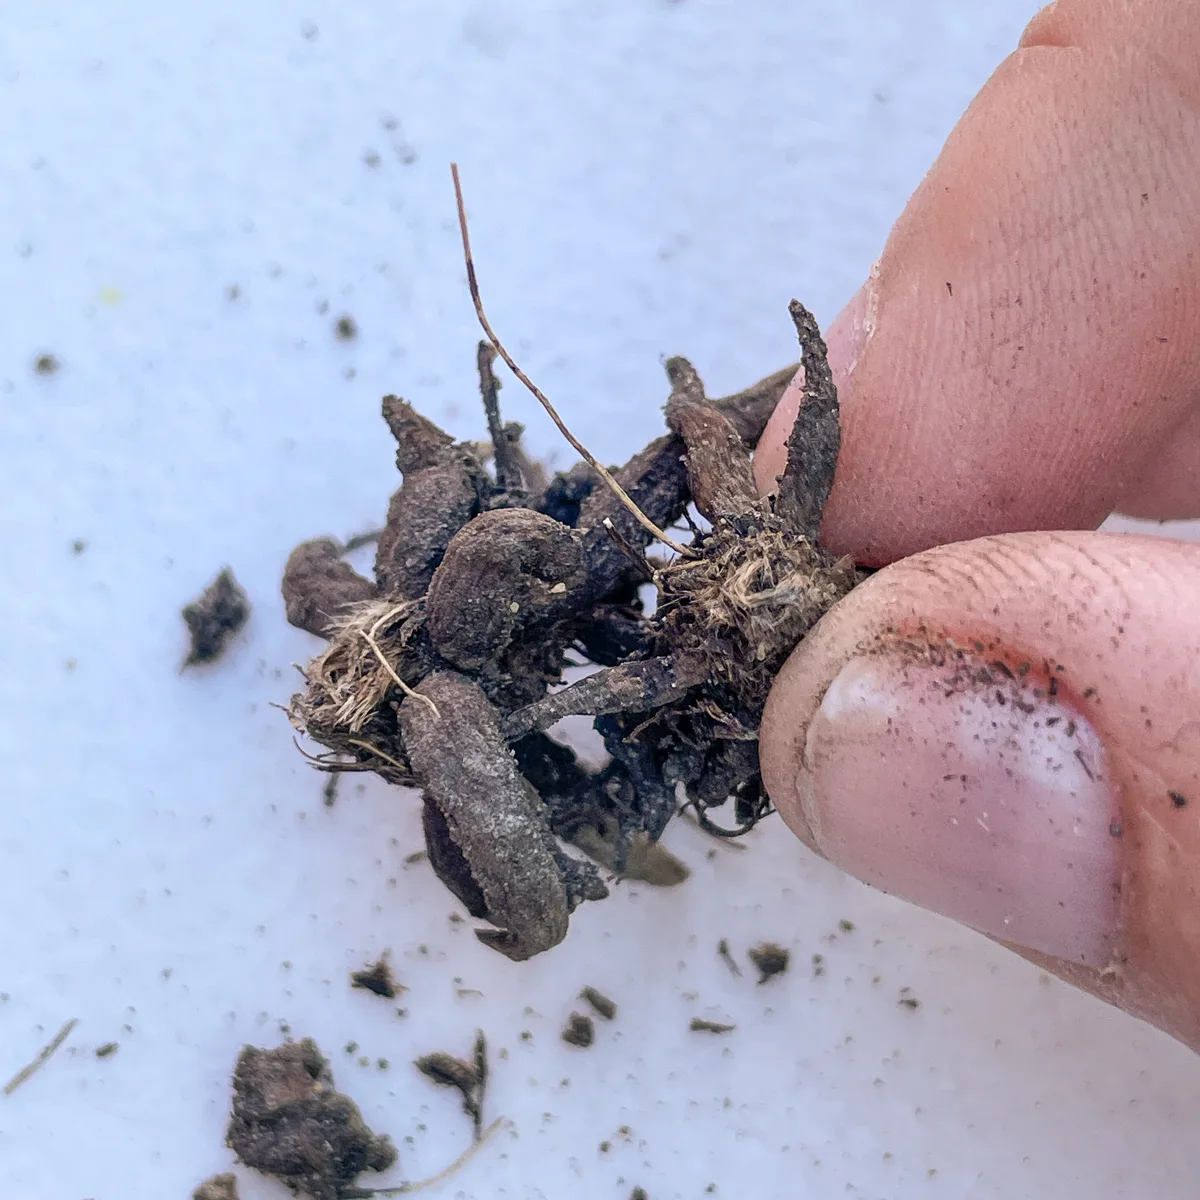
Now you have twice as many plants for next year! Some of my corms tripled over the spring, while others stayed singles. I tossed the tiny corms or ones with too many broken arms, and ended up with 86 corms out of the 40 I planted last year!
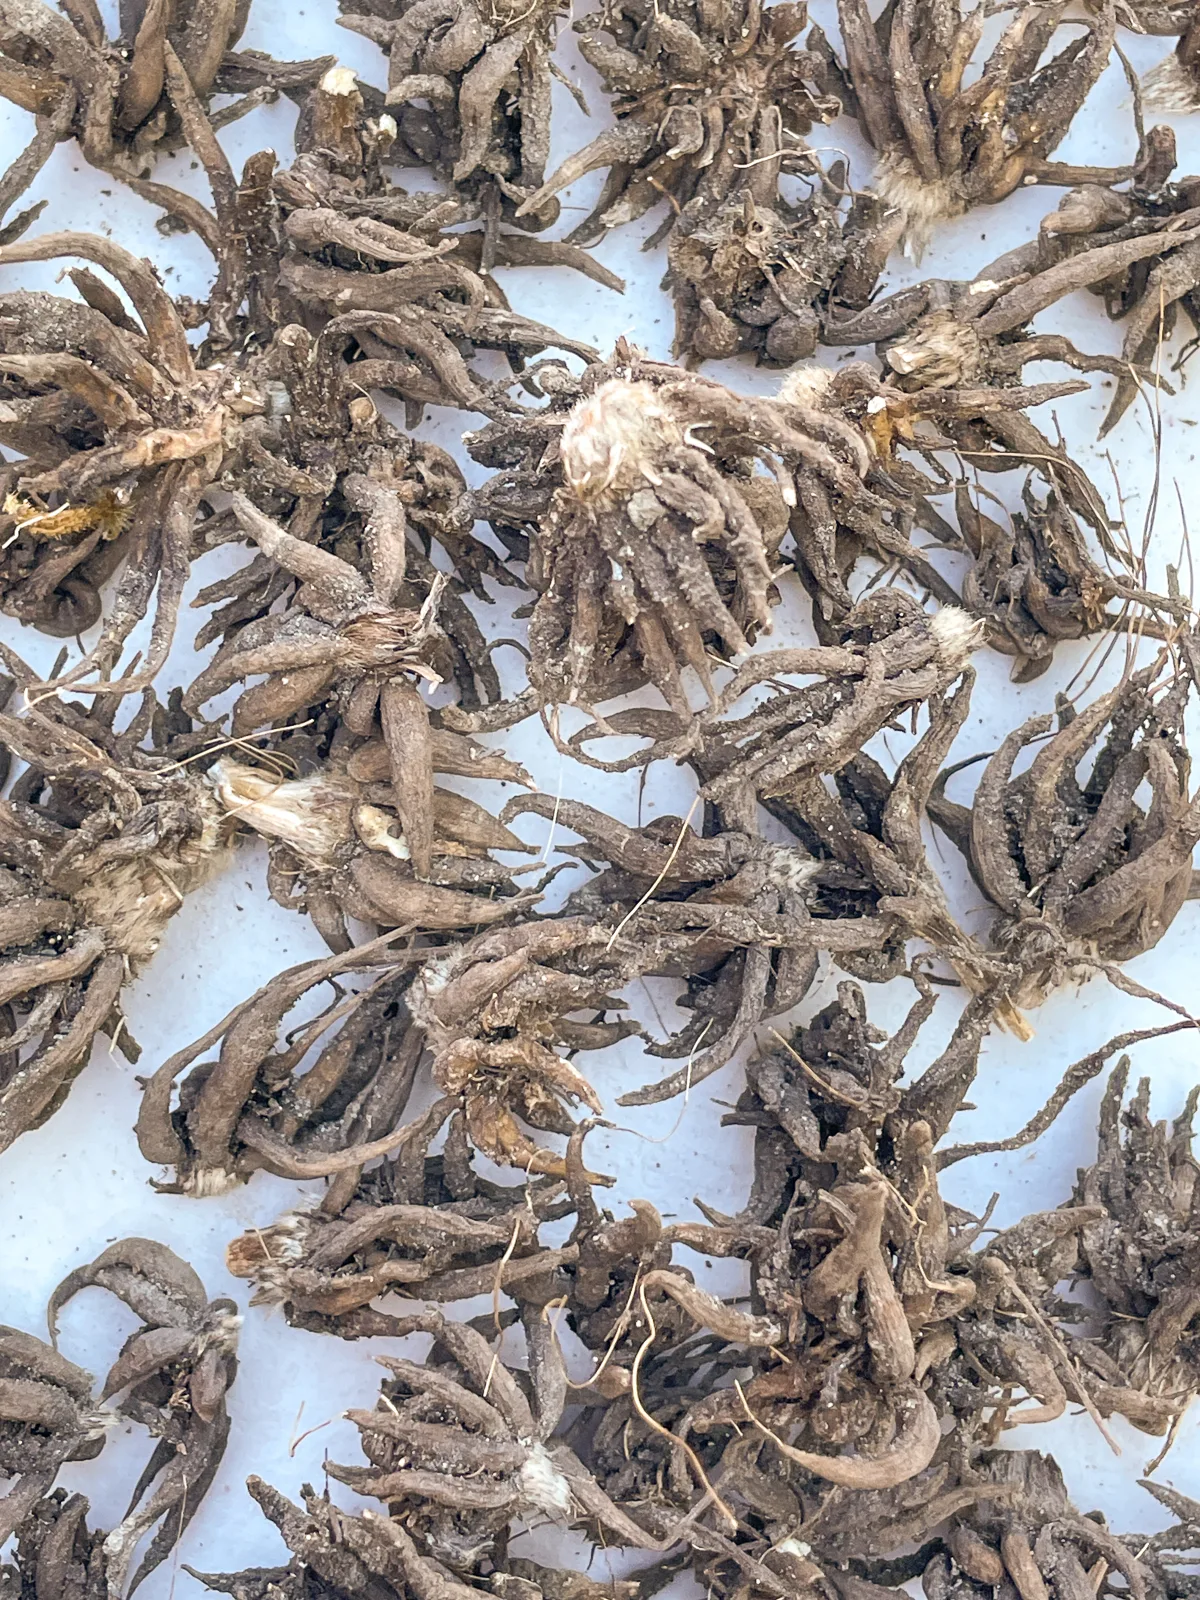
How to store ranunculus corms
So, you've successfully unearthed those precious ranunculus corms. Now, how do you store them so they're ready for the next planting season?
Find the right spot
First and foremost, you'll need a cool, dark, and dry place to store your ranunculus corms. Think about locations like a basement, garage, or even a dark closet. The ideal temperature should be between 50°F to 60°F (10°C to 15°C).
I store all my tubers, bulbs and corms in an area of our basement that stays dry and cool year round. If you're worried about moisture, consider adding some silica gel packets to your storage container.
Allow for proper air flow
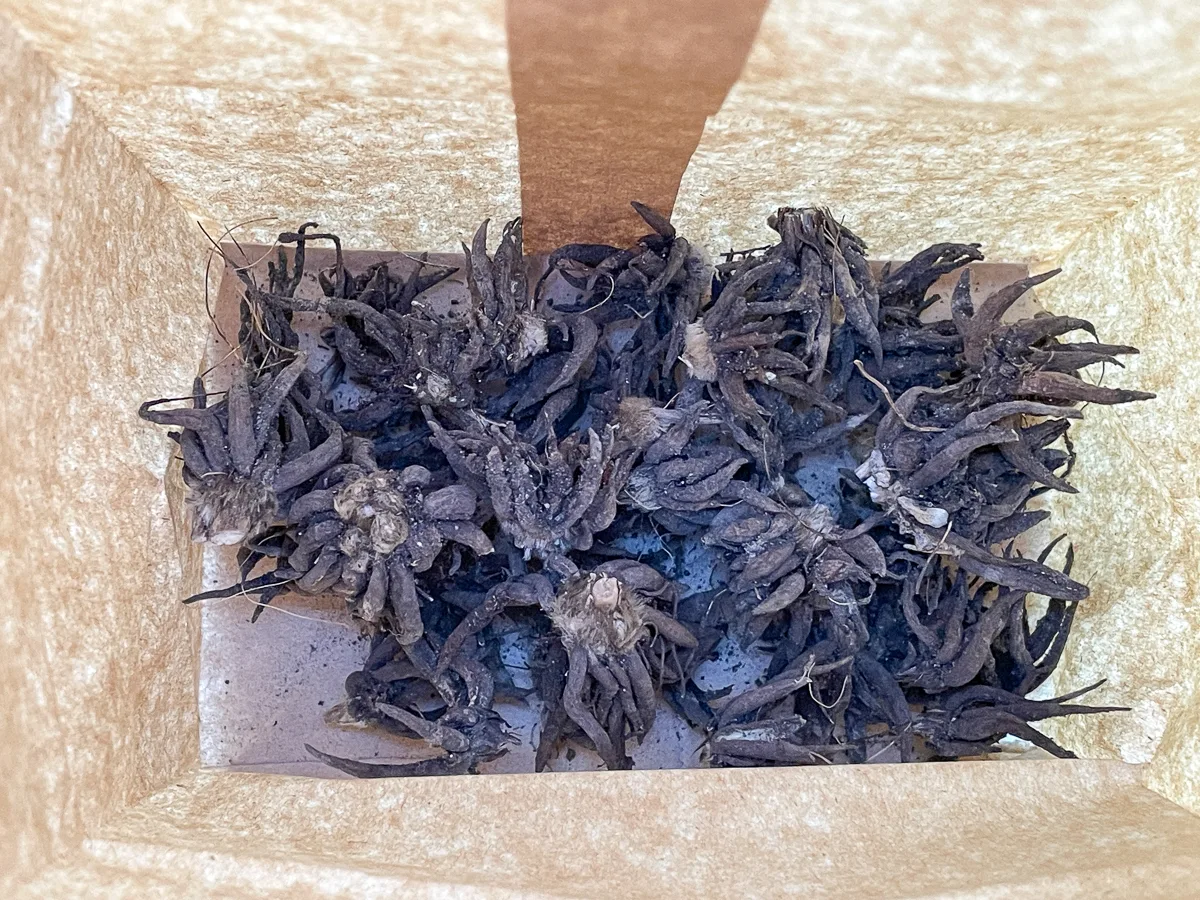
Skip the plastic bags, which can trap moisture leading to mold. Instead, opt for mesh bags, paper bags, or even old pantyhose. These materials allow for good airflow, ensuring your corms remain dry.
I separated mine into two groups of around 40 corms each, then placed them in paper lunch bags for storage. You don't want to have too many in each bag, or they could trap moisture in the middle and rot.
Check on the corms monthly
Remember to pop in once a month and inspect your corms. Look out for any signs of mold, rot, or unwelcome pests. If you spot a problematic corm, remove it promptly to ensure the others remain healthy.
In essence, storing ranunculus corms is all about mimicking their natural dormant period. Keep things cool, dark, and dry, and they'll be ready to bloom beautifully for you next spring!

