Learn how to divide ferns correctly so you can add more of these shade loving plants to your garden without spending any extra money!
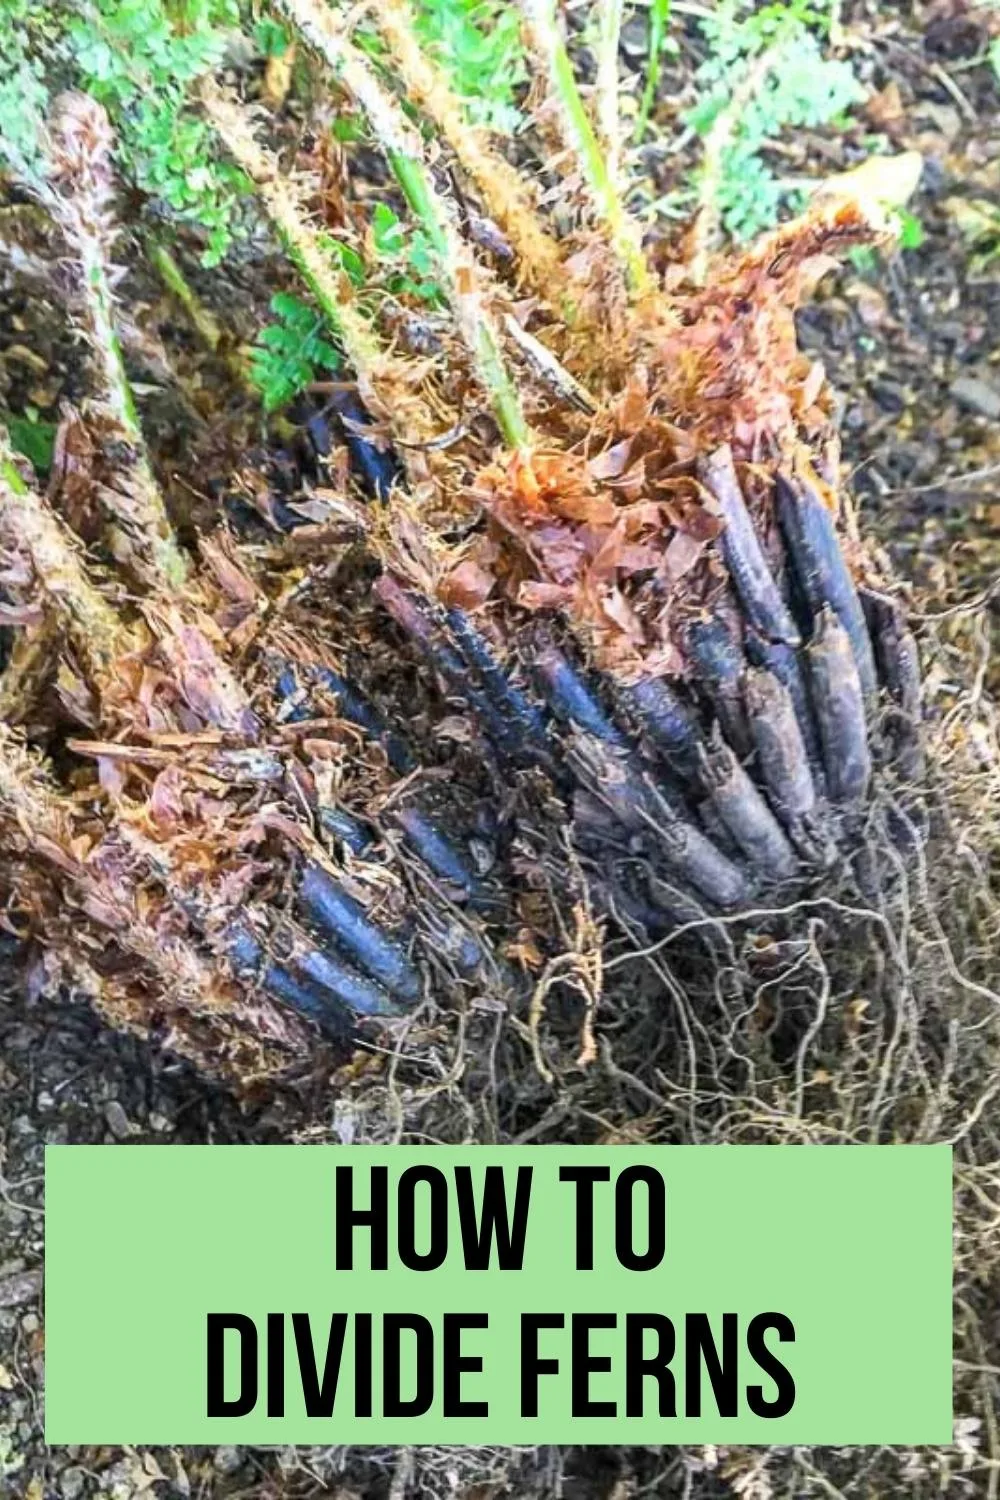
In the Pacific Northwest, ferns are everywhere! These ginormous plants look like they came straight out of the Jurassic era, thanks to our constant rainy weather.
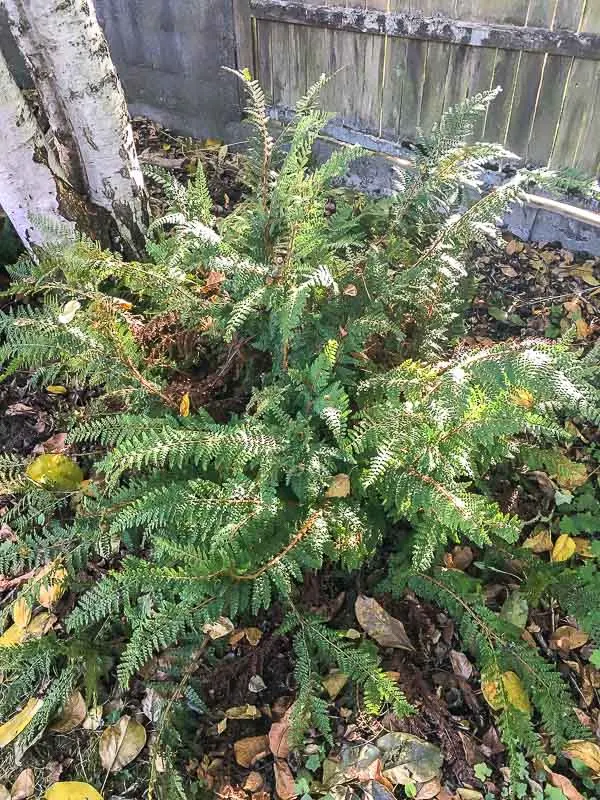
Our backyard has a few mature Western sword ferns that were neglected and overgrown. By taking the time to divide ferns correctly, I was able to turn this one large plant into six smaller ones to fill in our woodland garden!
This post contains affiliate links for your convenience. Purchases made through these links may earn me a small commission at no additional cost to you.
When to Divide Ferns
Spring and fall are the best times of the year to divide ferns. I chose to split mine in the fall so they'll get plenty of water during our rainy winter.
If your area has a hard frost in the fall, tackle this job in very early fall or wait until spring so the roots have time to adjust. Some species go dormant in summer, and should be left alone during this time.
How to Split Ferns
Water ahead of time
Dividing and transplanting is hard on plants, even hardy ones like ferns. Make sure to give the root ball a good soak a few days before you plan to divide ferns, so it can suck up all the water it can before it goes under the knife.
Trim Dead Fronds
Trim away any dead fronds from the fern with sharp pruning shears. Learn more about the different pruning tools and how to use them properly in this article. Try to cut as close to the bottom as you can.
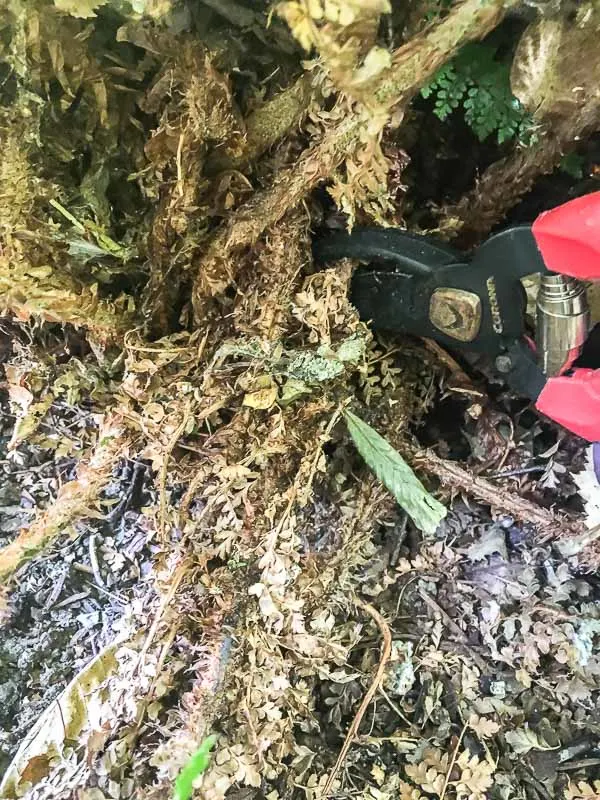
After a quick trim, it's already looking much better!
Find a Clear Center Line
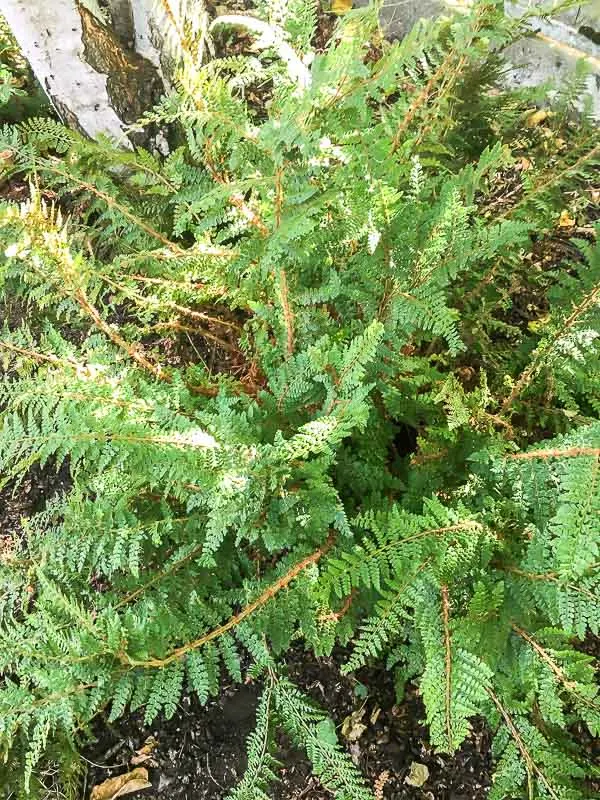
Move the fronds around until you can find a clear center part, just like with your hair. 🙂 This should be pretty easy in an older plant where the middle has died out.
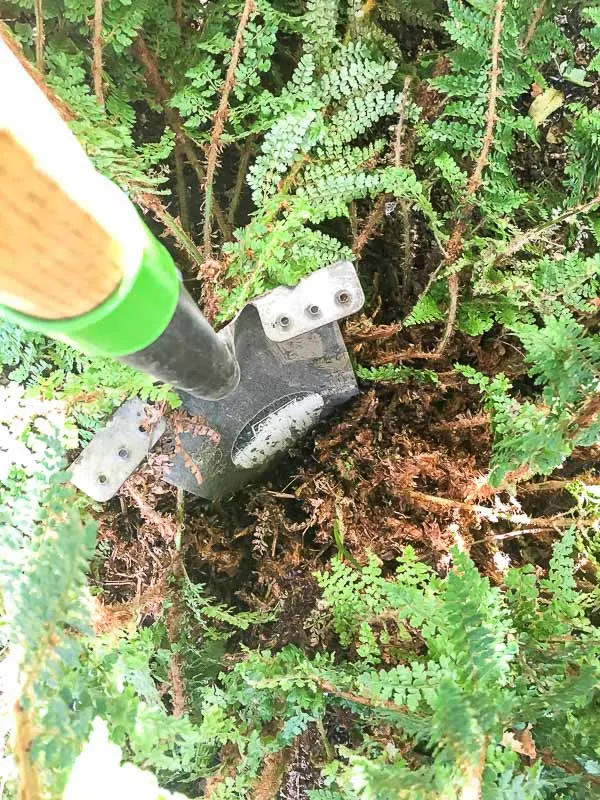
Stick the point of a shovel into the part until it creates a divot in the root. This makes it easier to find the center line again when you dig up the fern and it starts flopping around.
Dig up the Root Ball
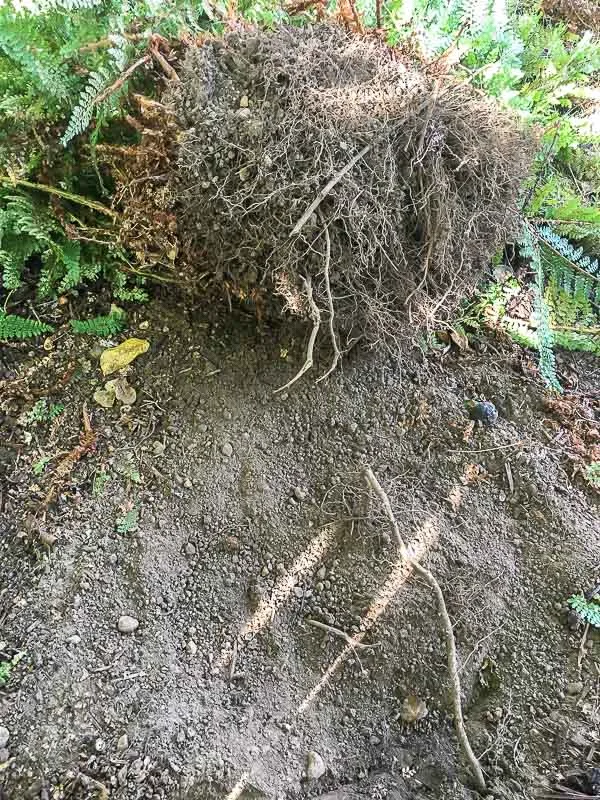
Fern roots are very shallow, so it shouldn't take much effort to dig them up. Just work your way around the outside edge with the shovel and pop it up. I was surprised to find my huge fern left a hole only a couple inches deep!
Divide the Fern into Smaller Plants
I wanted to get at least two plants out of this huge one, so I used a serrated garden trowel to cut the root ball down the middle. Don't worry, the fern can take some abuse!
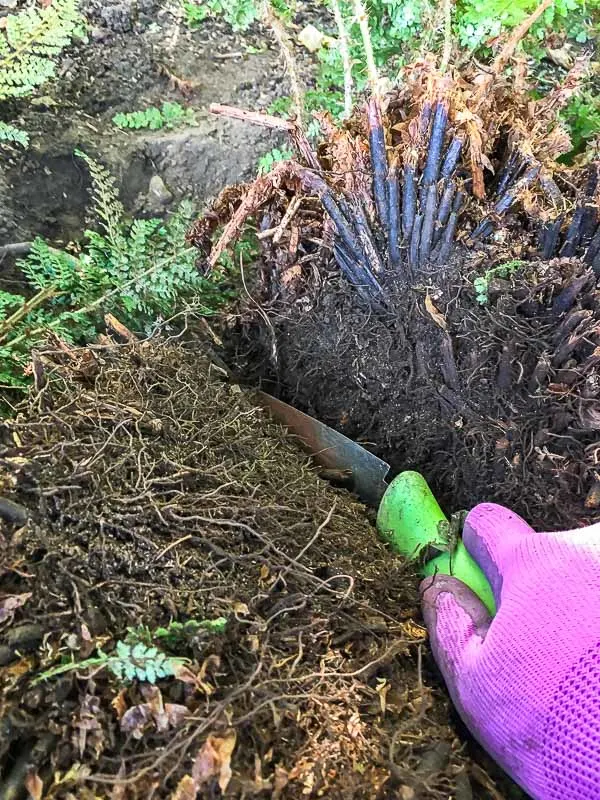
Here you can clearly see how this Sword fern grows. The fronds grow in clumps with a central root, like a bunch of bananas. It gets more crowded as older fronds die off, leaving a scraggly plant instead of a lush fern.
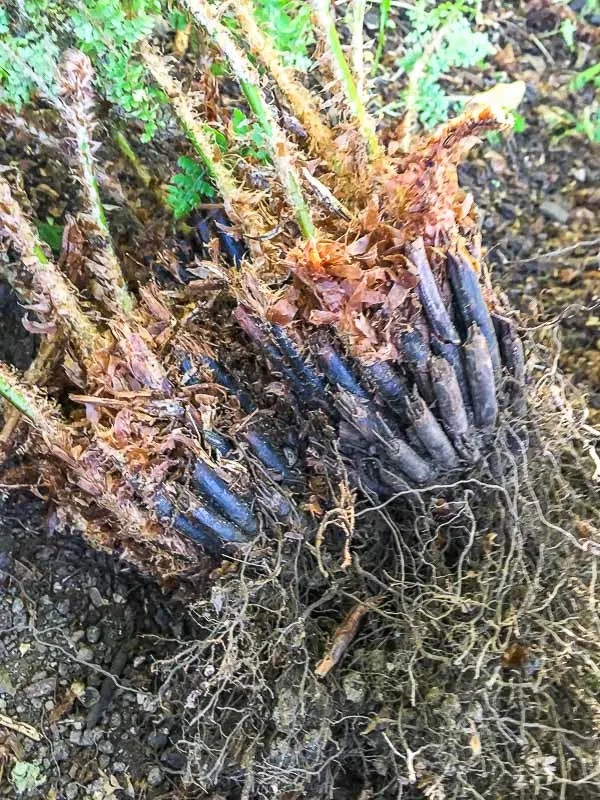
Each little bundle comes away from the central plant pretty easily, and can be replanted by itself. Yay for free plants!
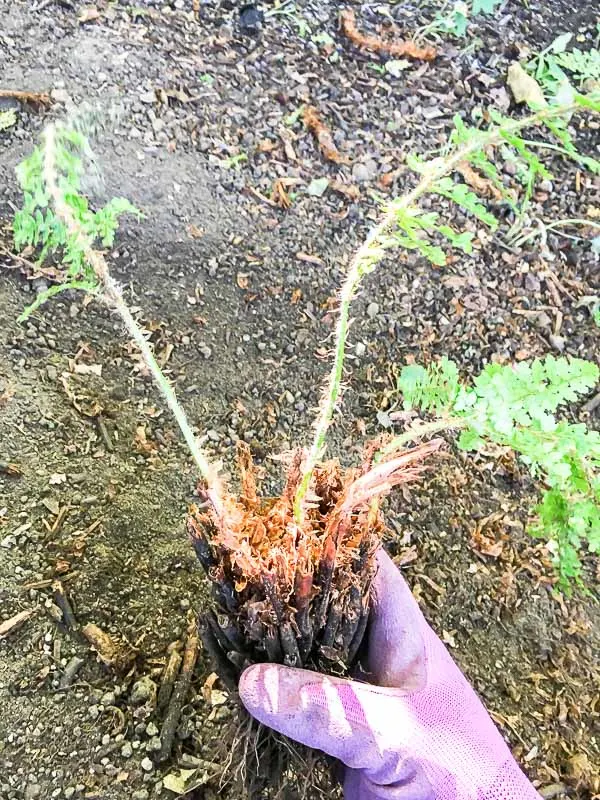
Other species of fern, such as lady ferns, grow by rhizomes. These types will have a thick root with fine roots growing off of it, and fronds distributed across the top. When dividing, make sure each section of rhizome root has leaves at the top and fine roots underneath.
Discard any dead or diseased roots
Take a good look at each fern clump before planting. It might help to spray off the roots with water to remove any dirt that can hide issues like rot or disease. Trim away these sections, and disinfect your pruners before using them on other plants.
Plant the divided ferns
I saved one half of the larger fern to go back into the hole it came from. Spread mulch around the base to help the newly divided fern retain water. You never would have guessed this is only half the plant!
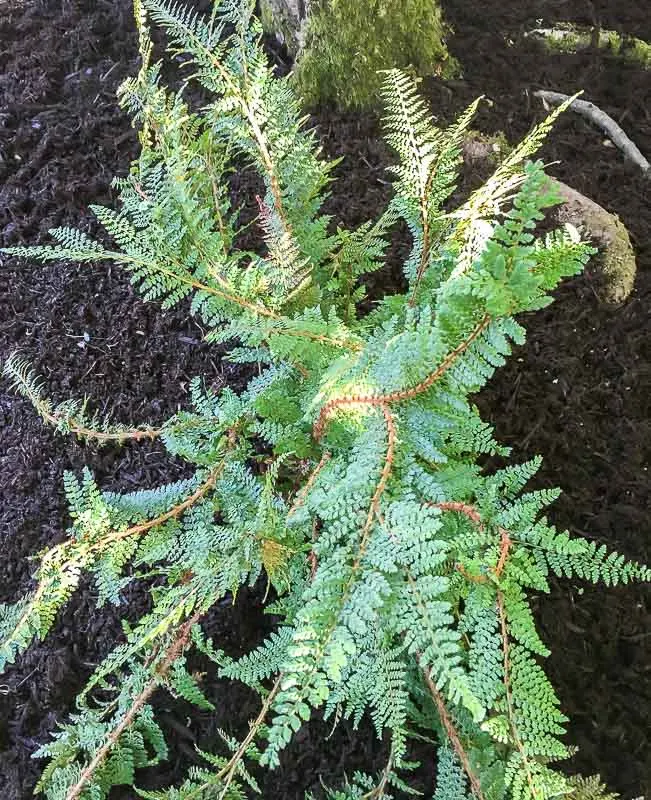
The other half was split into one larger plant and four smaller ones. I transplanted the divided ferns along the back fence. Hopefully by next year, they'll fill in the empty space and help create a lush woodland garden like the one below!


robin
Thursday 13th of July 2023
Excellent photos and clear instructions. Live in zone 6 and not sure if I should transplant at this time or wait until fall. What say you?