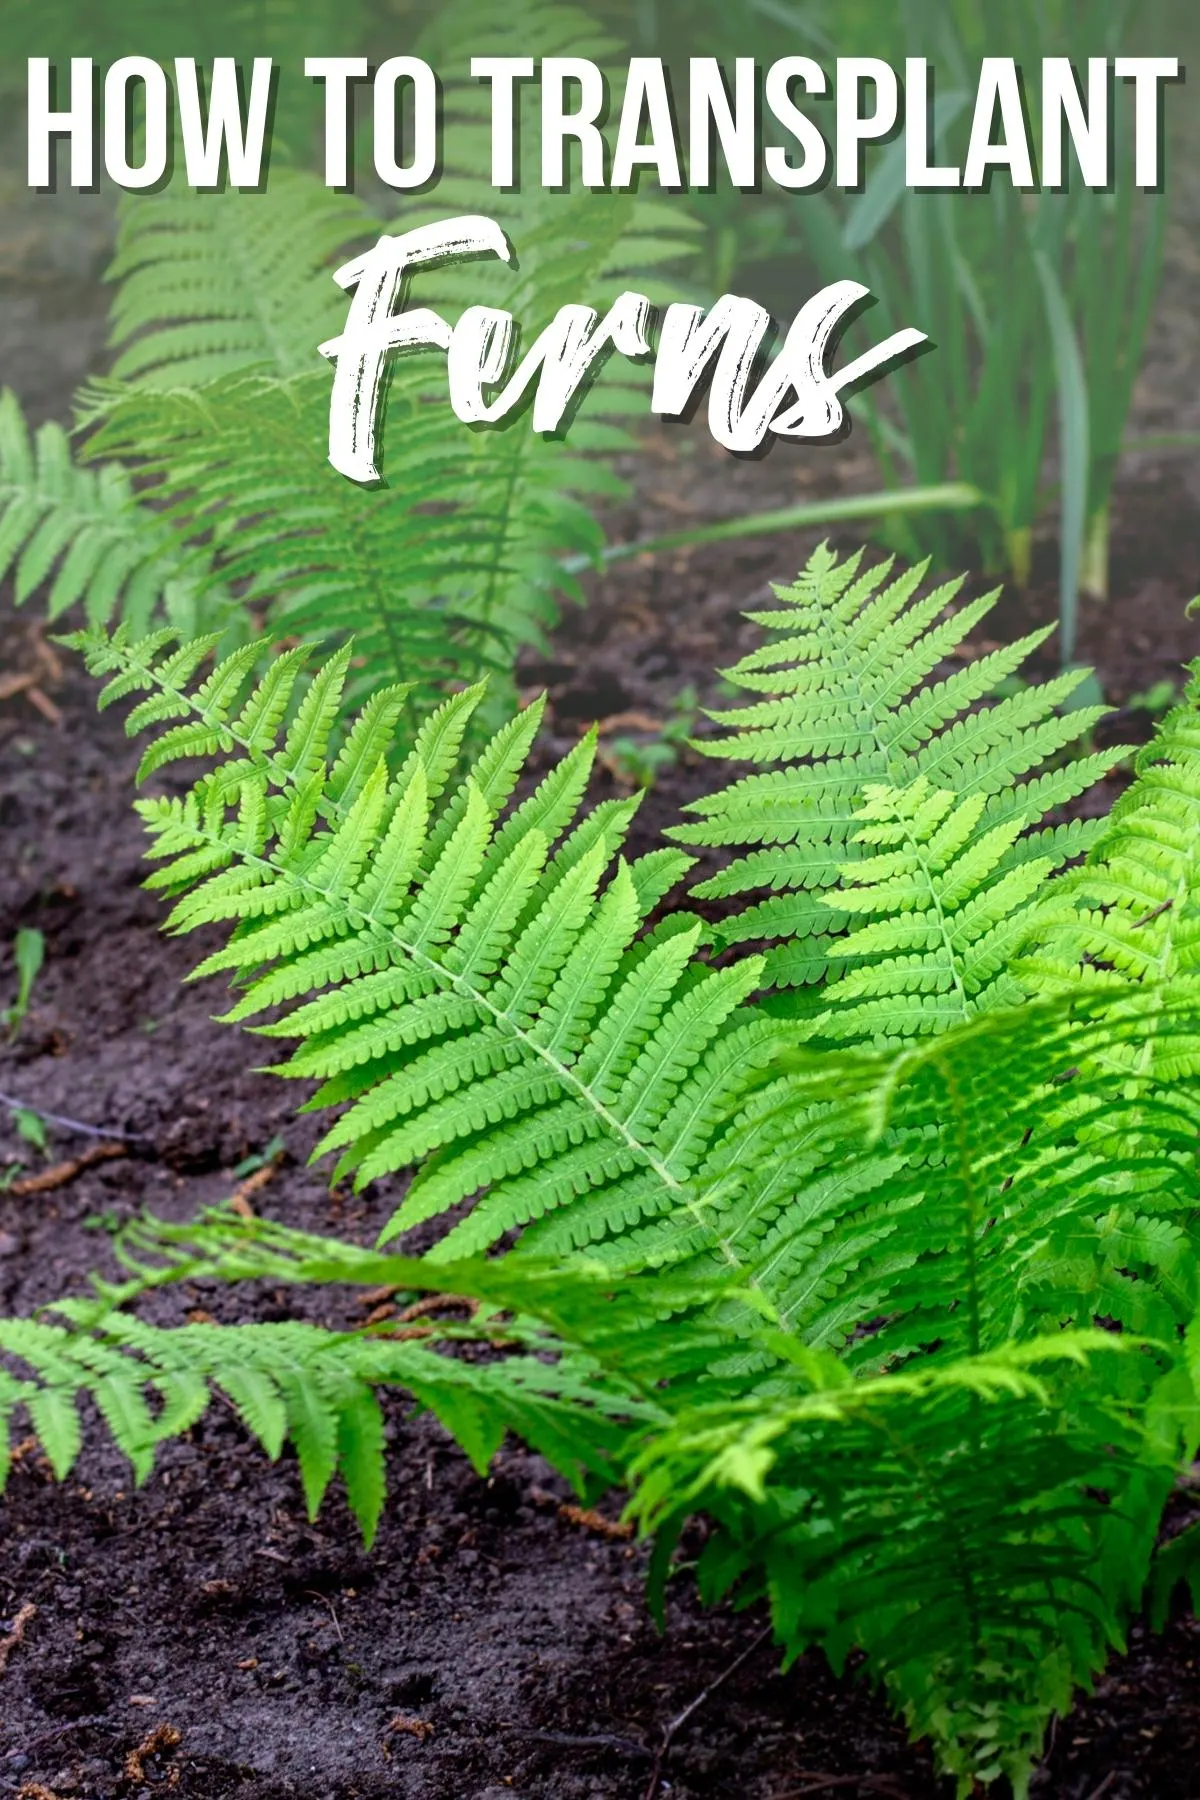
Learn all my tips for transplanting ferns so they thrive in their new home! I'll go over when to transplant ferns and and how to do it right!

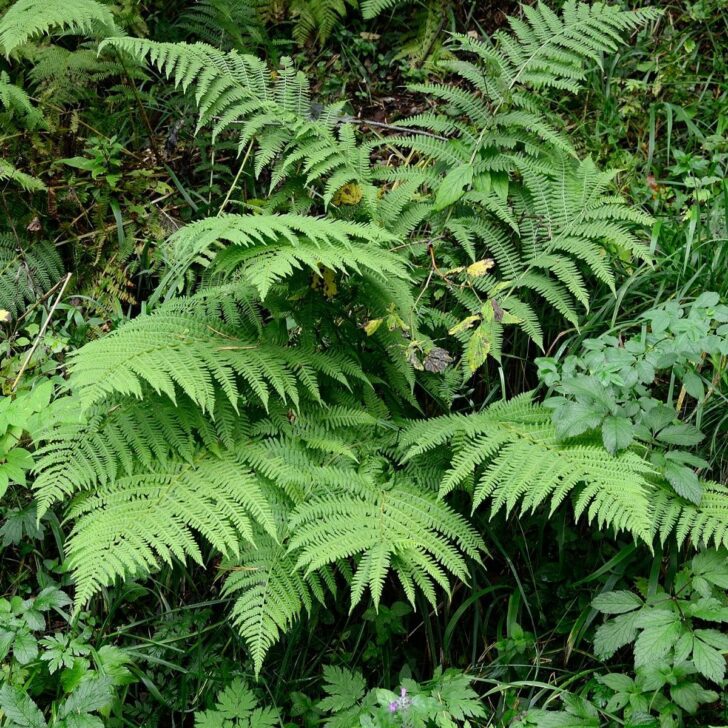
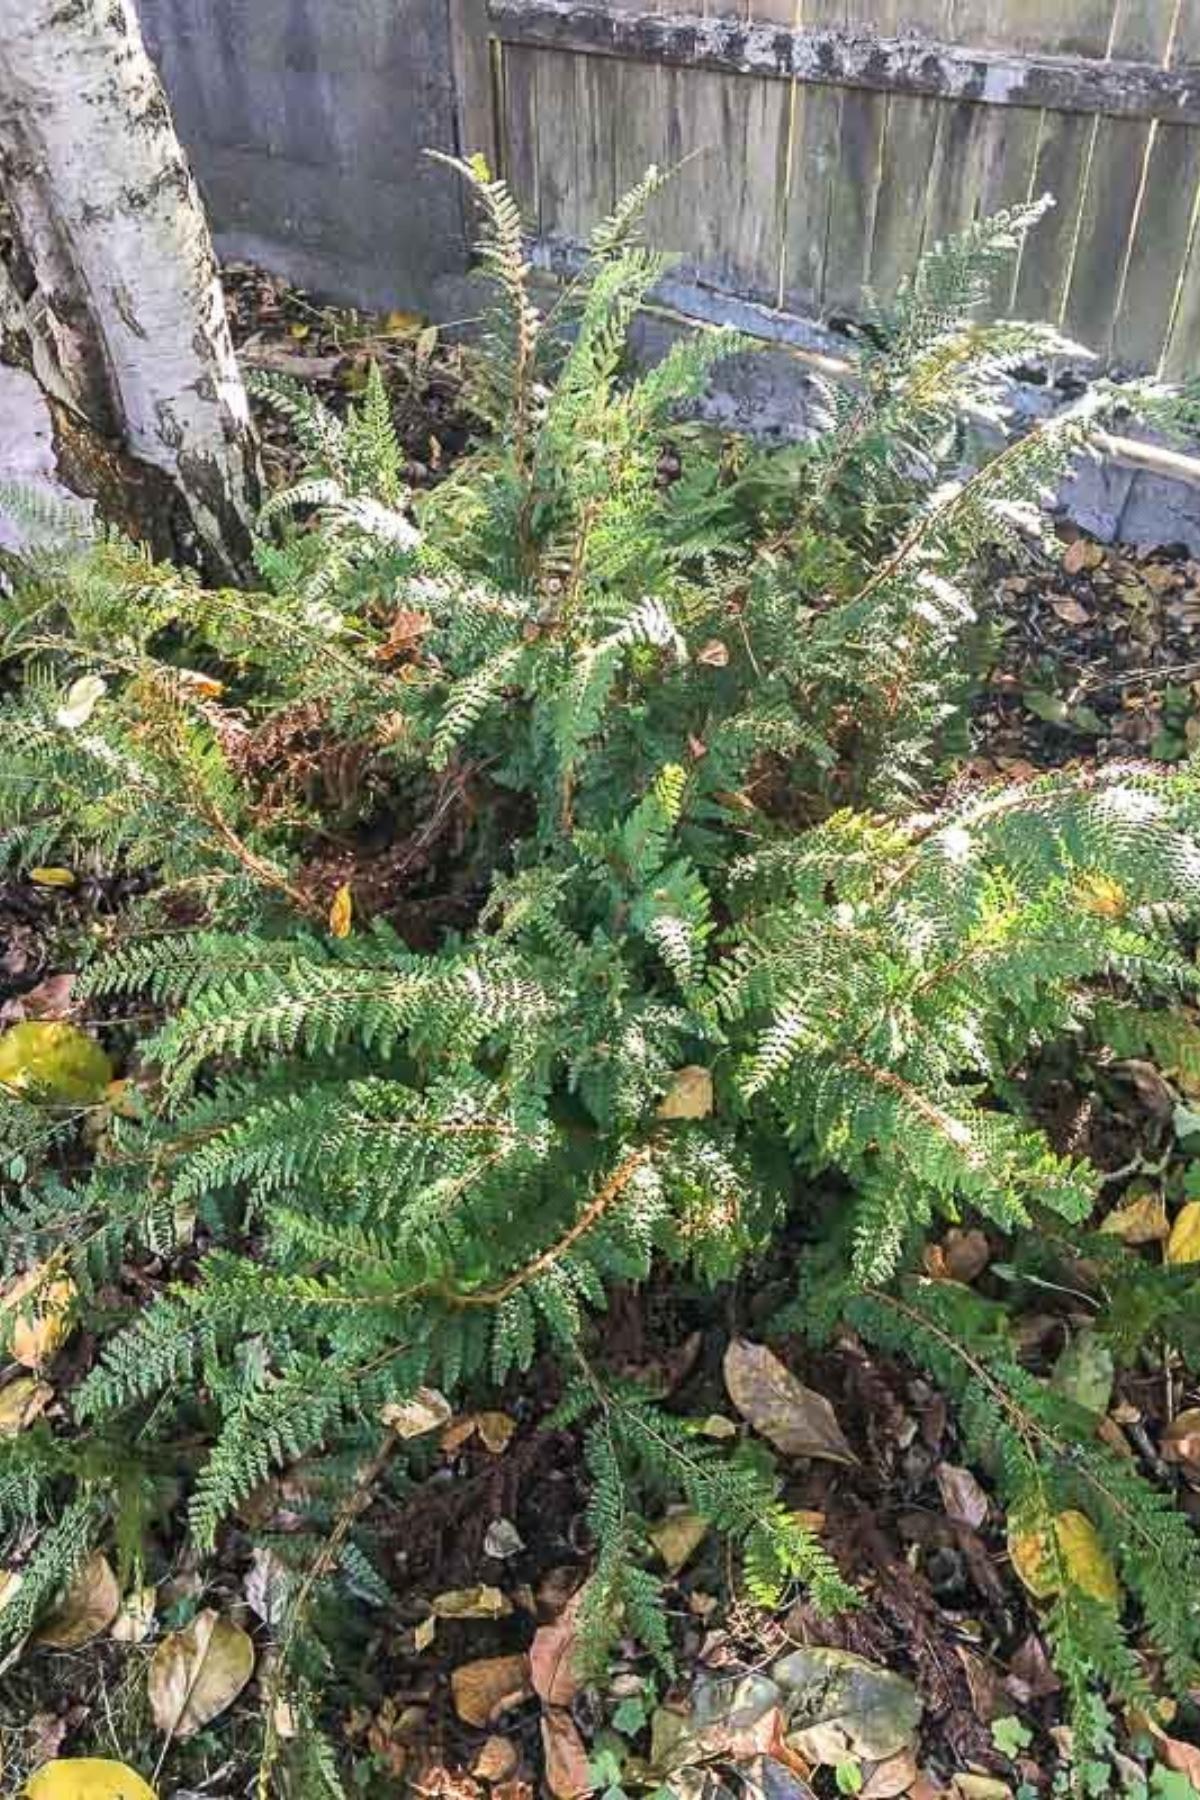
The delicate, lacy leaves of ferns might make you think it's tricky to transplant them. However, most ferns are pretty tough and easy to transplant if you do it the right way.
Before you start, it's essential to know what type of fern you're transplanting, so you can give it the best growing conditions and care. Most prefer fertile soil, lots of moisture, and low light conditions, but some ferns can thrive in hot, dry, and sunny locations.
This post contains affiliate links for your convenience. Purchases made through these links may earn me a small commission at no additional cost to you.
Where to Get Ferns to Transplant
You can buy ferns at garden centers and online stores or get one from a friend's garden or a local plant-swapping event. You can also divide ferns from your garden, and replant part of it in another location.
However, DO NOT harvest ferns in the wild! Some species are protected or endangered, and taking them from their natural habitat is often illegal.
When to Transplant Ferns
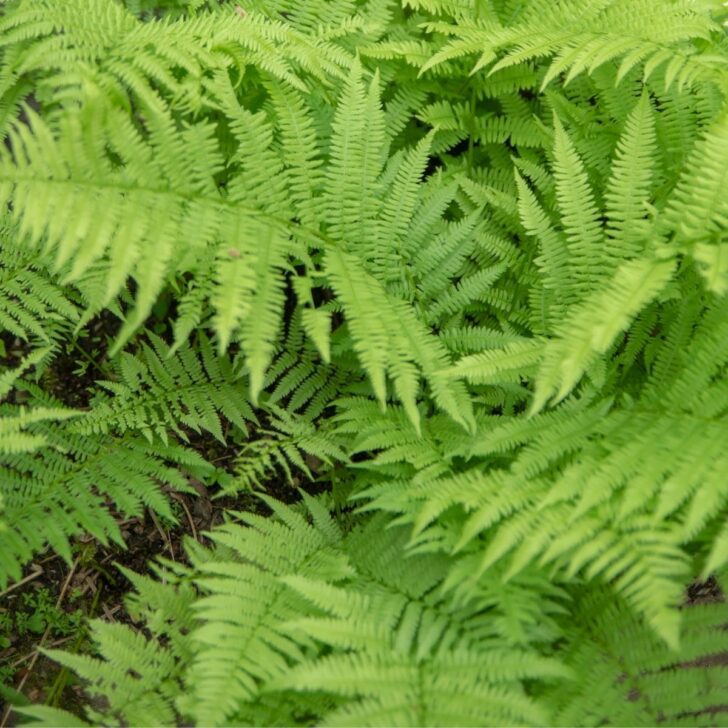
The optimum time for transplanting ferns is in the late fall or early spring when the plants are not actively growing. To transplant in the fall, wait until the fronds of deciduous species such as lady ferns turn brown.
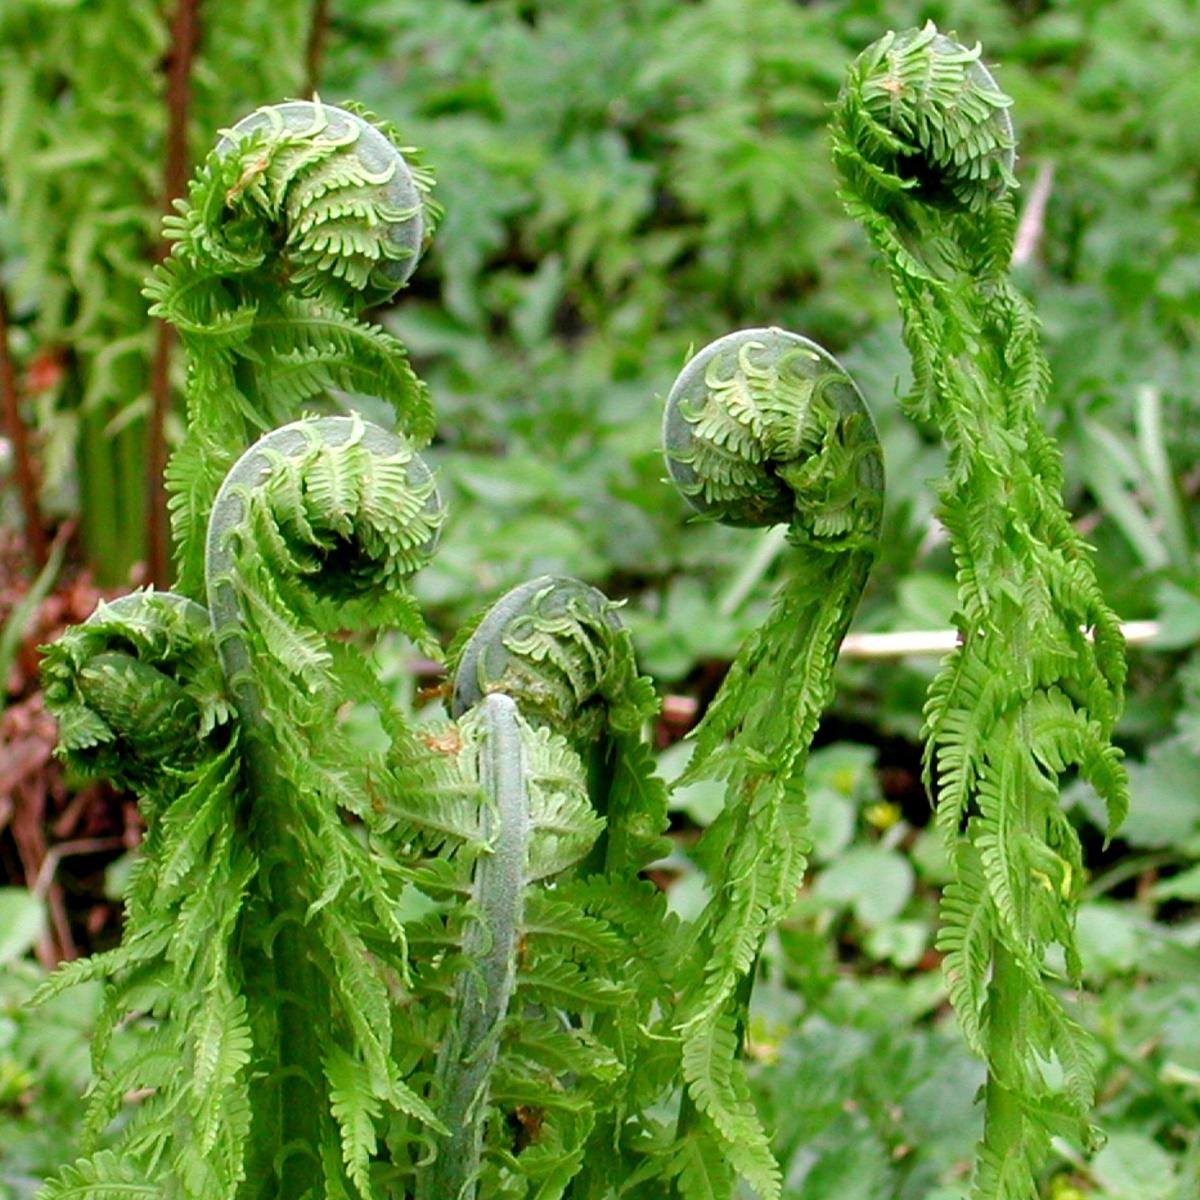
For spring transplanting, look for the start of new growth. You'll see curled fiddleheads like these sprouting from the base of the plant.

The best time of day for transplanting ferns is in the late afternoon, evening, or on a cloudy day to avoid transplant shock.
Where to Plant Ferns
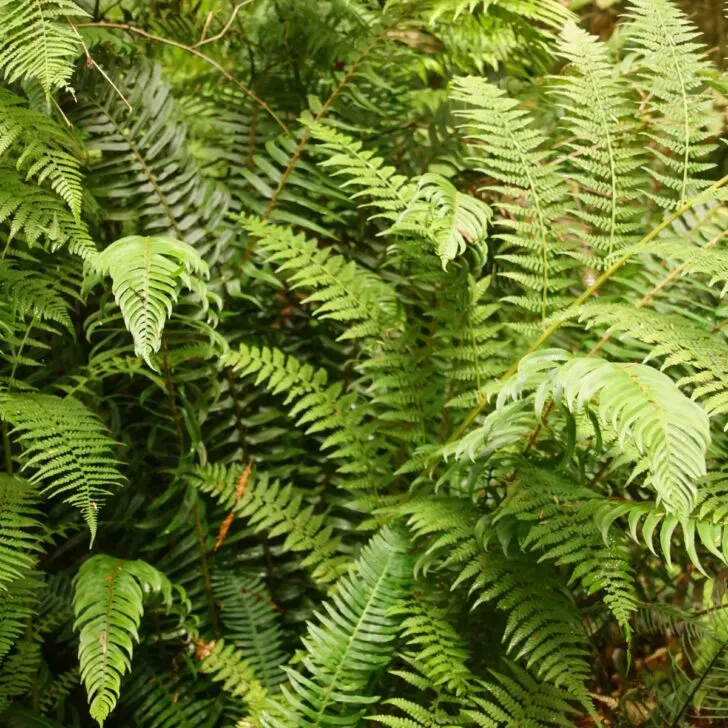
Most ferns thrive in full and partial shade, and you can plant them under shrubs and trees, in woodland gardens, and borders along with other shade-loving flowers and plants such as hostas.
A few species do well in full sun and lower soil moisture. These include:
- Bracken fern
- Northern maidenhair fern
- Water fern
- Meadow fern
- Japanese climbing fern
Choose a spot in your garden compatible with the growing needs of the fern species.


Ferns are juglone resistant, so you can plant them under black walnut trees without any issues. Western sword ferns are one of the few plants that truly thrive under ours!
Ferns also grow well in raised beds, and many ferns are highly adaptable to growing indoors in containers.
How to Prepare Soil for Transplanting Ferns
It's a good idea to prepare the new site before you dig up a fern so you can pop it right back into the ground and minimize transplant shock. First, dig out an area a bit larger in diameter than the fern's root ball and as deep. Then, mix ample compost with the excavated soil and into the bottom of the hole.
Most ferns like slightly acidic soil, but some prefer alkaline conditions, so check the tag first. You can do a soil test if you're not sure of your area's pH levels. Add amendments to raise or lower the soil pH as needed.
If you have heavy clay or compacted soil, improve drainage by adding crushed granite along with the organic matter to the bottom of the hole. I also like to add a handful of Bio-Tone starter fertilizer, which contains mycorrhizae that encourages root development and helps the plant settle into its new home.
How to Transplant Ferns
If you are transplanting a fern growing in your garden, dig around the plant to get as many roots as possible. Then use a trowel or shovel to lift the plant from the bottom to avoid breaking the stems or damaging the root ball.
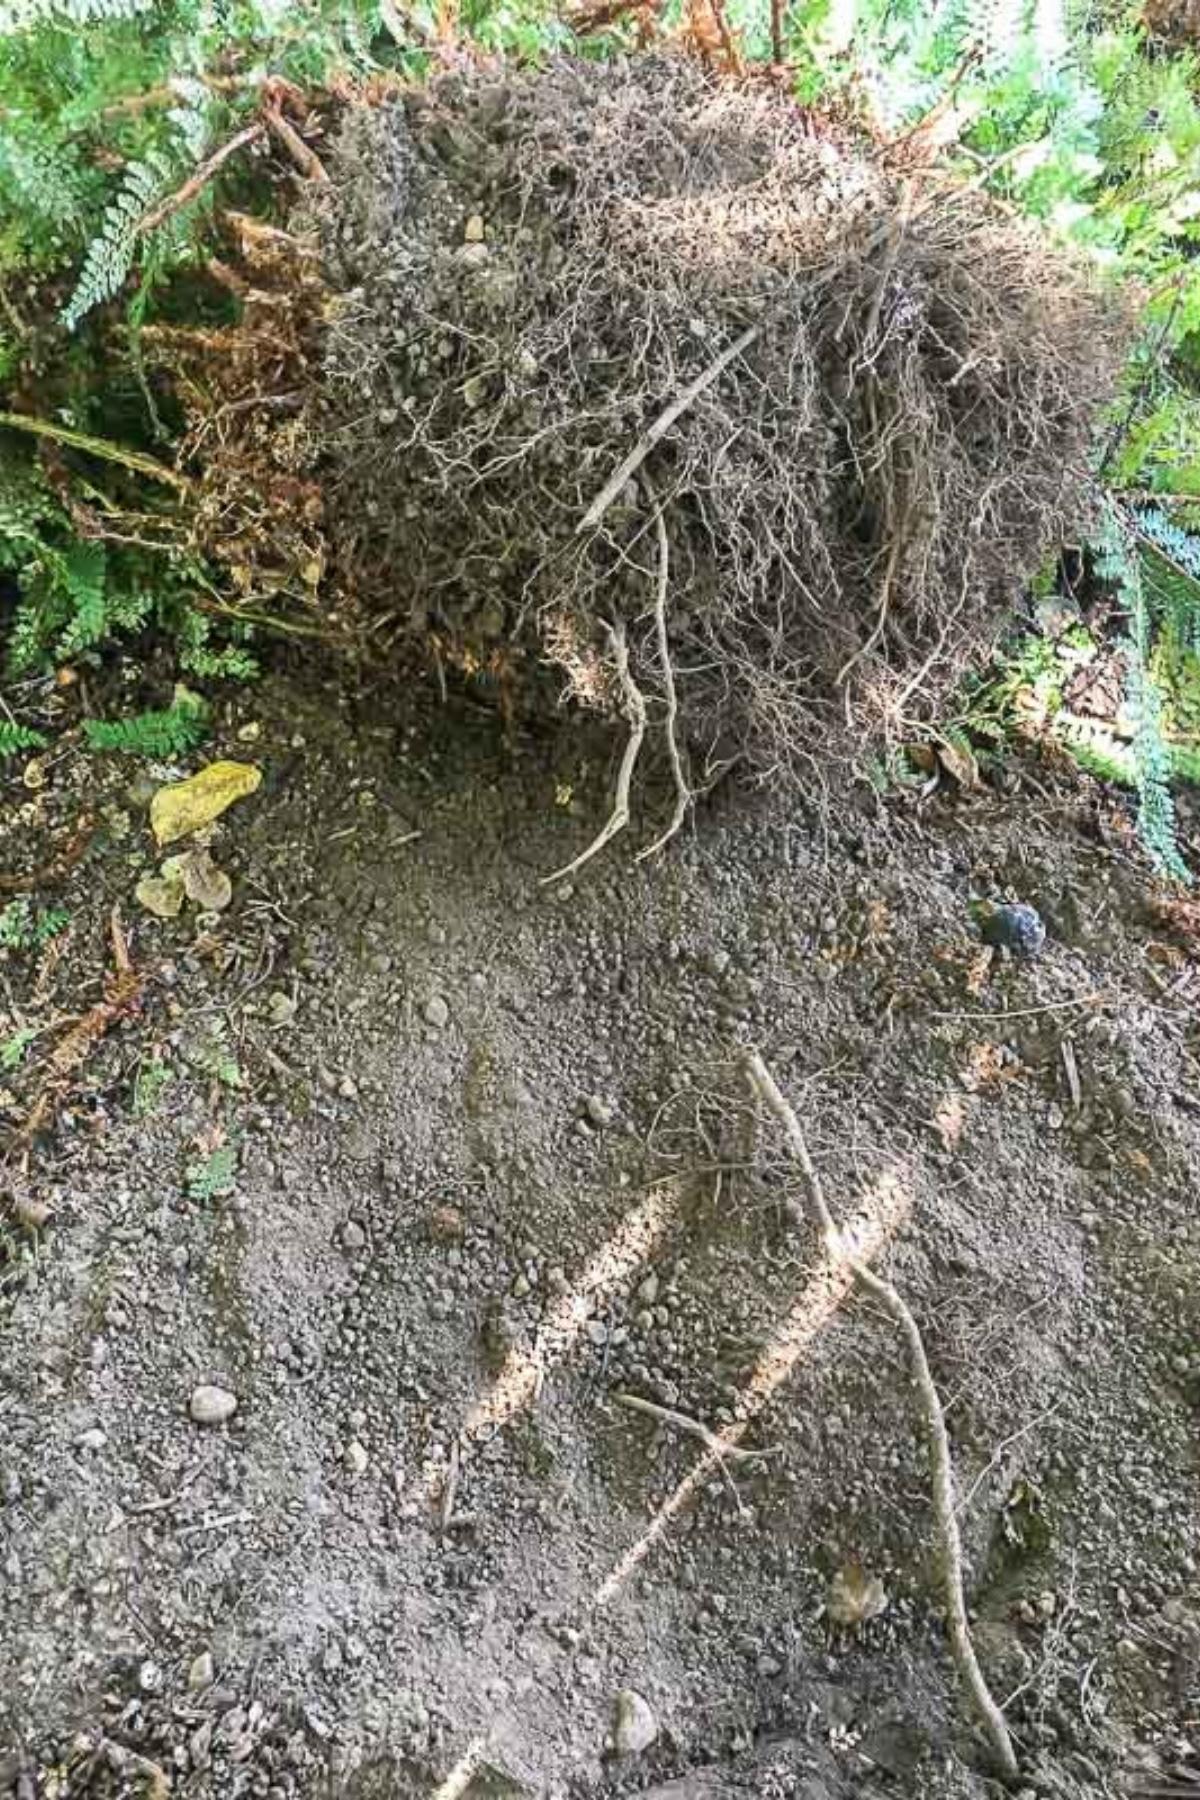
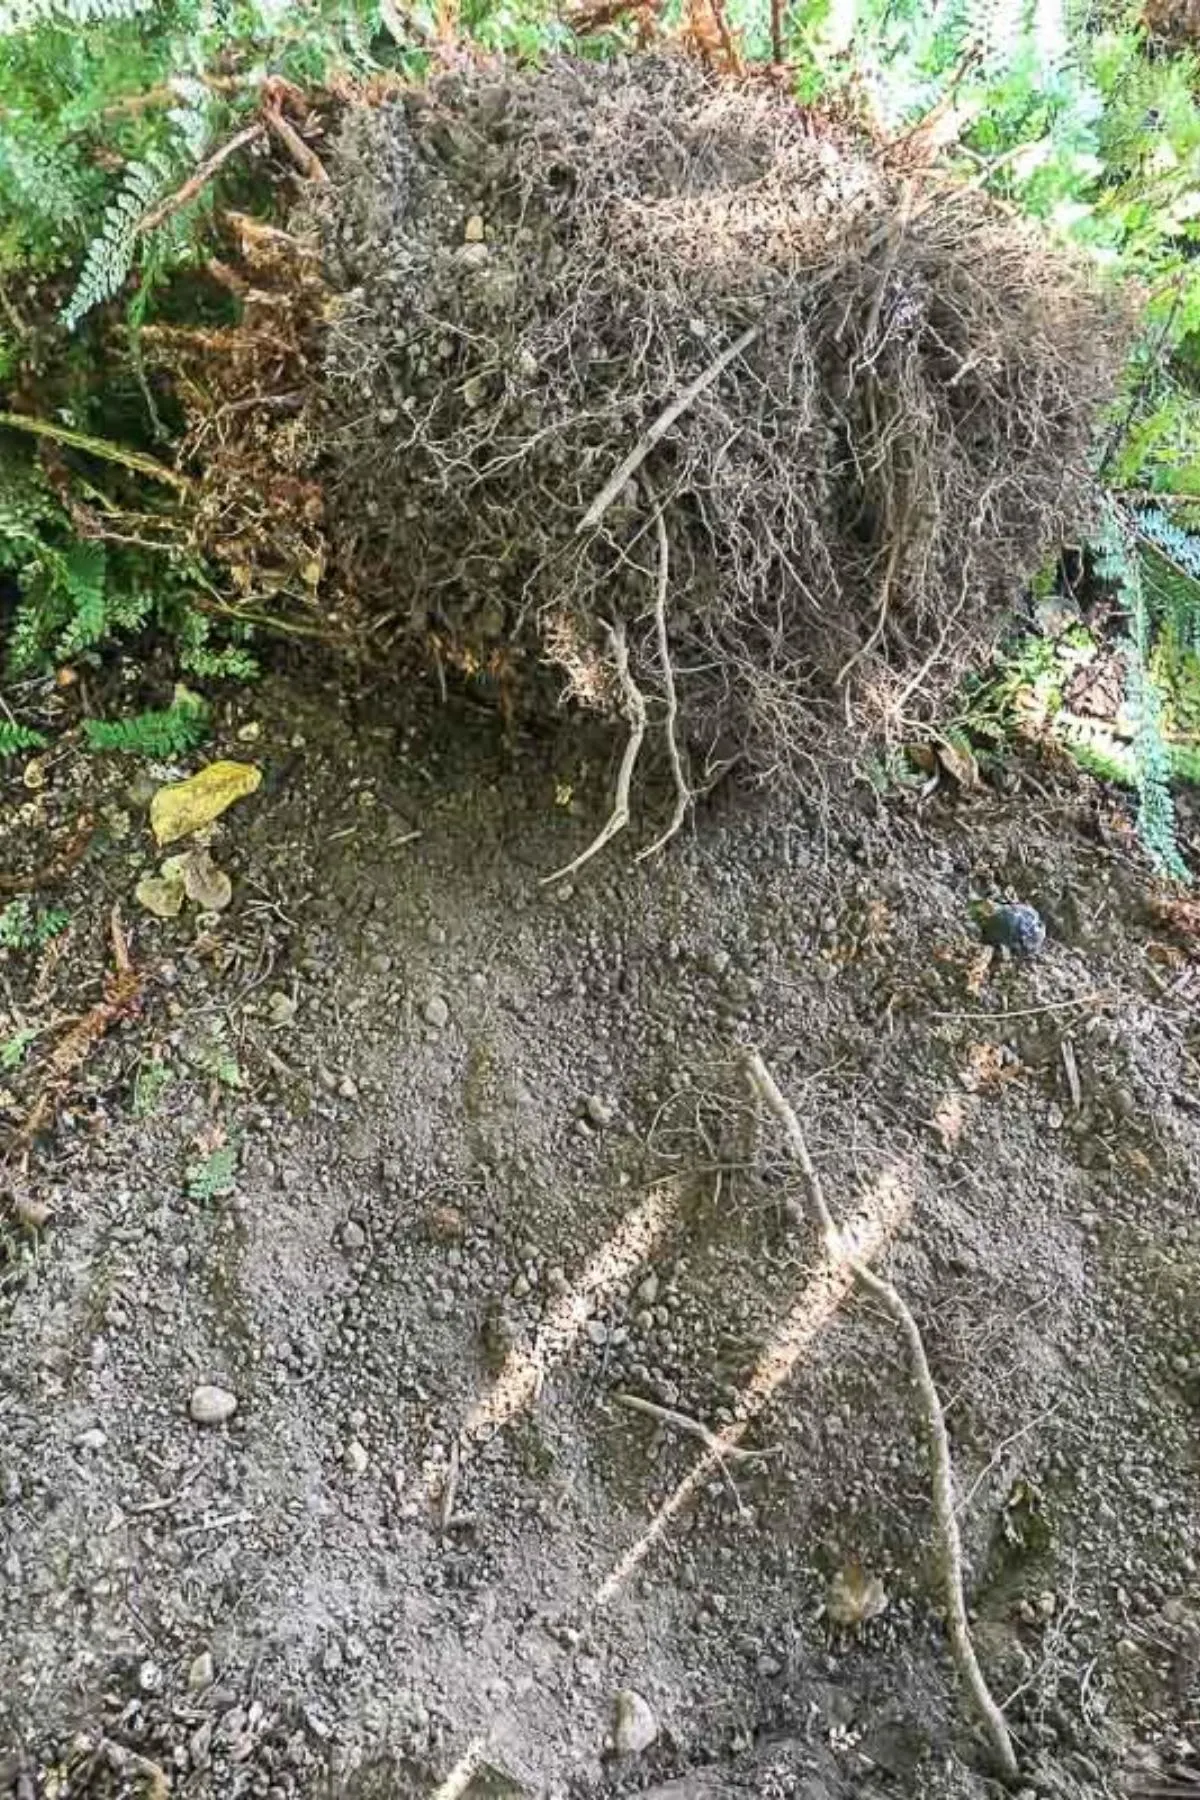
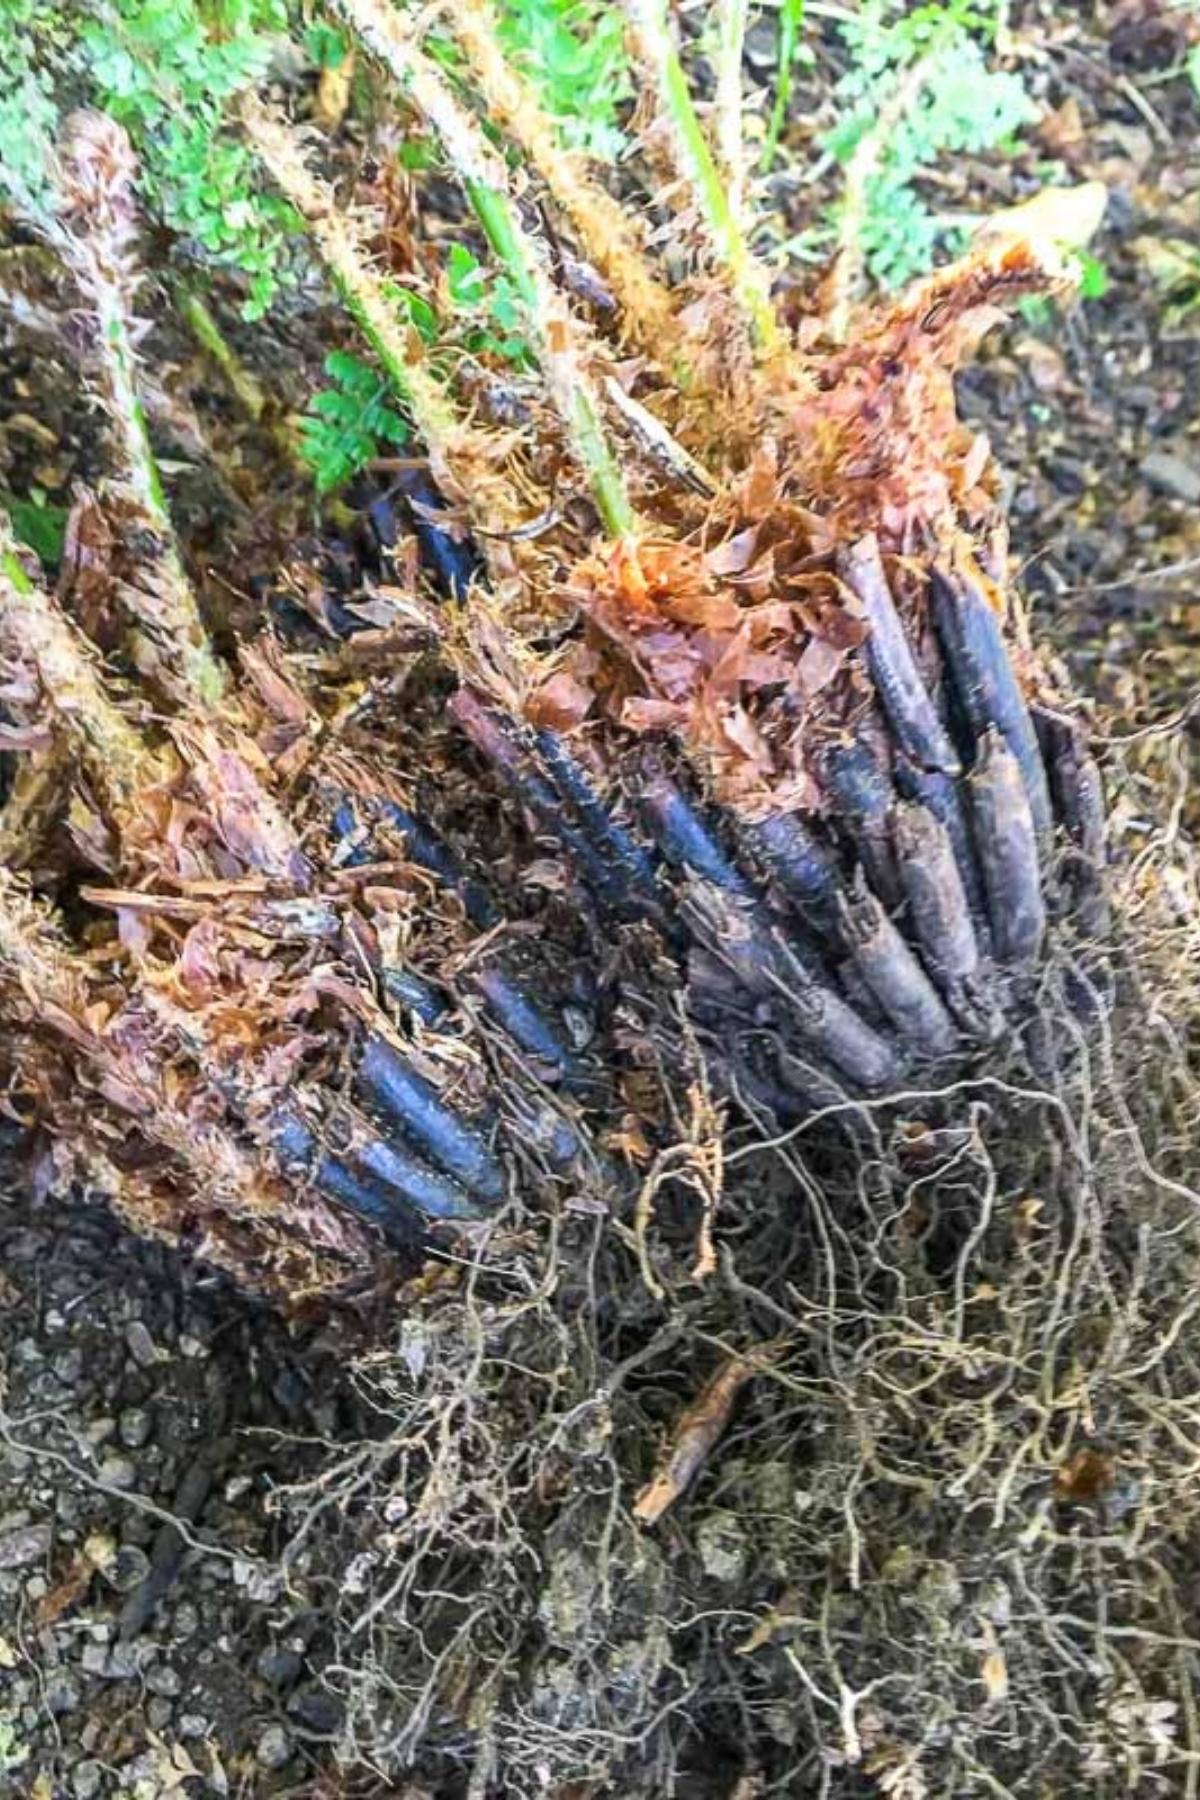
Once the fern is out of the ground, gently wipe excess soil away from the roots. If the fern is large, you can use a clean knife or serrated trowel to divide it into two or more pieces. Be sure that each piece has several live stems attached.

If you're transplanting a fern from a pot, water it well before removing it from the container. Next, tip the container on its side and gently tug the base to get it out of the pot. Don't pull on the leaves, or they could rip.
Once you have the fern out of the ground or container, move it quickly to the prepared planting hole. Adjust the soil level until the root ball is about ½-inch above the top of the surrounding soil. Pack soil around any gaps around the roots, then water thoroughly.
Caring for Ferns after Transplanting
Water
Give ferns about one inch of water weekly when it doesn't rain. Setting up drip irrigation is easy, and will give your ferns just the right amount of water right at the roots. You can learn more about the pros and cons of drip irrigation here.
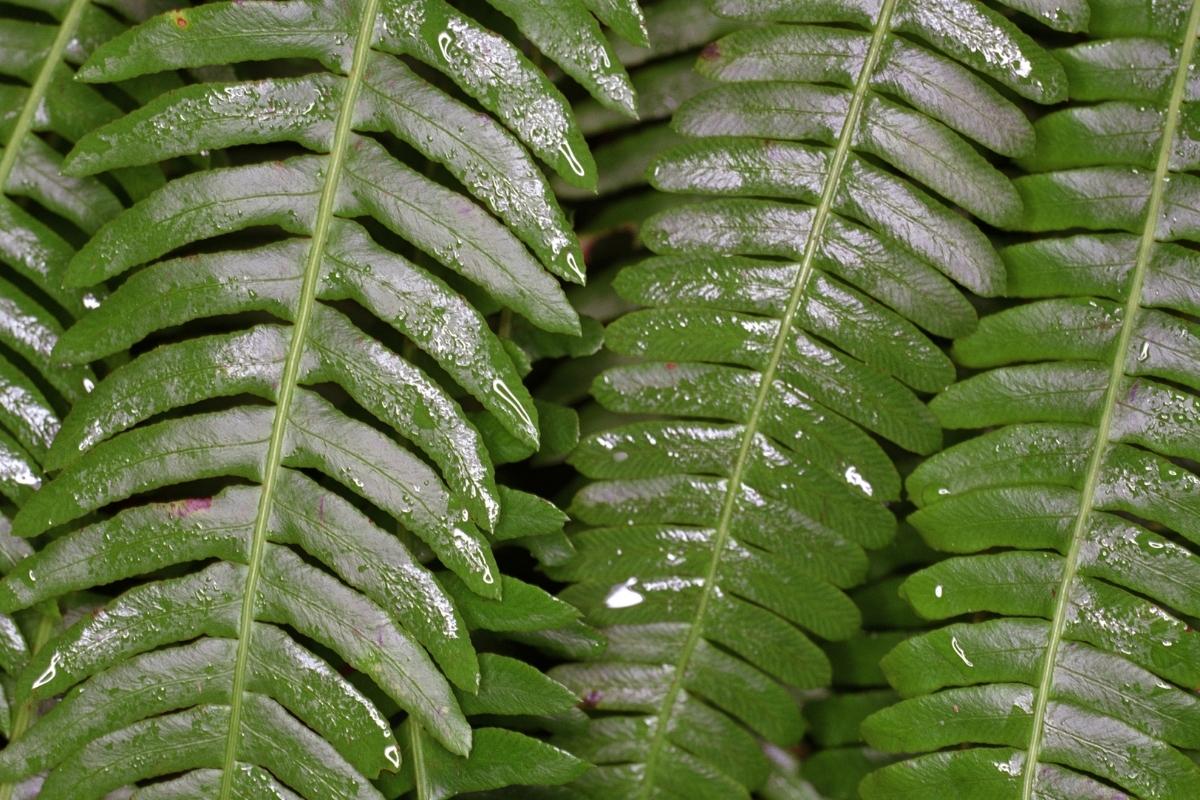
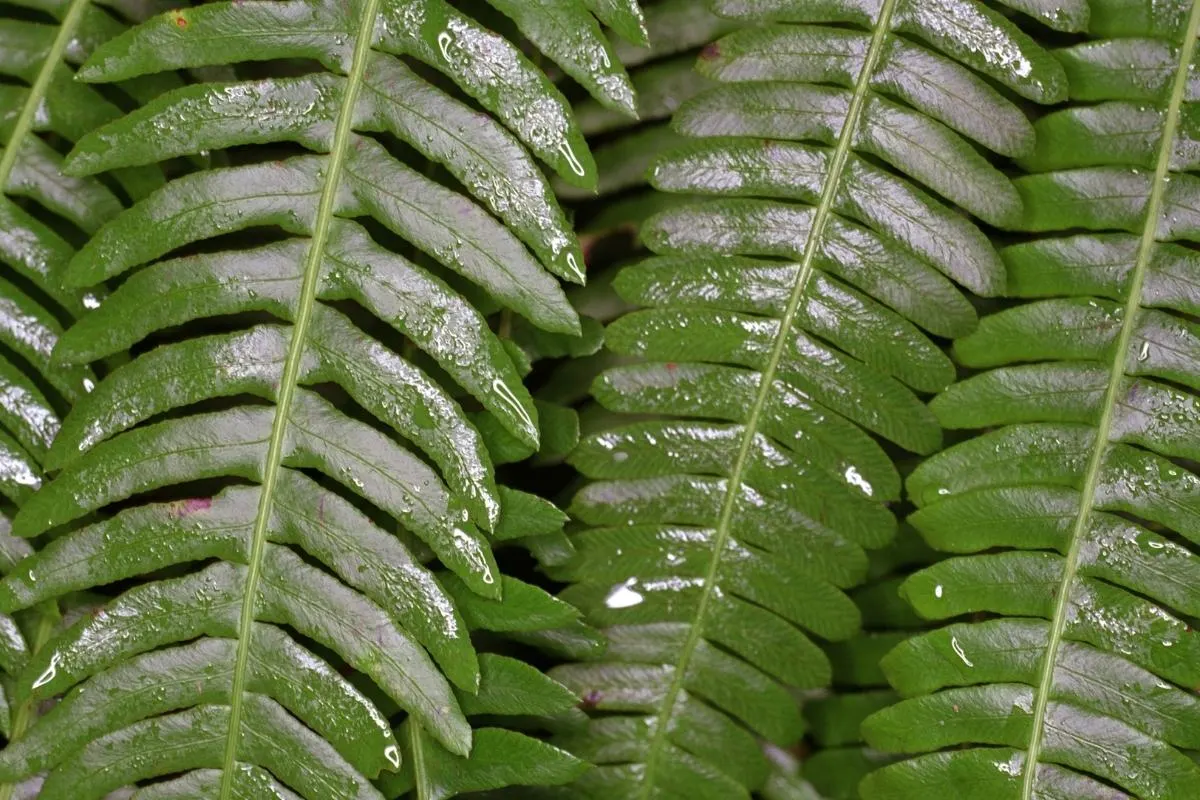
If you have hard water and use a hose or sprinklers to water your garden, you may notice white stains on your fern's leaves. These lime deposits interfere with the plant's ability to "breathe" and should be avoided if possible. Try aiming the water at the fern's roots, rather than the foliage.
Fertilizer
Ferns are highly sensitive to too much fertilizer and grow best with a layer of mulch around them.

The best way to keep ferns growing vigorously is to cover the surrounding soil with compost, worm castings, decomposed leaves, or pine needles. Mulch also keeps the soil moist and suppresses weeds.
Pests
Few pests bother ferns are planted in a suitable location with enough water. Occasionally, slugs can be a problem, and placing diatomaceous earth around the plant effectively controls them.
If you find fungus gnats, it can indicate conditions are too wet. Reduce watering without letting the plants dry out completely.
Transplanting ferns is a pretty easy process. With the right conditions, you'll be rewarded with healthy, happy plants that provide a beautiful backdrop to your shade garden!
Check out these other articles about ferns!