Presprouting ranunculus corms is a great way to get a jump start on the growing season. Here's how to pre-sprout ranunculus bulbs indoors!
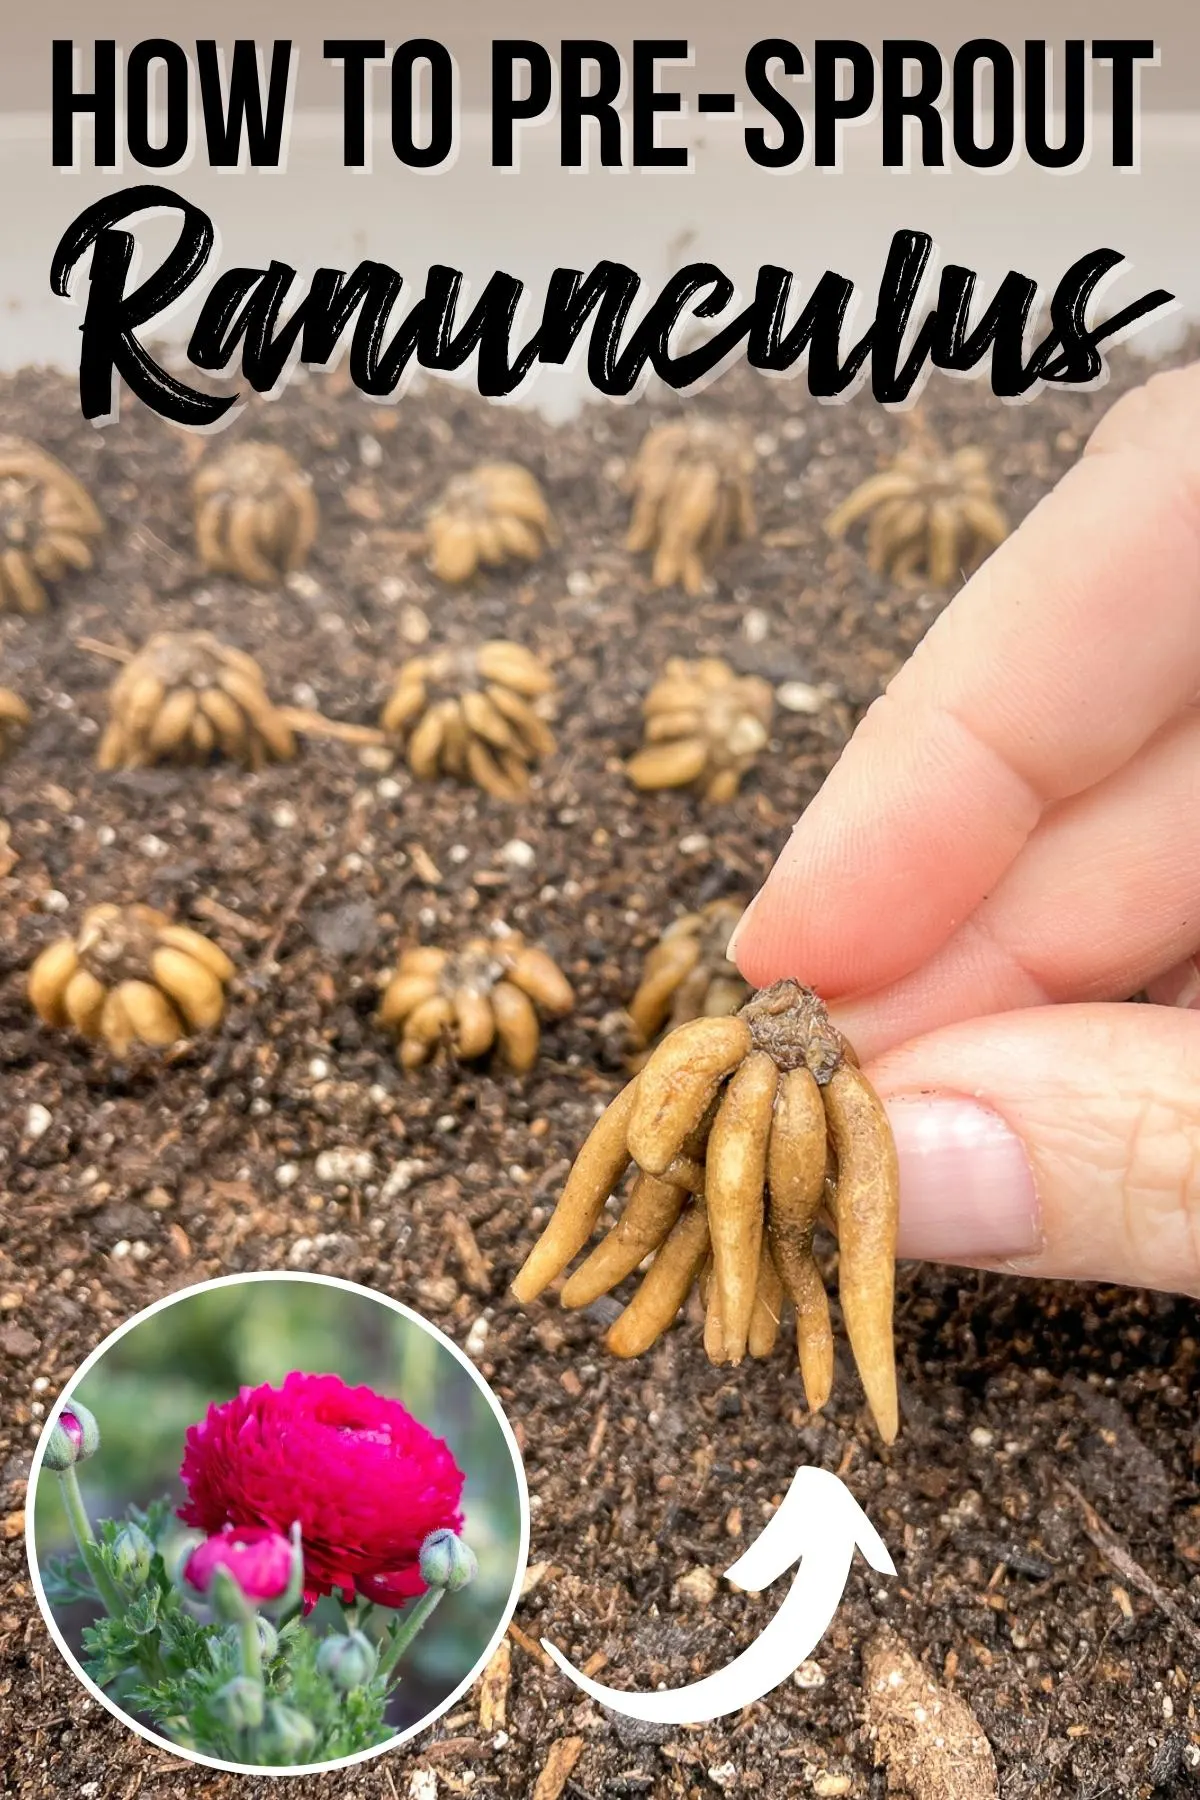
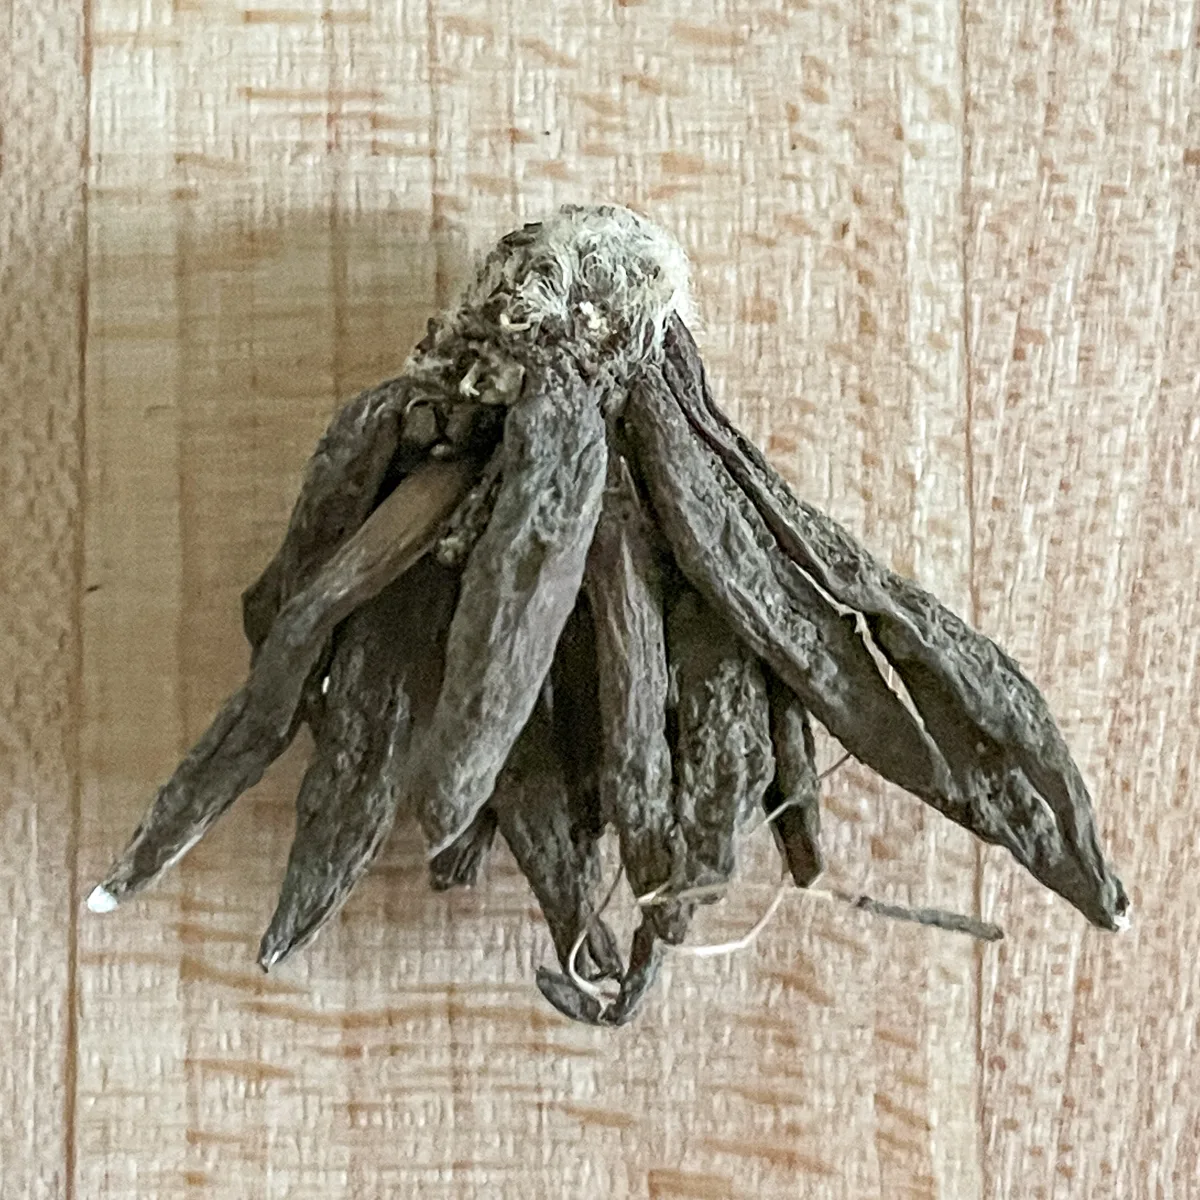
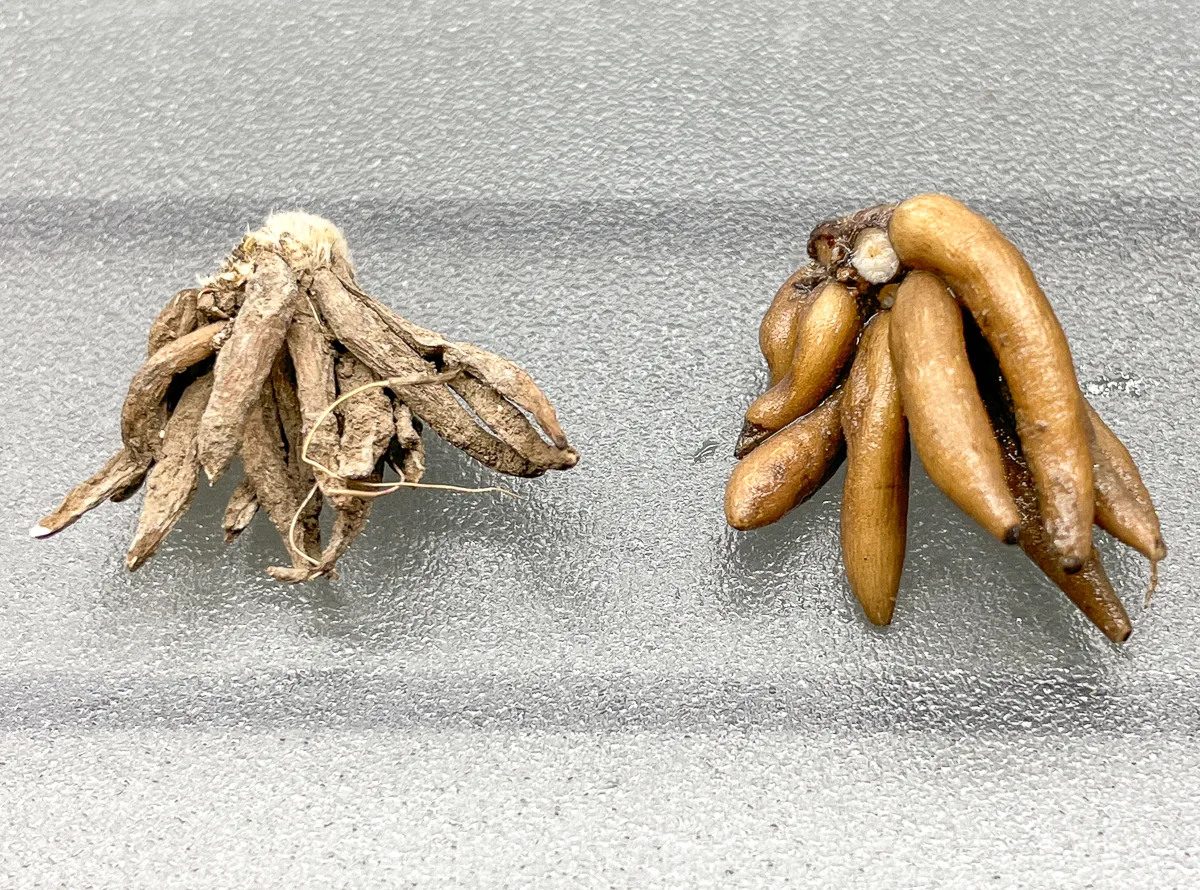
Ranunculus bulbs, which are called corms, don't look like much when you get them. They look like tiny dahlia tuber clumps or dried out octopus tentacles. But those ugly little things create amazing flowers!
Presprouting ranunculus corms in late winter is a great way to get a jump start on the growing season. This simple process allows you to get a head start on these beautiful blooms, so they have more time to mature before planting outdoors.
The pre-sprouting process involves soaking the corms, then storing them in pre-moistened soil in a cool, dark place until they start to sprout. Once they begin to form roots, you can leave them under grow lights until the weather warms up, or transplant them directly into your garden.
Let's get growing!
This post contains affiliate links for your convenience. Purchases made through these links may earn me a small commission at no additional cost to you.
Why pre-sprout instead of direct sowing
Pre-sprouting ranunculus is the best way to get a high germination rate and ensure that your plants will thrive.
Waking up the corms indoors allows you to get a head start on the growing season, as it takes less time for them to sprout in a warm environment than direct sowing them in cold soil.

Additionally, pre-sprouting allows you to select only healthy corms for planting, eliminating any weak or diseased ones before they can take root. It's also easy to spot the duds that are moldy, rotted or just won't grow, so you don't end up with empty spots in the garden.
By pre-sprouting your ranunculus corms, you can ensure that your flower beds will be full of beautiful blooms come springtime!
Timing
Depending on your growing zone, you can presprout ranunculus for planting in late fall or early spring. Zones 7 and above can plant the corms in fall and overwinter them with either frost fabric or mounded up mulch. If you live in a colder climate, you should start the presprouting process in late winter for planting out in early spring.
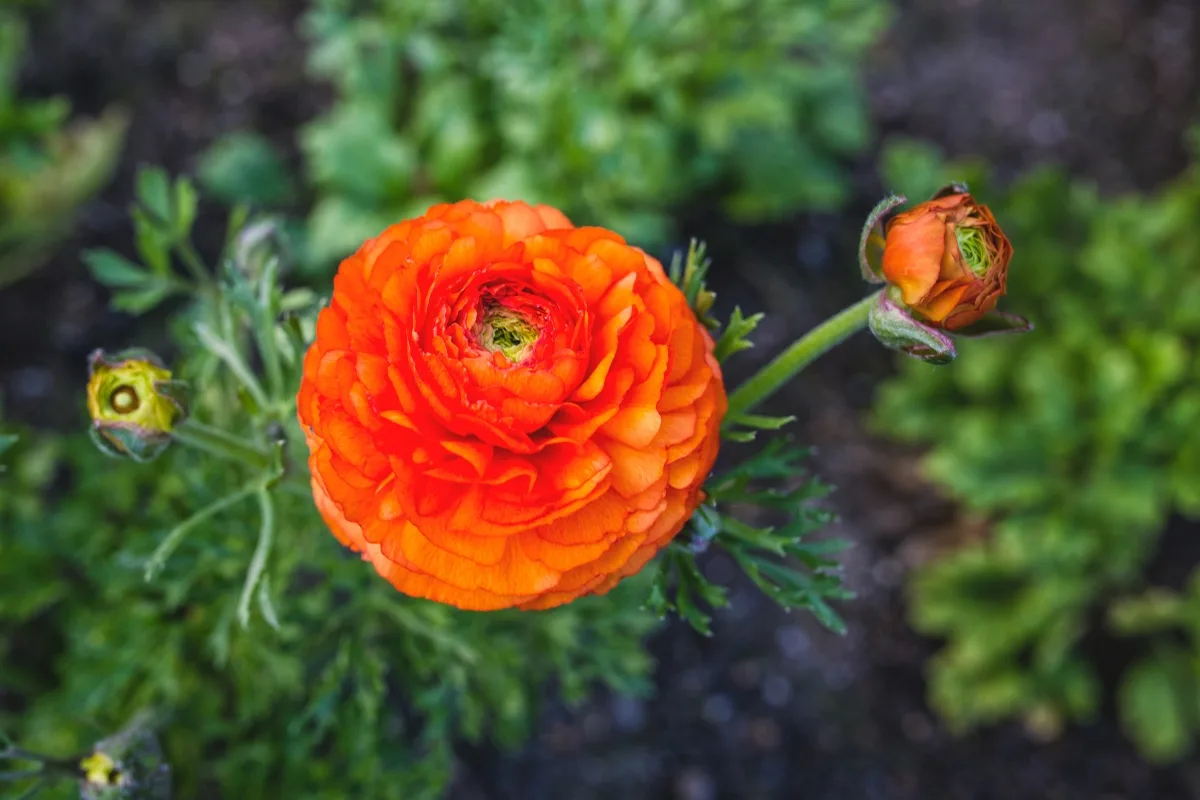
Even though I live in zone 8b, I decided to wait until late winter to plant my corms this year. Last year, Seattle's fall weather was crazy, with summer-like temperatures until November that switched to snow almost overnight!
We also get a lot of rain over the winter, which can rot out ranunculus bulbs. I didn't want to risk my plants getting damaged, so I played it safe and patiently waited until mid-February to start presprouting.
Materials Needed
I originally ordered my ranunculus corms from Eden Brothers, then dug up the corms and stored them over the winter. Ranunculus will multiply underground over the growing season, so you can double your blooms every year!
In addition to the corms, you'll also need a flat seed tray without holes and good quality potting soil.
Soak the corms first
The first step to waking up your corms is to give them a good soak in room temperature water for three to four hours. This will plump them up and get them ready to sprout!
If you have a lot of different varieties, you can pour each type into their own mesh laundry bag to keep them separated in a larger bucket. I only had one small bag, so I used that on the 100 assorted corms and plopped the rest into disposable cups.
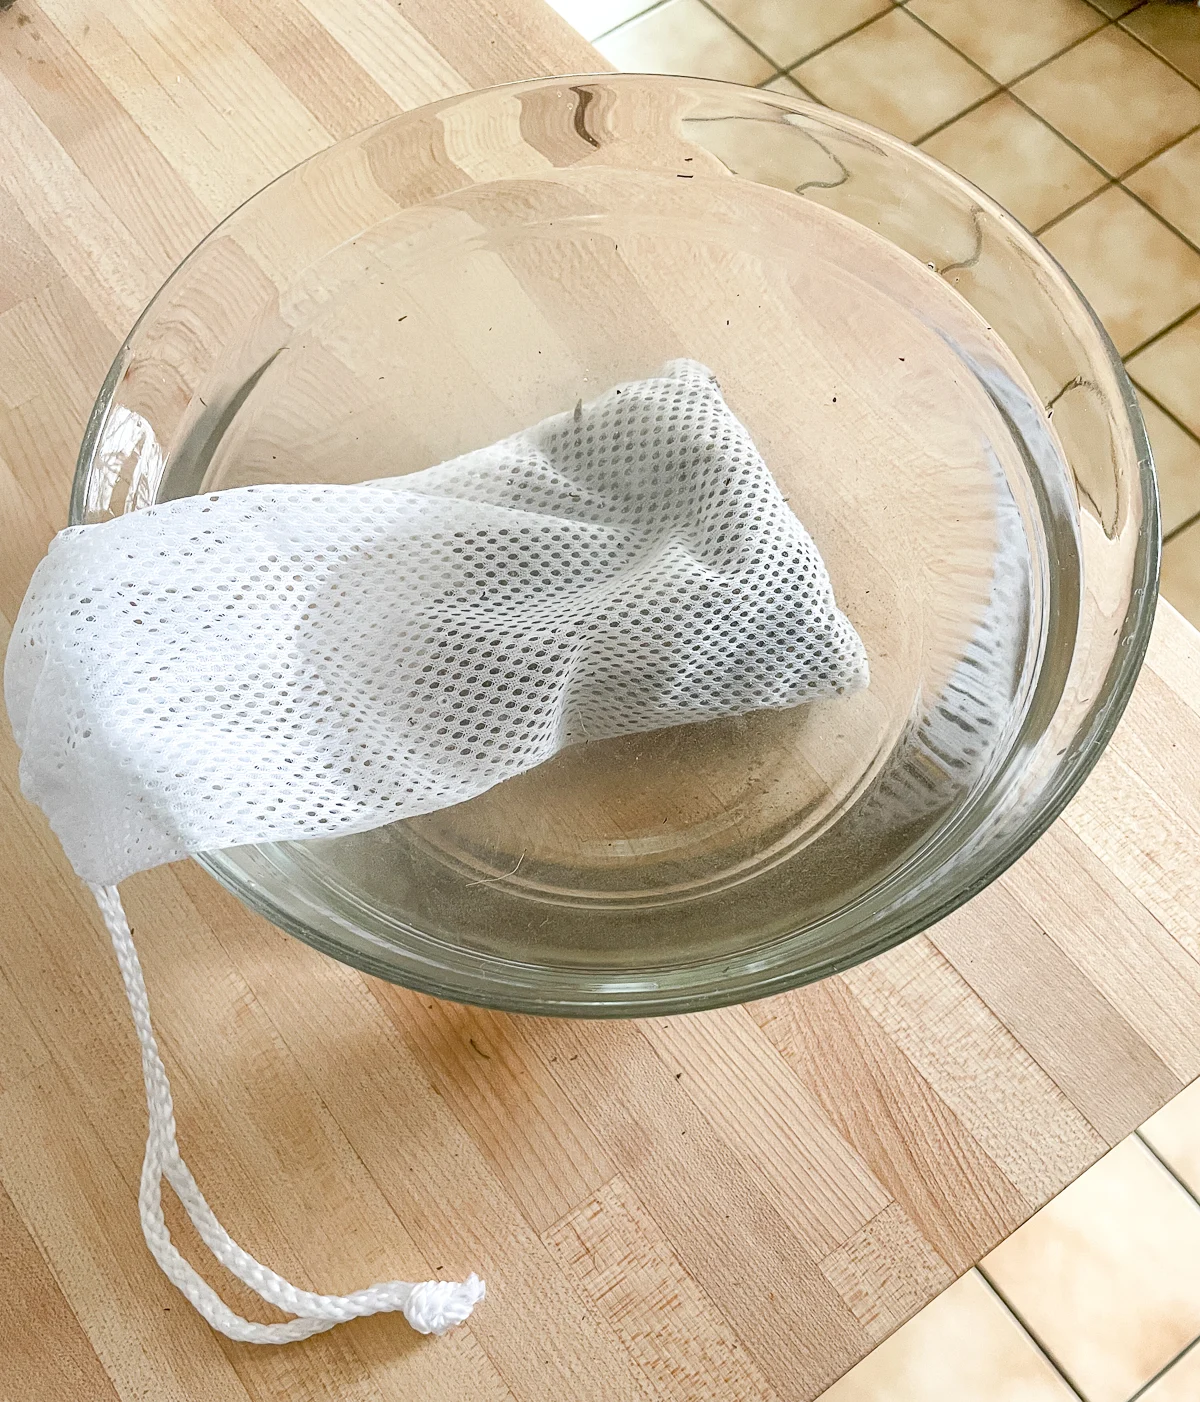
Some people say that you should keep the water oxygenated by using a fish tank pump or keeping the bucket under a trickle of water. I just replaced the water in the bowl once an hour, and that seemed to do the trick.
Plant the corms in shallow trays
While the corms are soaking, prepare the soil in your trays. I have these flat trays that I use for growing microgreens that work great for this process. Just make sure the seed trays are sterilized to kill off any fungus or disease that could ruin your flower crop!
Moisten the soil so it's damp but not dripping wet, then spread out an inch or two of soil across the bottom of the tray.
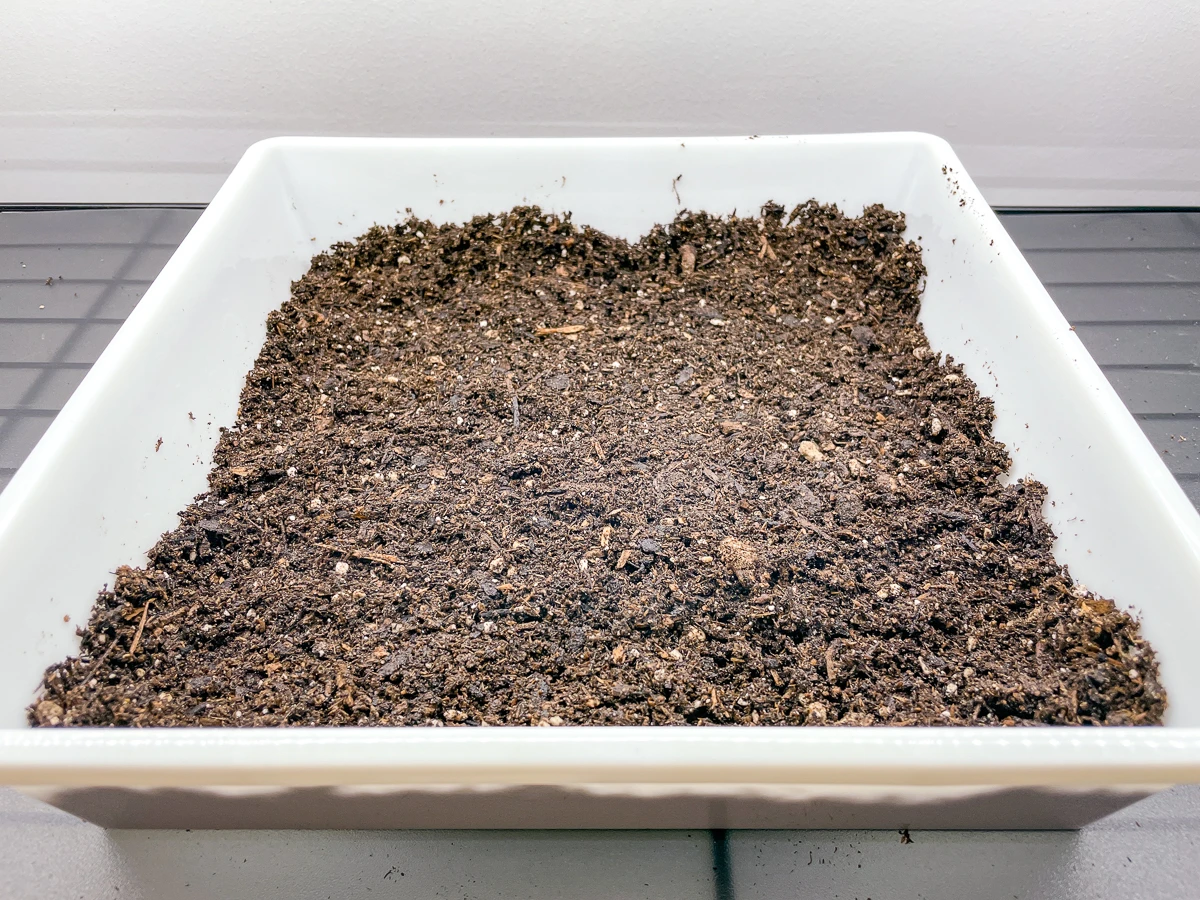
After the corms have plumped up, place them with their little legs facing down into the soil. You can arrange them much closer than you would out in the garden, because they're not going to be growing in the tray for long.
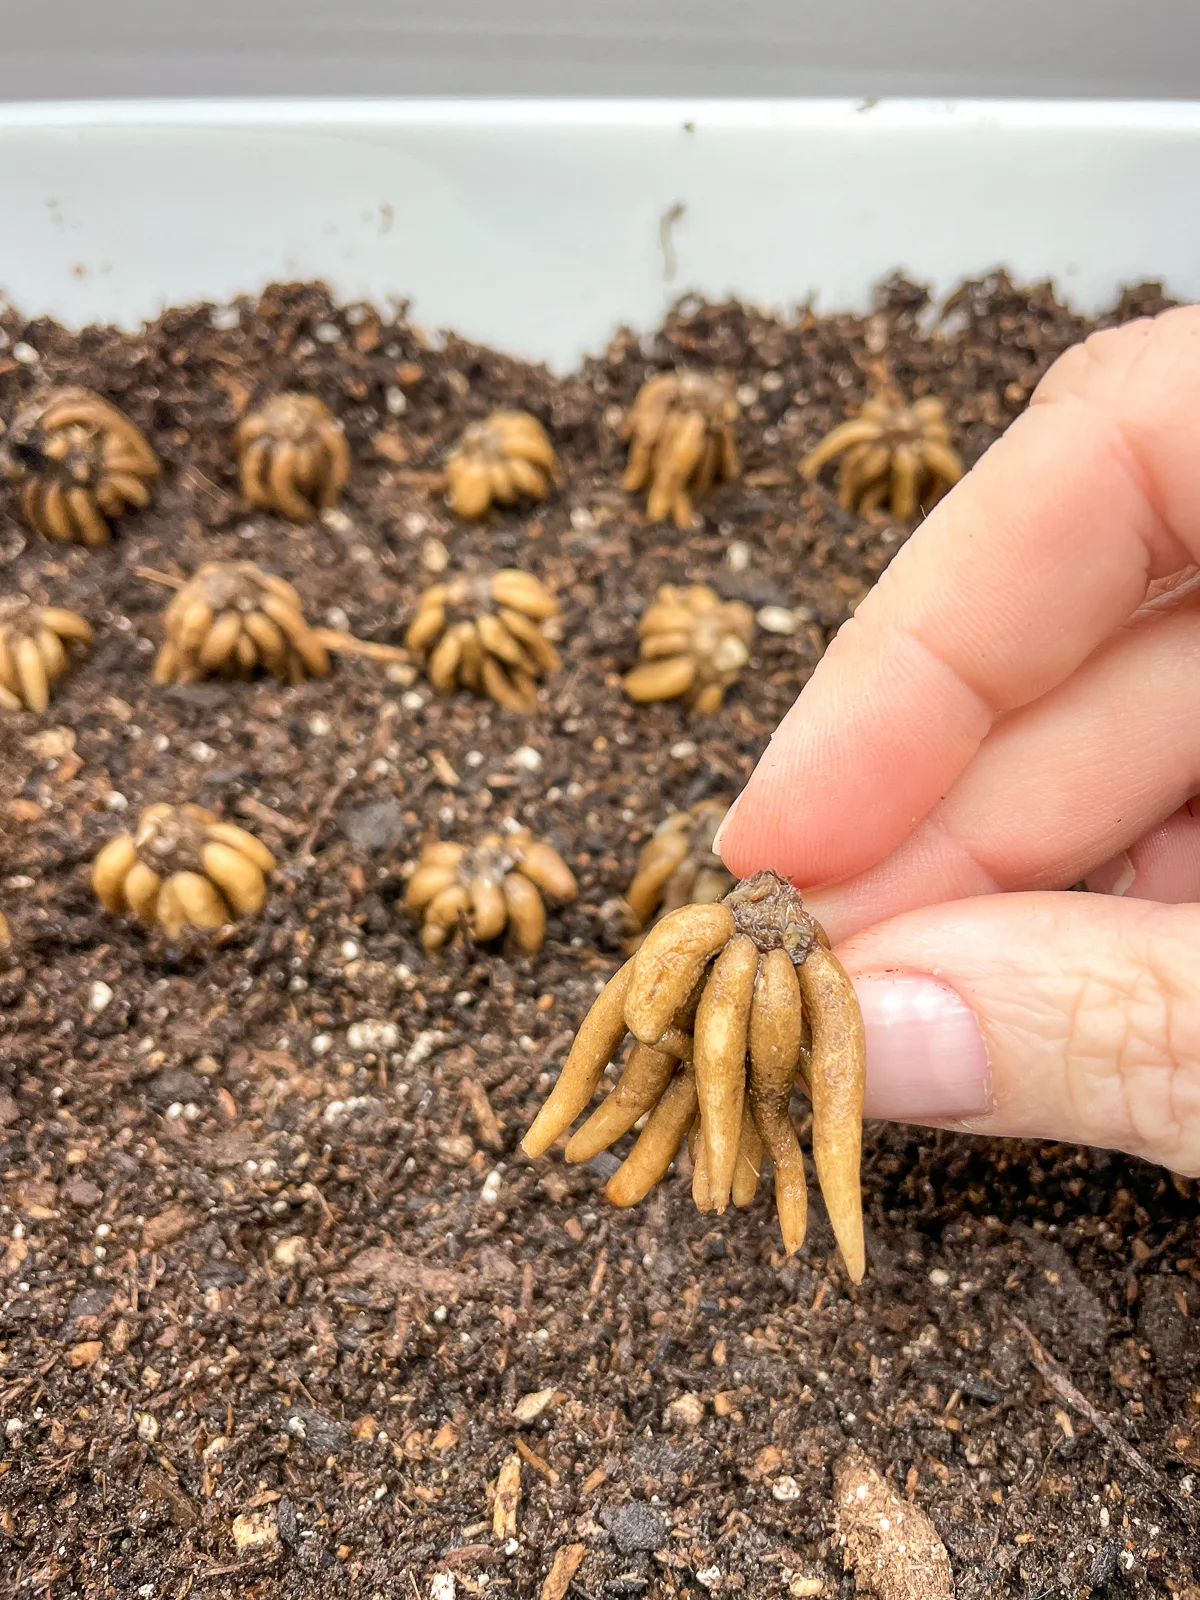
Then cover the corms with more soil until they're completely underneath the surface.
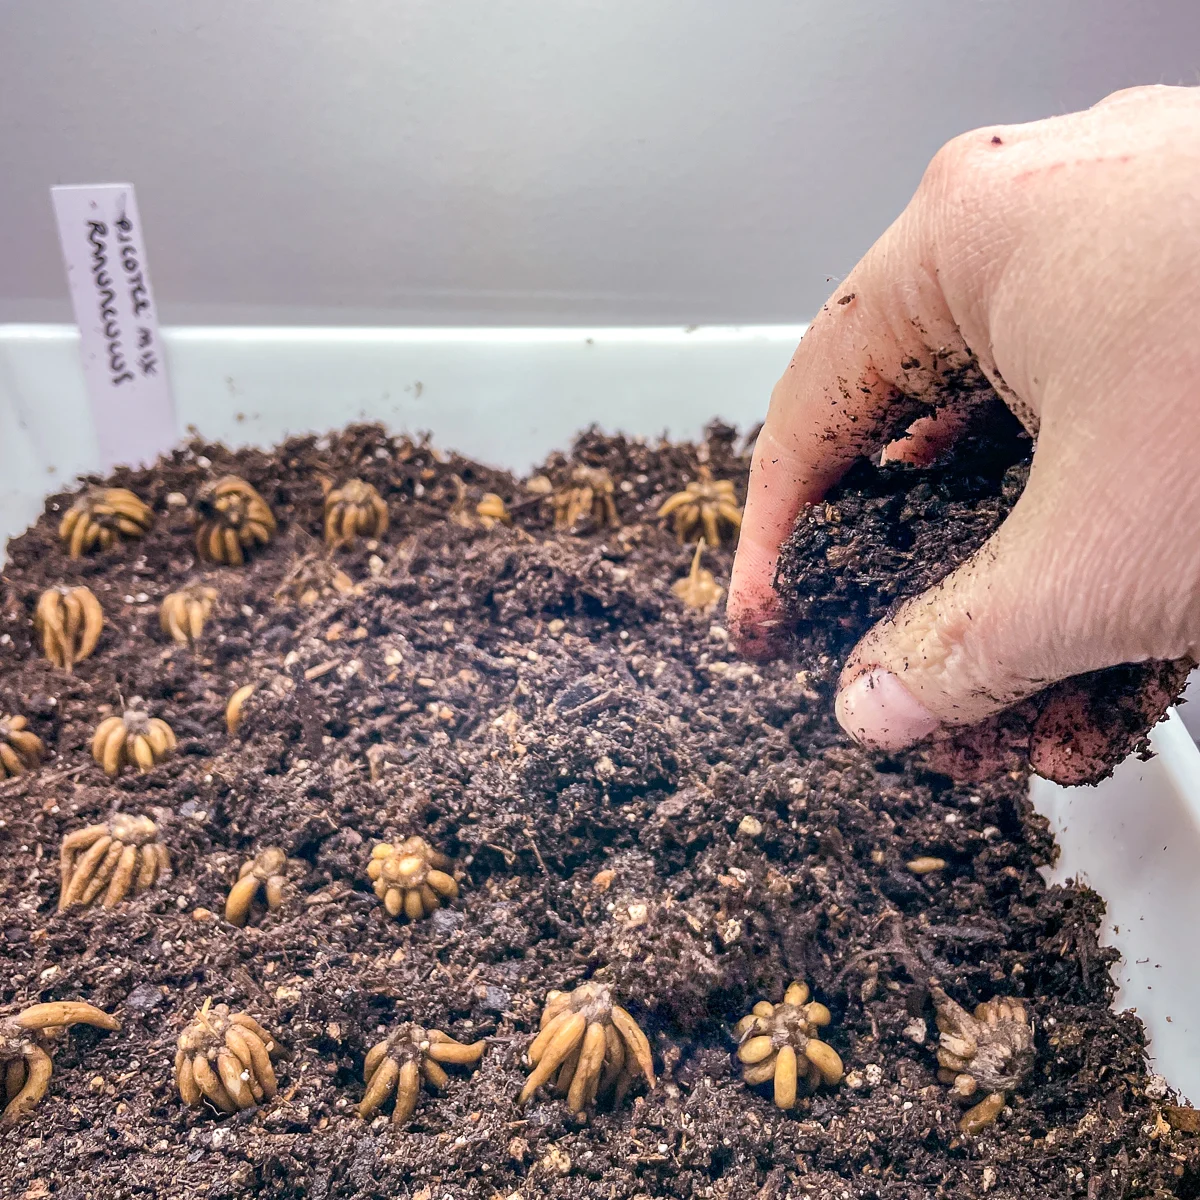
Keep in a dark, cool spot
You don't need to put the trays under grow lights until you start to see sprouts pushing through the soil surface. I keep mine on the top shelf of my grow light rack in the basement, where it stays fairly cool and I can keep an eye on them.
If you notice the soil starting to get dry, mist the surface lightly with water. You don't want to dump a ton of water into the tray, or your ranunculus corms will rot!
Move to grow lights or outdoors after sprouting
After 7 to 10 days, poke around in the soil looking for signs of life. You should see fine white roots emerging from the corms.
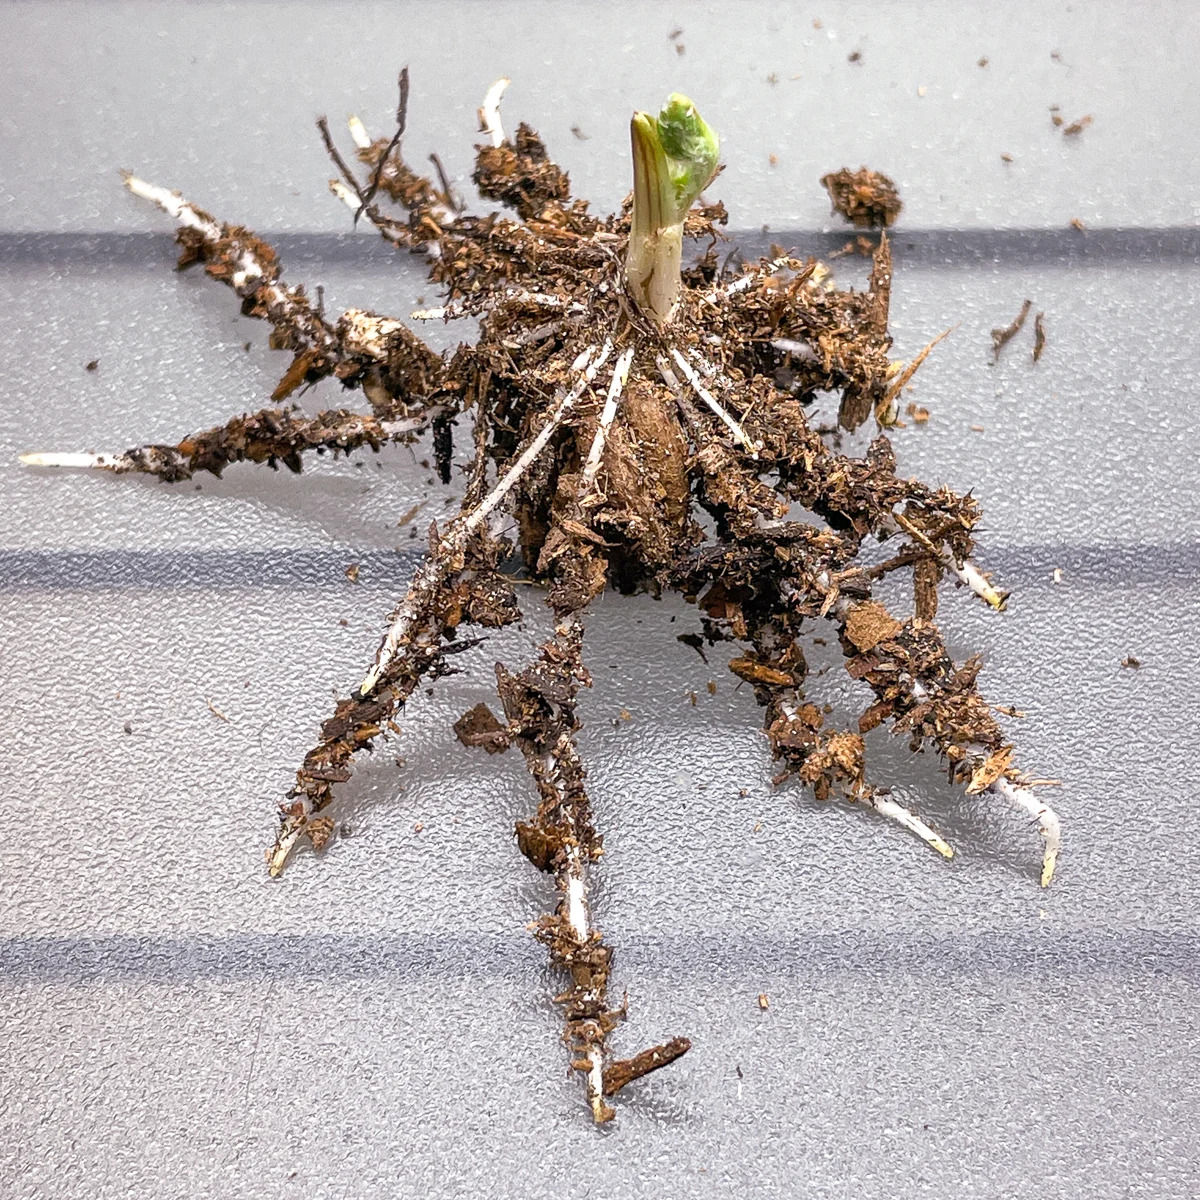
Once you start to see green shoots coming out of the top of a few corms, move the tray under grow lights. Continue to mist the tray with water once a day to keep the soil moist.
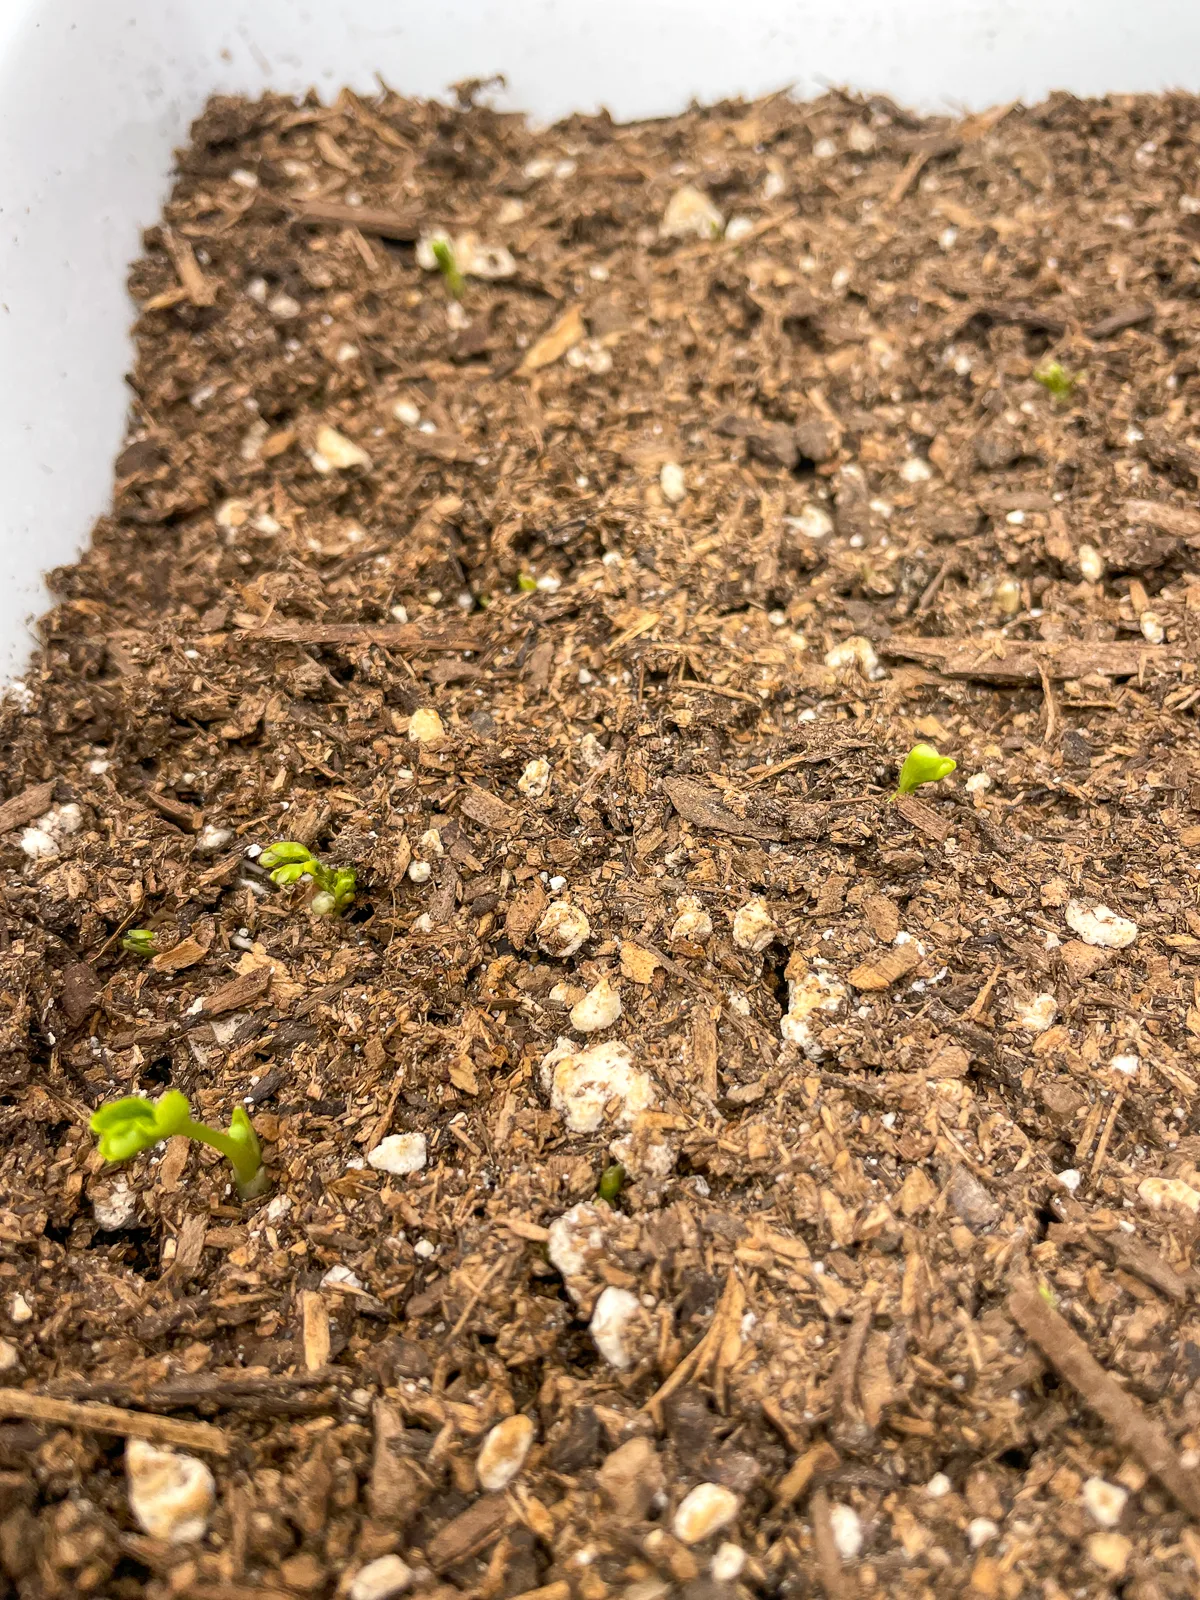
If you notice some corms haven't sprouted, dig them up and check them out. Sometimes they're just slow, and you'll see plenty of roots signaling a healthy plant. But if the corm is squishy or moldy, throw it away immediately so it doesn't affect the other plants.
You can transplant your presprouted ranunculus bulbs in the ground once you start to see green shoots, or keep them in their tray to allow the plants to develop strong roots. I keep them under grow lights indoors until there's a good weather window in late winter or early spring to plant them out.
Check out this tutorial for tips on planting and caring for ranunculus outdoors!
Check out these other cool weather flowers to start from seed!


