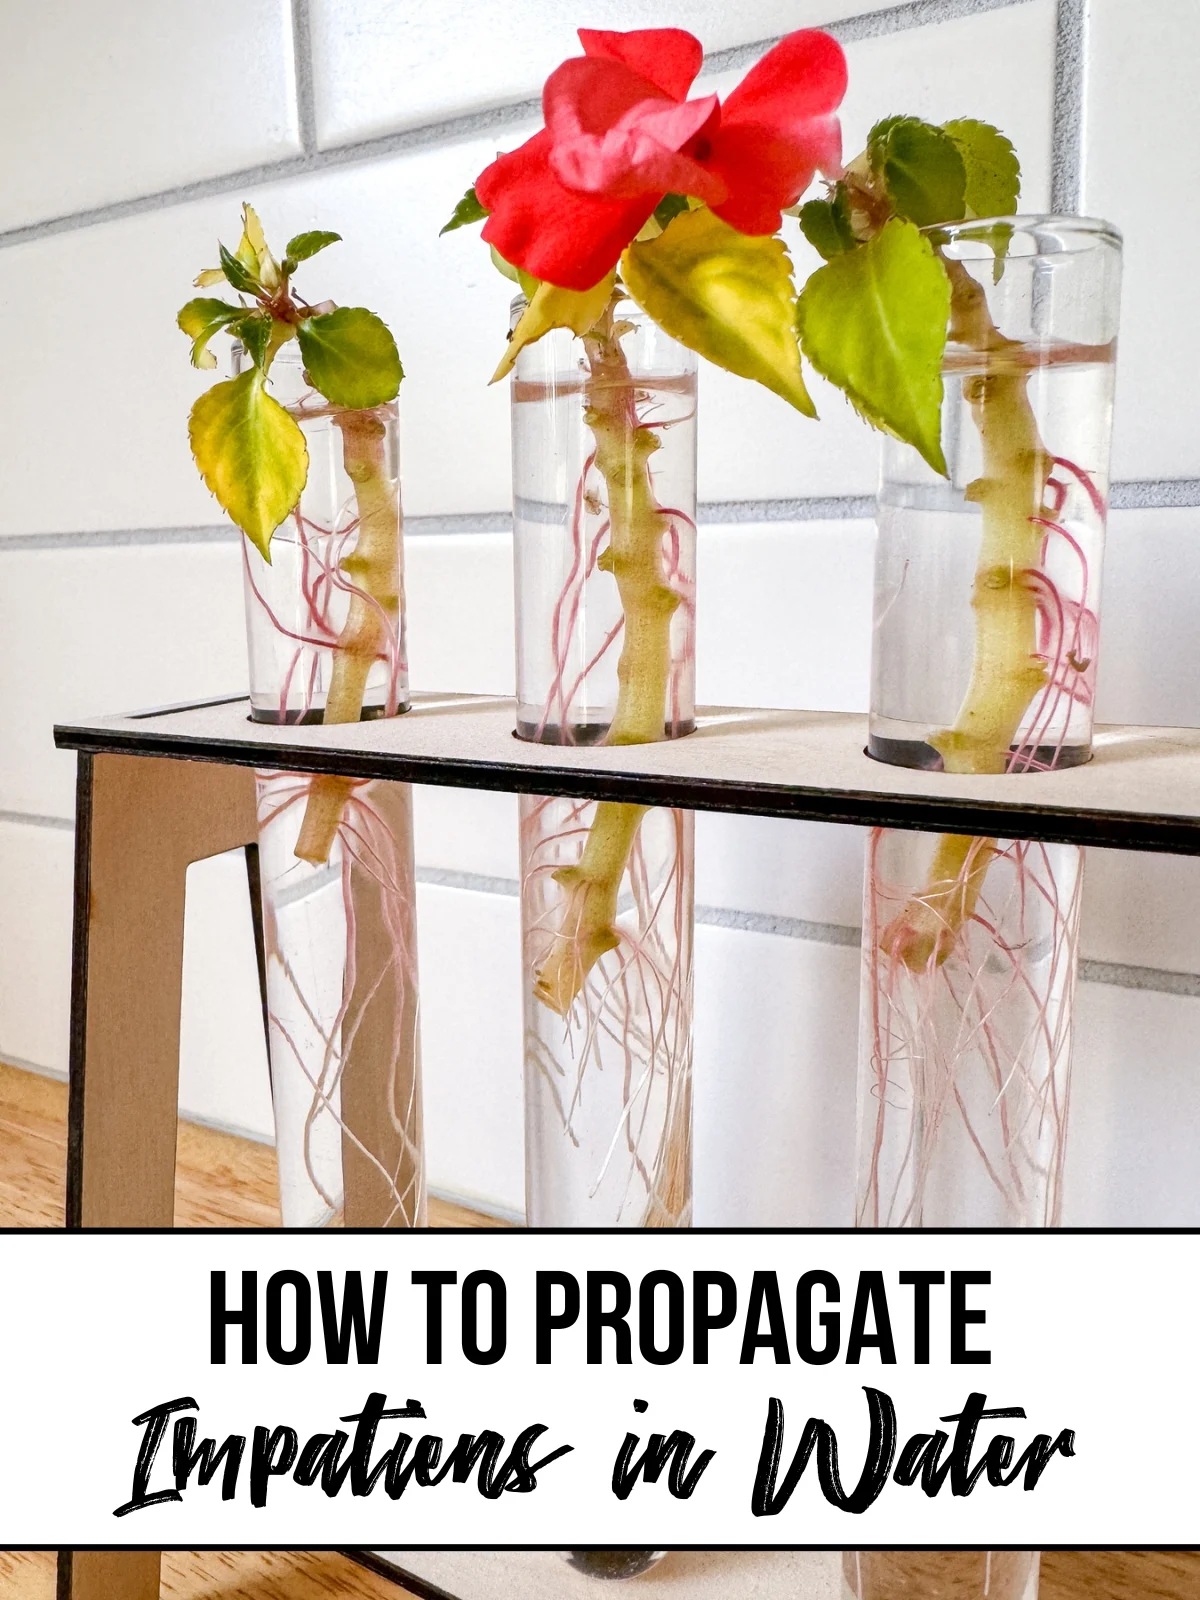
Want more impatiens in your garden? Learn how to propagate impatiens from cuttings in water or soil to easily multiply your plants!
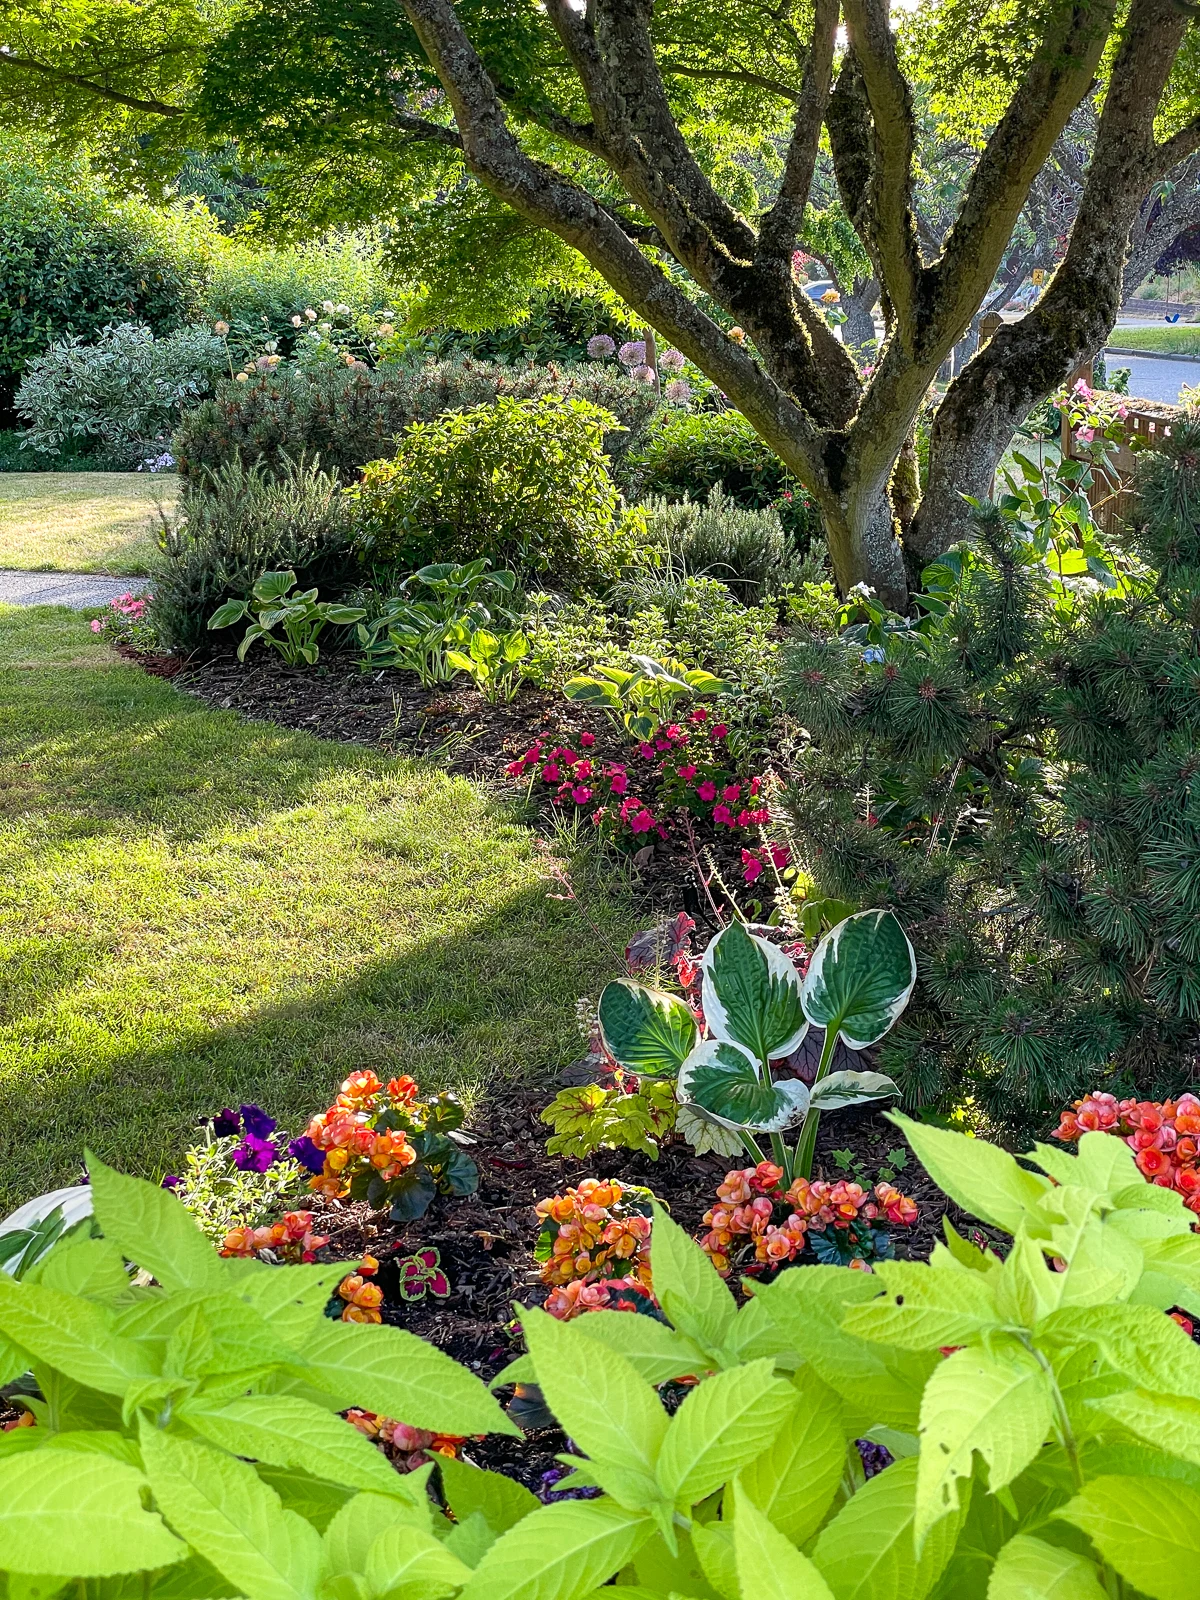
Impatiens are my go-to flower for shady spots in the garden. Their blooms add a pop of bright color, and the foliage creates a dense ground cover to prevent weeds from sprouting.
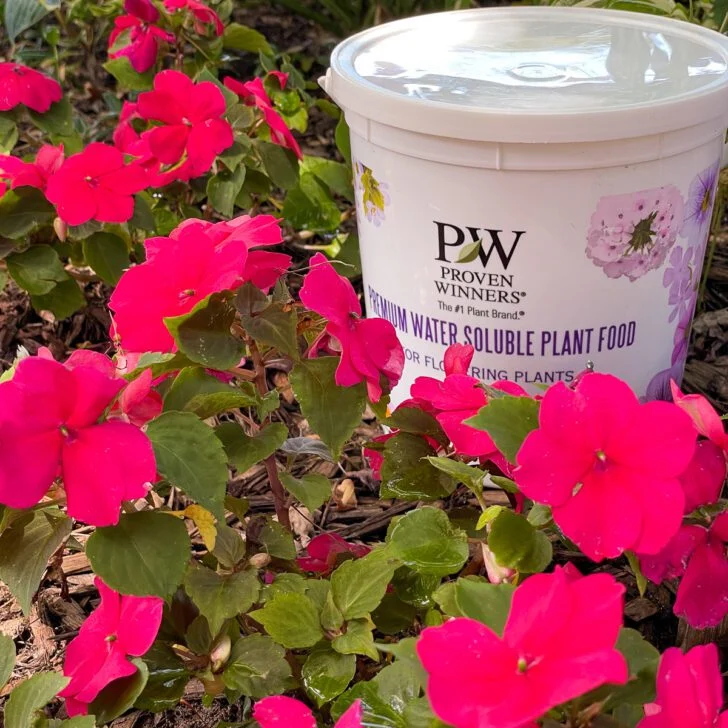
I planted a drift of bright pink impatiens under our Japanese maple tree this spring, and I absolutely loved how it looked! I ended up adding a flat of coral impatiens as well to create a colorful border along the lawn.
I want the same garden design in the future, but I don't want to spend all that money on new plants every year. Impatiens are annuals in my growing zone, so the first hard frost will kill them.
Luckily, propagating impatiens from cuttings is really easy! I can duplicate my existing plants, nurture them over the winter, and plant them in the ground next spring!
Here's how!
This post contains affiliate links for your convenience. Purchases made through these links may earn me a small commission at no additional cost to you.
Take cuttings from healthy impatiens
These impatiens were still going strong in October! You can see the bright pink Saxifraga Dancing Pixies I planted last year in the background. I totally forgot about this fall-blooming perennial, so it was a happy accident that the colors matched!
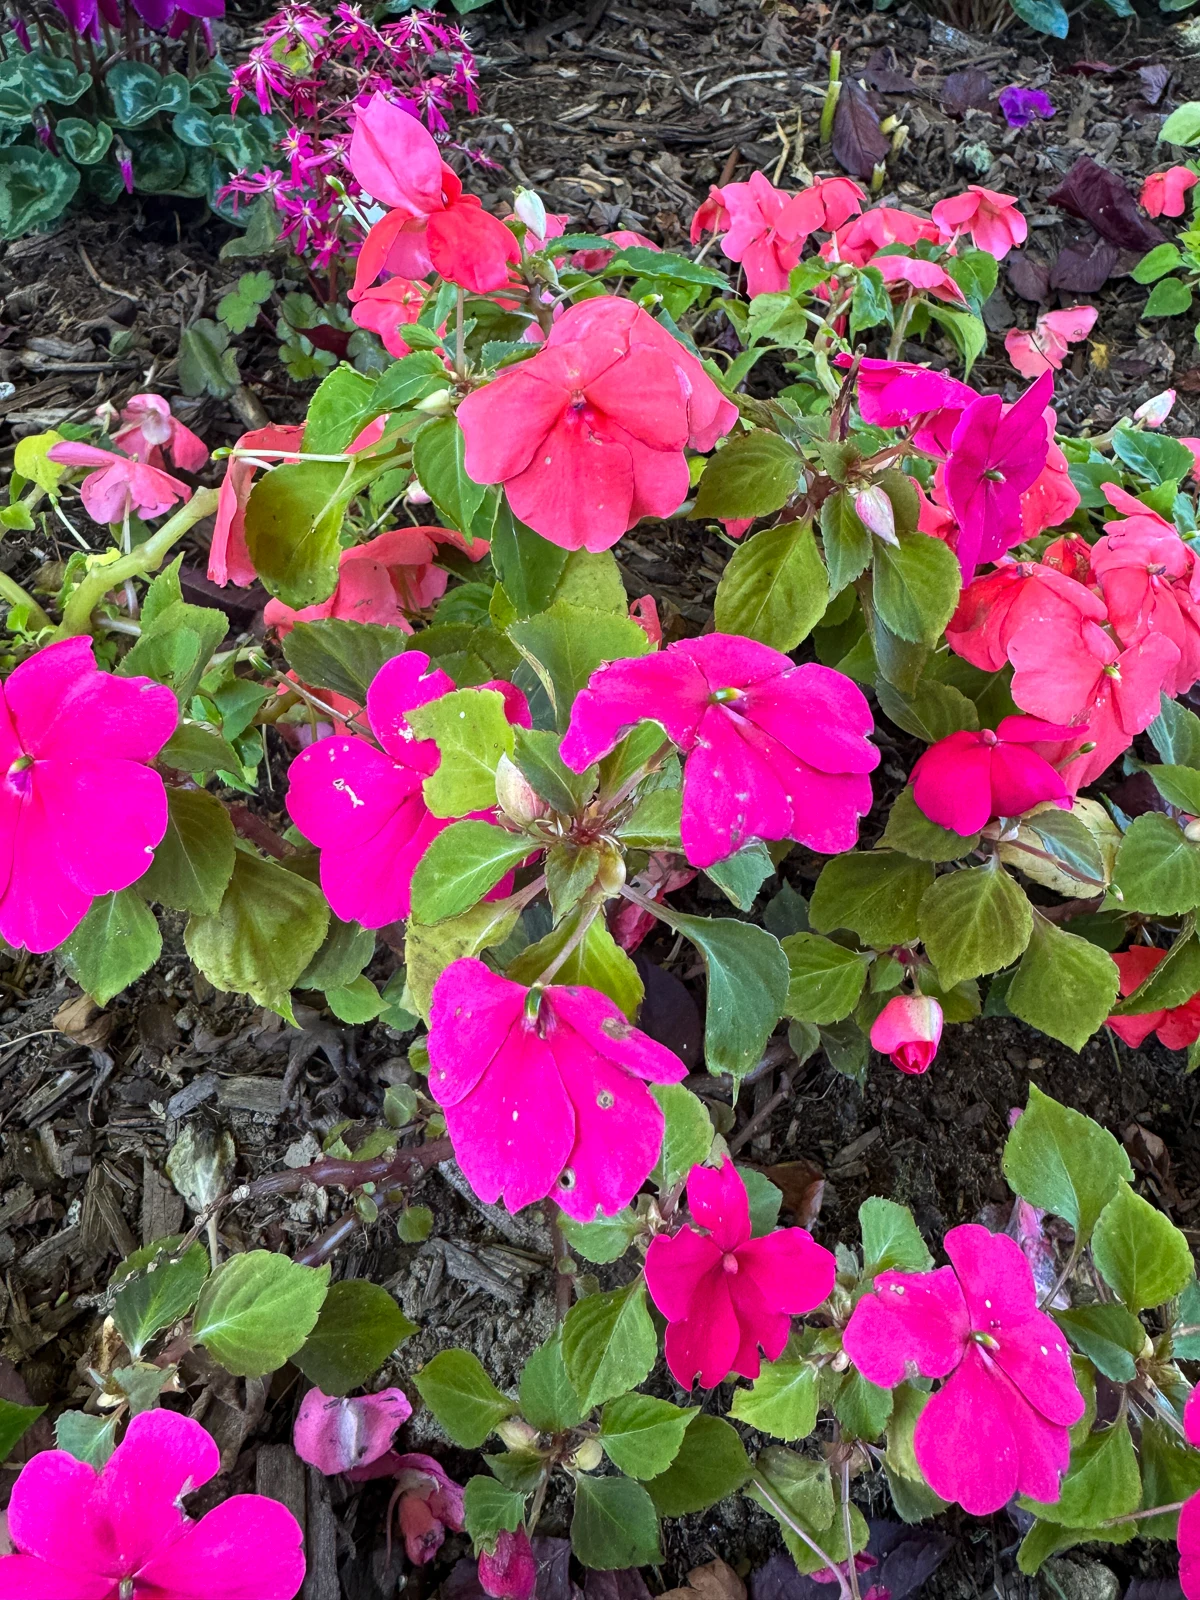
By this point in the season, the plants had grown long stems that are really easy to take cuttings from. But you can also do this in the spring or summer with stems that are 3-6 inches long.
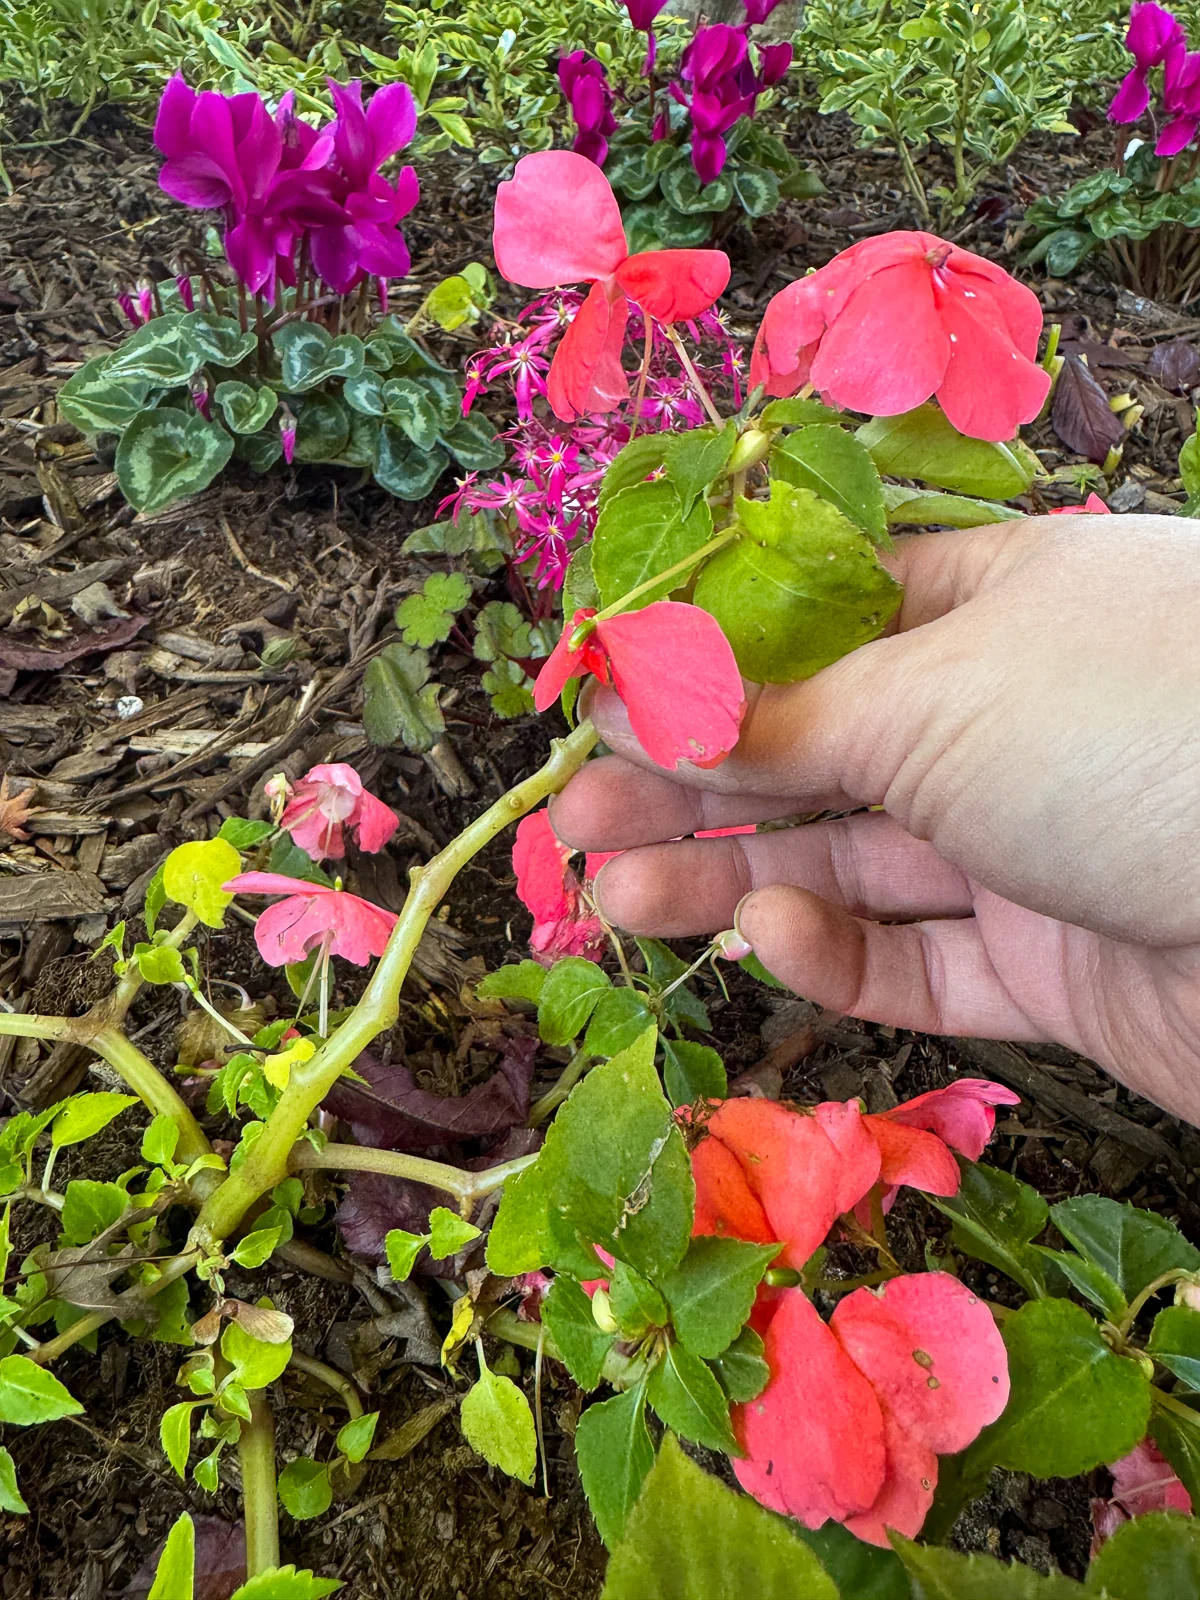
All those bumps along the stem are nodes, from which roots can grow. If those nodes touch the ground or are placed in water, they can form new roots.
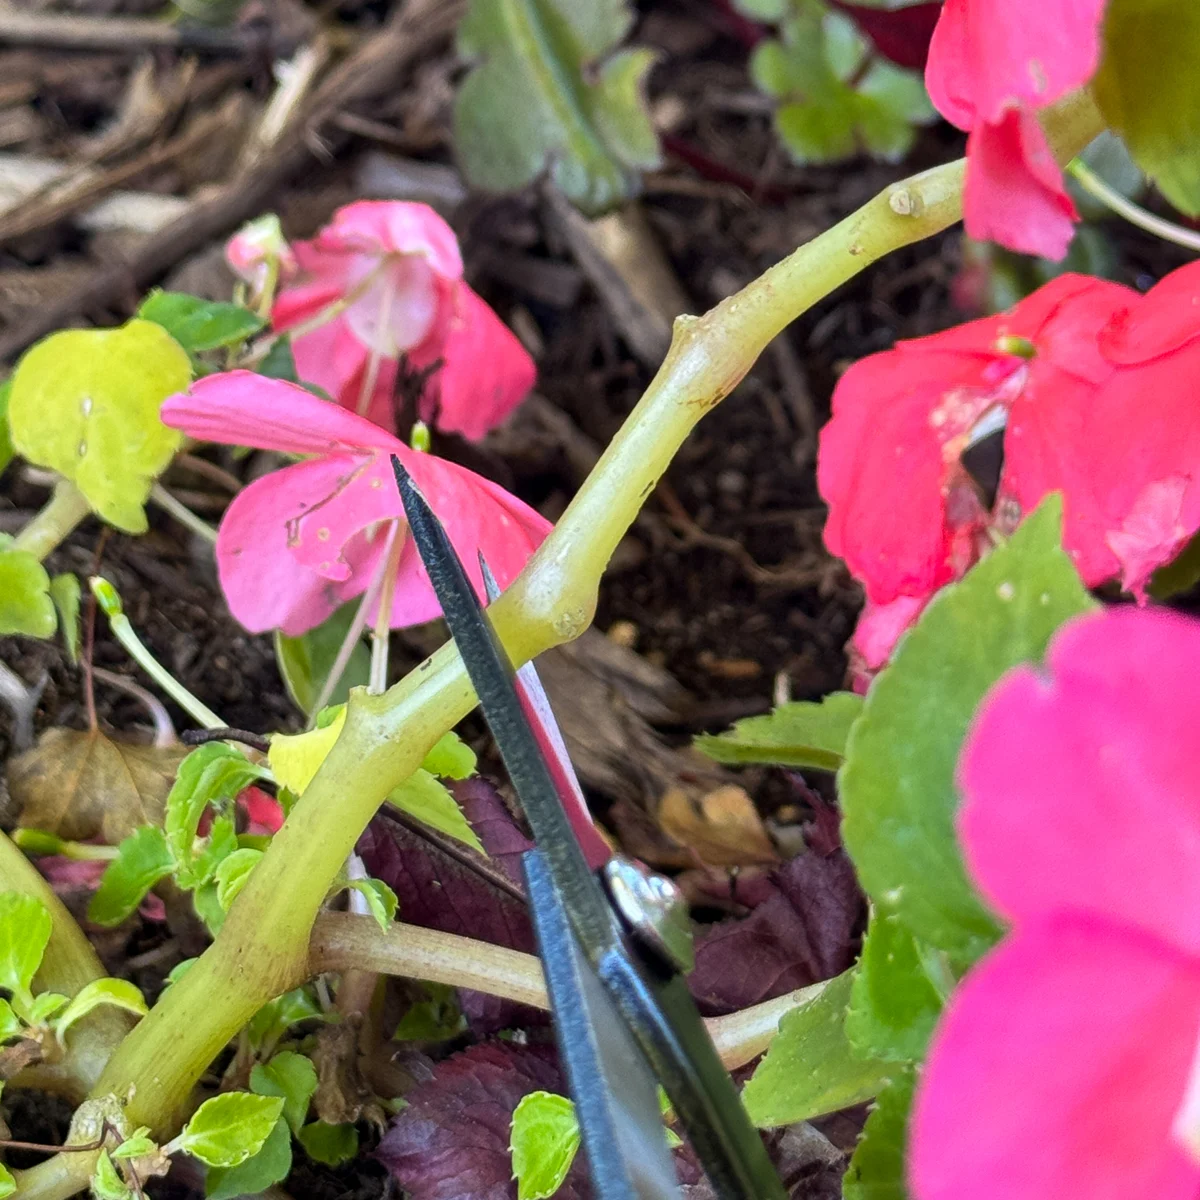
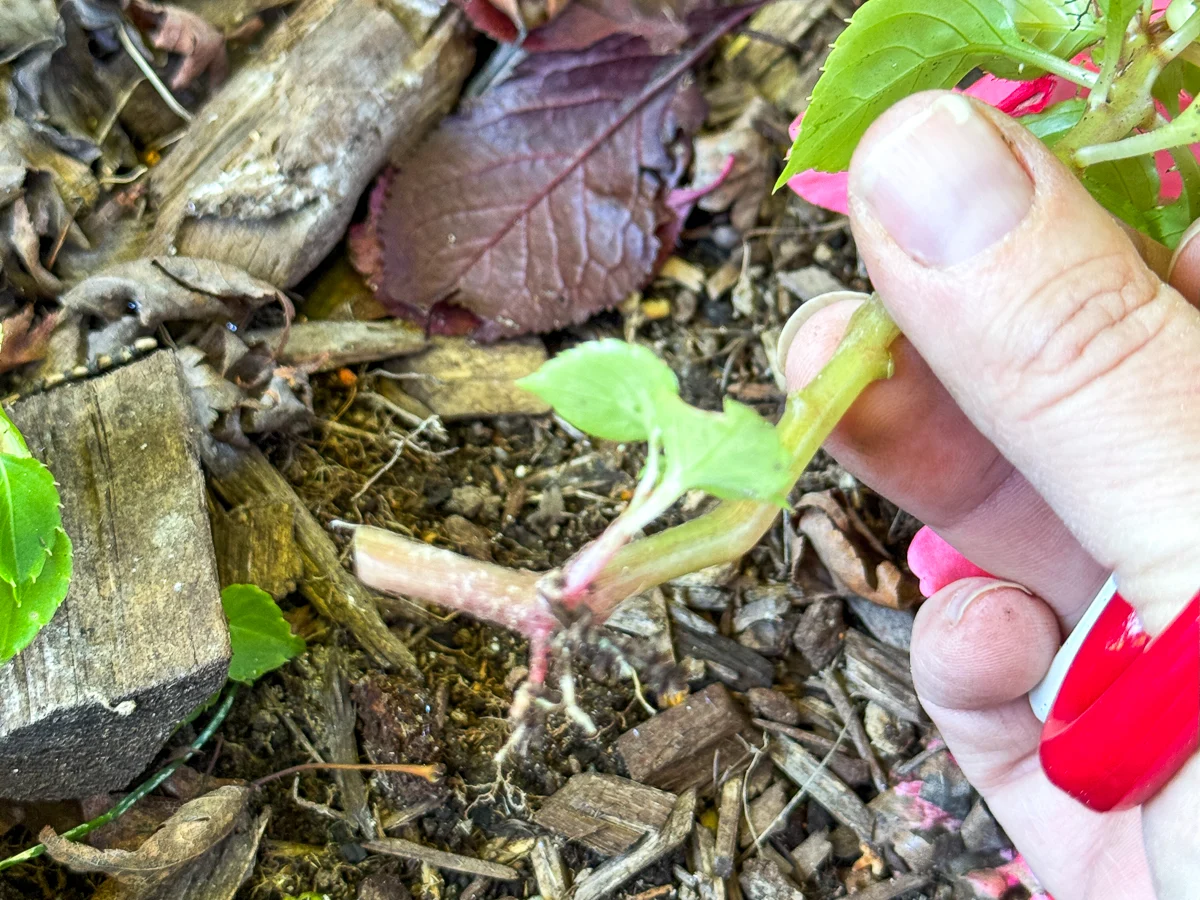
This stem already started rooting at a node, so I cut it off and stuck it directly into a small pot of soil to see how it grows.
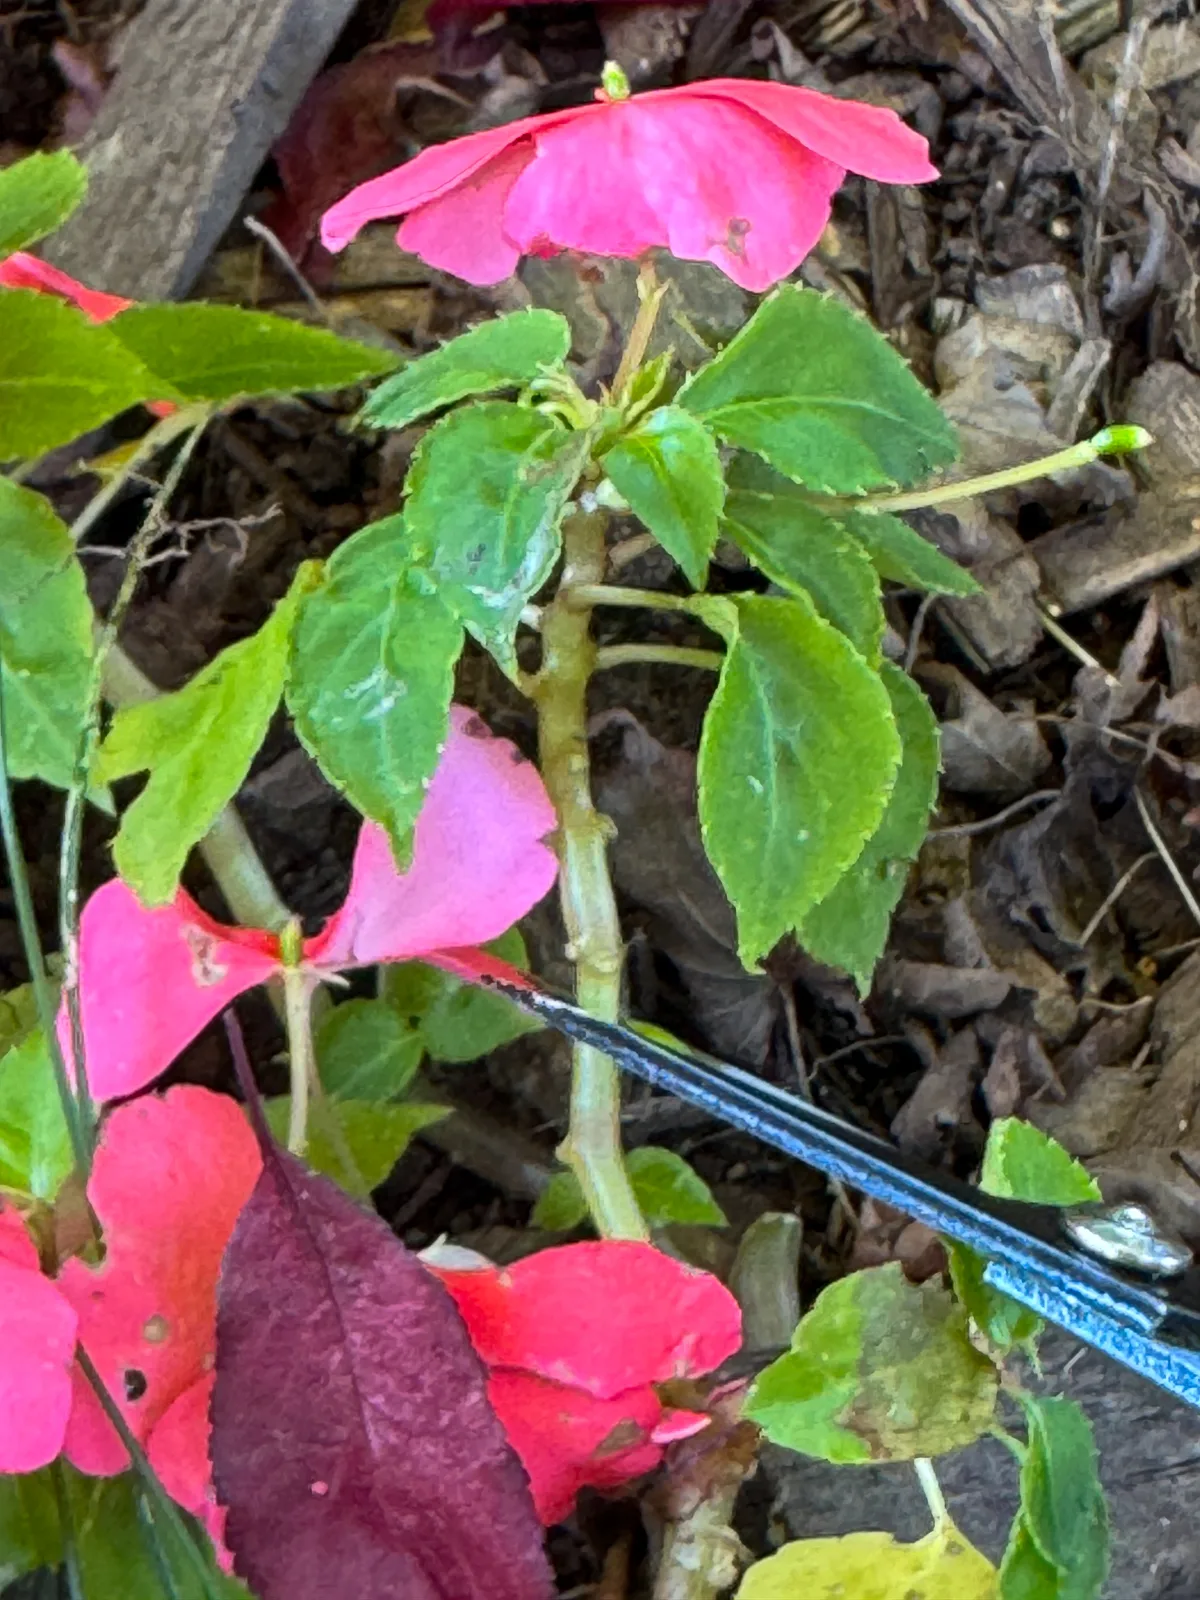
Use sharp, clean scissors or pruners to make the cut just under a node on the stem. The more nodes you have, the more chances for roots to form! An angled cut increases the surface area and helps the cutting absorb more water.
I took about a dozen cuttings, which will save me a ton of money if they all take root! I would have taken even more if I had space under my grow lights for all those plants over the winter.
Prepare the cuttings
If you stick your impatiens cutting in water or soil as is, the plant will try to keep the foliage and flowers alive and won't set roots. By trimming off most of the top, it will send energy down to form healthy roots.
First, cut off all the lower leaves. Work your way up from the bottom of the stem, keeping a few leaves at the top.
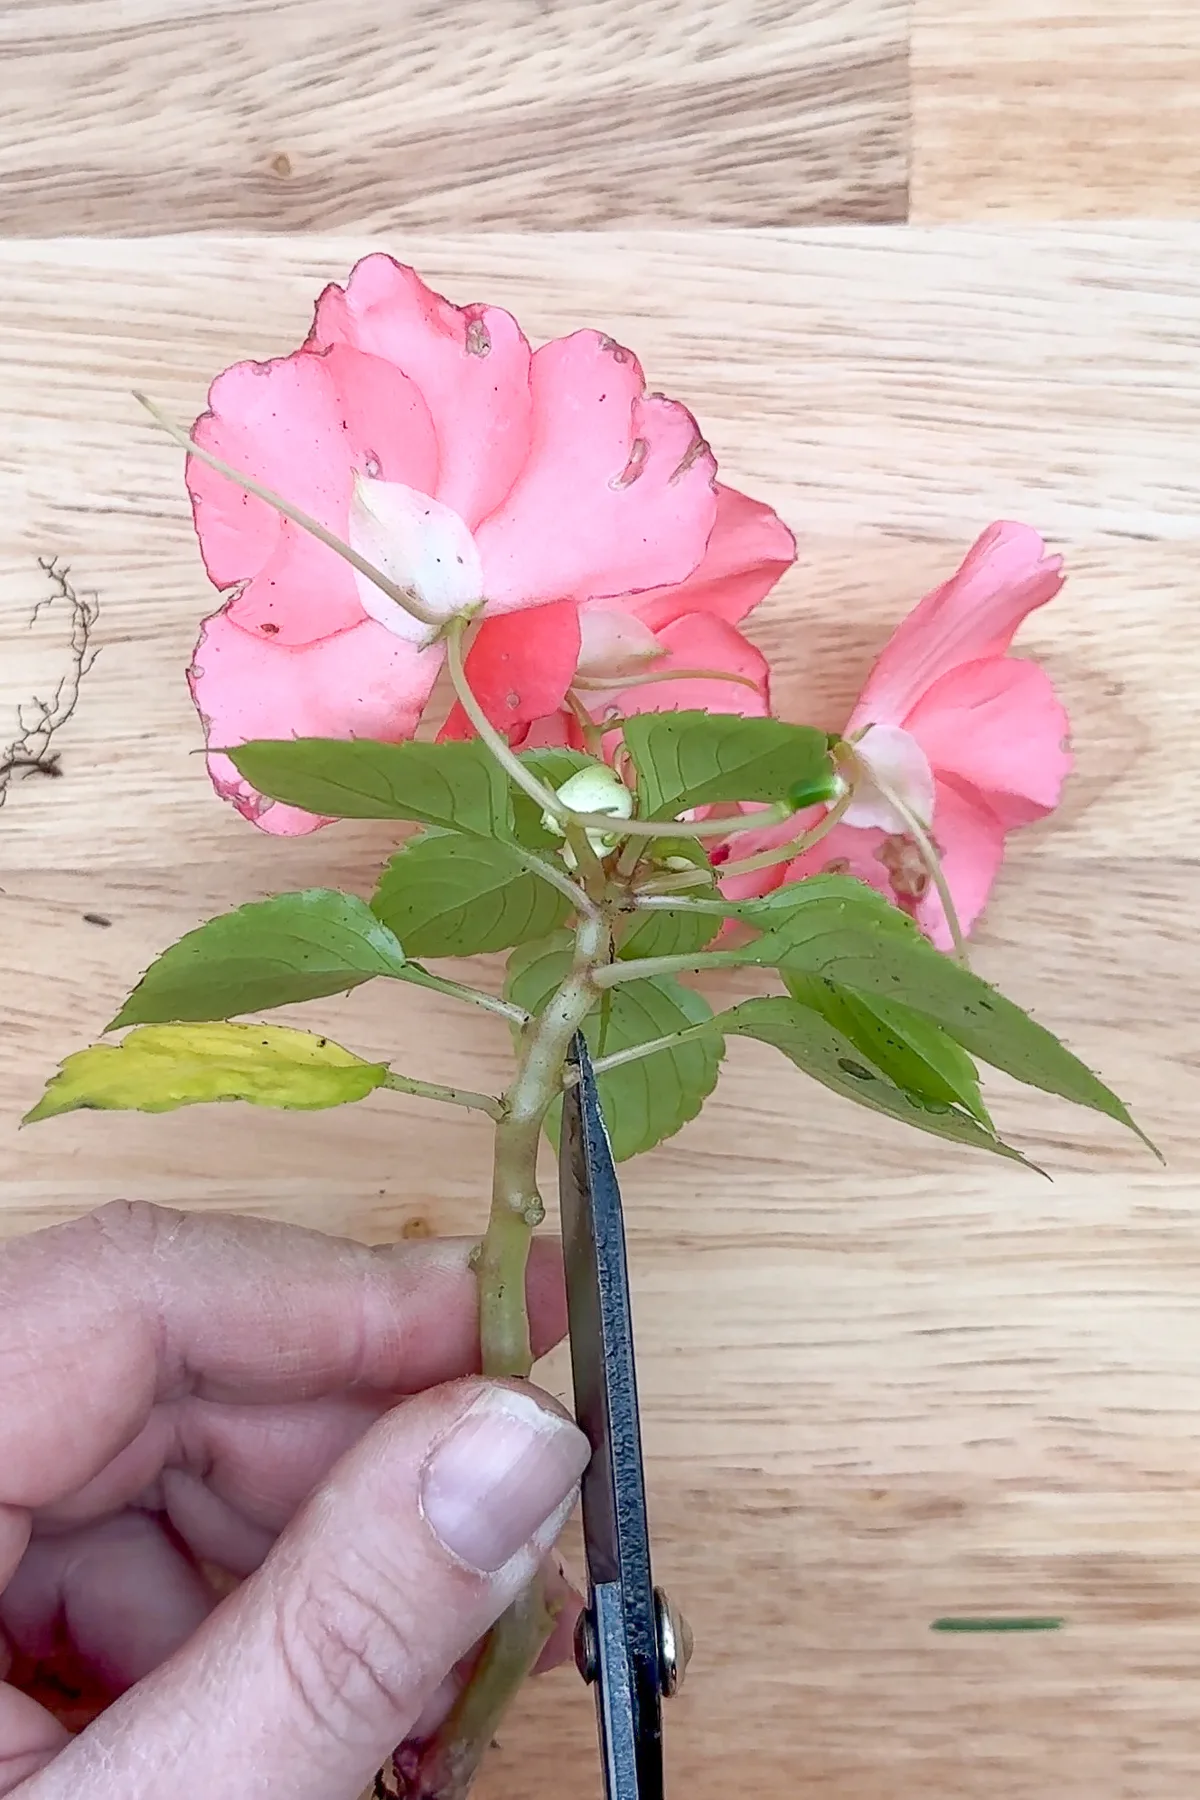
Next, remove all the flowers. Cut the stems as far down as you can.
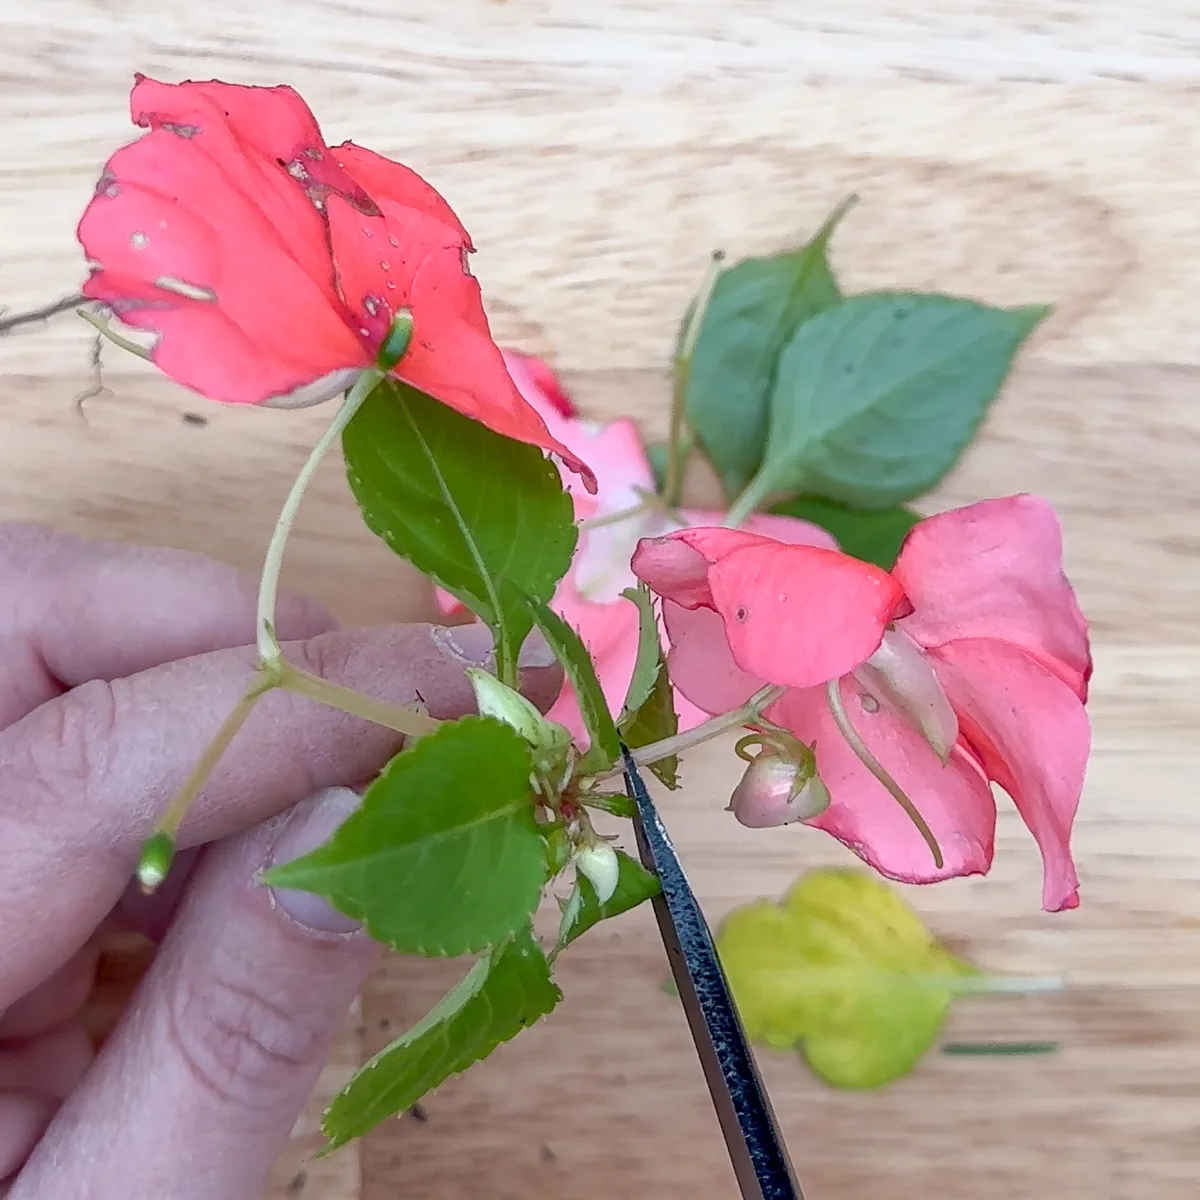
Finally, pinch off any flower buds, which look like little white pods. These can be hidden under the leaves, so take the time to find them all!
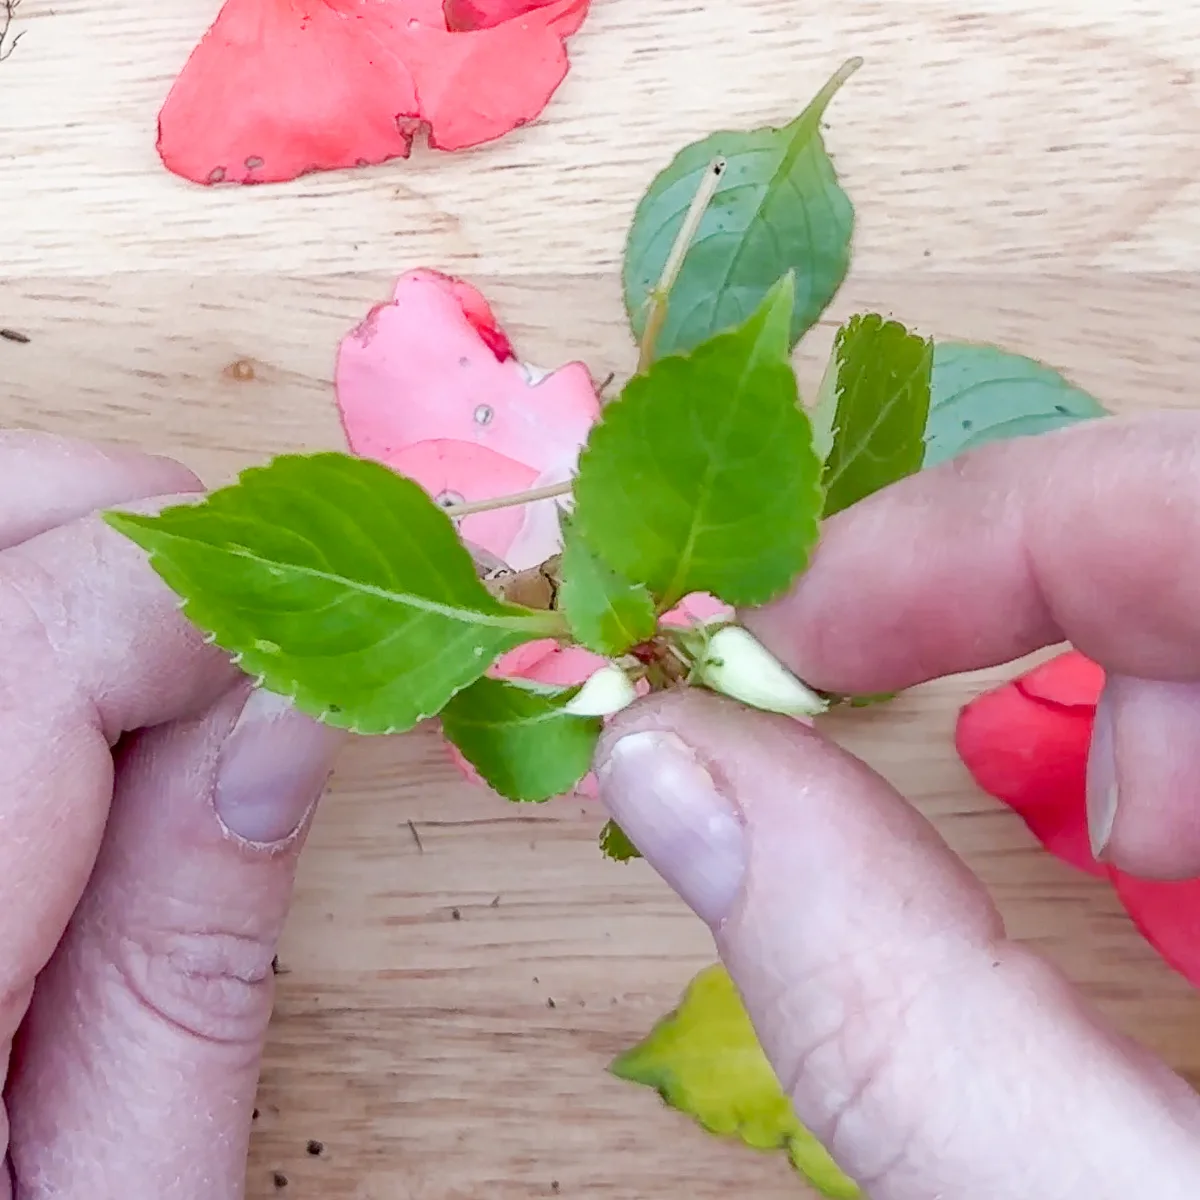
When you're done, you should have an impatiens cutting that looks like this. If yours has larger leaves, you can even cut off the tips so there's less for the plant to support.
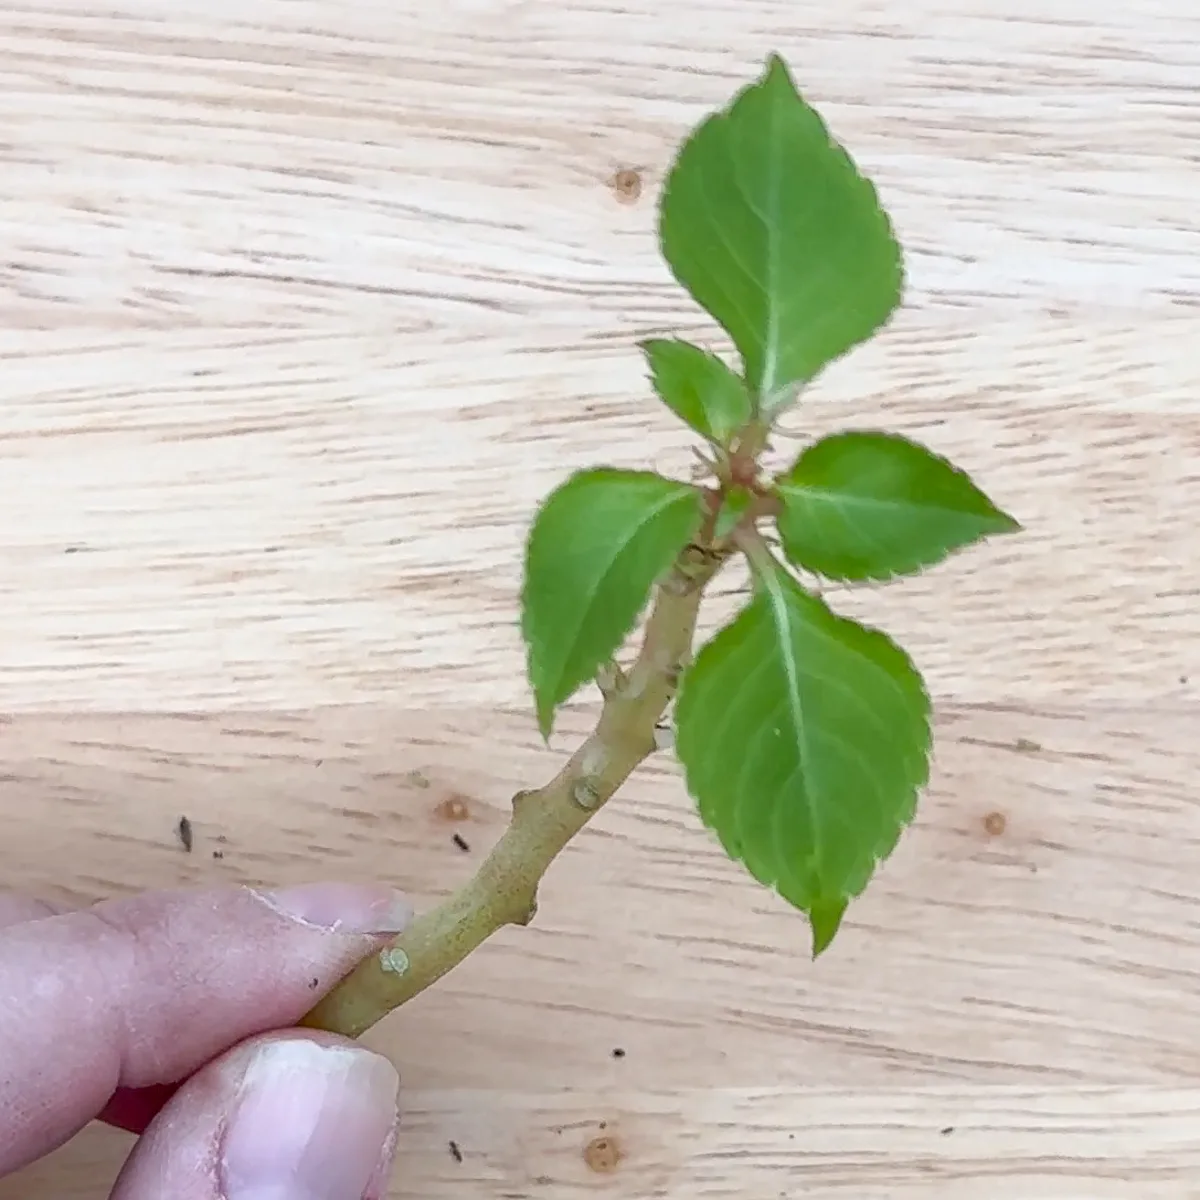
Rooting impatiens cuttings in water
Sticking cuttings in water is a simple method for propagating impatiens. It allows you to watch the roots develop, providing a clear indication of when the cuttings are ready to be planted in soil.
I recently made these propagation stations, which you can buy from my Etsy shop here. They're perfect for rooting cuttings in water, and they fit on our narrow windowsill.
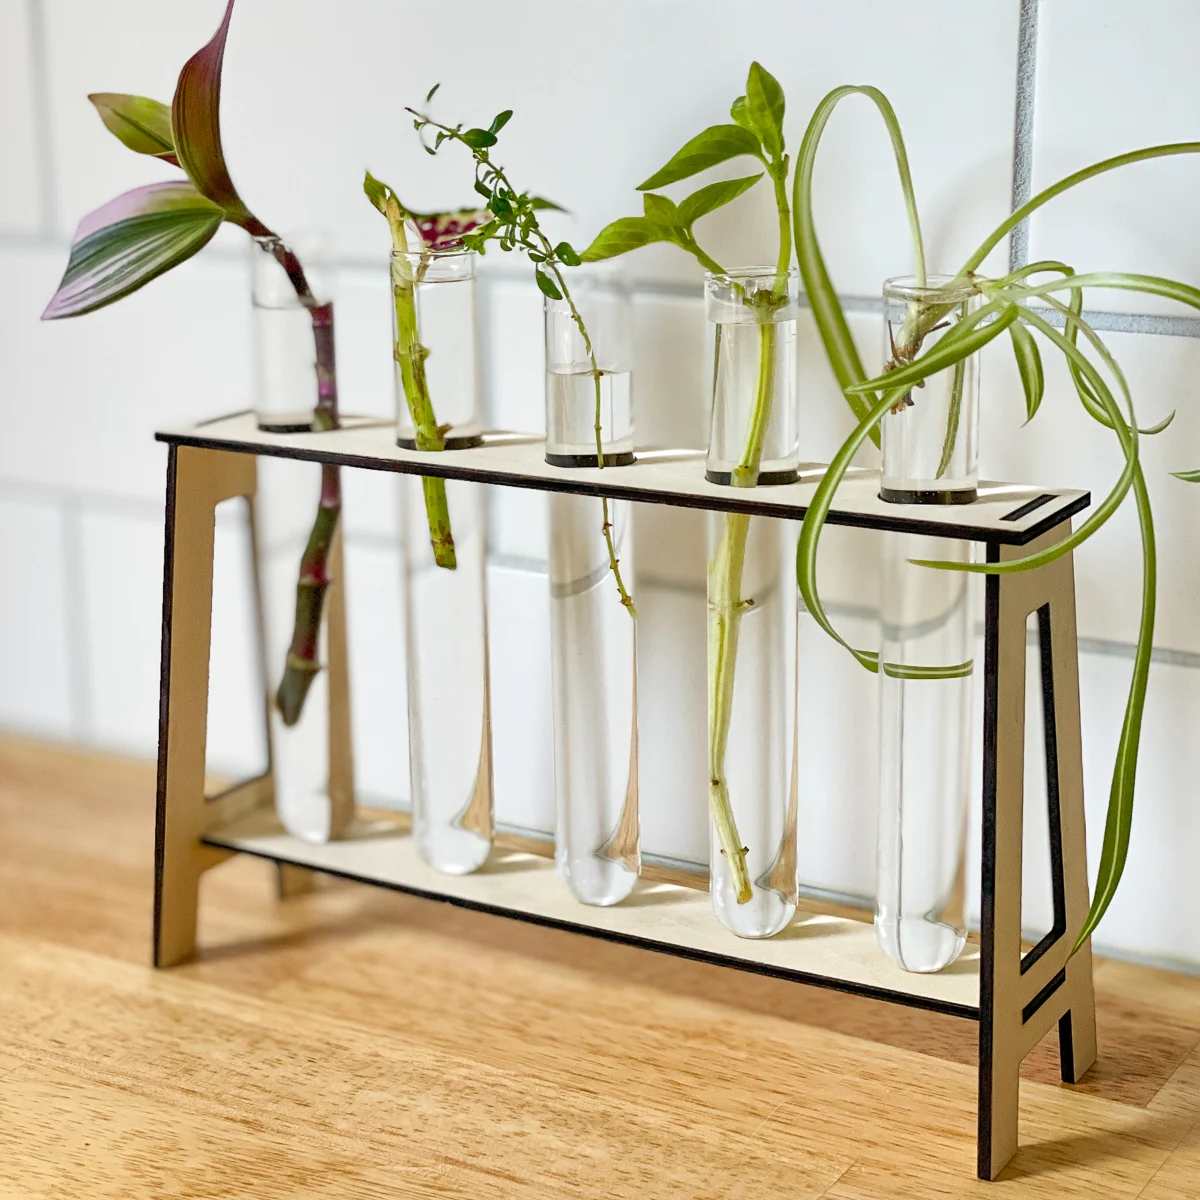
You can also use a mason jar or other clear container filled with water. Just make sure that the leaves are above the surface of the water, or they'll rot.
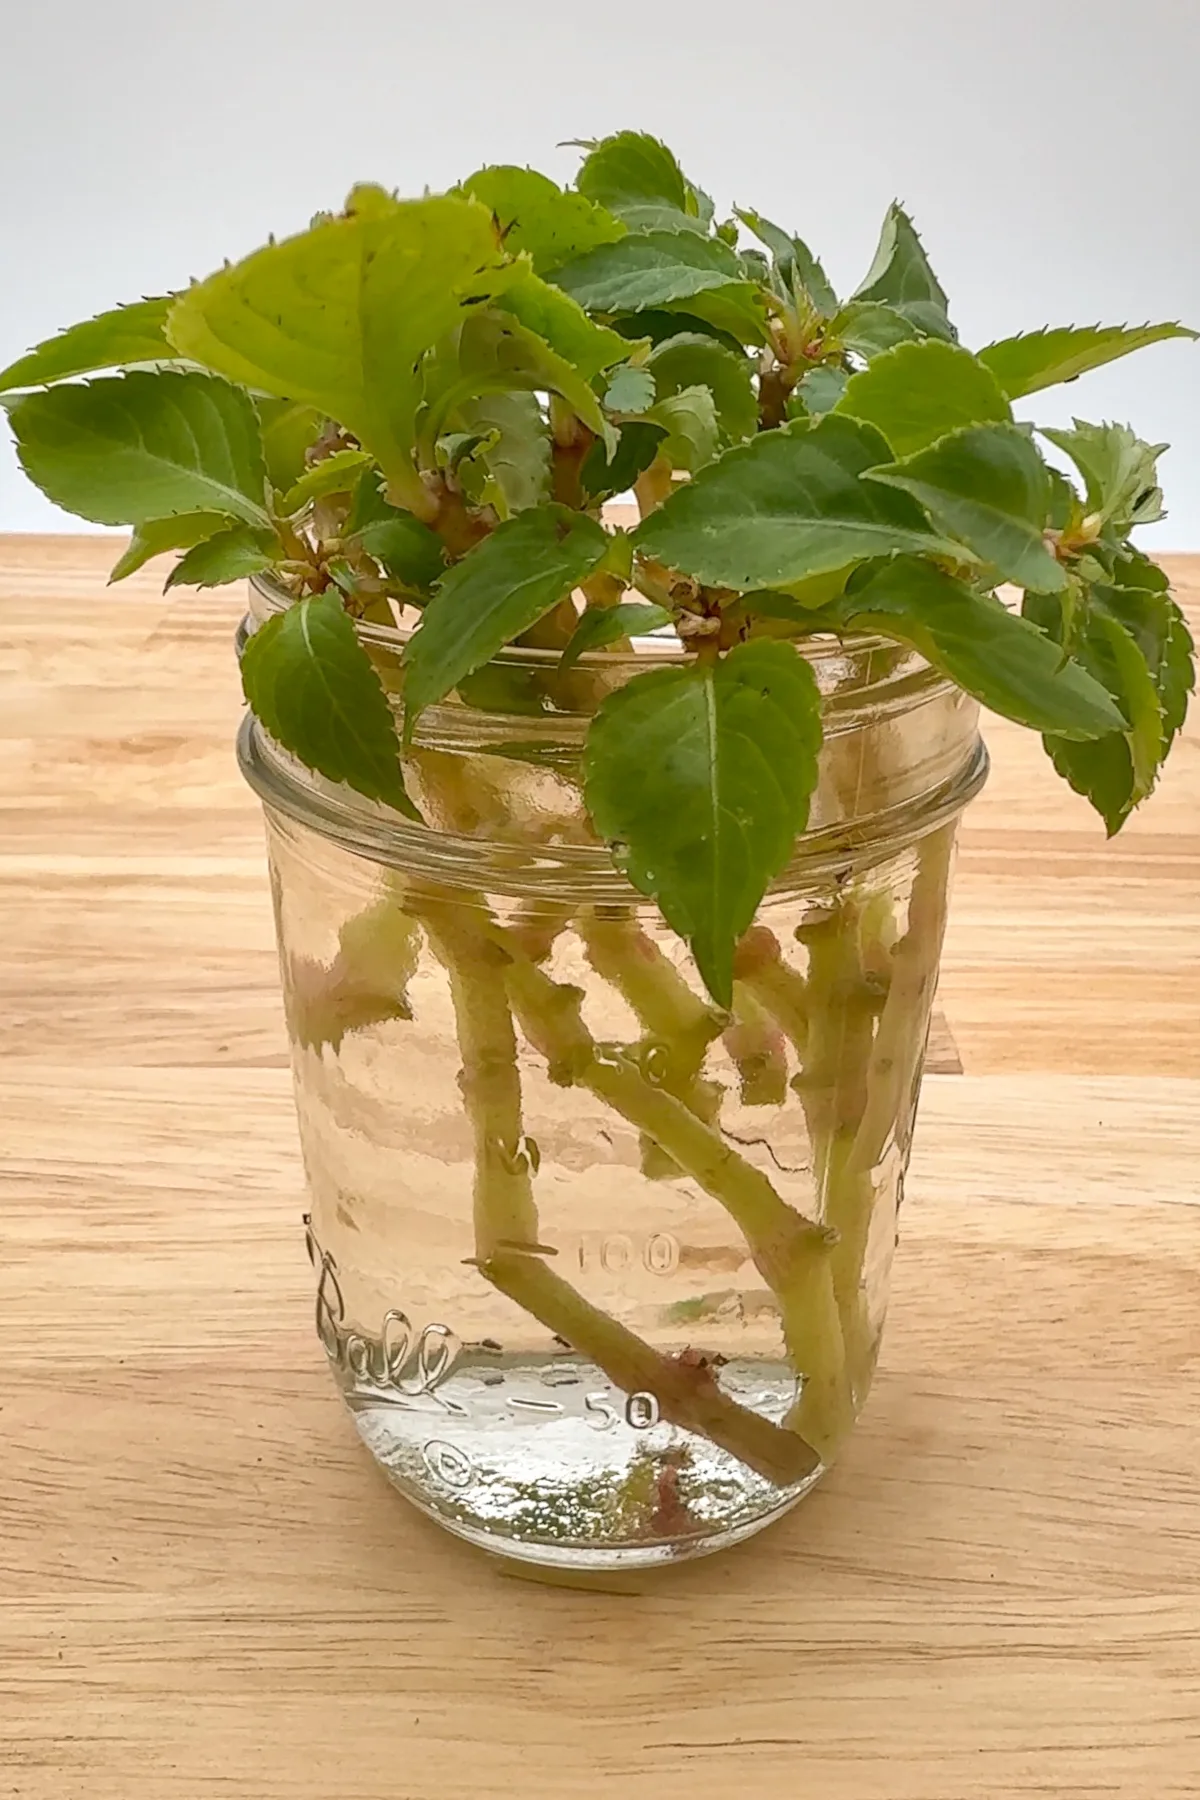
Place the jar in a spot with bright, indirect light. Direct sunlight can be too intense, causing damage to the tender cuttings.
Refresh the water every few days to prevent bacterial growth. This keeps the environment clean and conducive to root development.
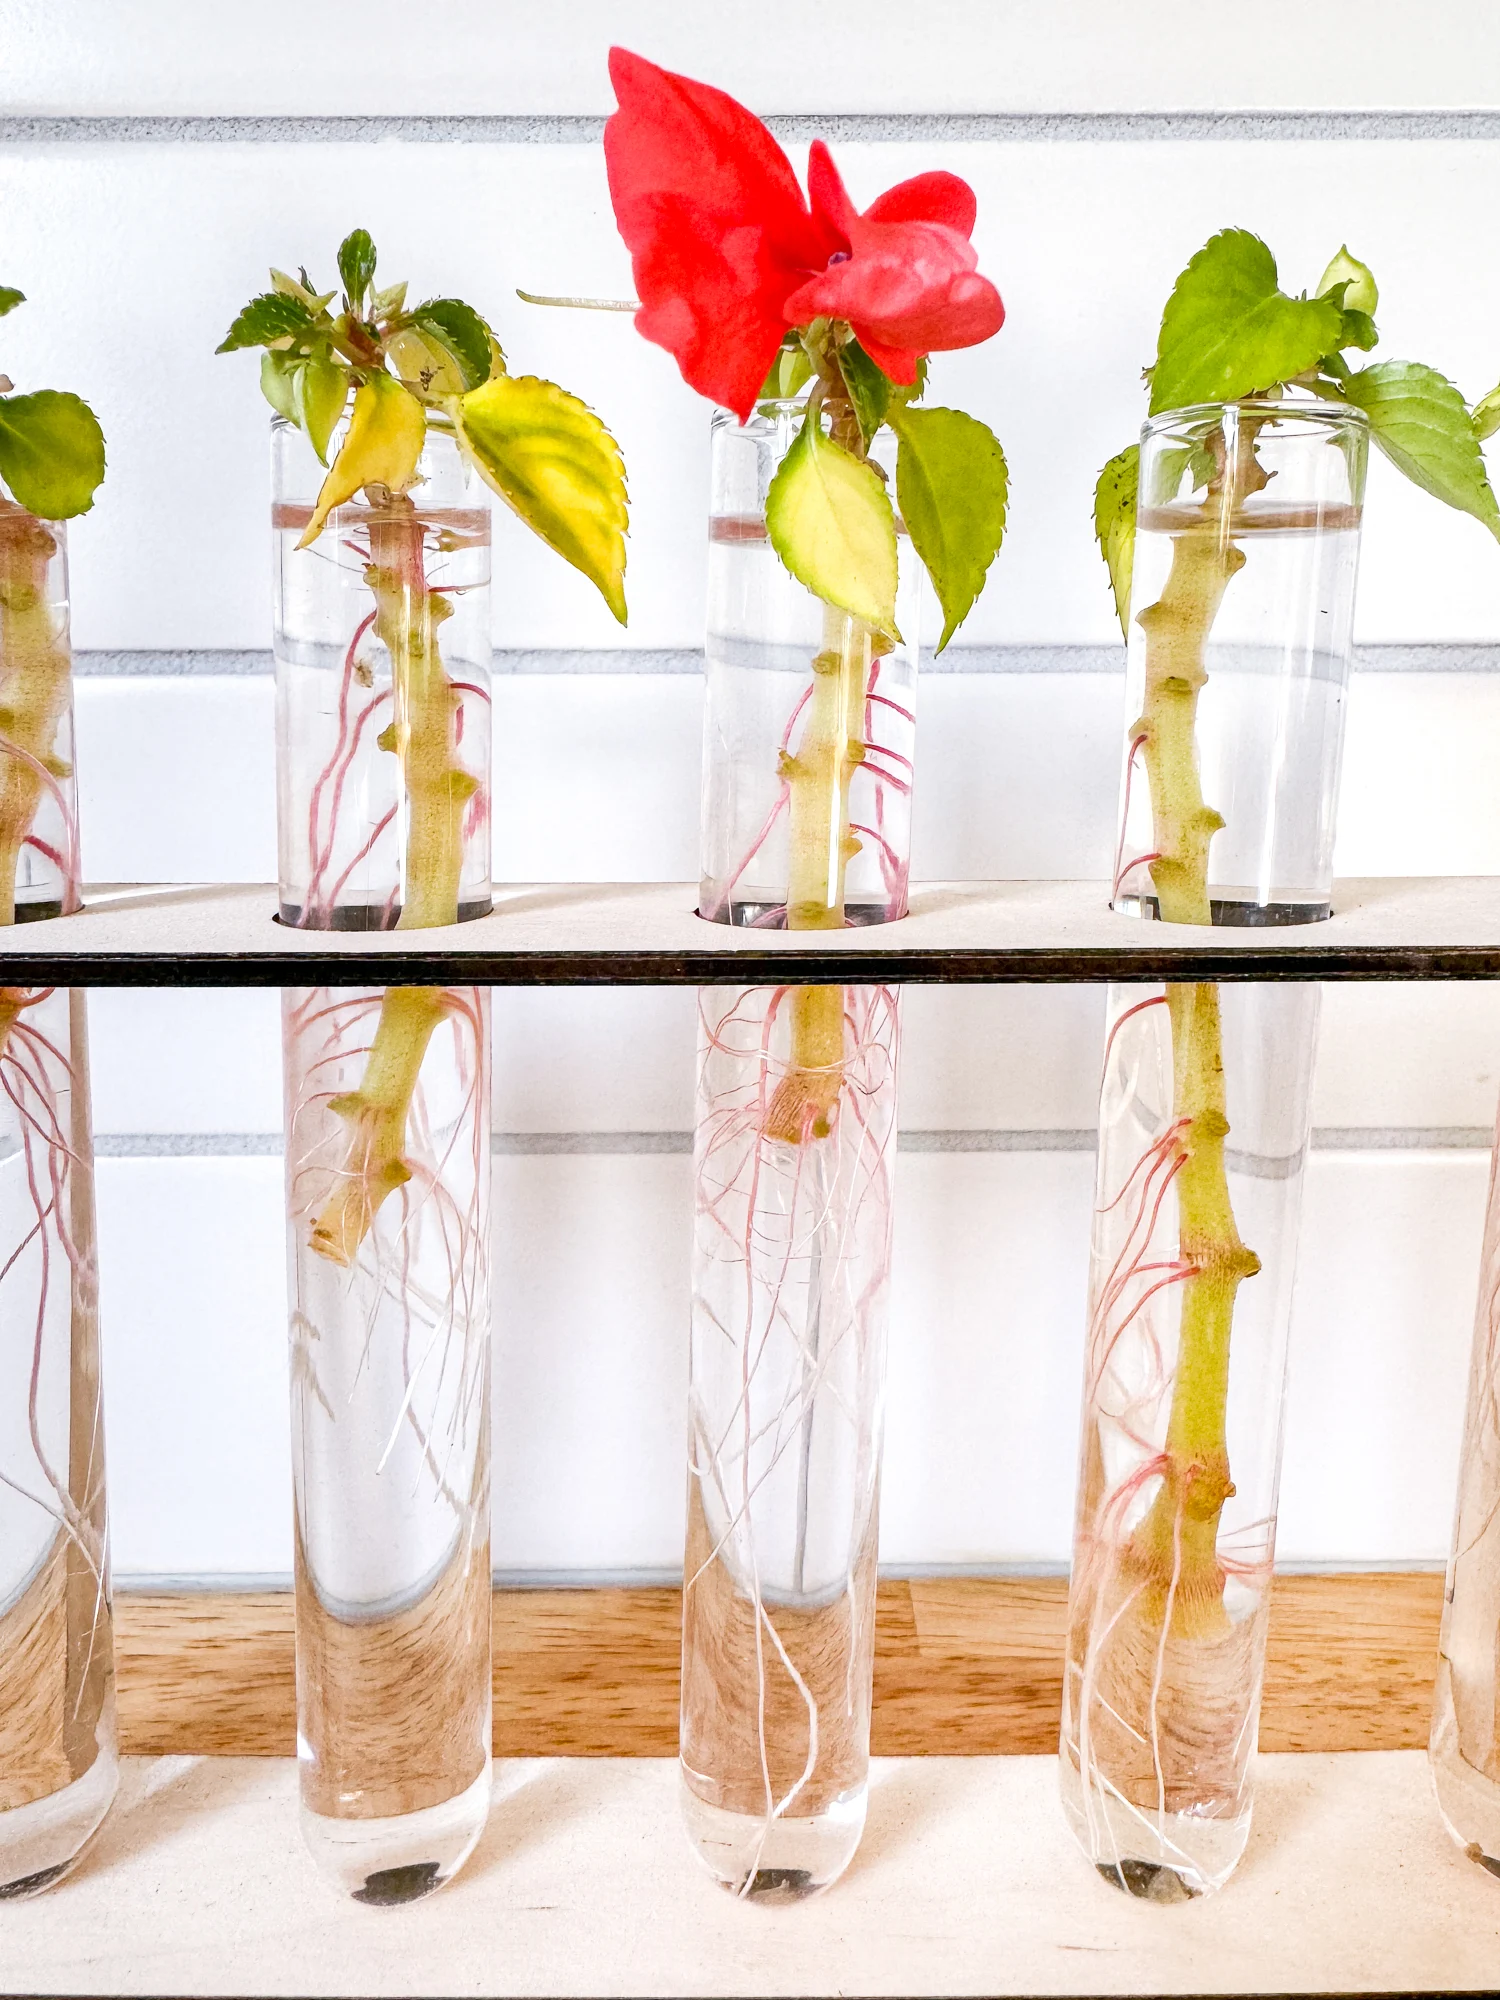
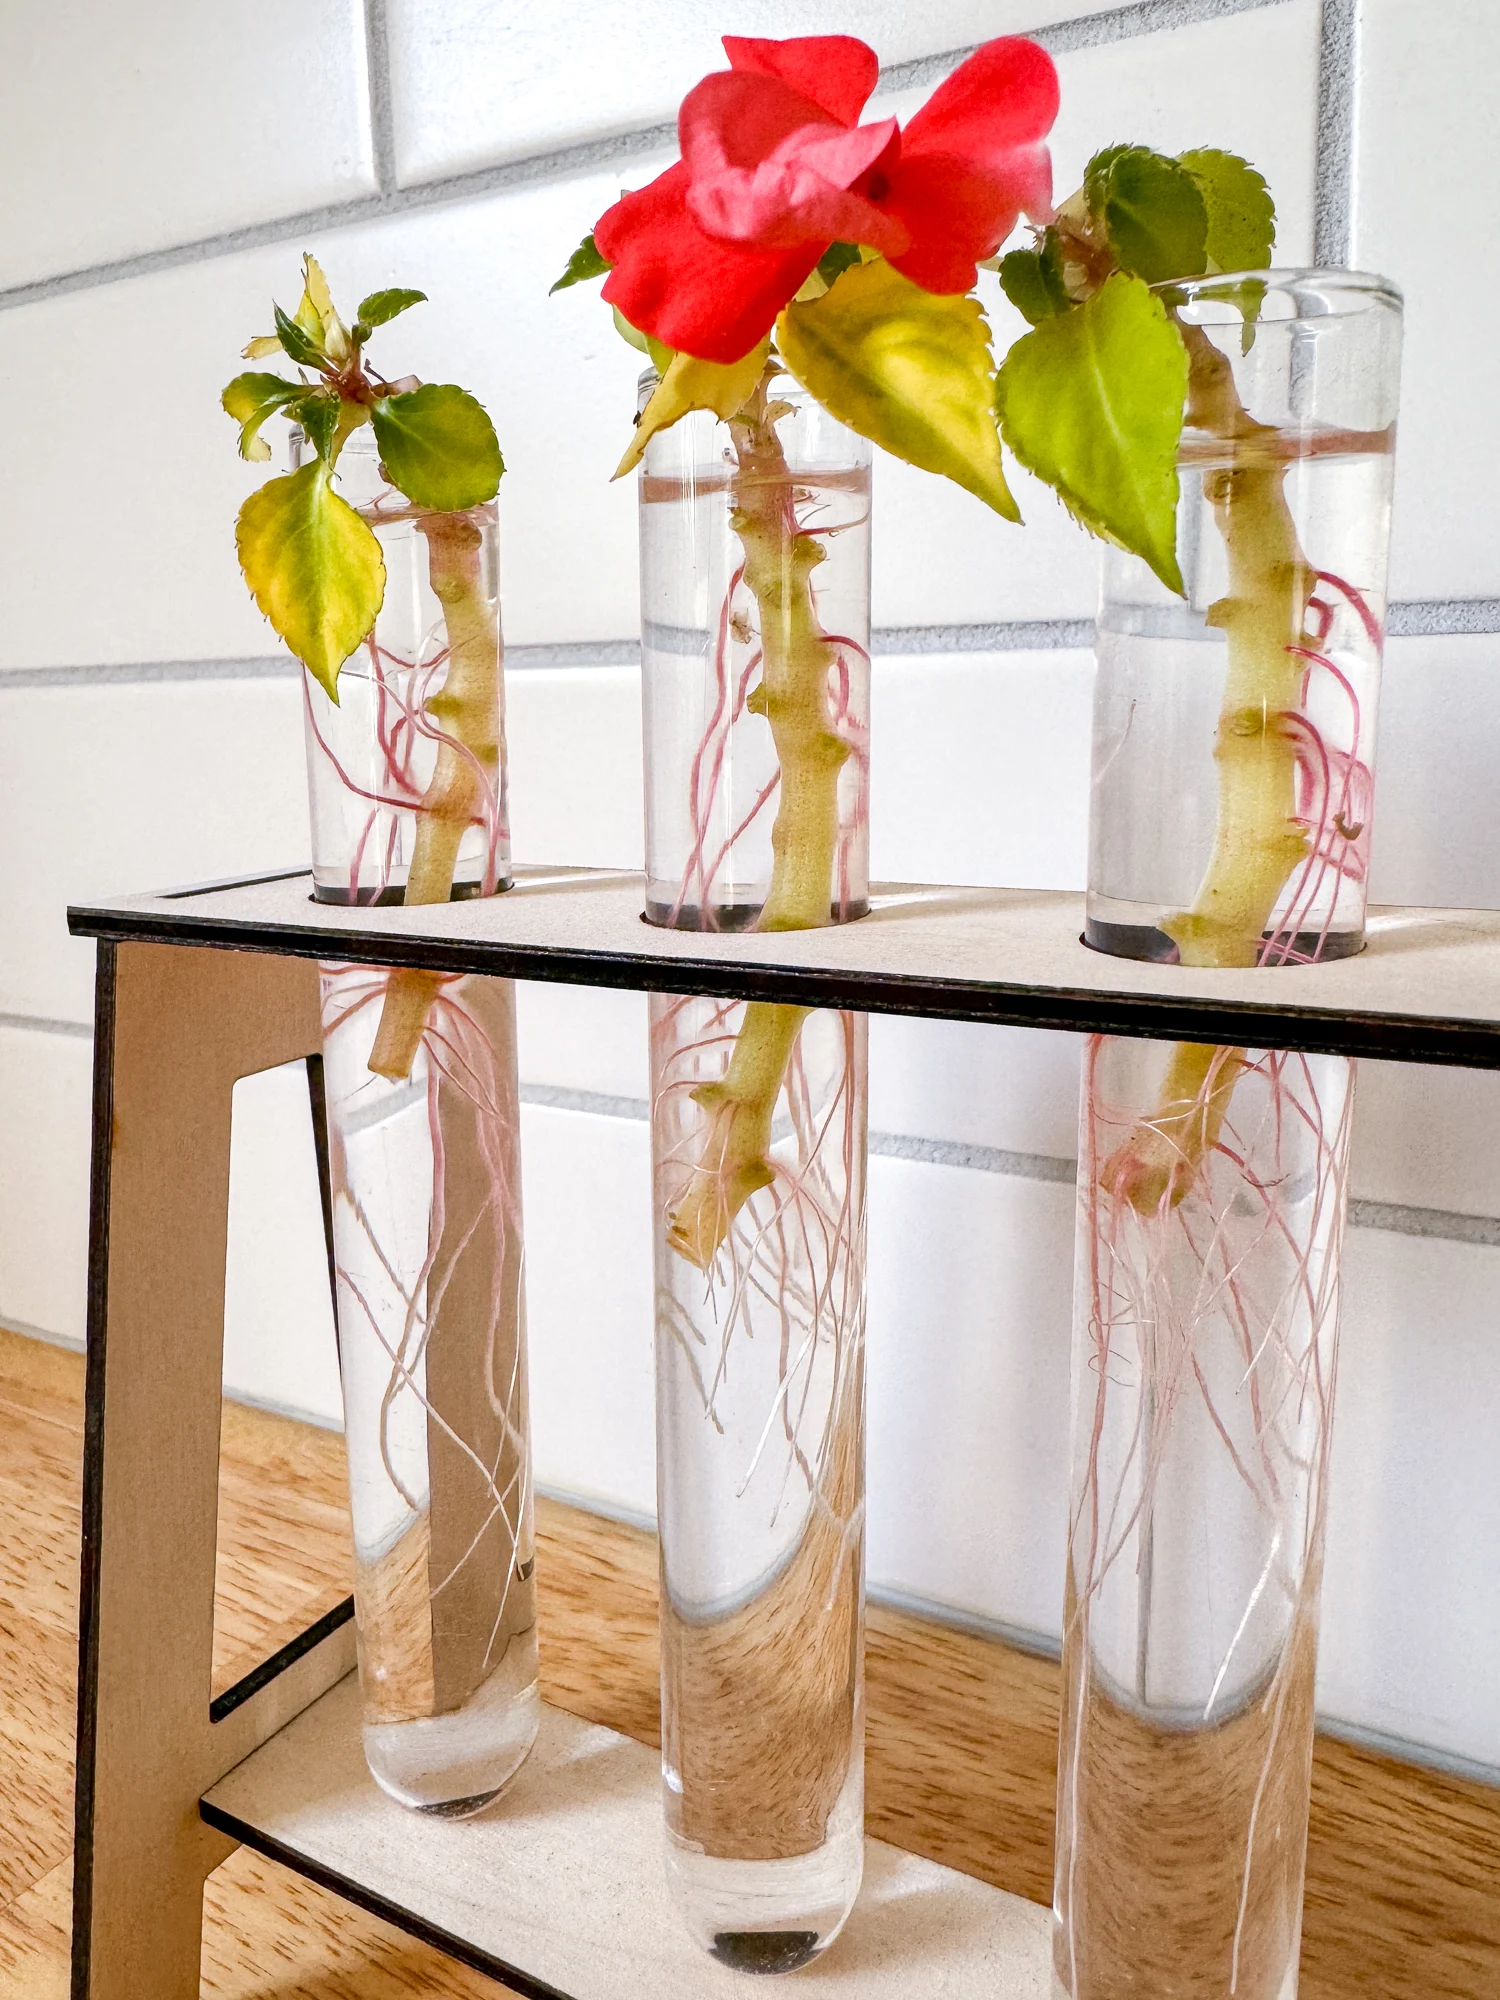
Roots typically begin to appear within a week or two. Keep an eye on the progress and wait until the roots are about an inch long before considering transplanting into soil. These cuttings are so happy, they're starting to flower already!
Rooting impatiens cuttings in soil
You can also choose to skip the water phase entirely and stick your cuttings directly into soil. I prefer the water method because you can easily see which cuttings rooted, but if you have a propagation box set up already, that may be the way to go!
- Fill a small pot with holes in the bottom with well-draining potting soil.
- Make a hole in the soil with your finger or a small stick.
- Plant the cutting deep enough so that the lowest remaining leaves are just above the soil surface.
- Gently firm the soil around the cutting to ensure good contact with the soil.
- Water the soil lightly but thoroughly after planting the cutting.
Cuttings need a humid environment to root successfully. Cover the pot with a plastic bag or place it in a humidity dome to maintain moisture. Keep it under grow lights or in a window with indirect light.
Rooting typically occurs within a few weeks. You can gently tug on the cutting to feel if there's resistance, indicating root growth. Once the cutting shows new growth, it can be transplanted to a larger pot or directly into your garden!

