Winter sowing in milk jugs is a cheap and easy way to start seeds outside! I'll show you how I'm winter sowing poppies with this method step by step!
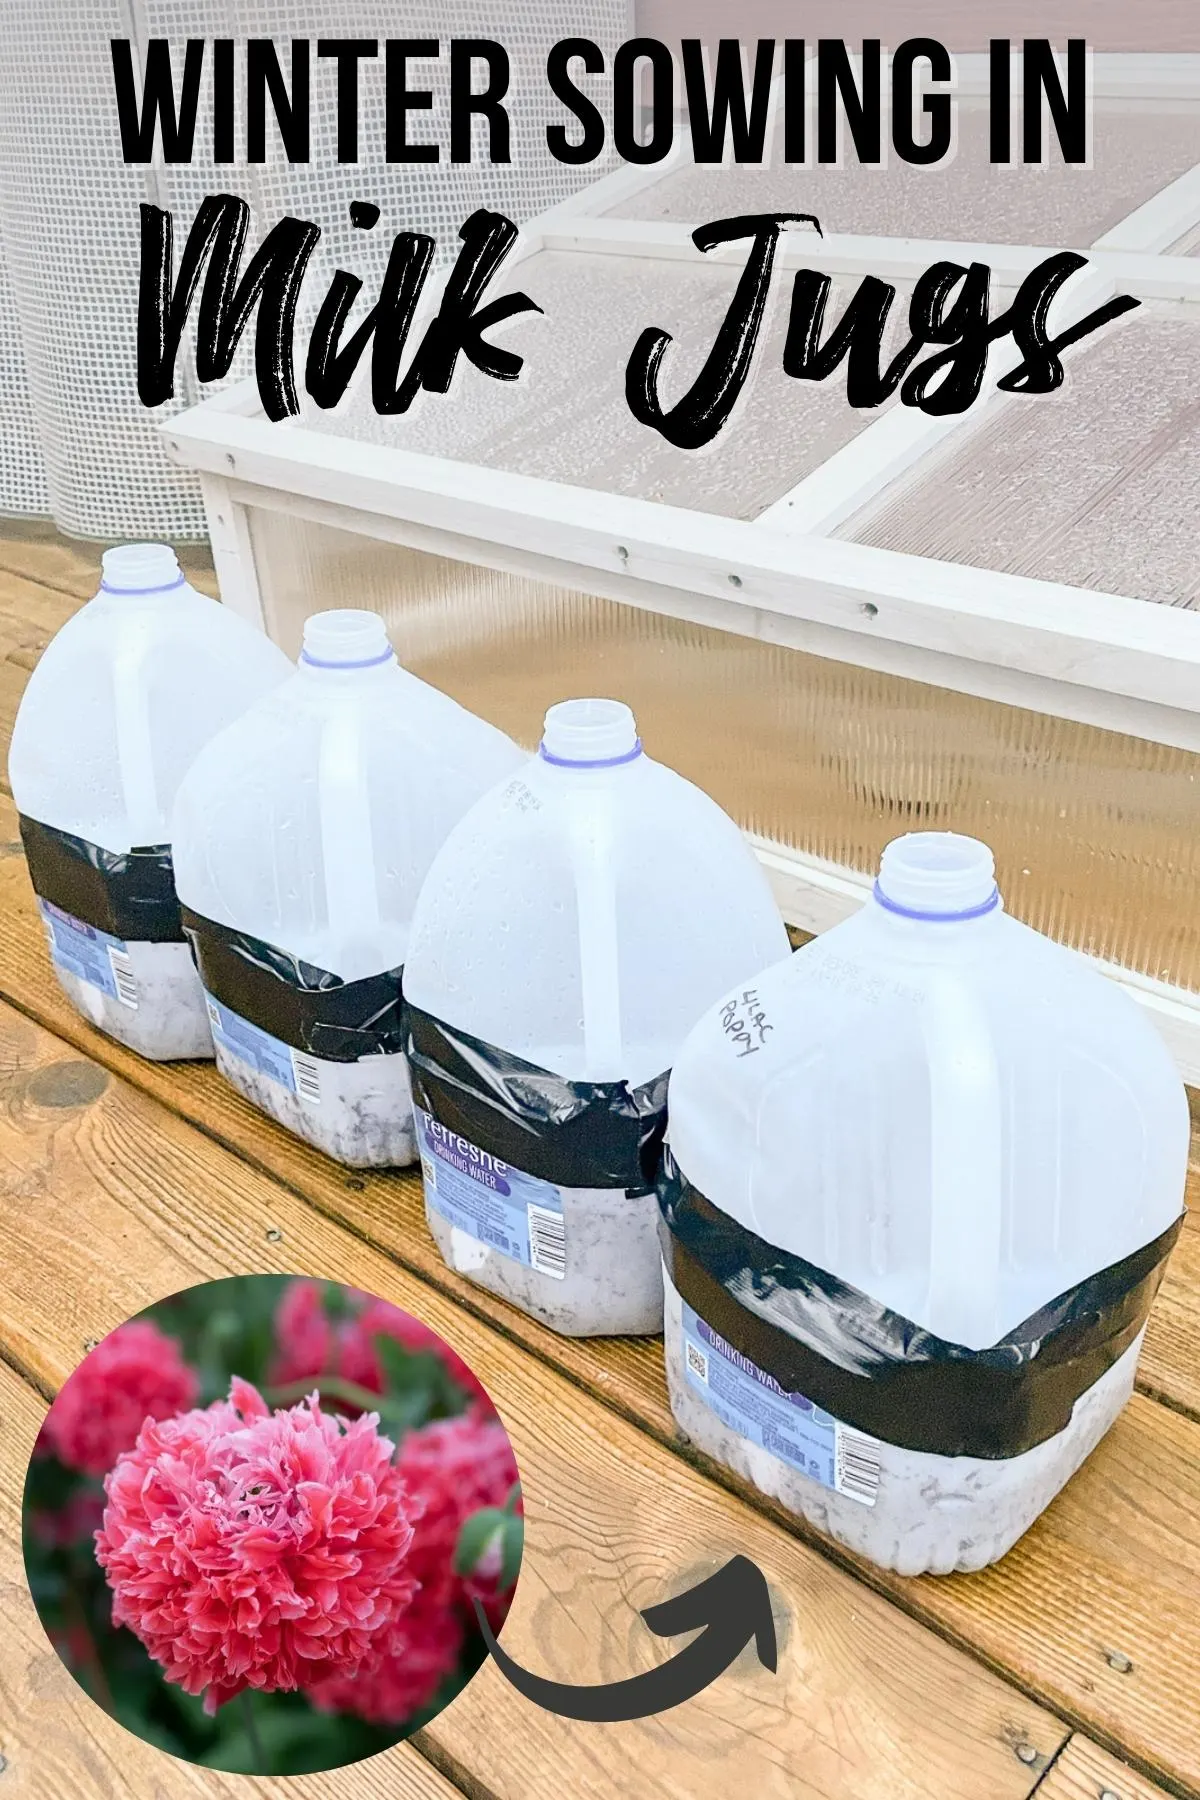
Did you know that there are some seeds that need freezing cold temperatures to germinate? This process is called cold stratification, and it's the reason why we plant tulip bulbs in the fall instead of waiting until spring!
Poppies are an easy flower to grow from seed, but they require cold stratification to germinate. You can sprinkle a handful into an empty patch of garden or raised bed in the fall, but there's a problem...poppy seeds are tasty! Birds and other animals may gobble them up before they have a chance to germinate.
Winter sowing in milk jugs is a great way to protect your seeds from wildlife while also giving them the cold temperatures they need to sprout. The plastic acts as a greenhouse to trap warmth and moisture to help your seedlings grow strong even in the dead of winter. Plus, it's a great way to recycle!
This post contains affiliate links for your convenience. Purchases made through these links may earn me a small commission at no additional cost to you.
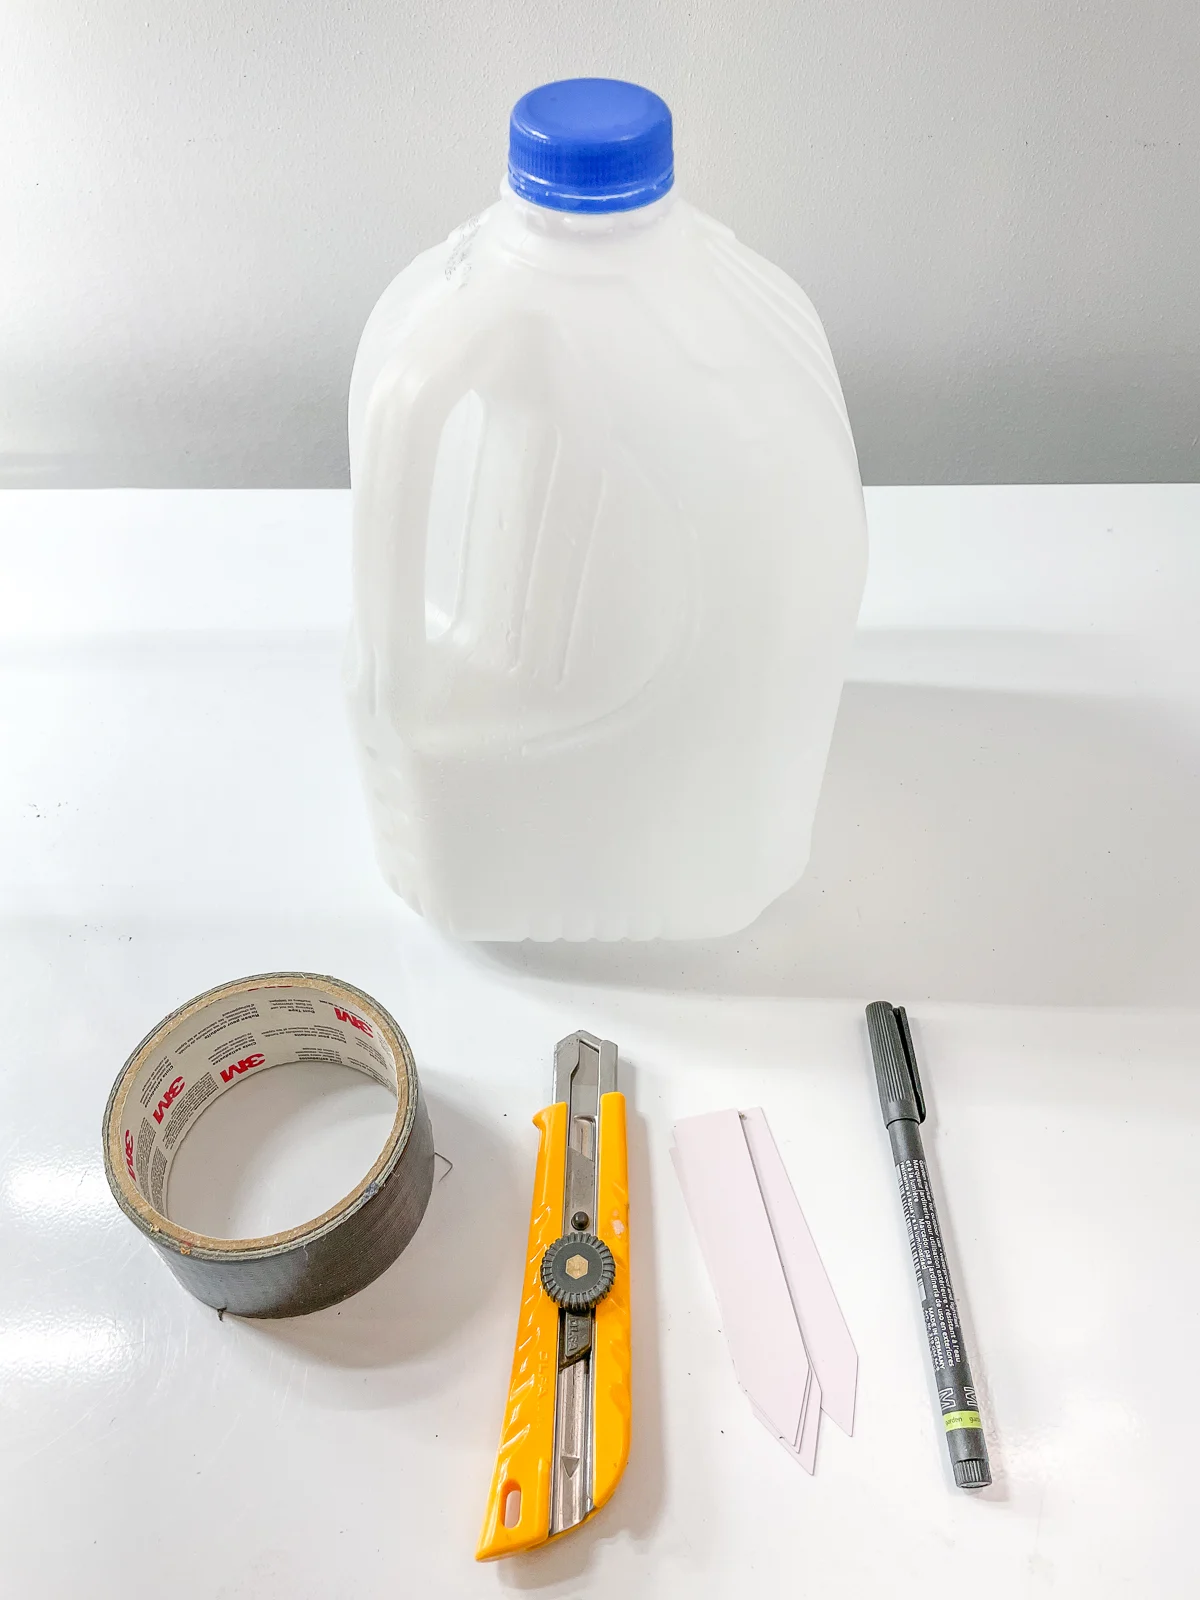
Supplies
The best part about winter sowing in milk jugs is that you probably already have most of the supplies on hand already! Here's what you'll need:
- Plastic milk jugs
- Duct tape
- Box cutter
- Plant labels and waterproof marker
- Potting soil
- Seeds
Prepare the Plastic Milk Jug
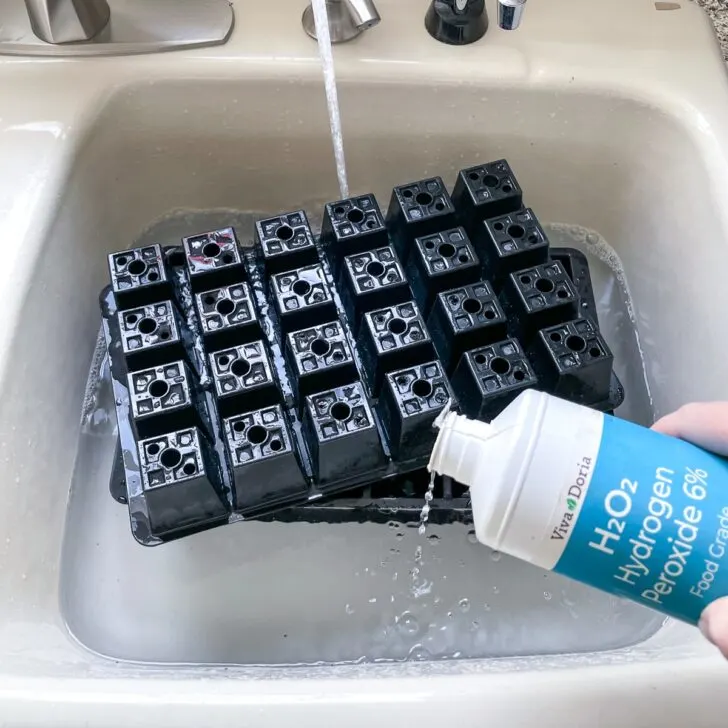
Before you begin, make sure your milk jugs are thoroughly washed. You don't want mold building up inside and killing your seedlings!
We don't drink a lot of milk at our house, so I used gallon water jugs instead. You could also use plastic soda bottles, take out containers with clear lids, or rotisserie chicken packaging. Anything with a clear or semi-translucent top will work!
Poke drainage holes in the bottom
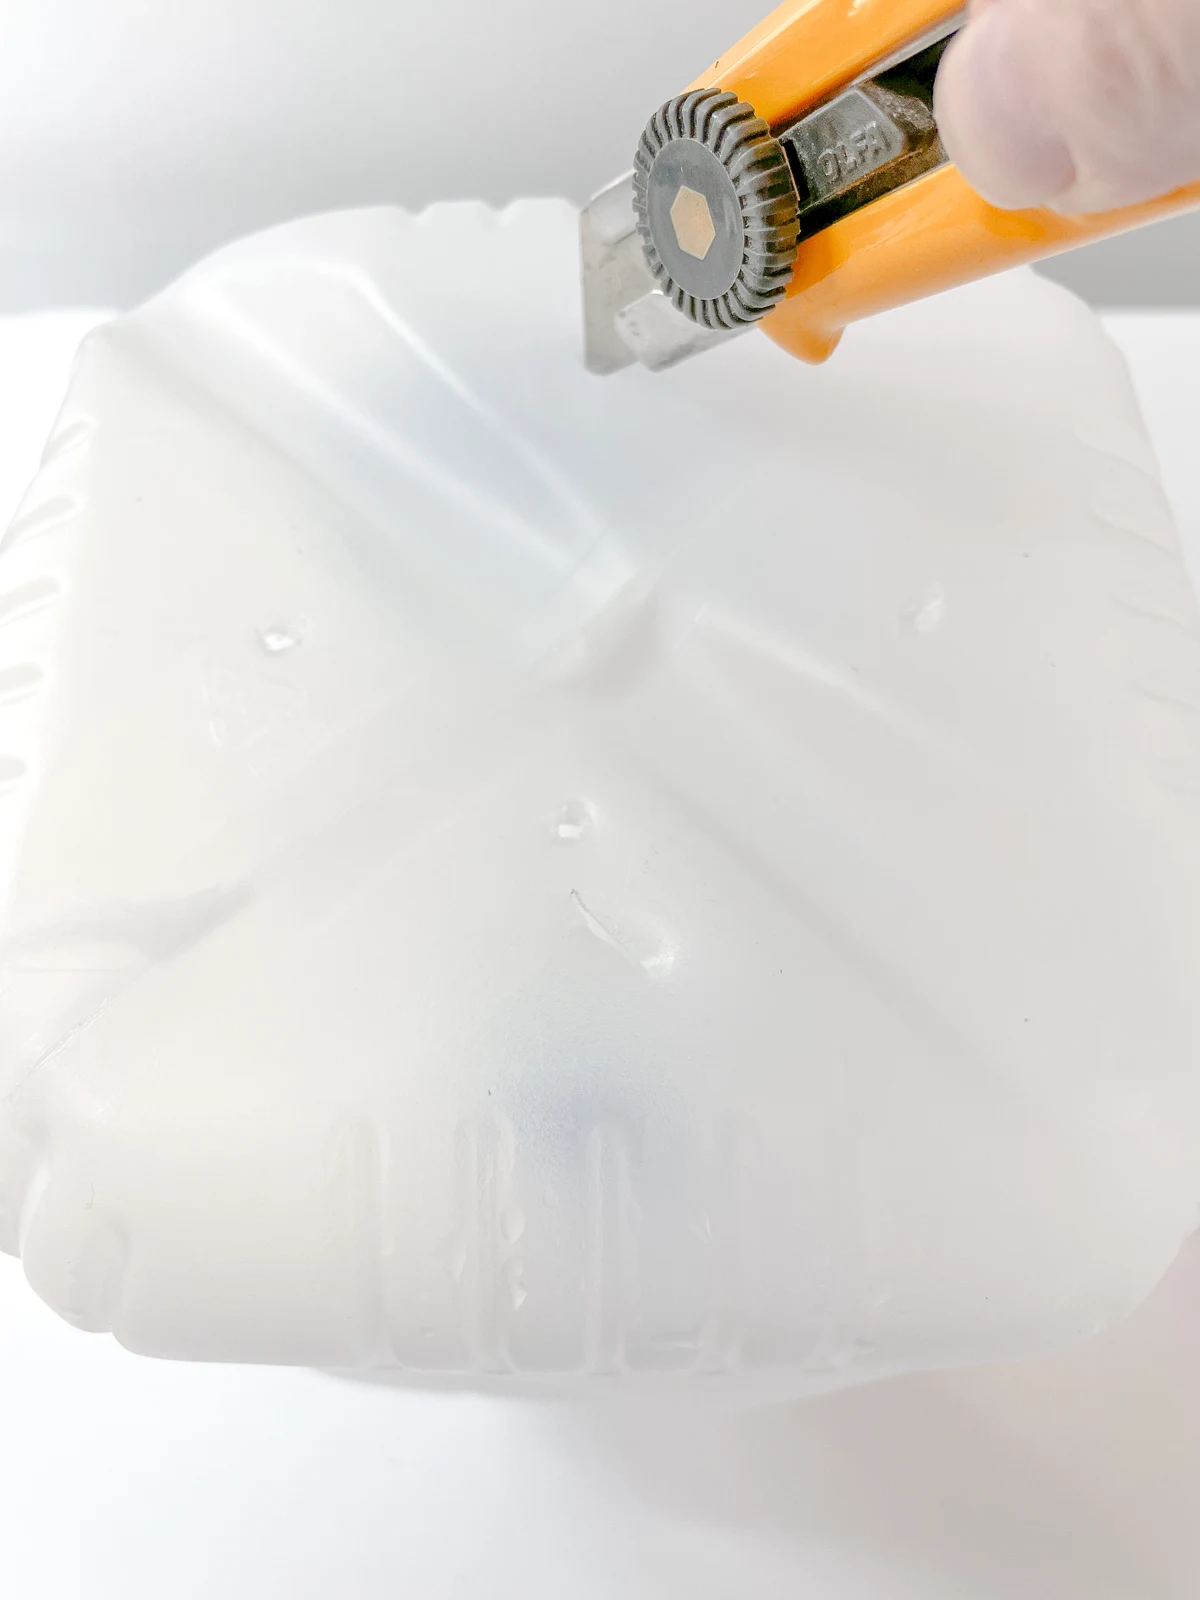
We get a lot of rain in the winter, so it's important to make drainage holes in the bottom of the container so excess water can drip out. I just poked the tip of a box cutter into each section of the bottom of the jug and spun it around to make a little hole.
Cut off the top
Next, you need to cut open the jug so you can easily fill it with well draining potting soil and your seeds. But you don't want to cut the top completely off! Start your cut just below one side of the handle and work your way around until you get to the other side.
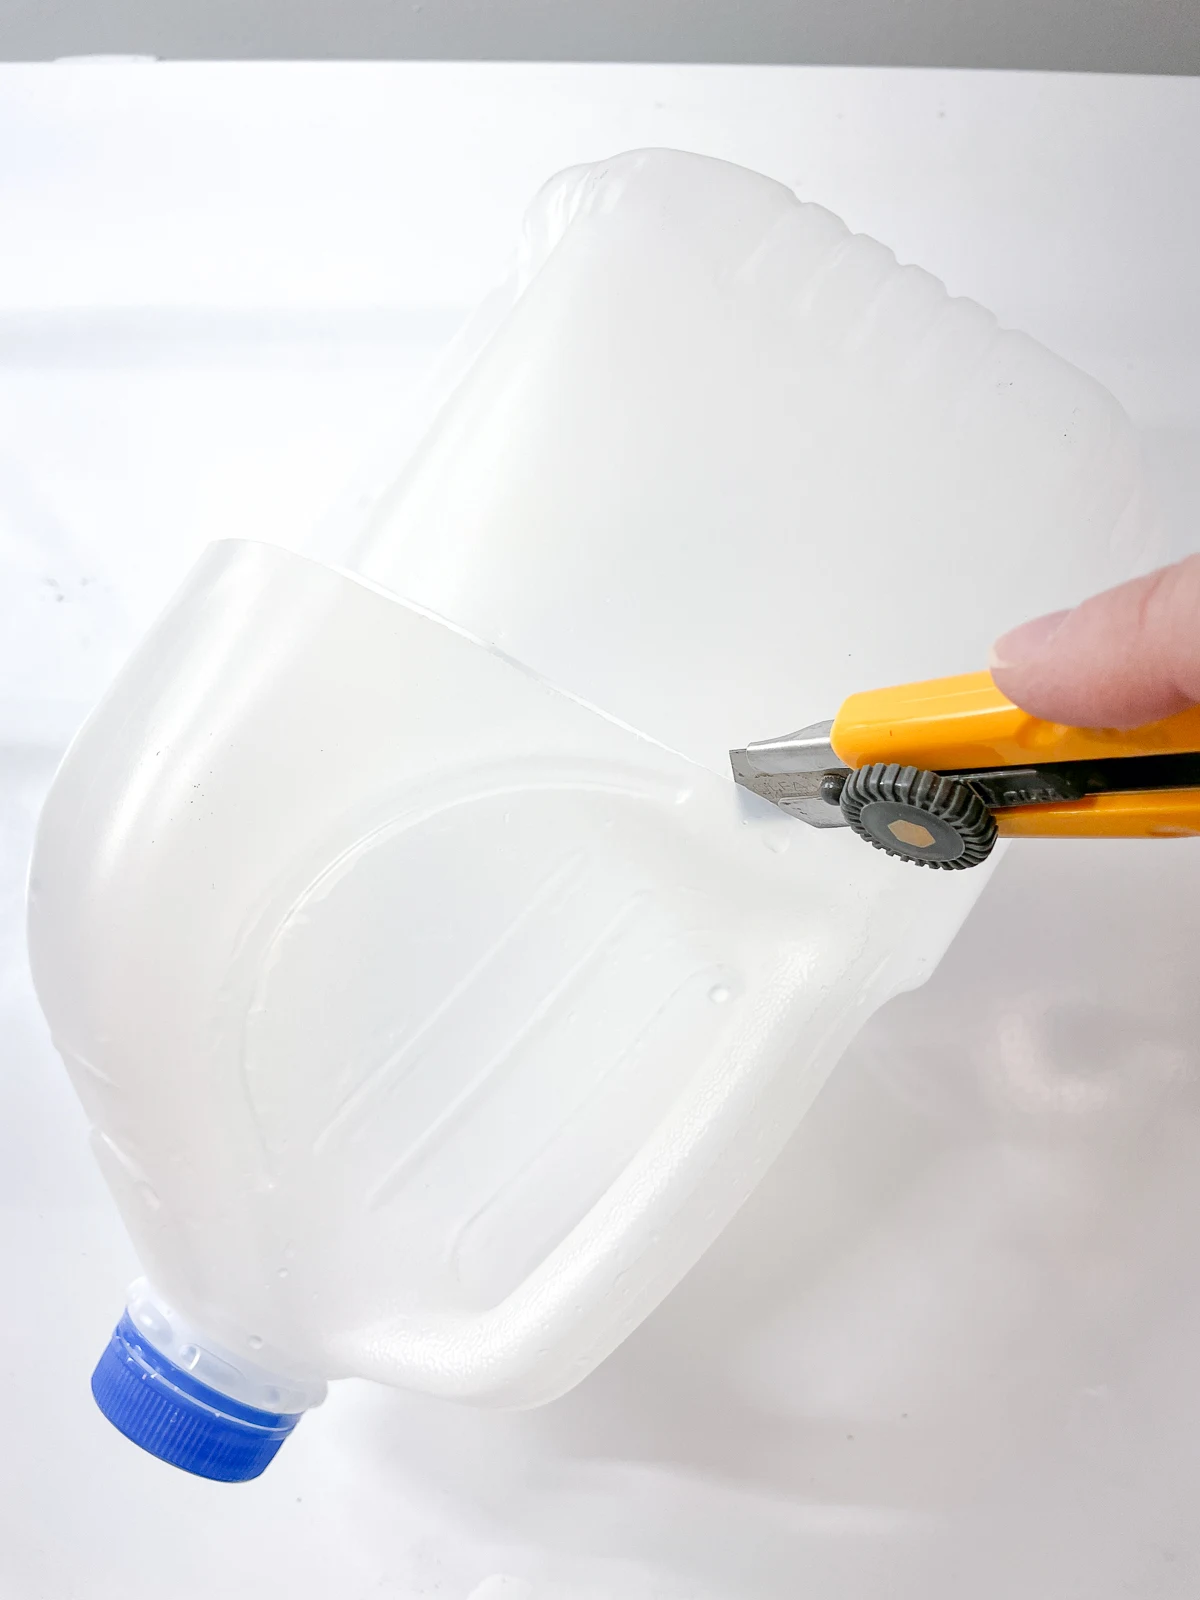
You should be able to open the milk jug by the handle, using the remaining section as a hinge! If it's too difficult to keep open by itself, cut a little more until it can fold back easily.
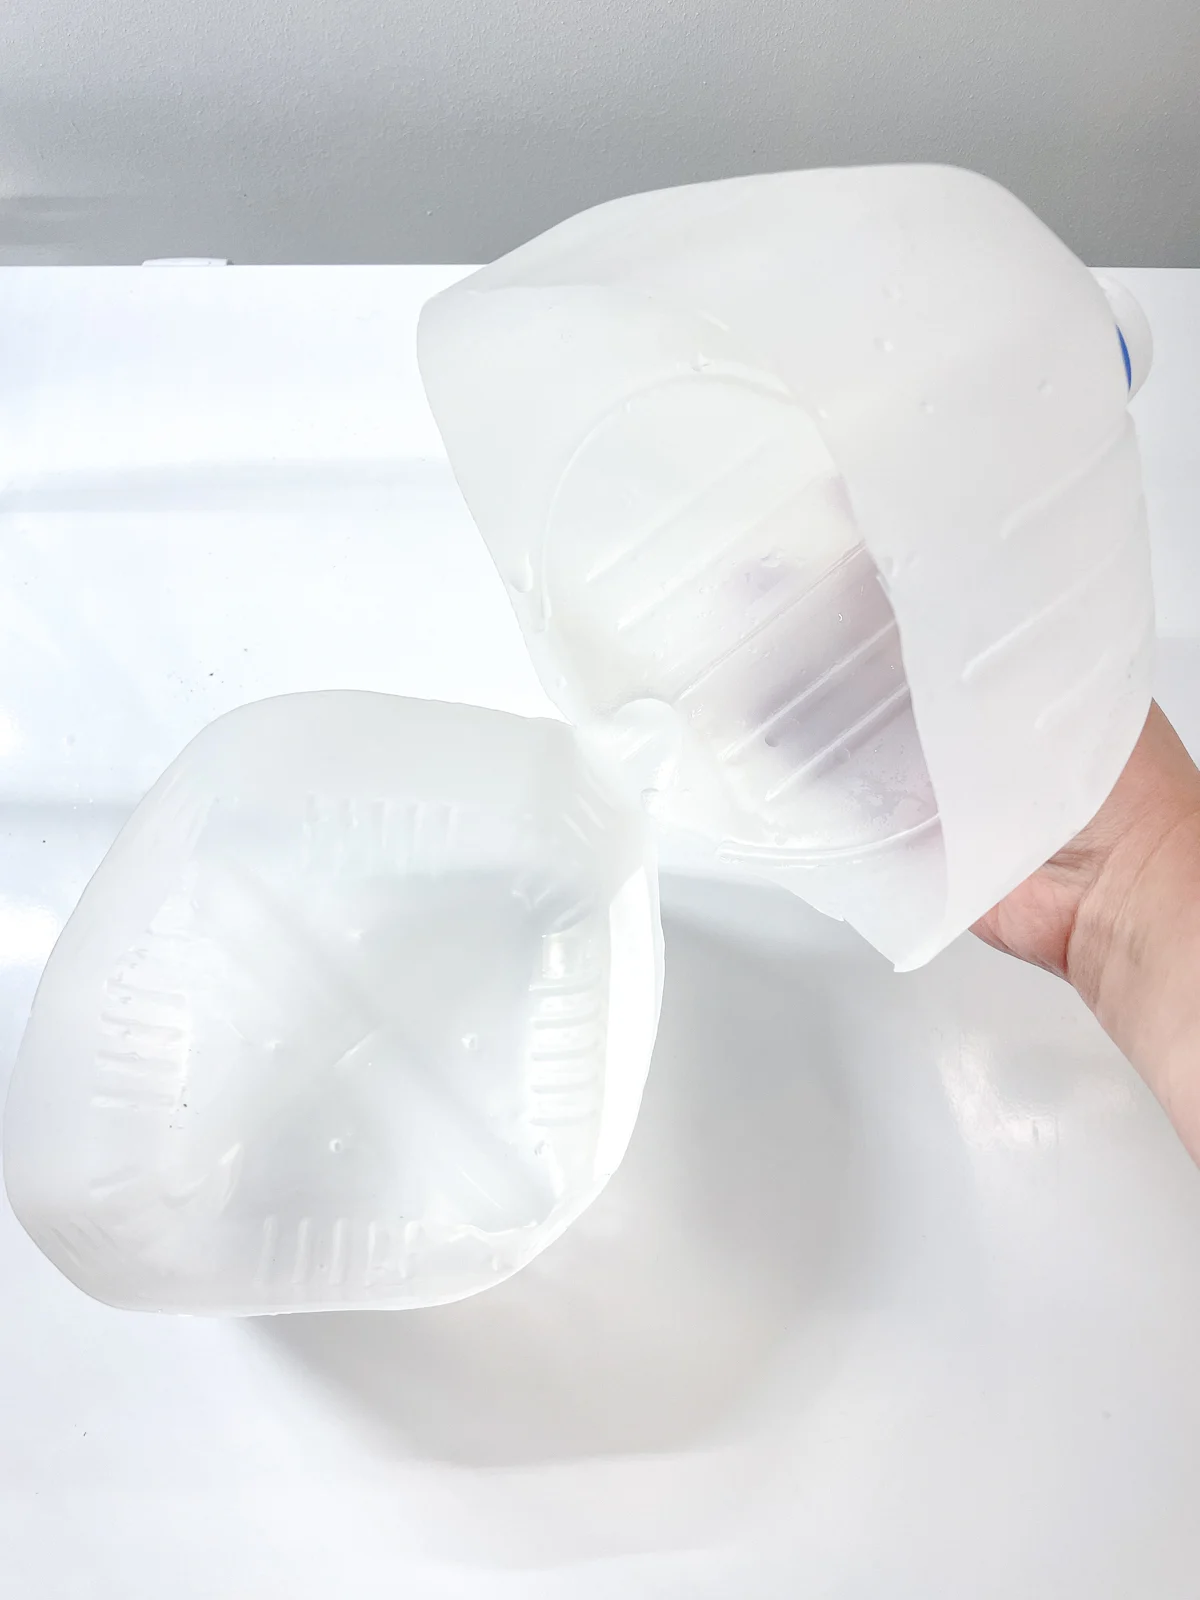
Now you're ready to sow your seeds!
Prepare the soil
Instead of using seed starting mix, which doesn't have any nutrients in the soil, I like to use regular potting mix for winter sowing. It holds on to moisture better, and allows me to skip fertilizing, so I can just set them outside and forget about them until spring!
Mix the potting soil with water until it's thoroughly damp, but not too runny. You want to be able to make a ball of soil in your hand that stays together, but doesn't drip water if you squeeze it.
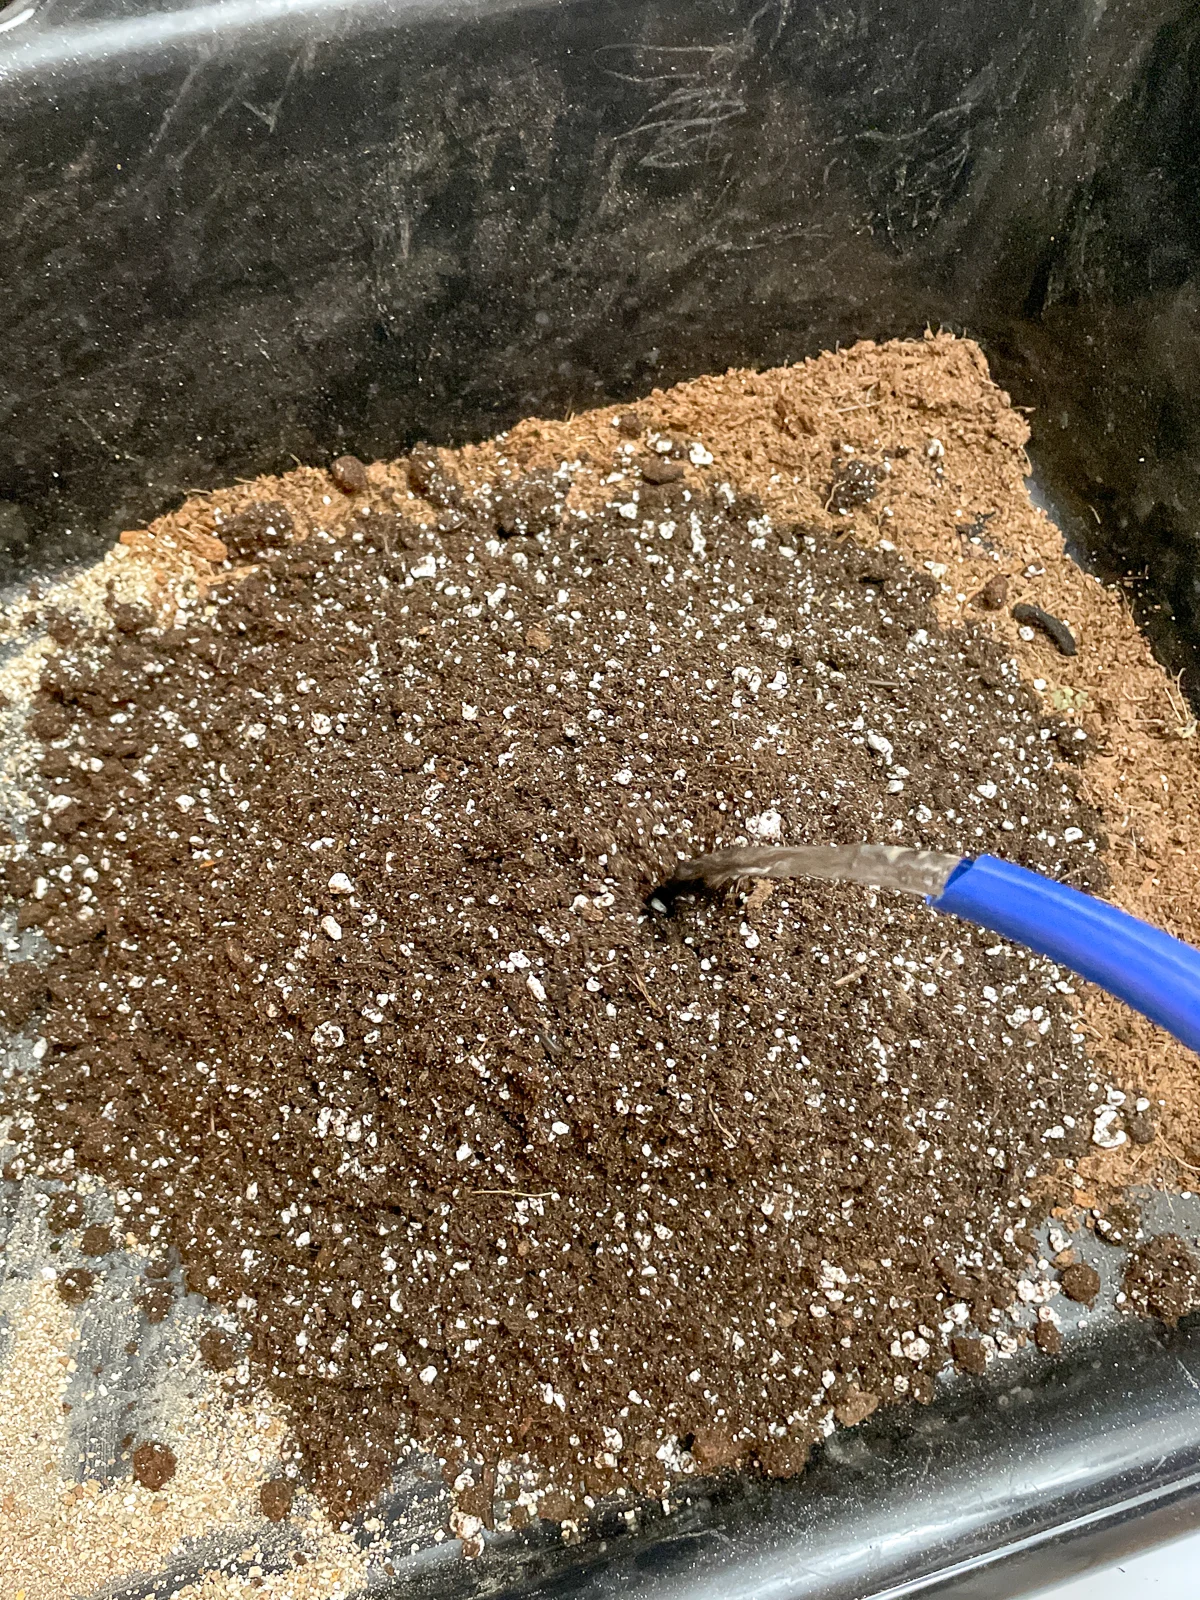
Fill the bottom of your milk jug greenhouse with the pre-moistened potting soil. It doesn't have to go all the way up to your cut line. Anything over four inches should be fine.
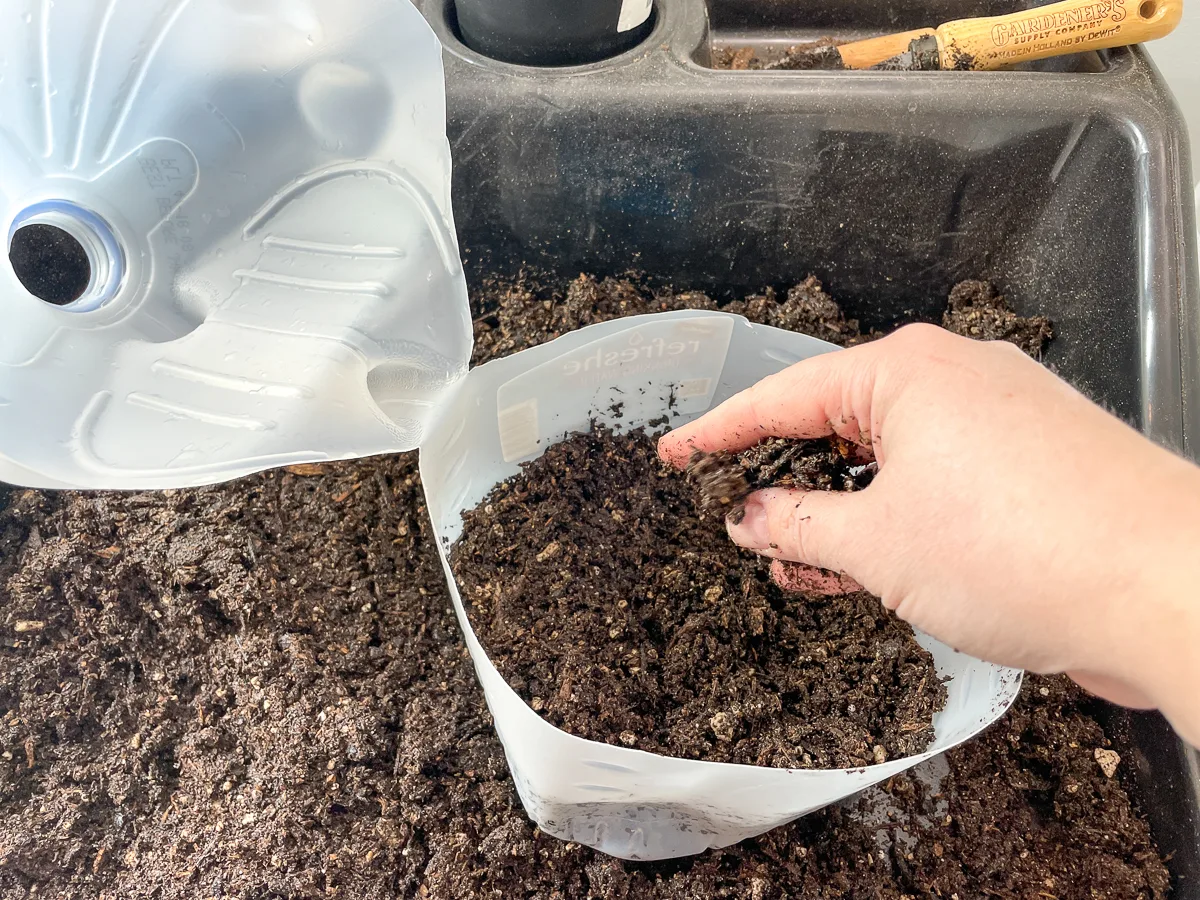
Sow your seeds
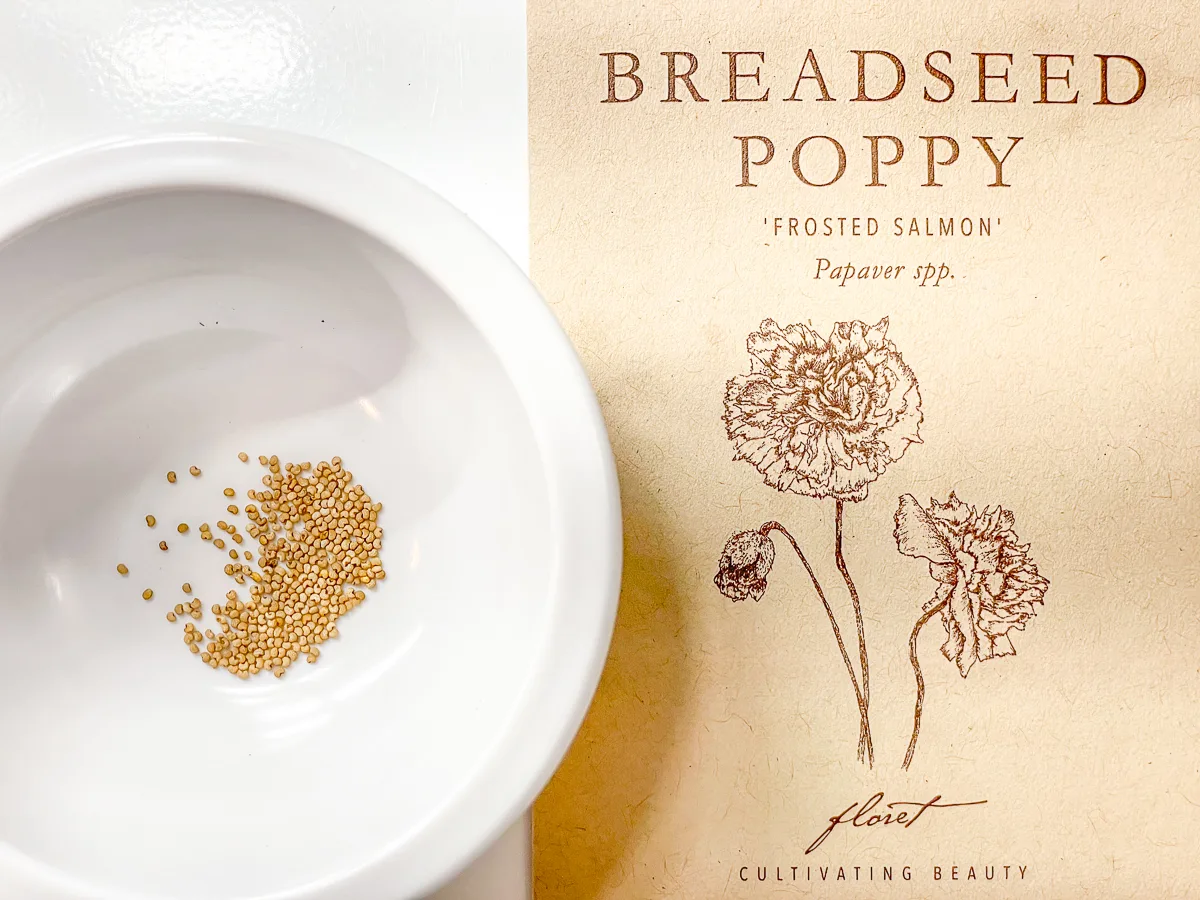
I'm sowing four different types of breadseed poppy seeds, each in their own jug. Three of them are from Floret: Frosted Salmon, Lilac, and Pink, and the White Cloud variety I got from Eden Brothers. Make your labels ahead of time so you don't forget!
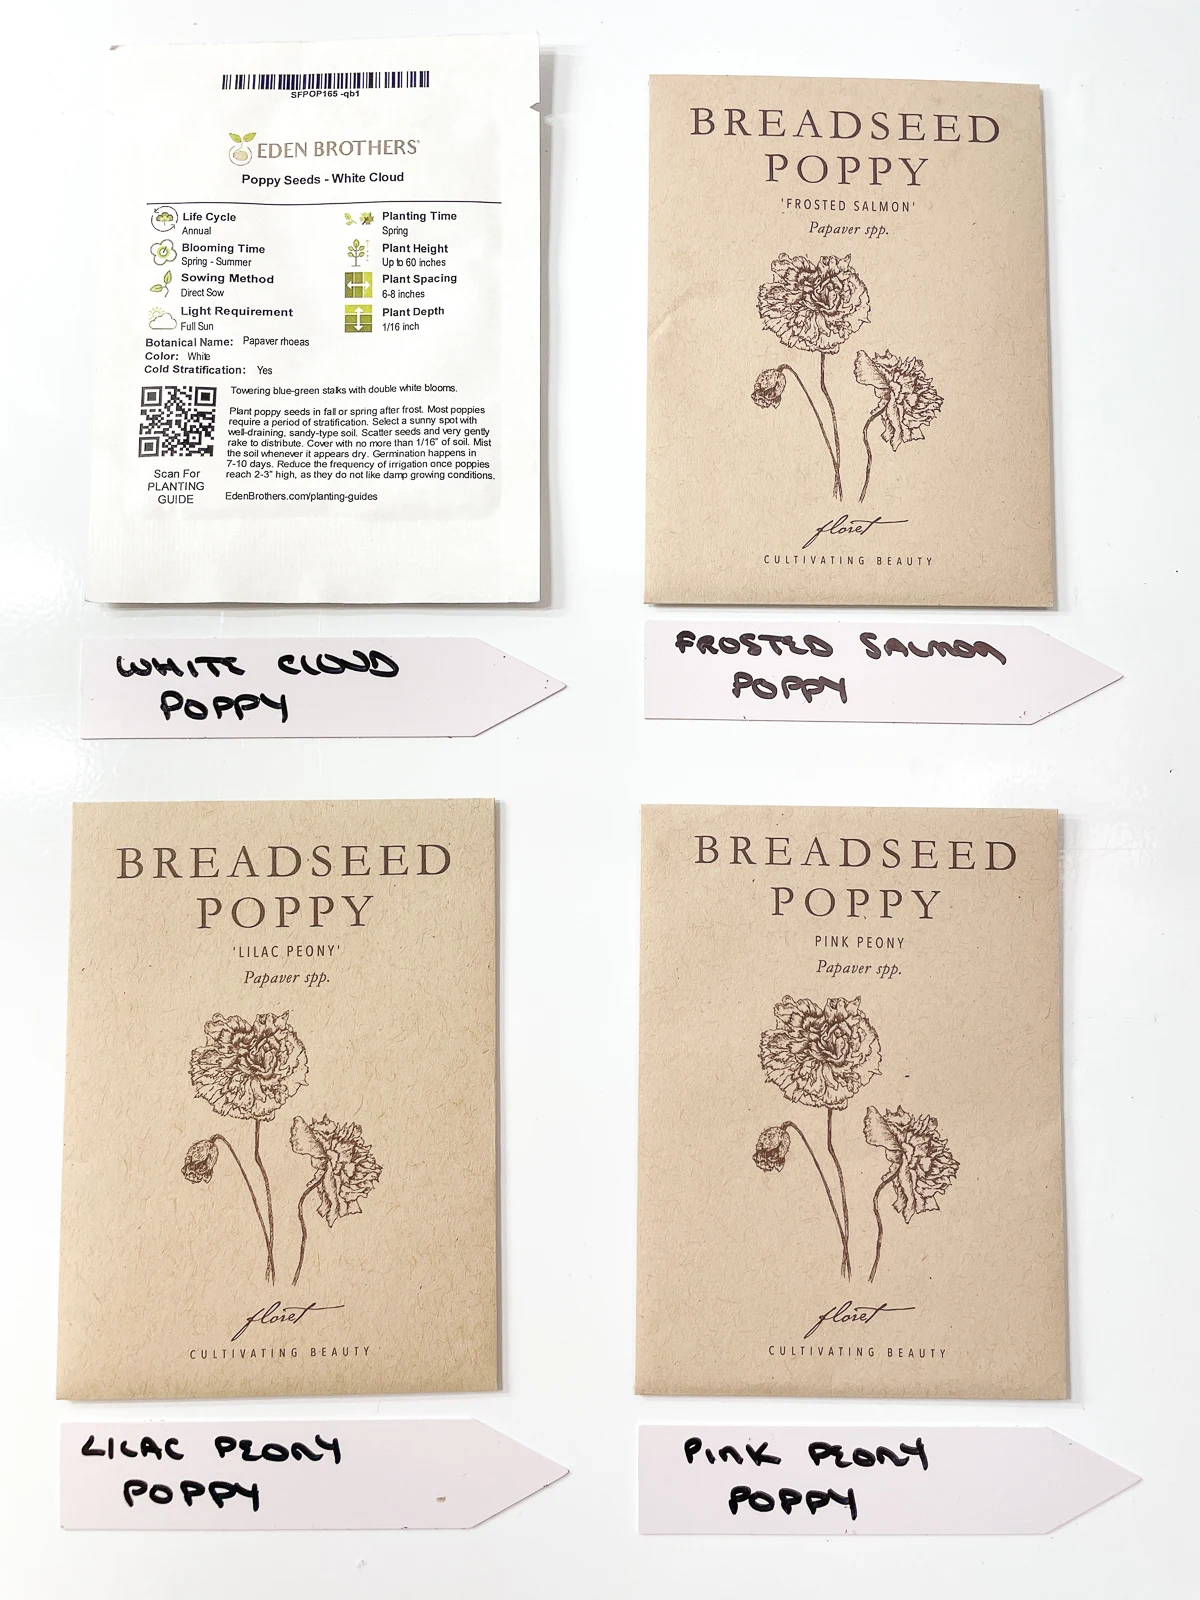
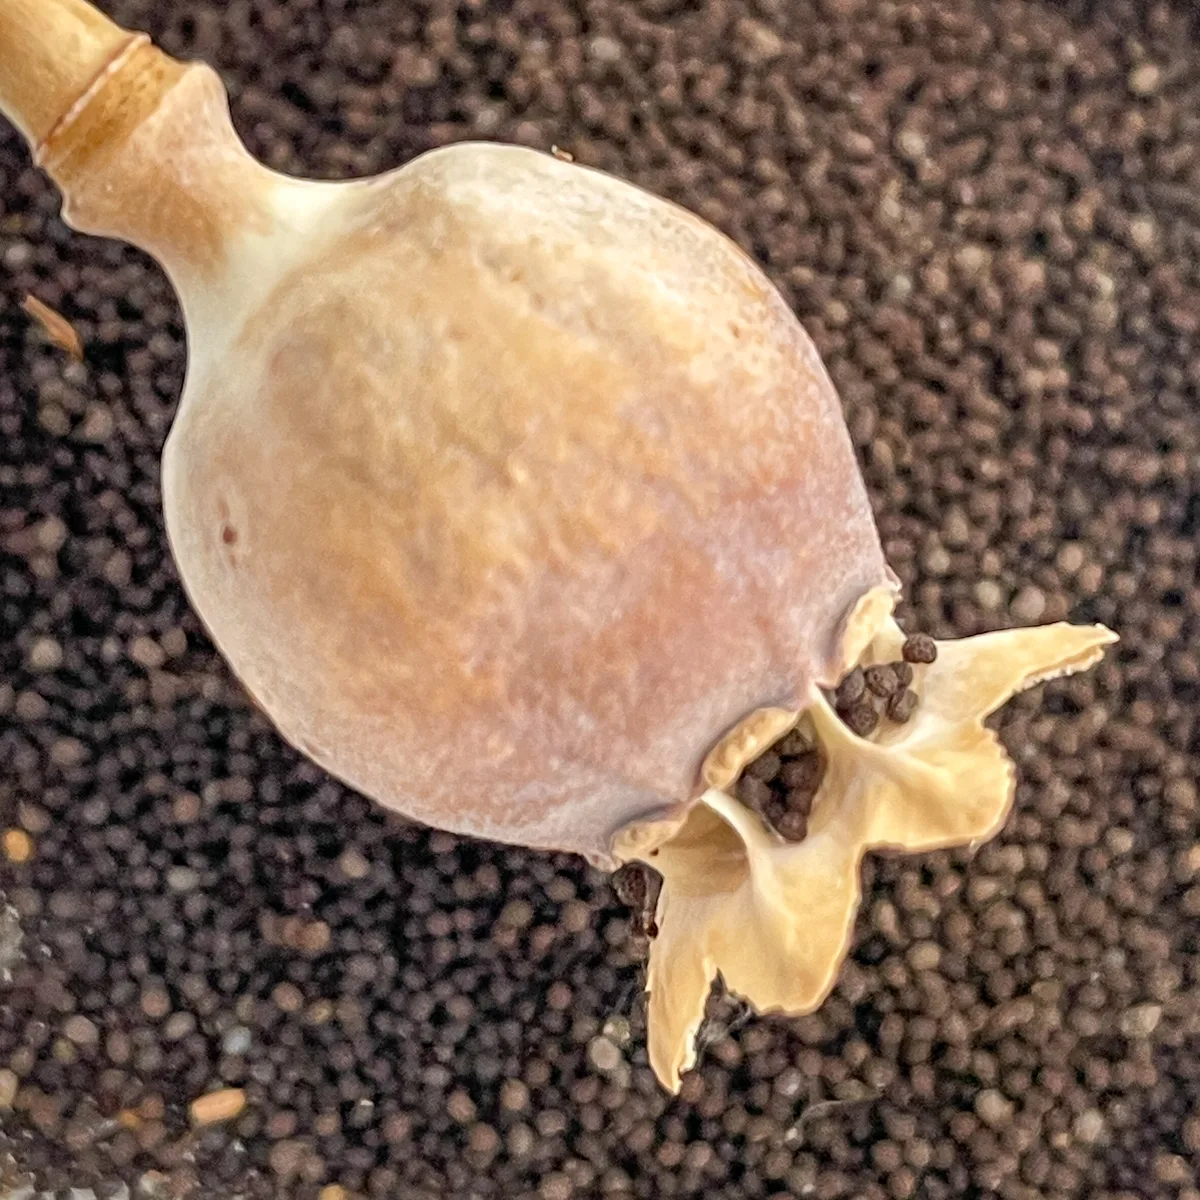
At the end of the growing season, I'll collect the poppy seeds from pods to plant next year! This way, you'll only have to buy seeds once and you'll have a never ending supply in the future.
I'm using the winter sowing method for half of each packet, and saving the rest to plant in seed trays after they spend a few weeks in the refrigerator. I'm curious to see which one grows better!
I poured the seeds into a small bowl so I don't accidentally dump the entire packet into the jug.
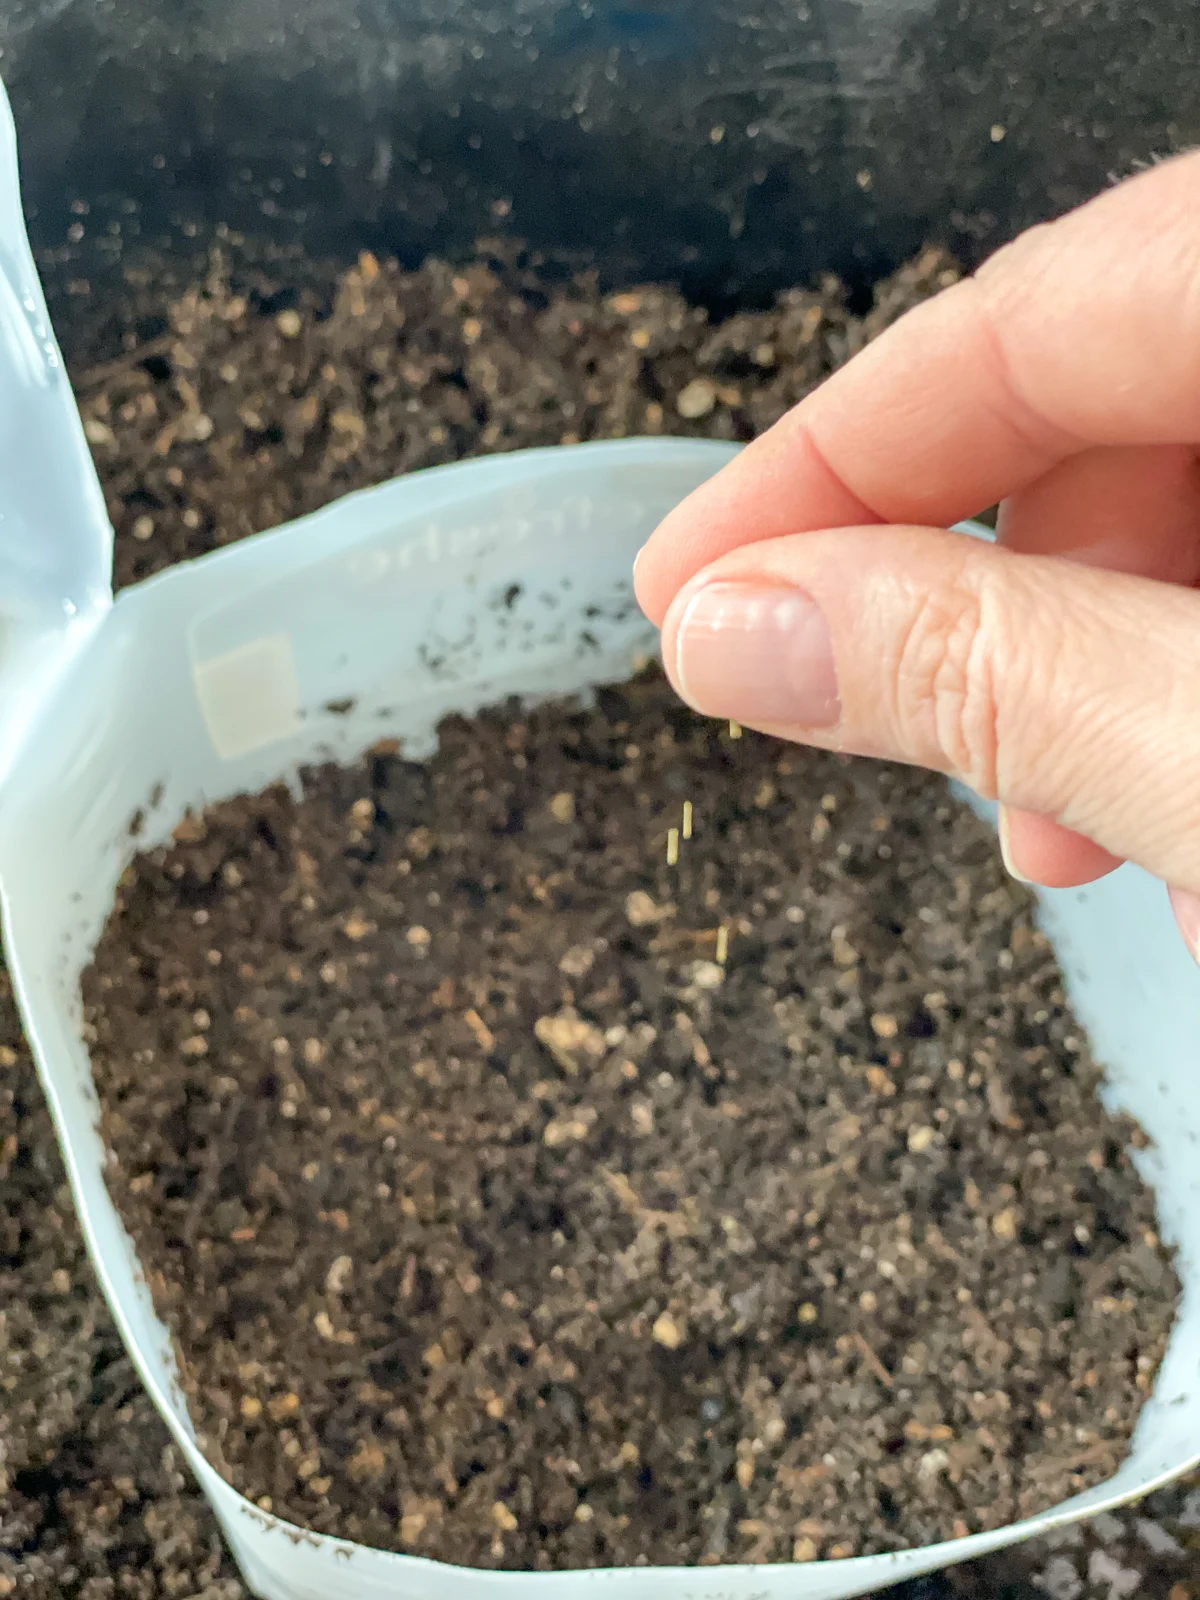
Just sprinkle the seeds across the surface of the soil in the jug.
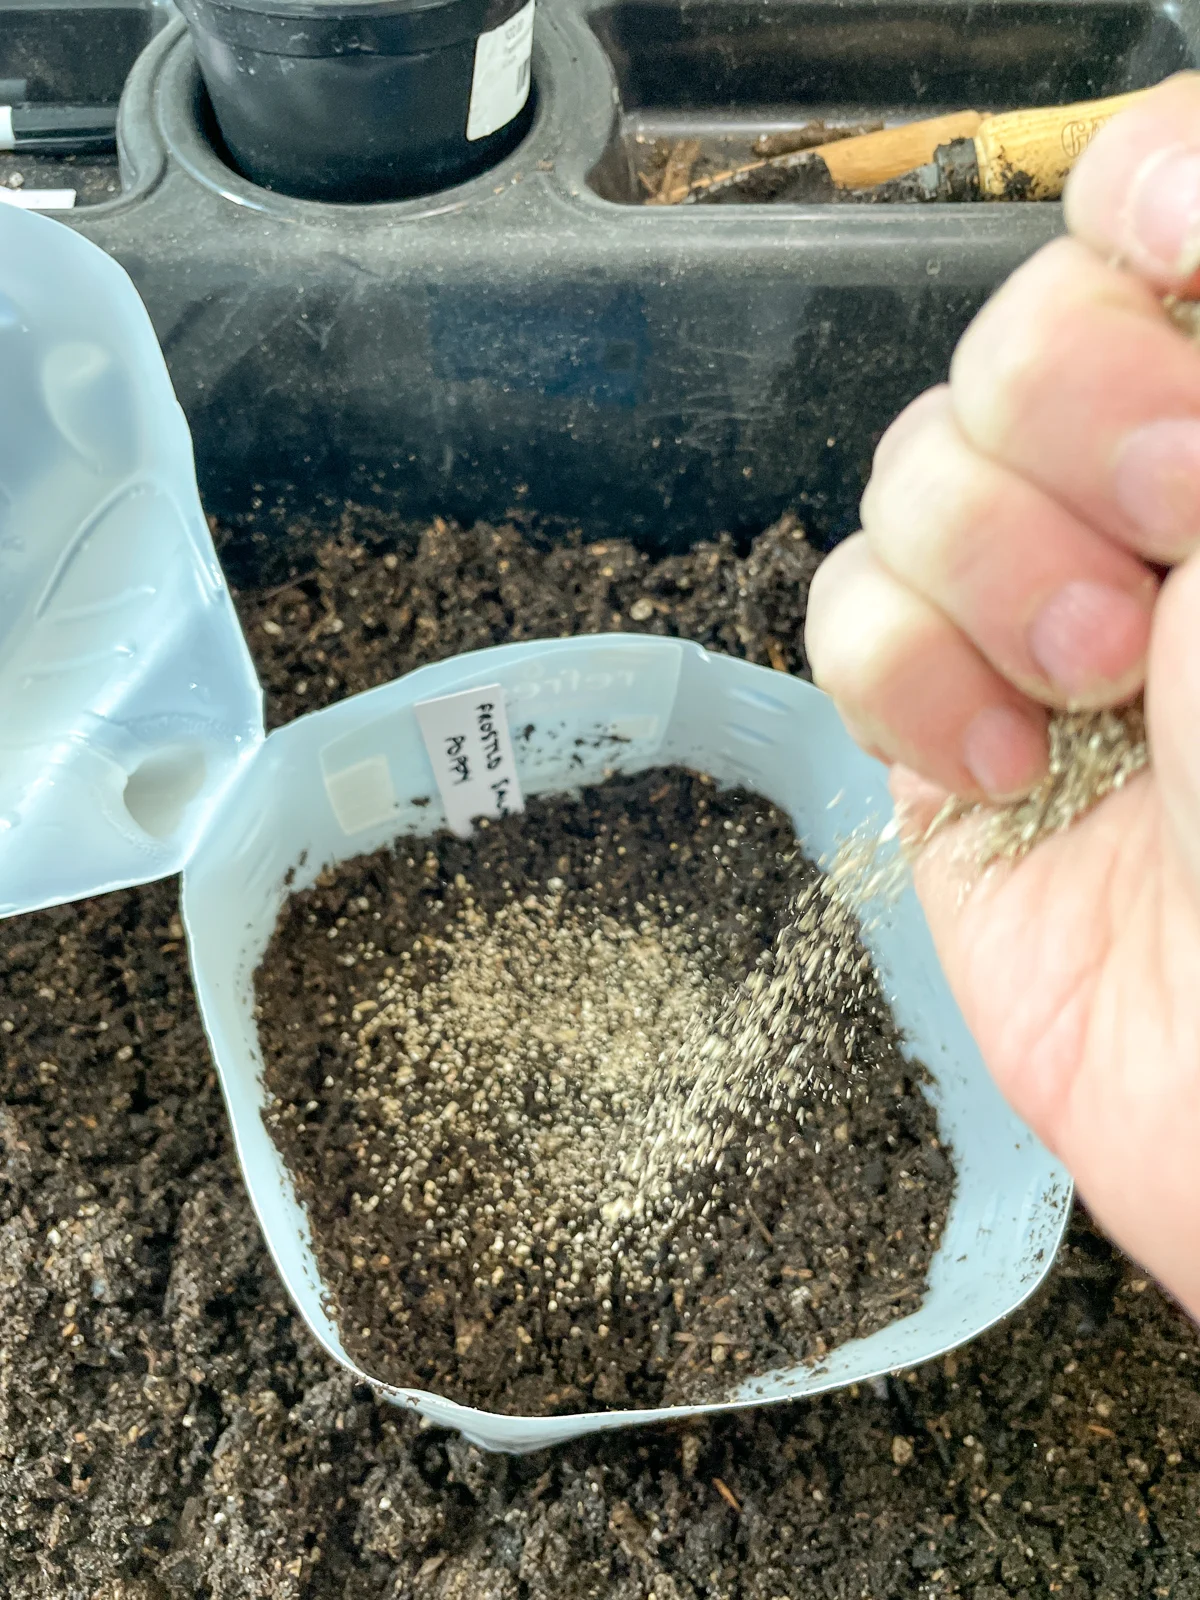
You don't need to cover poppy seeds in order for them to germinate. But I like to cover the surface of the soil with a light dusting of vermiculite, which will prevent algae and help with water retention.
Close up the jug
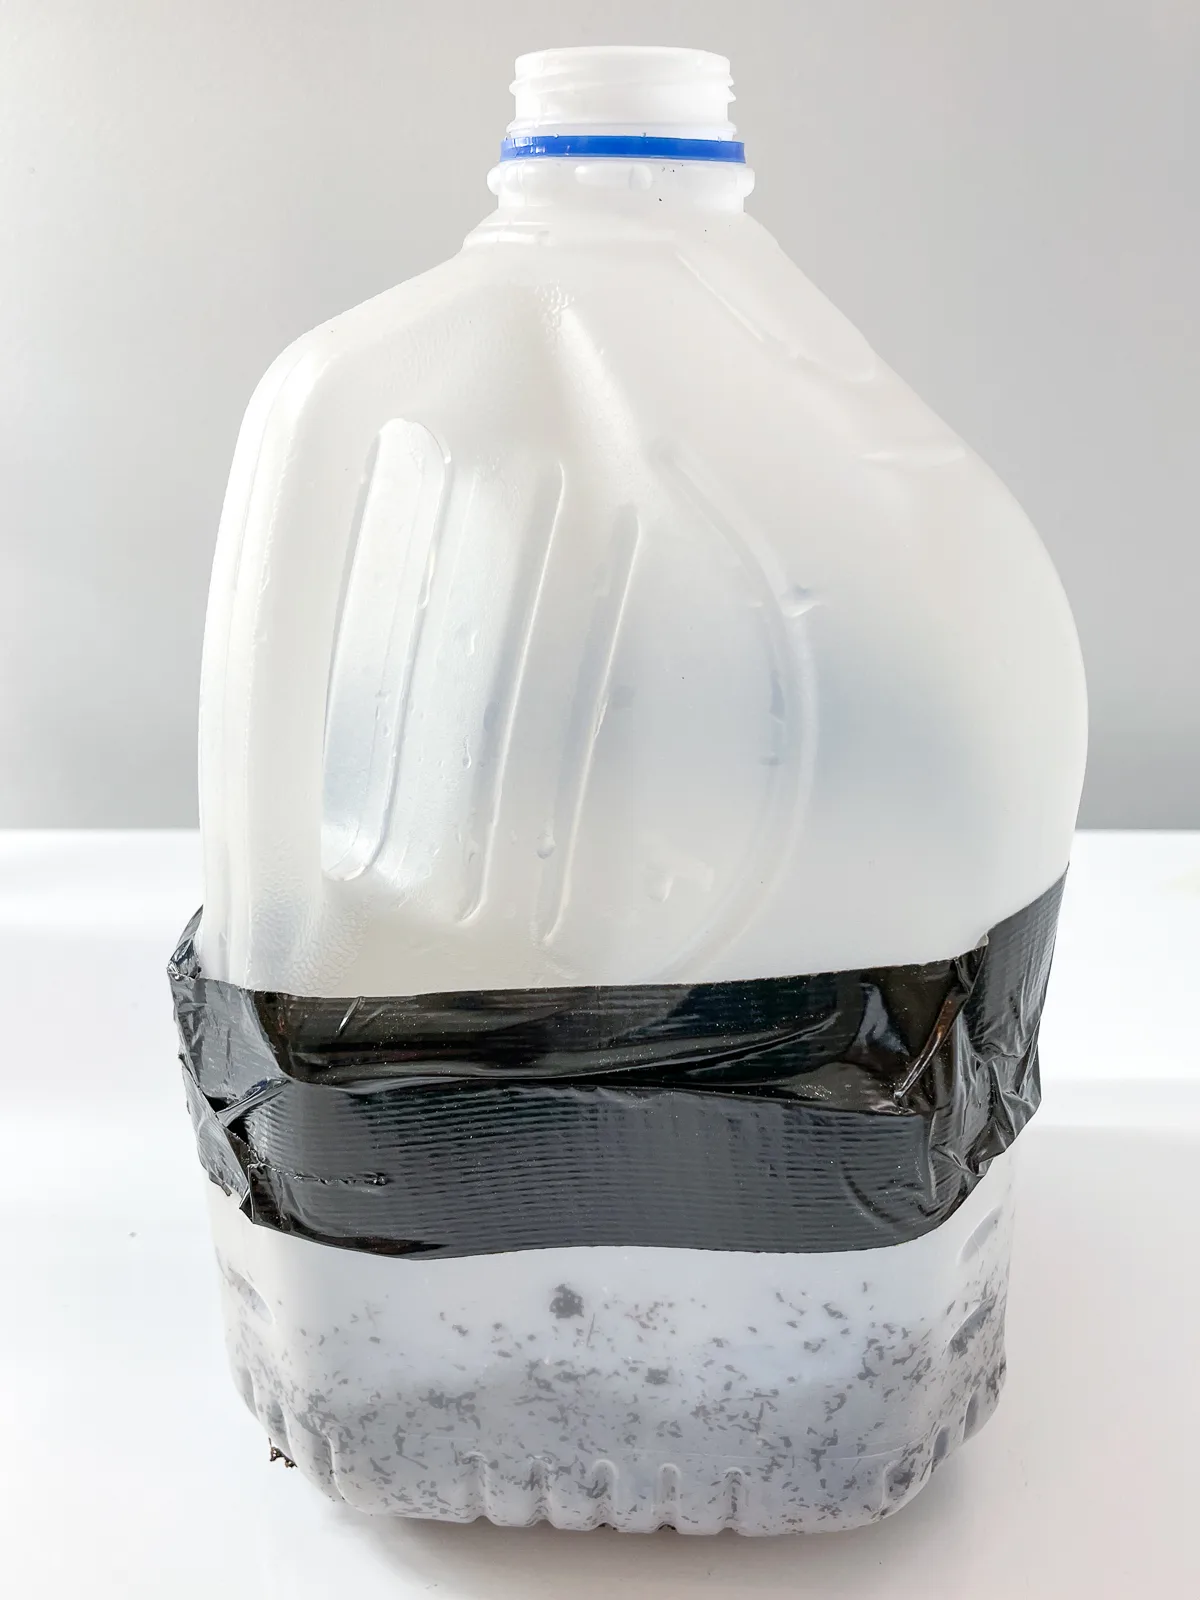
Once your seeds are sown, it's time to close up the jug to prevent critters from eating them. All you need is duct tape!
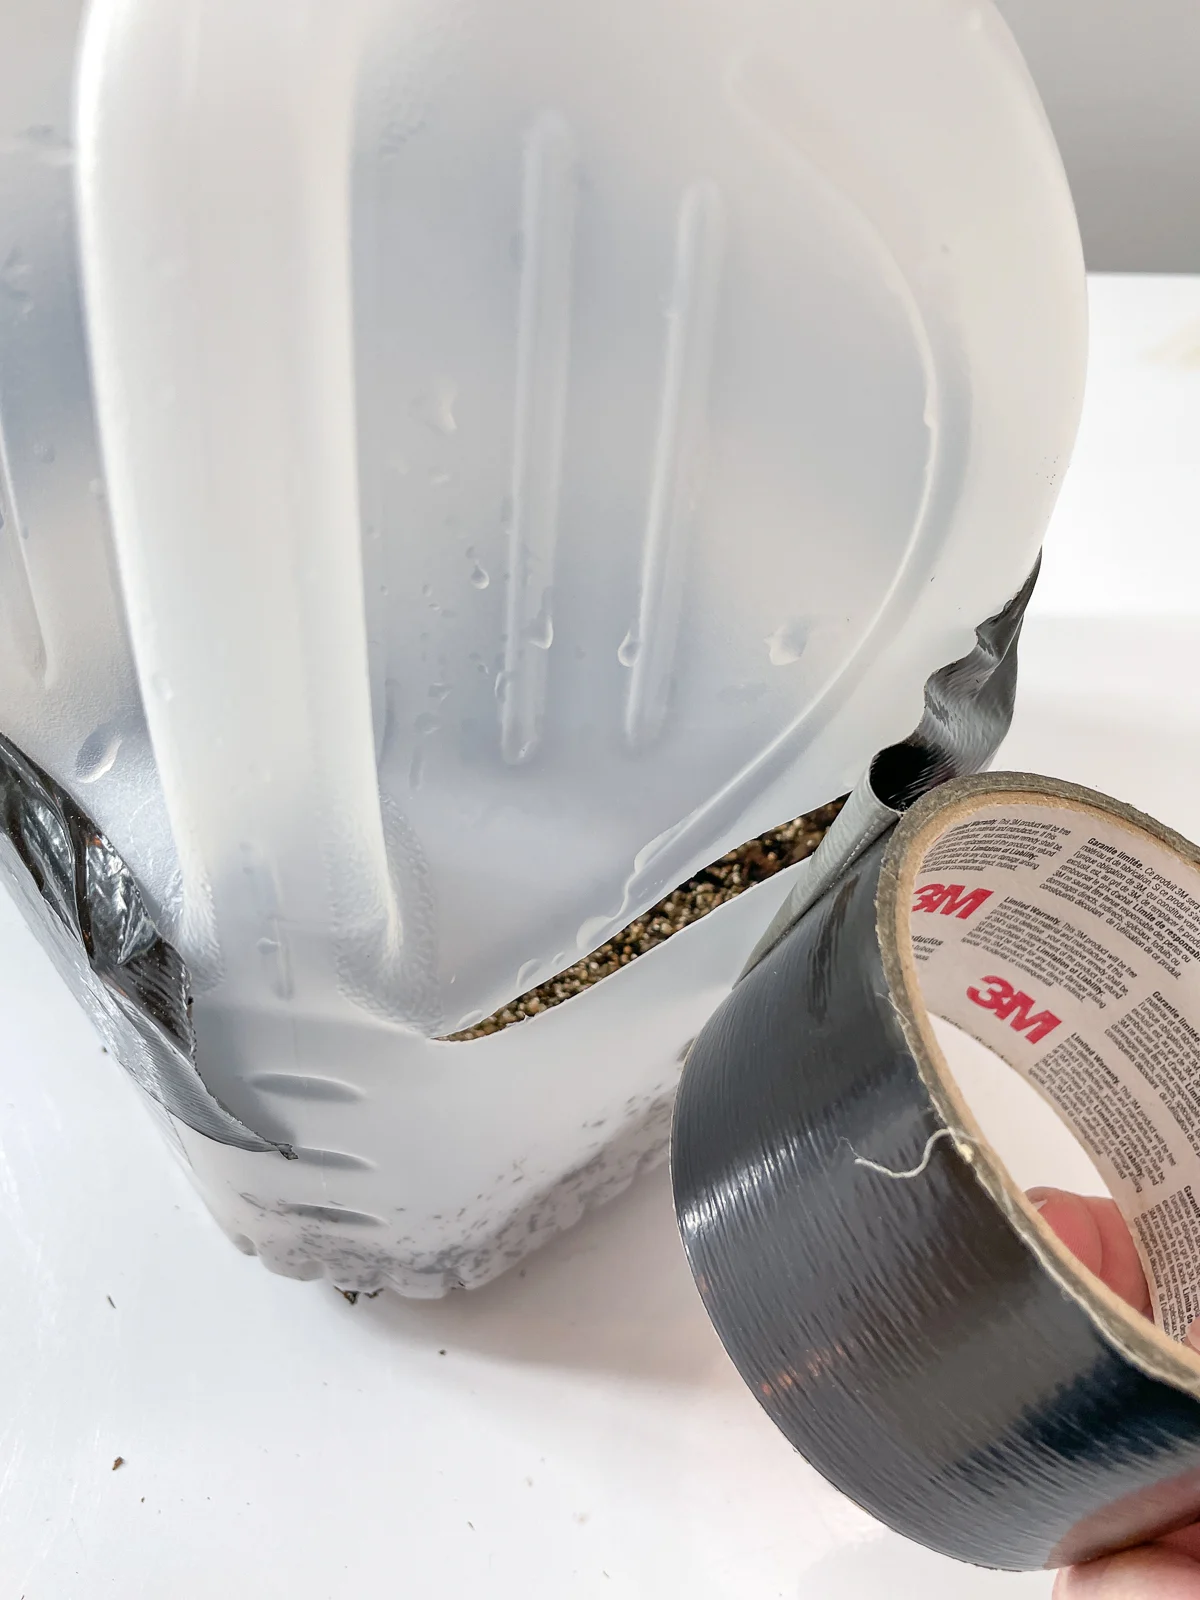
Now your milk jugs are ready to go outside!
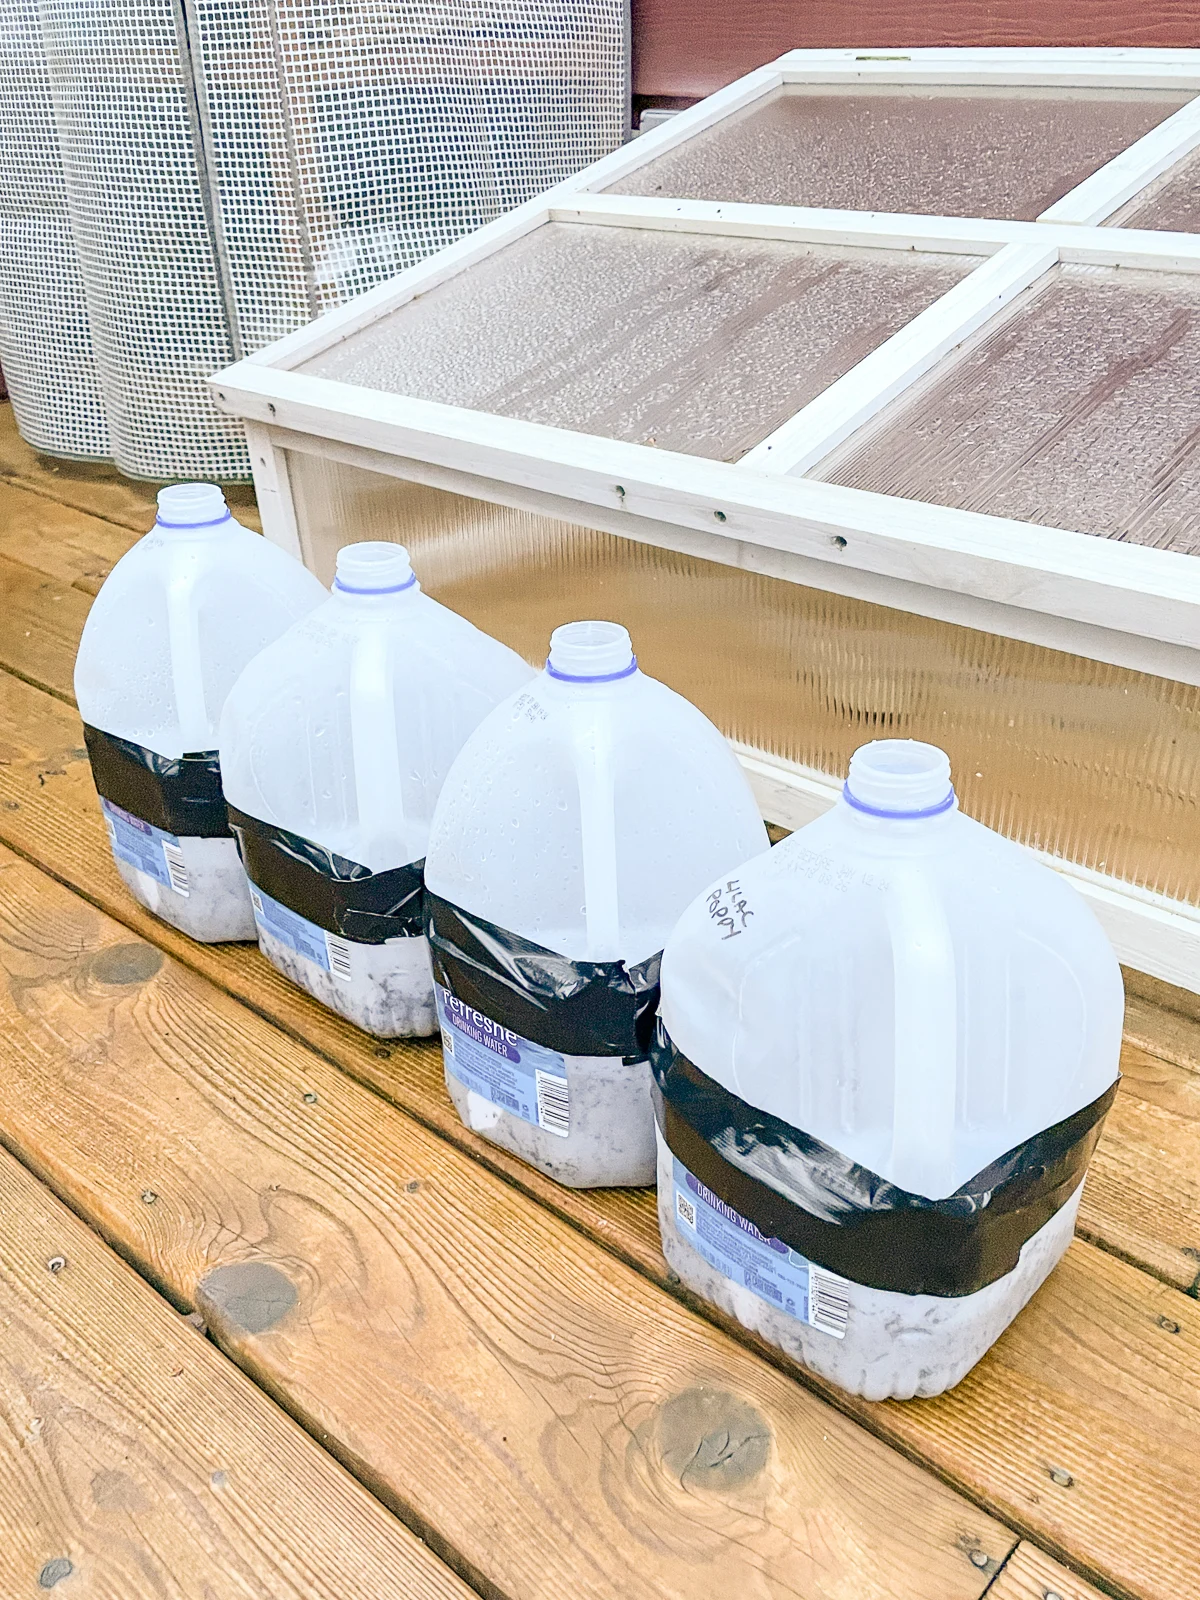
Place your jugs outside
Make sure to place your milk jugs in a spot where they'll get plenty of sun, and away from any eaves or overhangs. Leave the caps off so rain or snow can drip inside and water the seedlings.
Mine are kept on our deck in front of the cold frame and mini greenhouse, so I don't forget to check on them every once in a while. Obviously, it was raining that day, so I didn't need to water the seeds in.
I like to set a reminder on my phone to check on these seeds every week. If the soil looks dry and you don't have any rain in the forecast, use a spray bottle to water your seedlings through the hole in the top.
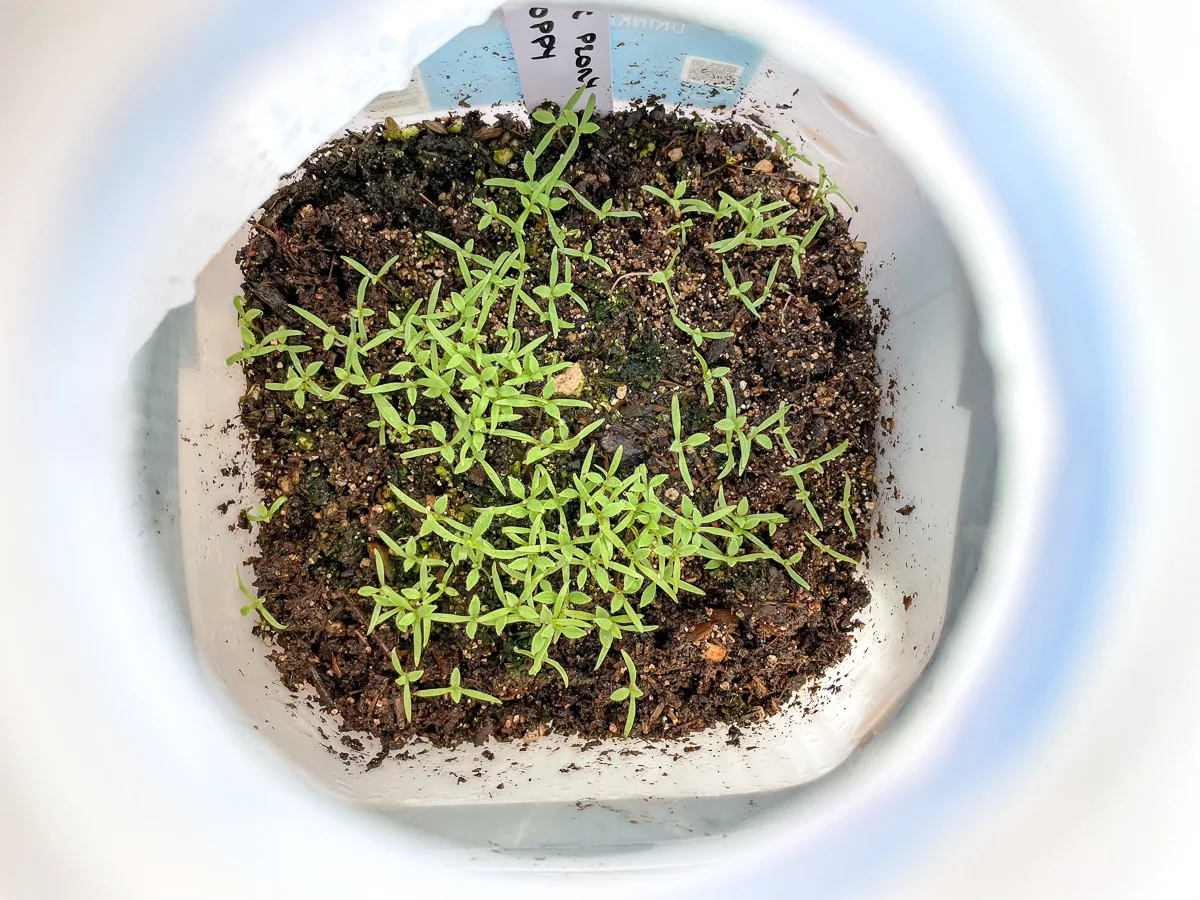
After a few weeks, I had lots of seedlings sprouting! I'll leave them to grow for a little while longer, then separate them when they go out into the garden.
Once the weather warms up, you'll want to start monitoring your winter sown seeds to make sure they don't bake in the sun. Those little greenhouse jugs can get really hot, and some plants can't tolerate warmer temperatures. Just remove the duct tape and let them sit out in the sun!

Annie Medina
Sunday 27th of August 2023
When do you actually plant the seeds in the jugs and put them outside? In the fall or in winter? Thanks.
Vineta Jackson
Tuesday 29th of August 2023
I put mine outside in winter. As long as they have a month or so of cold weather, they should be good to go in spring!
Cathi
Tuesday 21st of February 2023
I tried this method last February and was so happy with the results! Where I live in West Lafayette, Indiana, winter turns to summer, and back and forth, with little respect for Spring ! (So, it can be 30F one day and 80F the next.) Winter sowing this way allows me to grow radishes and greens and cool season veggies like cauliflower that I normally cannot. Great find!